
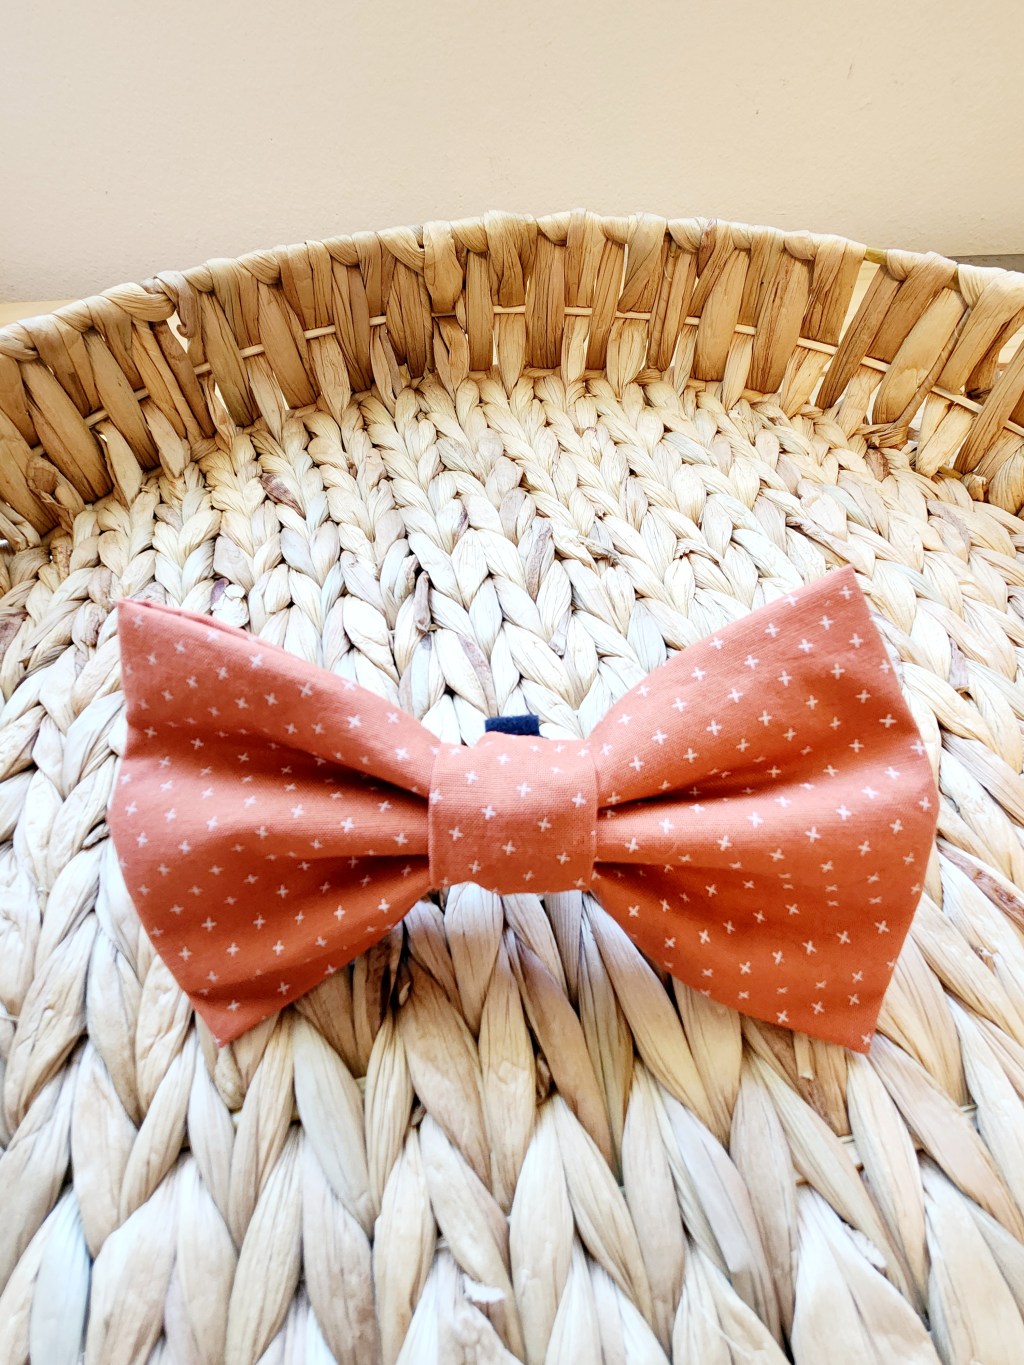
Have you ever looked at your dog and thought to yourself, “what would make you look even more ridiculously adorable? A bow tie!” Fabric Dog bow ties are incredibly easy to make and you don’t even need a sewing machine!
Step 1: Gather your supplies. You will need:
-Your fabrics of choice. You can use all the same fabric or two different ones ( one for the band and one for the main body of the bow tie)
-Scissors ( we recommend fabric shears… they will change your life!)
-A needle and thread and/ or a sewing machine
-Stiff interface ( it doesn’t need to have adhesive)
-Velcro
Step 2: Cut your fabric, interface and Velcro to size. The measurements are:
*For large bow ties:
-The body: 15” x 9”
-The band: 8.5” x 3.5”
-Interface: 8.5” x 3.5”
-Velcro: 3.5” and 2.5”
*For small bow ties:
-The body: 8” x 5”
-The band: 4” x 2.5”
-Interface: 4.5” x 2”
-Velcro: 3” and 2.5”

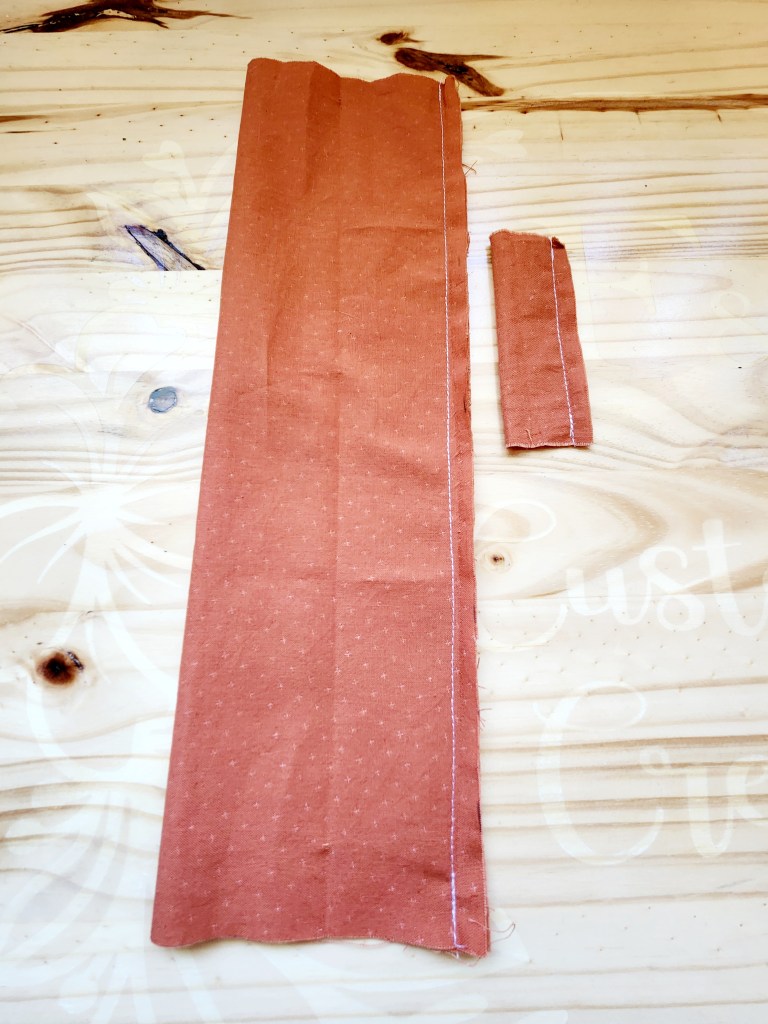
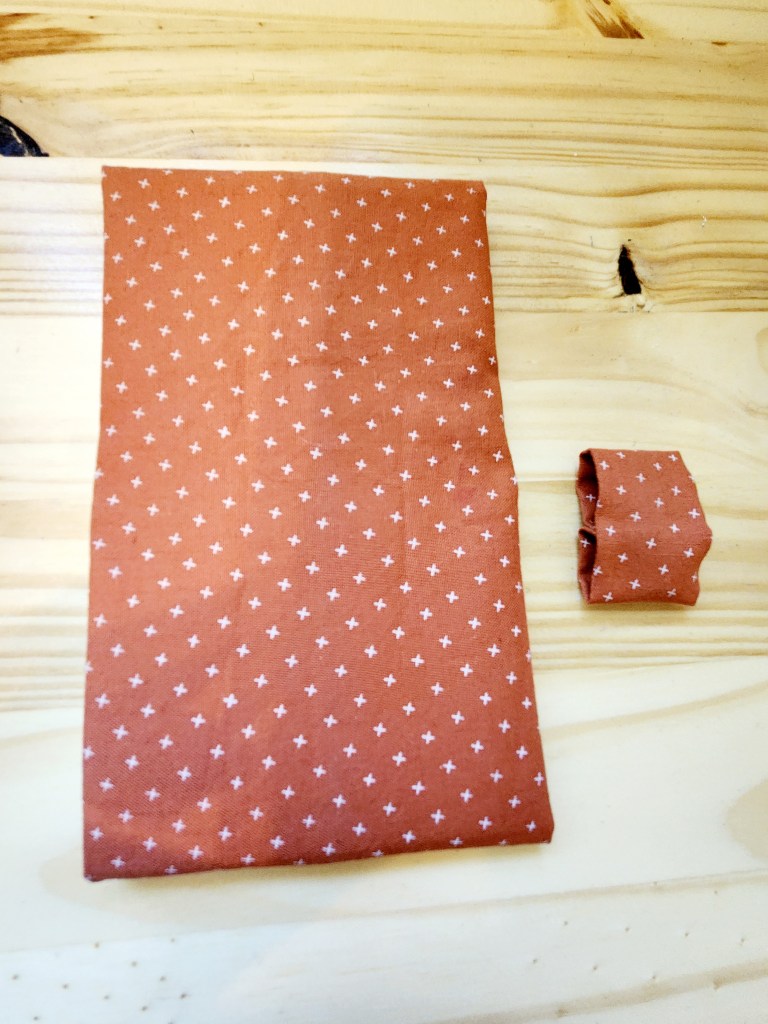
Step 3: Now get your sewing on! Fold both fabric pieces hot dog style with the pretty sides of the fabric together. Your basically making two tubes.
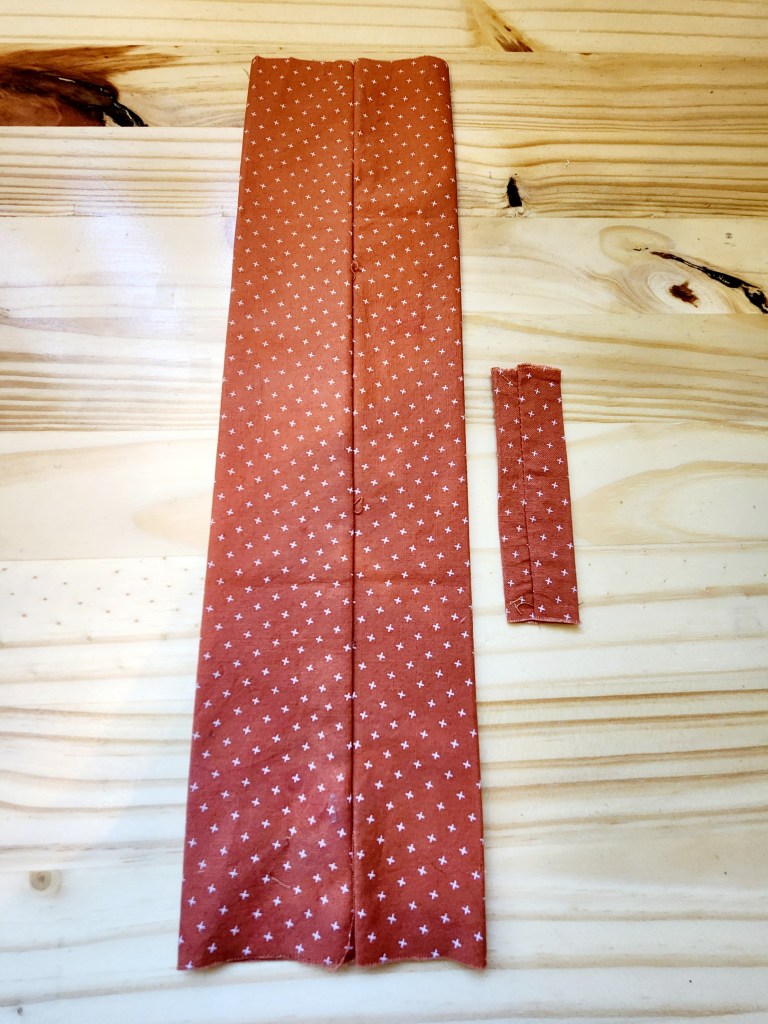
Step 4: Turn your fabric tubes right side out and press them with an iron. Make sure seams are in the middle for a cleaner edge.
Step 5: Stuff the larger of the two tubes with your cut interface. It should slide right in. Place it in the middle of the tube.
Step 6: Fold your large tube with interface in half with seam facing out. Sew the two ends together making sure the two pretty sides are together ( seams facing out). Do the same thing to your smaller tube ( minus the interface).
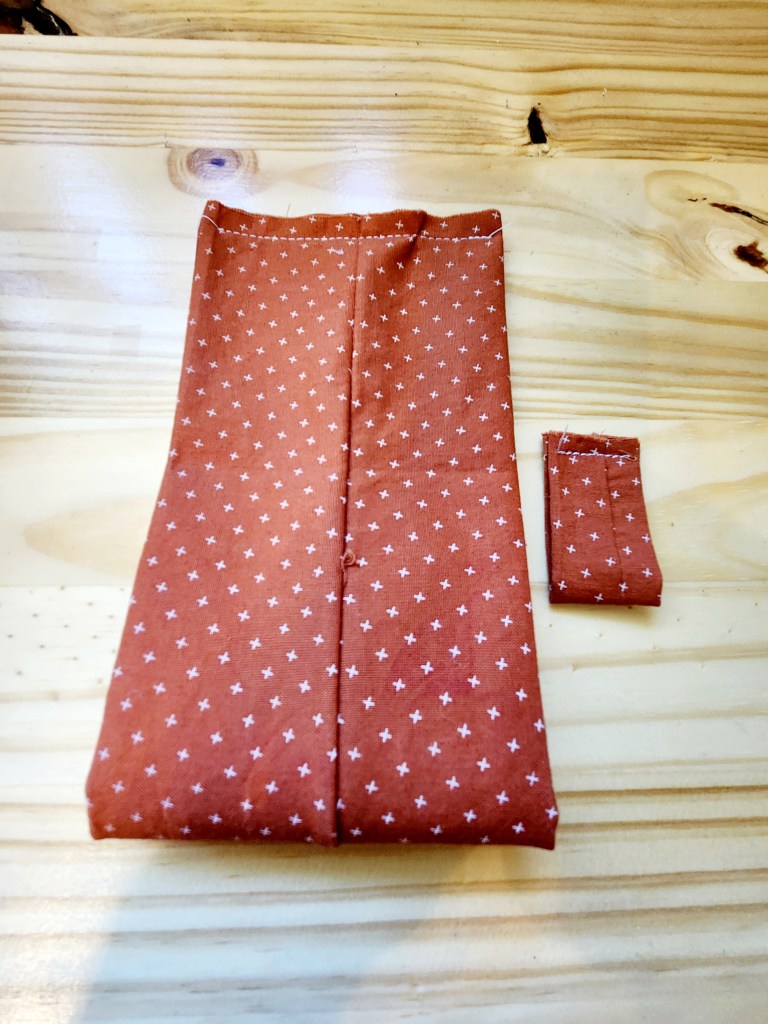
Step 7: Then flip them right side out so your seams are now on the inside.
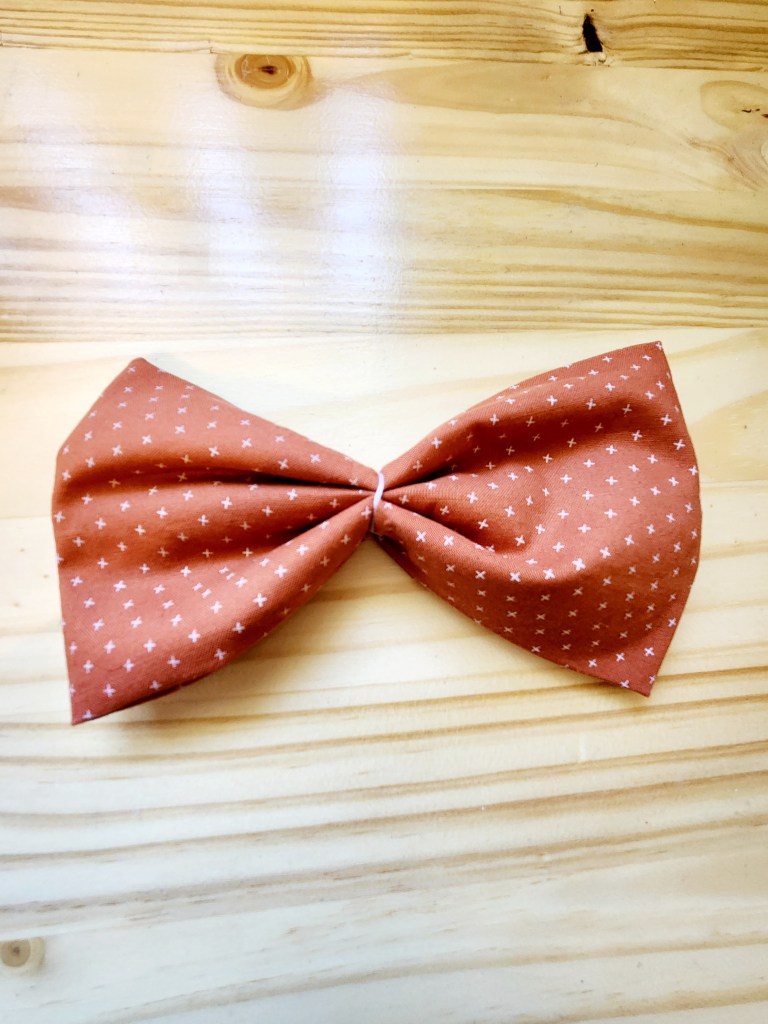
Step 8: Pinch the body of the bow tie in the center and bring a fold in on either side to create the bow tie shape. See photo for help. Make sure to get as close to the center as possible. It will make for a cleaner look.
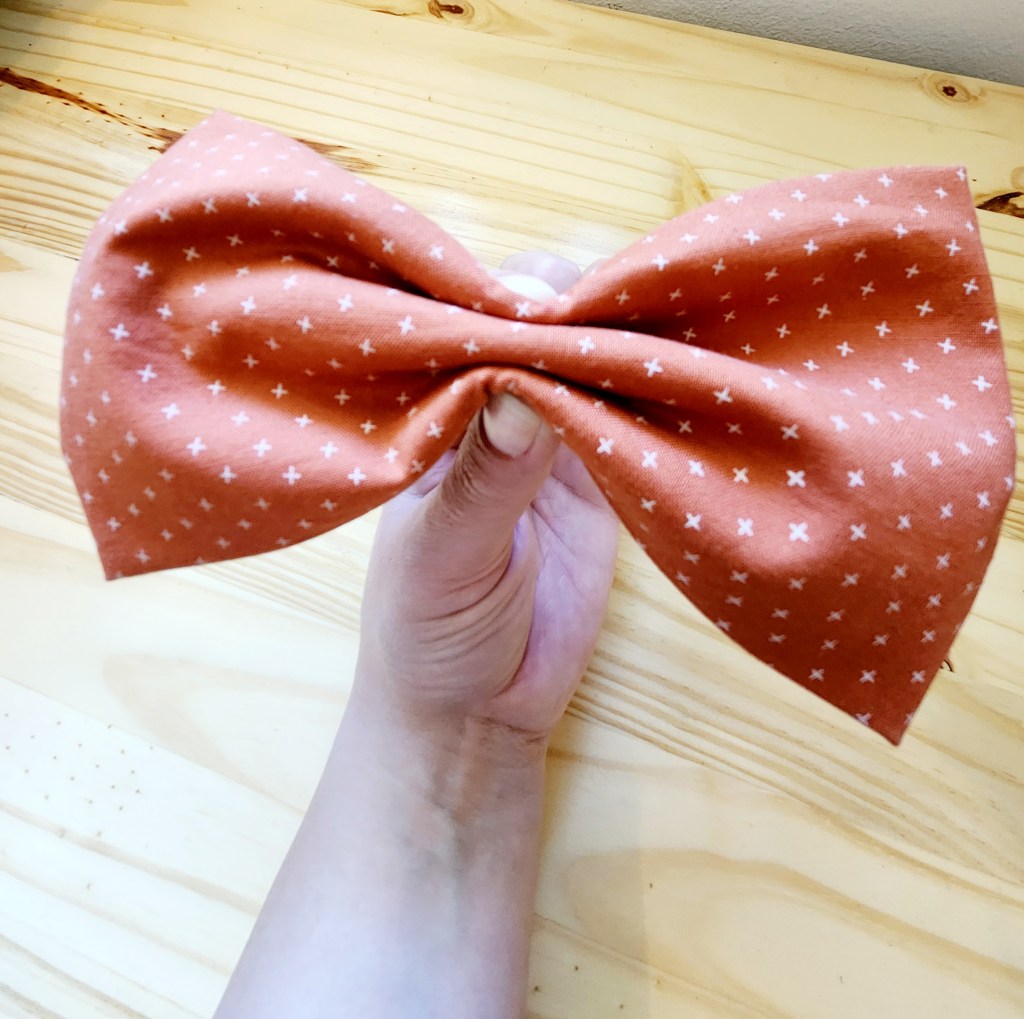
Step 9: Using a needle and thread you are going to secure your folds in place by going through the back of the folds with your needle. Then for a little added security we like to wrap the center of the bow tie a few times with the thread. Then go back through all the layers and tie off your thread. It will look a little messy but the band will hide it all.
Step 10: Gently fold one end of our bow tie so you can slide your band to the middle keeping the seam in the back.
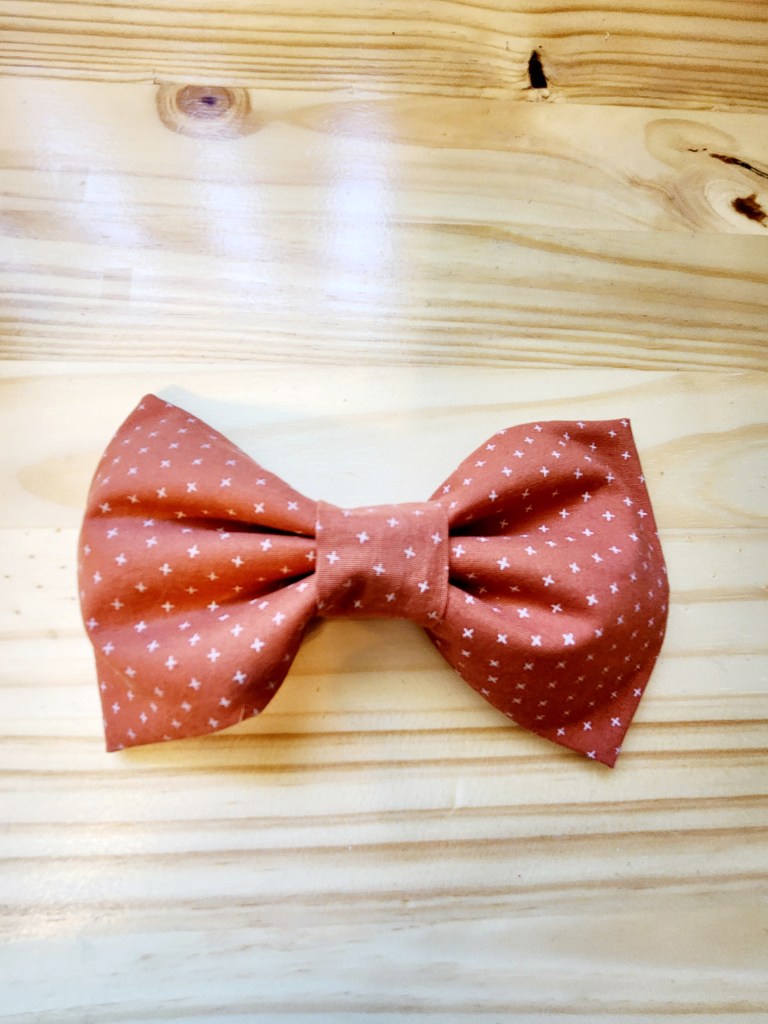
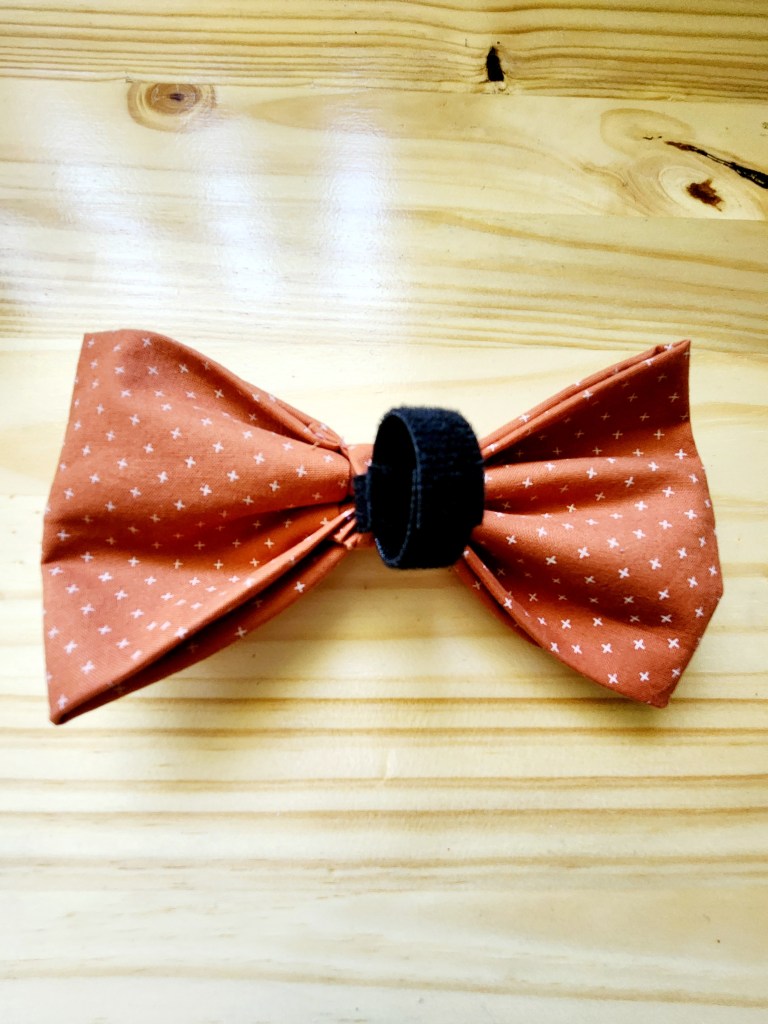
Step 11: All you have to do now is add your Velcro. Slide the smaller piece of Velcro through the back of the band. Then slide the larger piece of Velcro through the little piece creating a circle. That’s what you will use to secure it to the collar. Now you have a one of a kind dog bow tie. Now all the adorable fur babies in your life will be dressed to impress!
This is a pretty quick project with minimal skill required. These could be designed to match many different occasions or holidays! These were so easy to make that we ended up making a ridiculous amount of them. We decided to donate a bunch of them to our local animal shelter to help them look their best in their adoption photos.
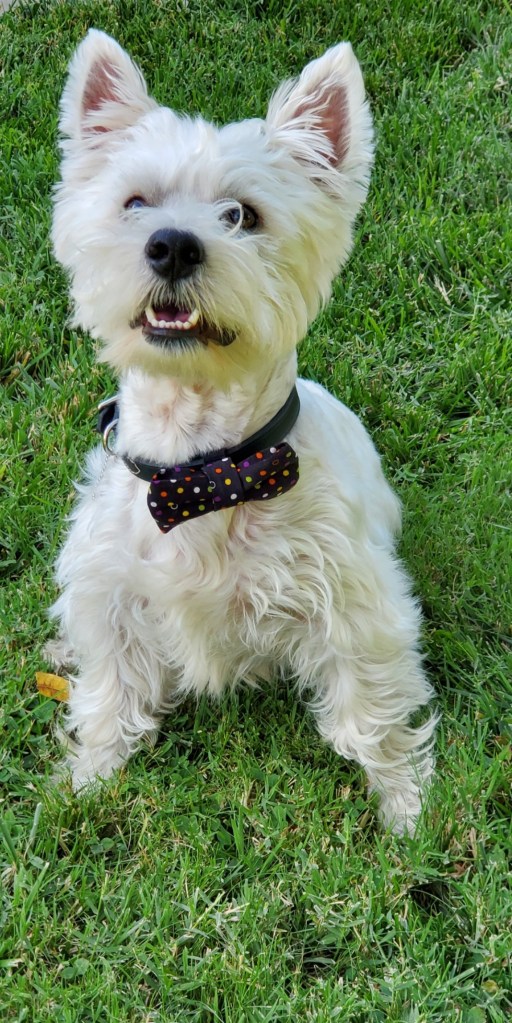
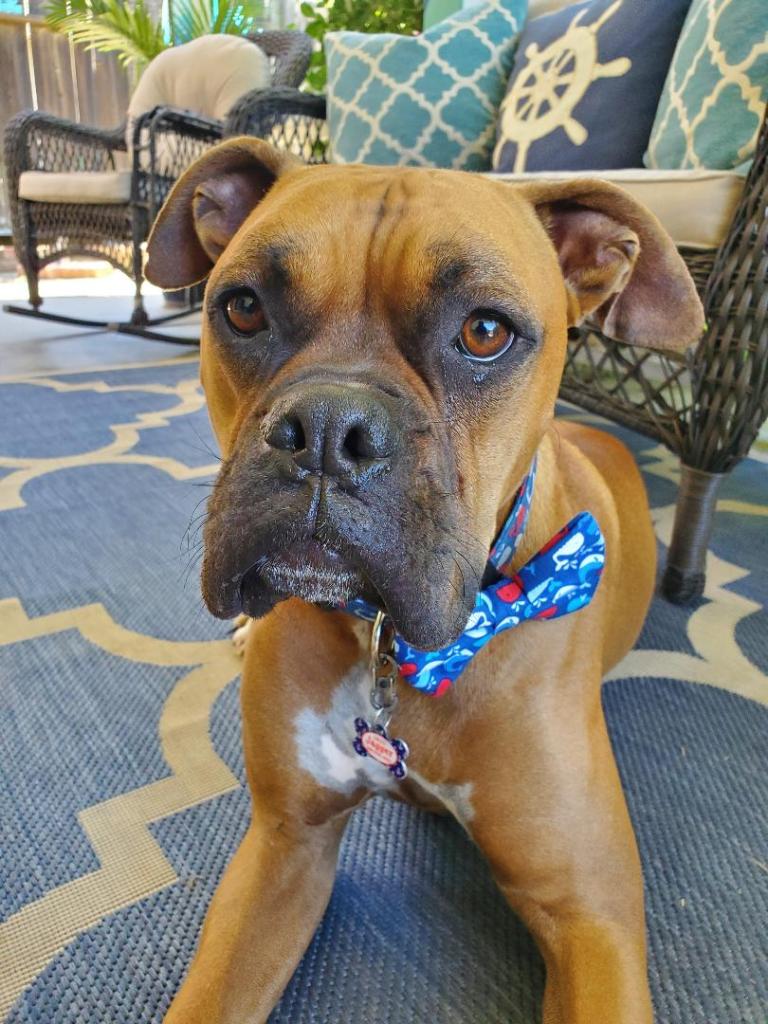
This is our neighbor Mack aka Mack Attack. He loves looking his best while getting himself in trouble.

Of course, we did Christmas bow ties for our strolls down Christmas tree lane.
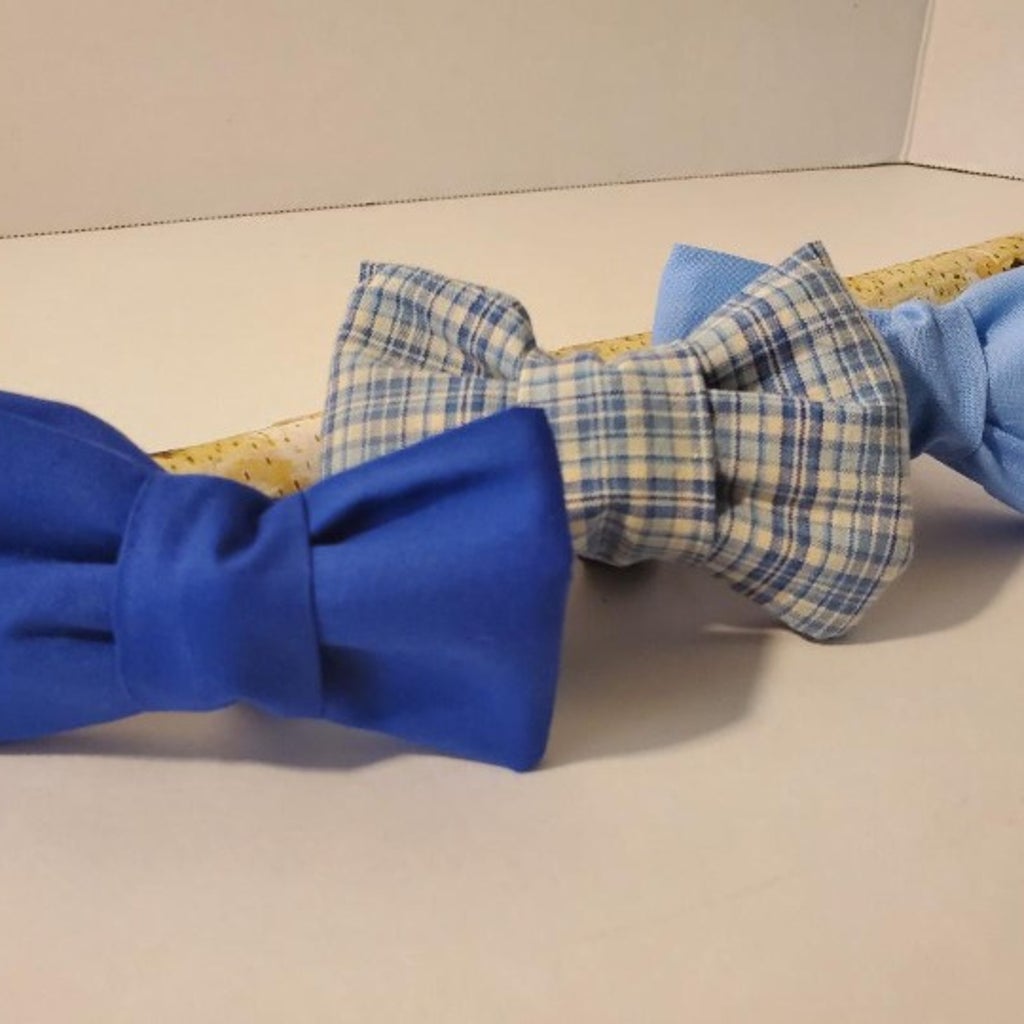
These were our spring collection.
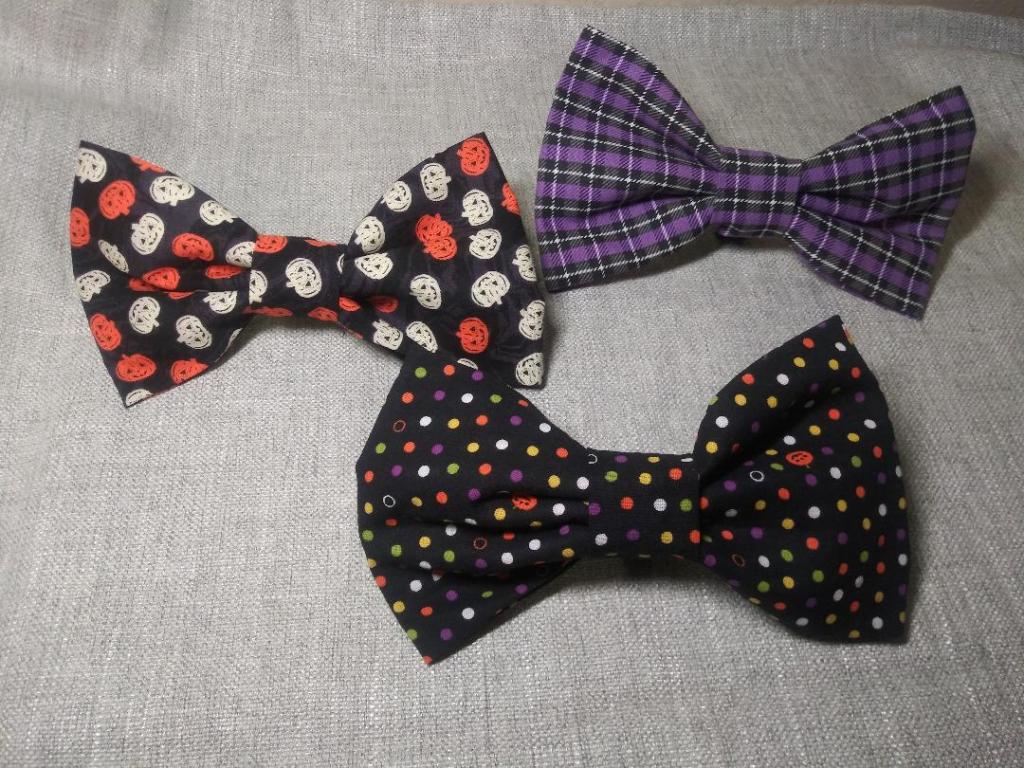
Halloween bow ties are always a big hit. Your fur baby may wear a costume the day of but these keep him festive all month long.
We would love to see your handsome gentlemen in their snazzy new bow ties!


Leave a comment