

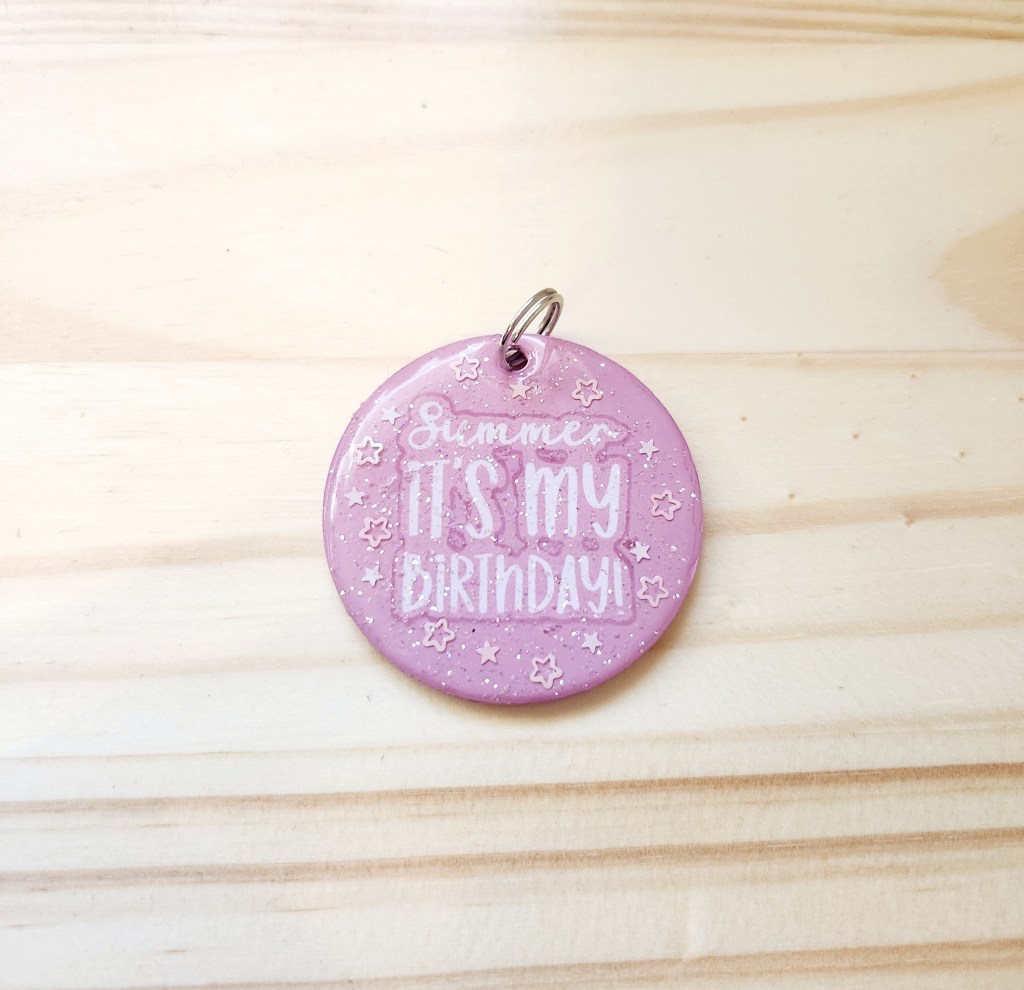
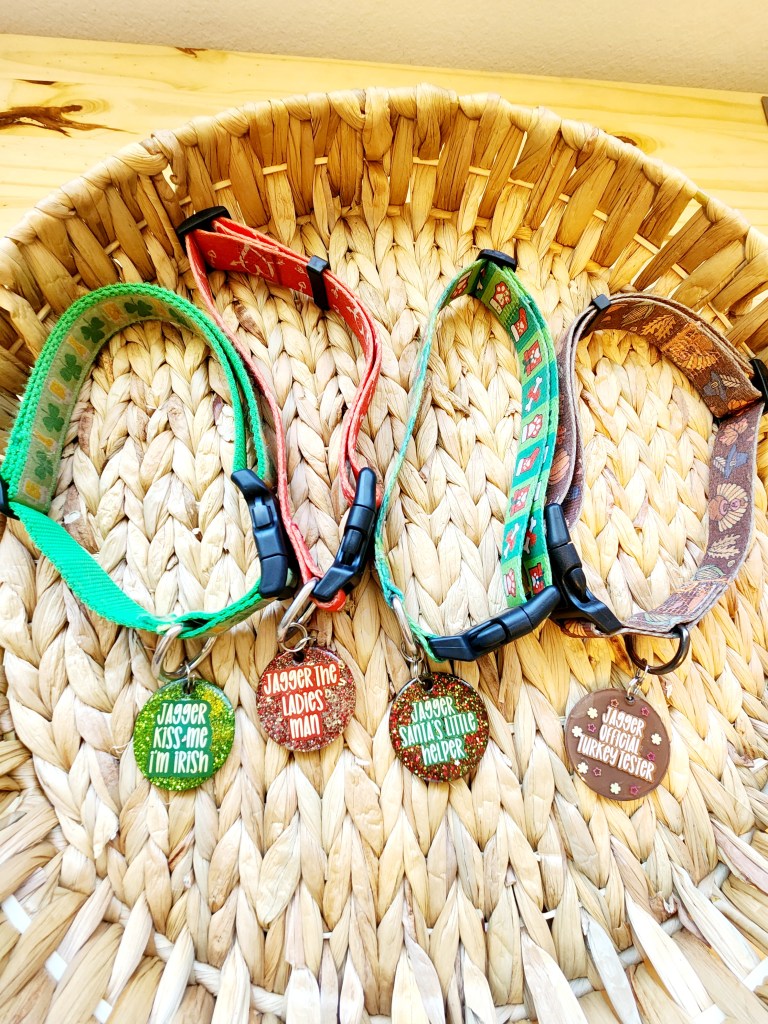
These resin pet tags can be for any of your fur babies! They come together quickly and are relatively simple to make once you get the hang of it. They work great as pet gifts for any occasion or individual personality. As you can see this was for a beautiful little lady named Summer.
Step 1: Collect your materials. You will need:
-UV light
-UV resin (we purchased both on amazon)
-A pair or two of gloves
-Acrylic tags (we used 2” acrylic tags for large dogs but other sizes are available. Or you could use a mold to get a more interesting shape)
-Acrylic paint and brushes
-Glitter or other embellishments
-A jump ring

Step 2: Peel off the protective layer on your acrylic round. Usually there is one on the front and one on the back. You are going to paint the background of your acrylic circle. You don’t have to do this but it makes your tag a lot more vibrant. Get creative with this! We chose a solid pink background but you could do anything. You could paint clouds, flowers, grass or even Halloween bats! It will all look adorable in the end. It took three layers of paint on each side to get the best look. I cheated and used my handy dandy heat gun to quicken the drying time in between each coat. Repeat the process on the back.
Step 3: Add the name and/ or cute saying to your tag ( we put the address and phone number on the back). We used our Cricut Explore Air 2 machine but you could use stickers from your local craft store, paint it on or even use markers. It’s whatever you think is going to work for your project!

Step 4: Make sure when using resin you are in a well-ventilated area. Use the little silicone cup that comes with your resin and add your mix in’s. In this case we mixed glitter in with the resin to add a little sparkle. You could also just use the resin and place into it directly on the tag. Now you pour your resin onto the tag making sure it reaches to all the edges. The resin usually comes with little tools to help you move the resin around. You have a little time to get it how you want it because it won’t cure until you put it under the UV light.
Step 5: Follow the directions on your UV resin and carefully place your tag under the UV light. Ours takes three rounds at 60 seconds to cure but if it’s still a little tacky leave it under an extra 60 seconds. Repeat on the back. If you can feel any texture from your mix in’s add another thin layer of resin and recur. Make sure you if you do a second coat of resin you do the entire surface and not just spot treat or it will be uneven. The more layers you add the thicker your tag will be.
Step 6: Add your jump ring and it’s ready to be used!
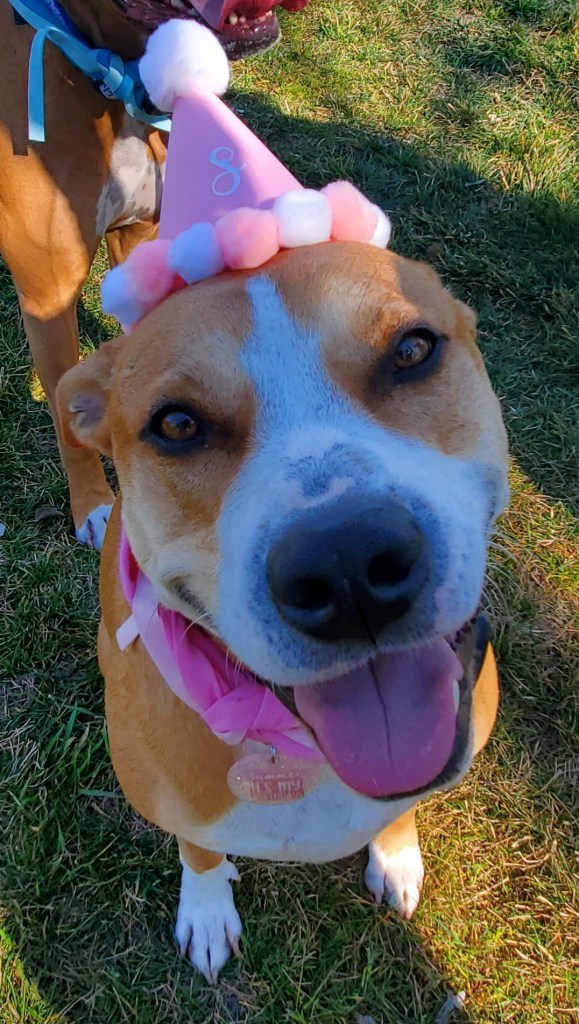
Ok you caught us; this isn’t the best picture of the tag but look how happy she is about it!
Tips and Tricks:
*If there are any bubbles in your resin you can use a lighter and carefully pop the bubbles by hovering the flame just above the tag. Do this before you cure the resin.
*It’s best to do this project on something you can toss afterwords or don’t care about ( we usually use an old plastic bag) They sell mats specifically for this on amazon or at your local craft store.
*It’s best to add a little resin at a time to avoid spills.
*You can put your silicone cup under the UV light and it will harden any leftover resin making it easy to clean up before your next project.
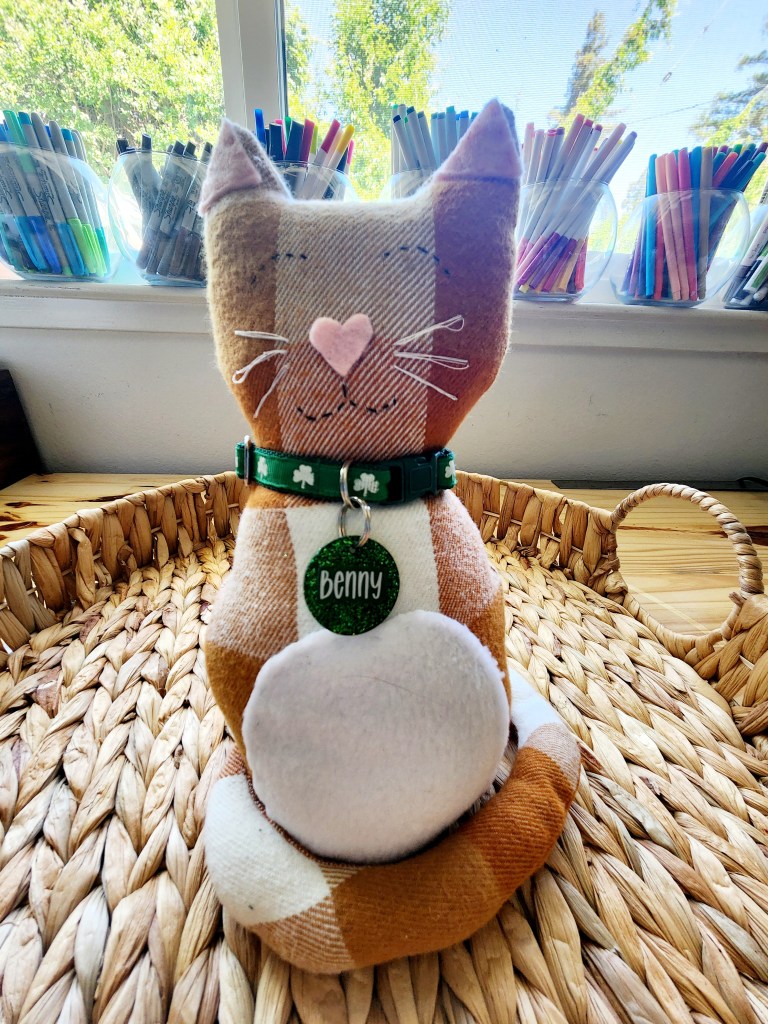
Don’t think we forgot the kitties on this one. Finding a live model willing to wear a tag was much more difficult than making the tags. Luckily, we have a stand in for such an occasion.
Let us know how your project went. Pictures of fur babies are greatly appreciated around here.


Leave a comment