
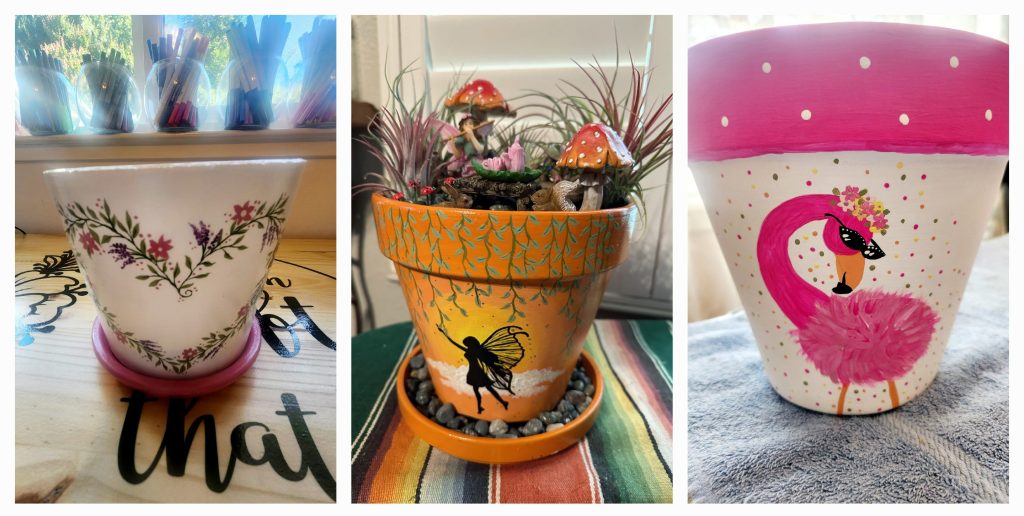
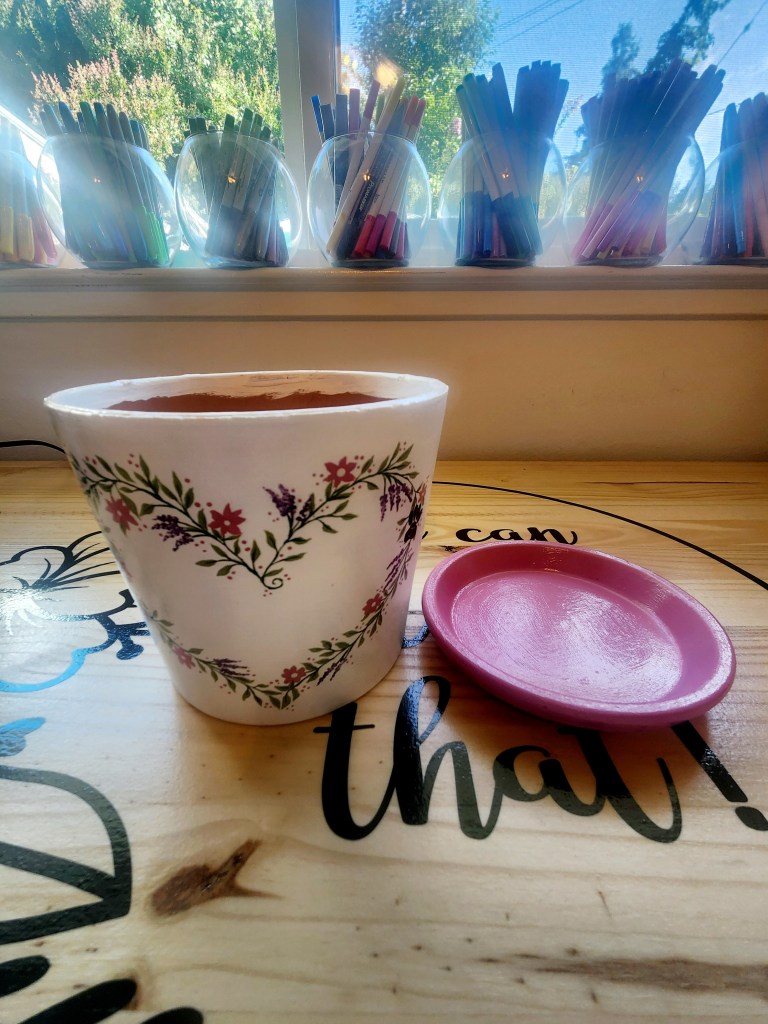
Hello fellow crafters! This painted clay pot was made for a birthday gift for a family member. She recently lost her beloved jack russel terrier named Jack. We wanted to do something sweet for her to remember him.
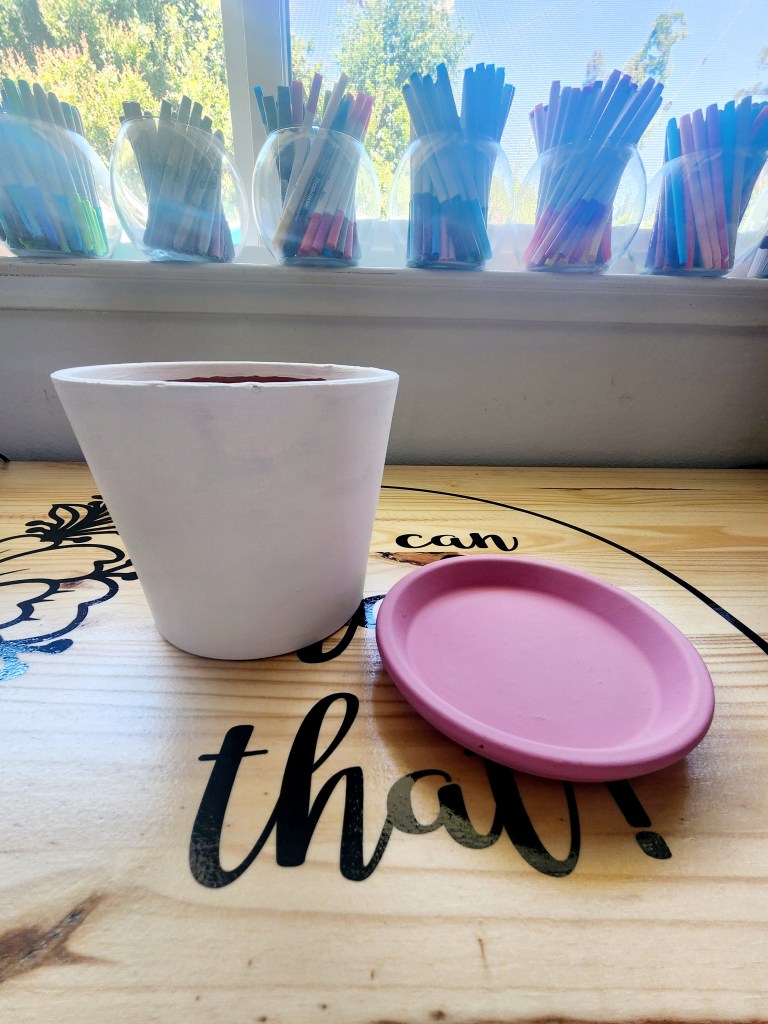
Step 1: Gather your supplies:
– Clay pot and matching clay saucer (we chose a 6.75” pot and a 6” saucer) any size will work for this.
– Acrylic paints and brushes
– Pencil
– Mod podge
Step 2: Once you’ve decided on your theme/ color scheme paint a base color on your clay pot and saucer. You could also leave the clay as your background color if that works for your style. It took us two coats of paint to get a solid color. The paint dries relatively fast on the clay but make sure it completely dries in between coats.
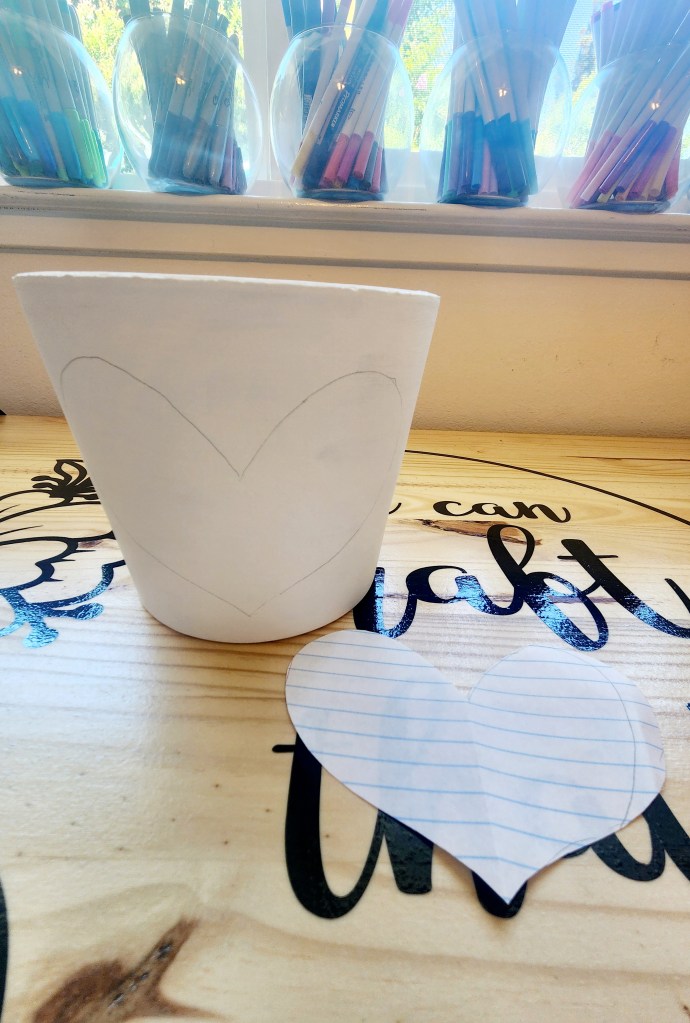
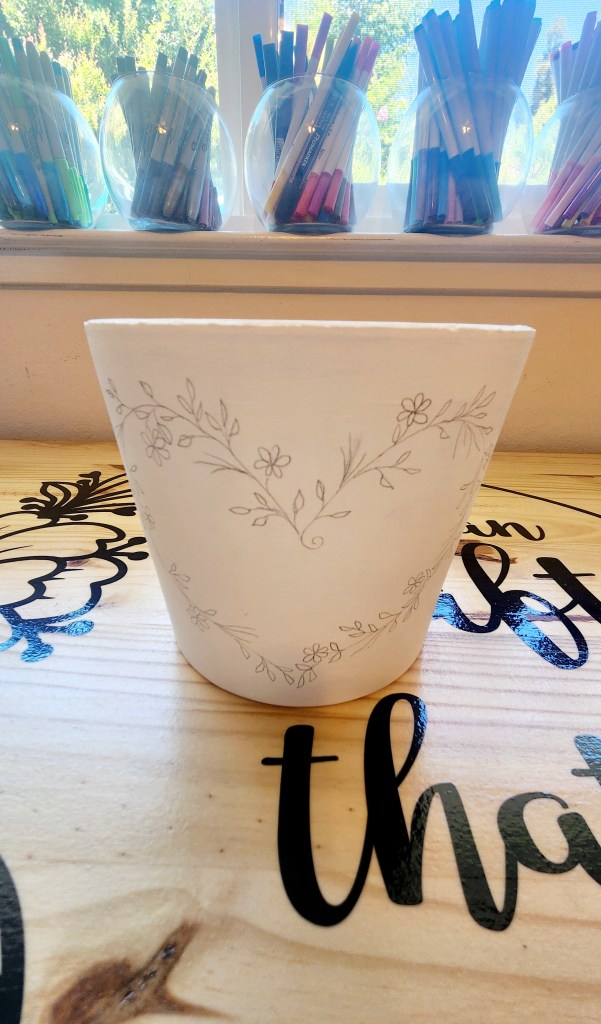
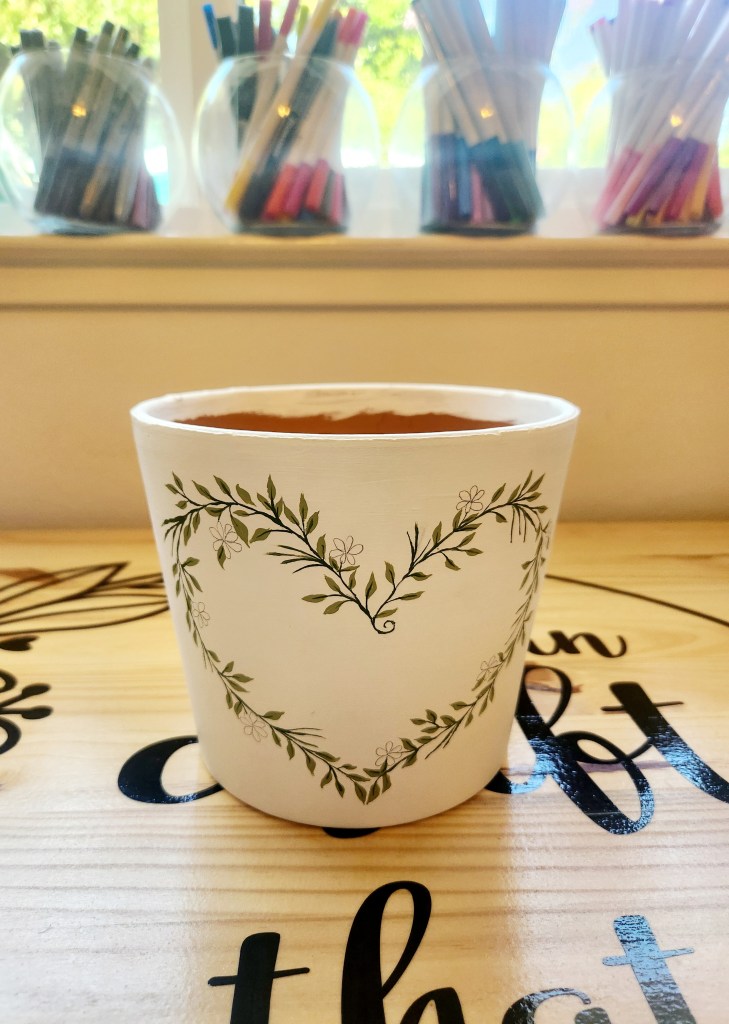
Step 3: Draw your design with a pencil. This makes it easier to paint, it gives you something to follow. We made a heart stencil first to trace for the general shape we wanted. Then we added the foliage and flowers. This is just a guideline.
Step 4: Now you are going to paint your design. This step is going to take a little time. We like to work in layers while painting. It’s easier to let things dry in between adding your detail so you don’t have to worry about where your hands go ( basically you won’t have to worry about smearing anything). We’ve learned this lesson the hard way more times than we’d like to admit. We started with all the leaves. We just went around the heart and filled in the leaves with a detail brush.
Step 5: Then we added the vine of the heart. We chose a slightly darker green than we did for the leaves for some contrast. We used the same brush we did for the leaves.
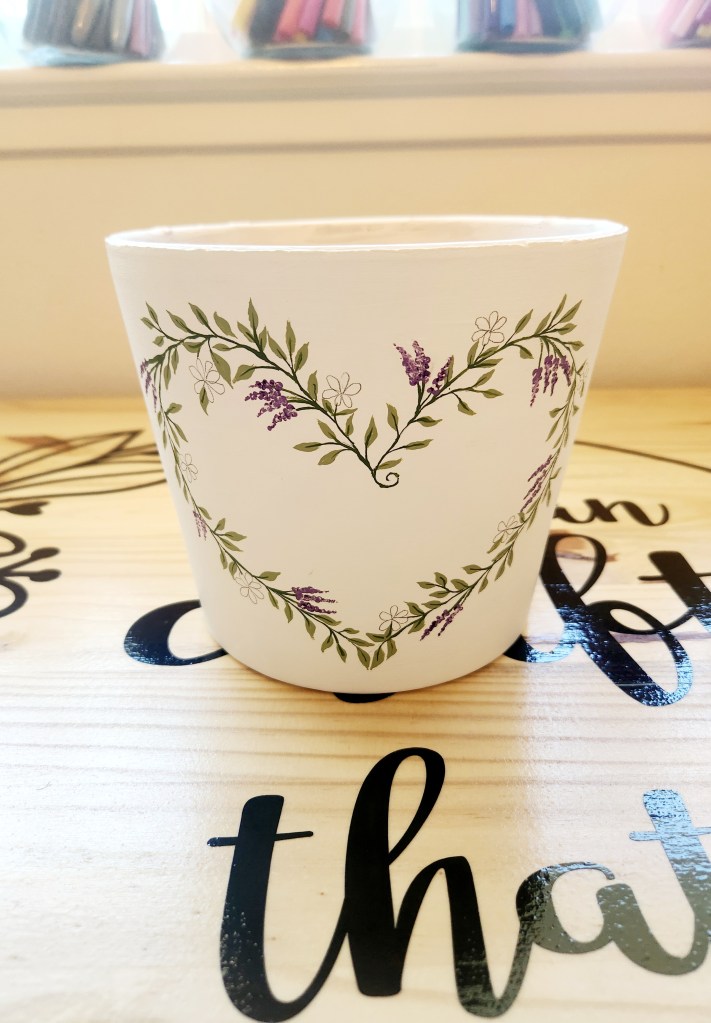
Step 6: Now we added the beautiful hanging purple blossoms. We based them off of a wisteria vine. These were made by using our dotting tool. We used two different tones of purple plus a little white and just added a bunch of small dots where we wanted them. This takes a little while, but it really pays off in the end!
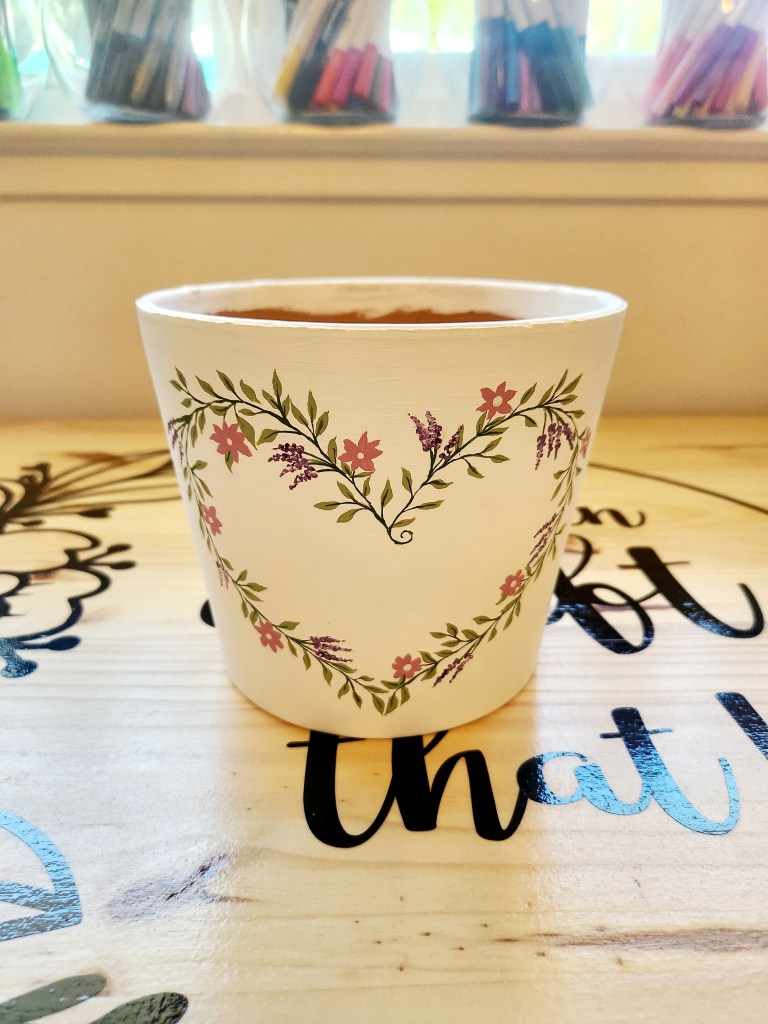
Step 7: Next up we added the pink flowers. We went around and added one petal at a time using the same detail brush.
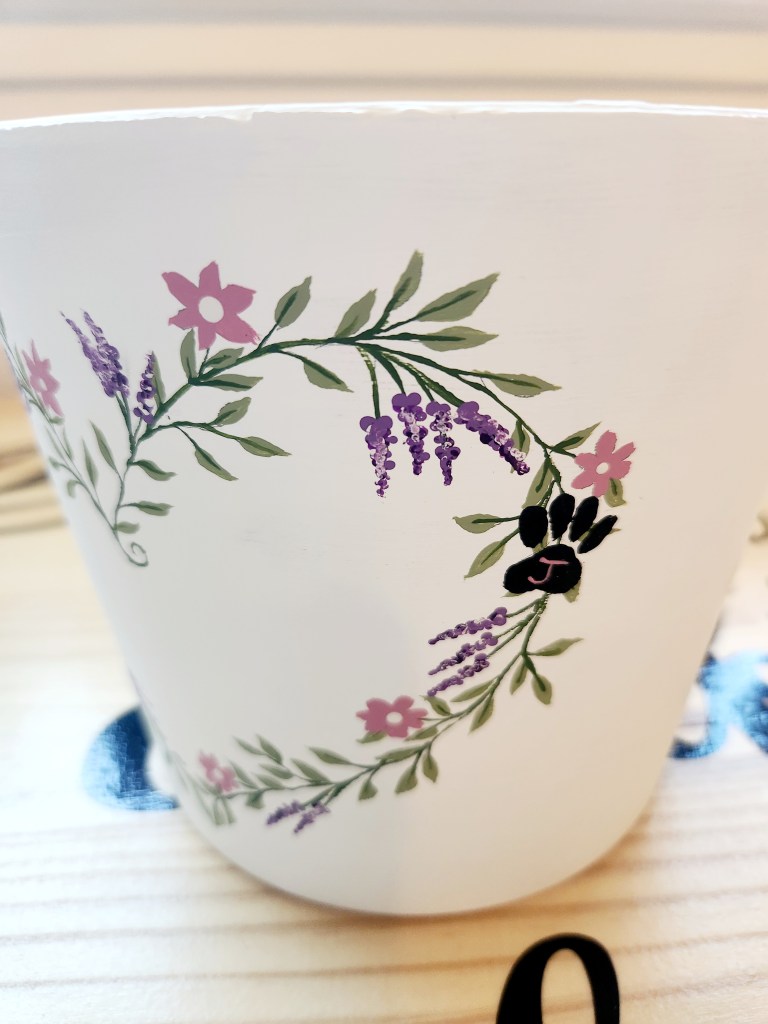
Step 8: This is possibly the most important detail because it’s where we add the memorial paw print to our pot. We drew the paw print on first with a pencil and then painted over the pencil with our detail brush. Once the paw print was dry, we added a little J for Jack in the center of the paw print. This is just a little sweet detail to personalize this pot for the recipient.
Step 9: Once your pot is painted to your liking all you have to do is seal your pot. We used a gloss mod podge to do this. We’ve tried using a spray clear coat but in our experience the mod podge works the best.
Now your pot is ready for a plant! We plan to purchase a 6” houseplant for this particular one for a bedroom but any plant that fits in your pot will work. Hey, you could even do an artificial plant (no judgment here!) There are so many different designs that you could do on these clay pots. They can really work for any home or garden style. We’ve done several of them over the years! Once you do one, you’ll want to do more. Trust us!
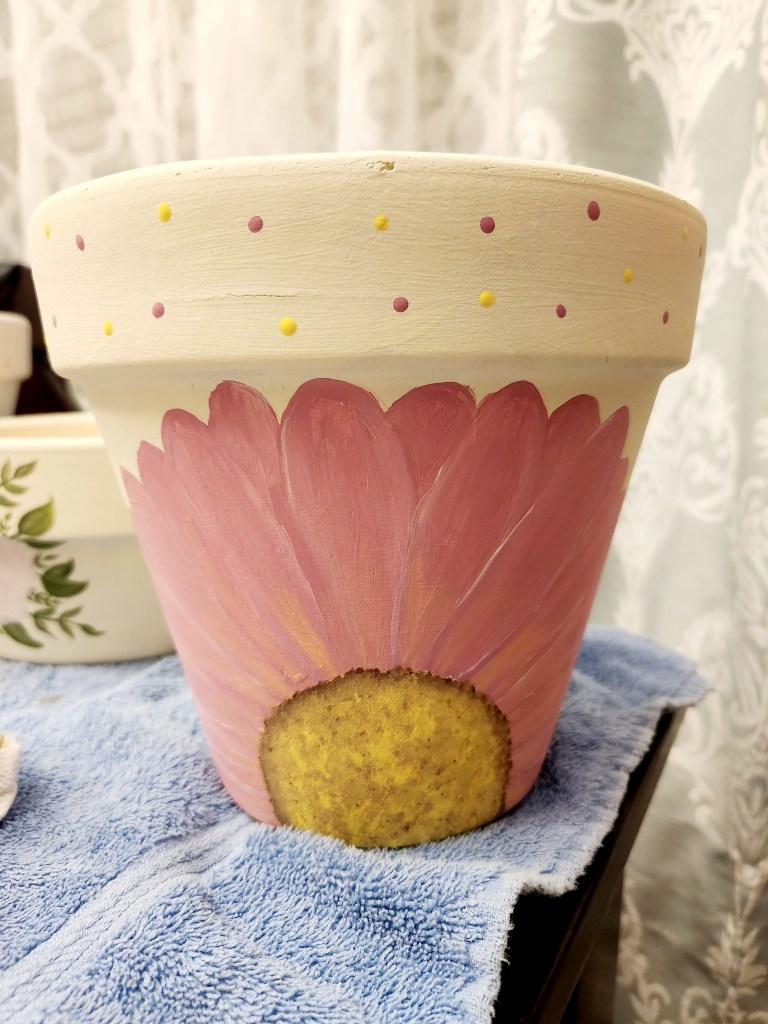
A sweet big daisy for mom.
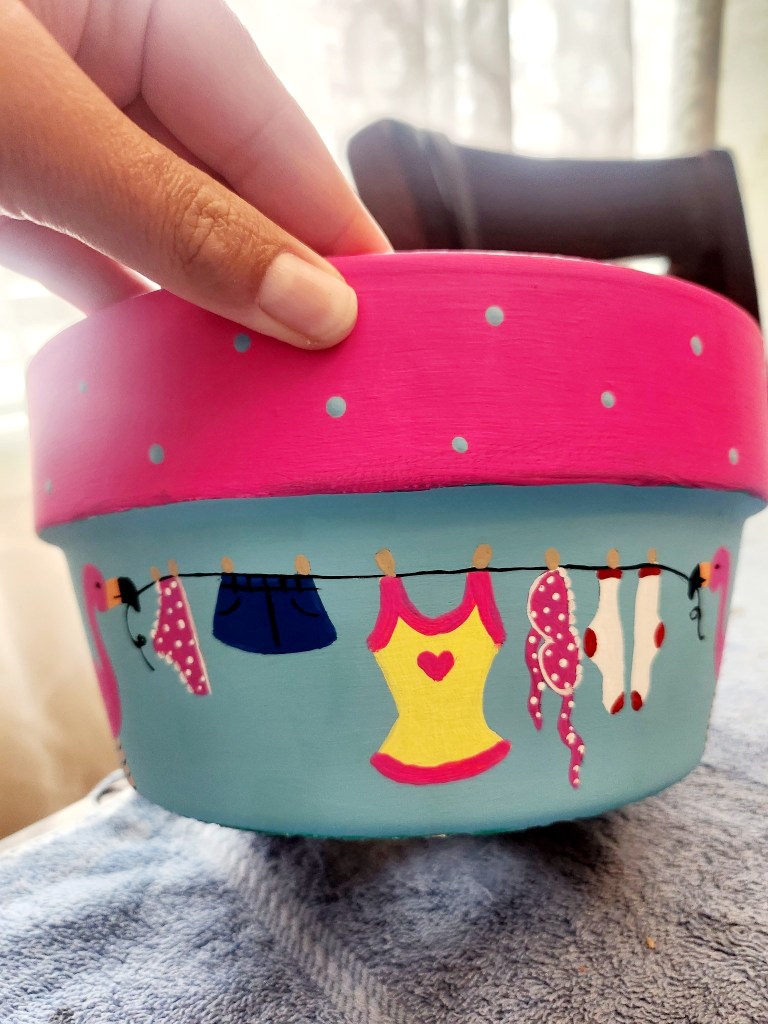
This funky clothes line pot was a huge hit.
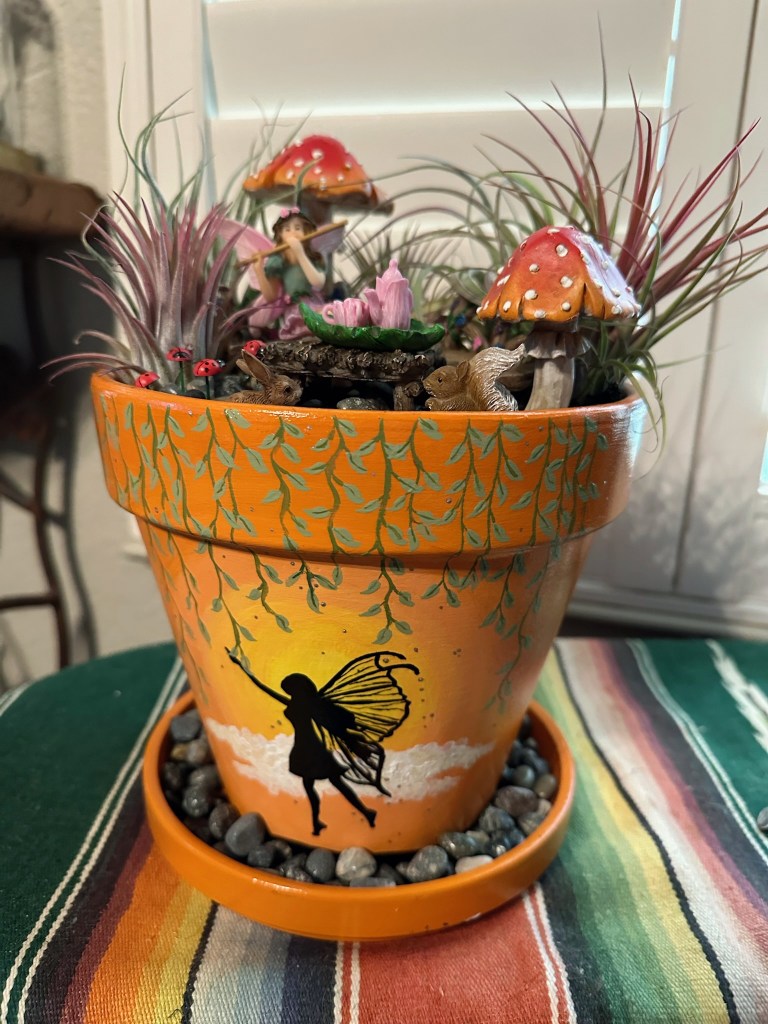
This fairy pot ended up being used as an adorable little fairy garden.
We of course can’t resist a calming ocean theme.


Leave a comment