

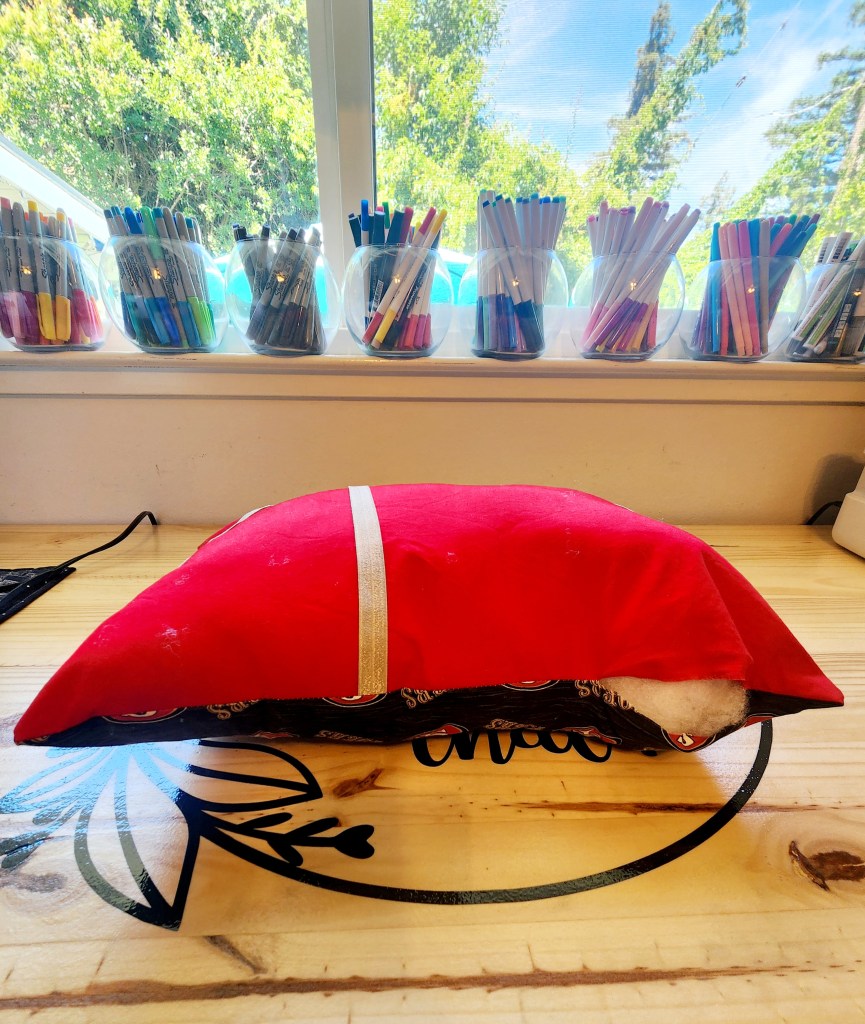
This project is for all the book lovers out there. This book pillow was made for a San Francisco 49er fan who also happens to be an avid reader… ( yes, sports fans read to). Once you gather all your materials and pick your theme this pillow comes together pretty quickly. It makes a wonderful gift for the lover of literature in your life!
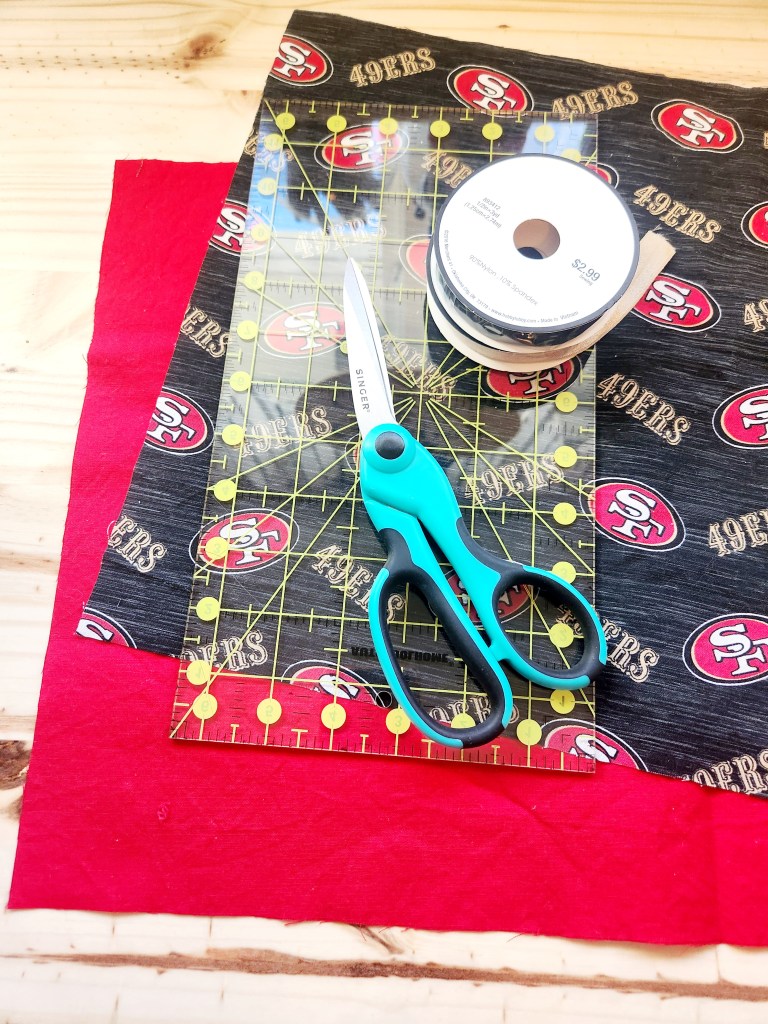
Step 1: Gather your supplies.
-Two types of fabric. One for the top and one for the bottom. ( We used two fat quarters).
-Fabric shears or scissors ( trust us fabric shears are worth it!)
-Sewing machine and pins
-Elastic ribbon
-Poly-fill stuffing
-Ruler
Step 2: Cut out your fabric pieces and your elastic to size.
-Front fabric: 19” by 13”
-Back fabric: 19” by 13”
-Elastic: 14”, 12”, 12” you will need three pieces of elastic
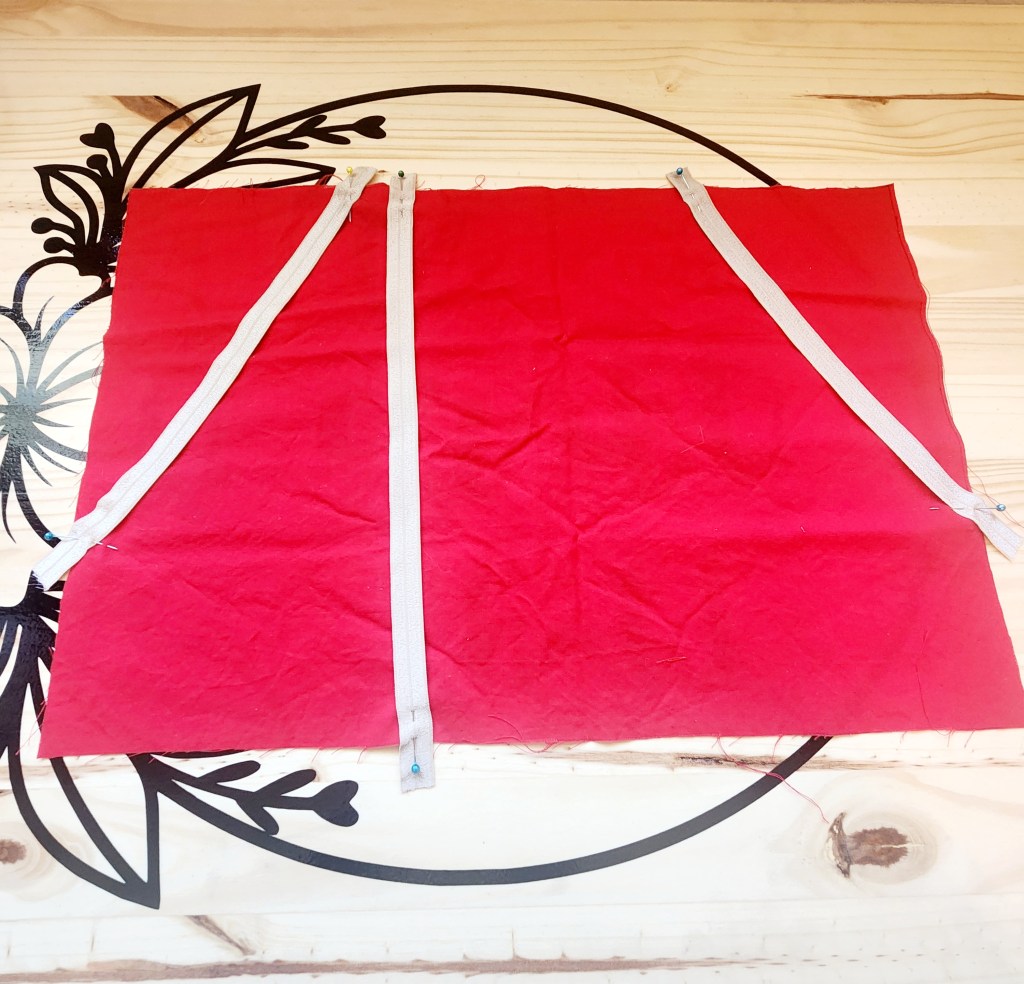
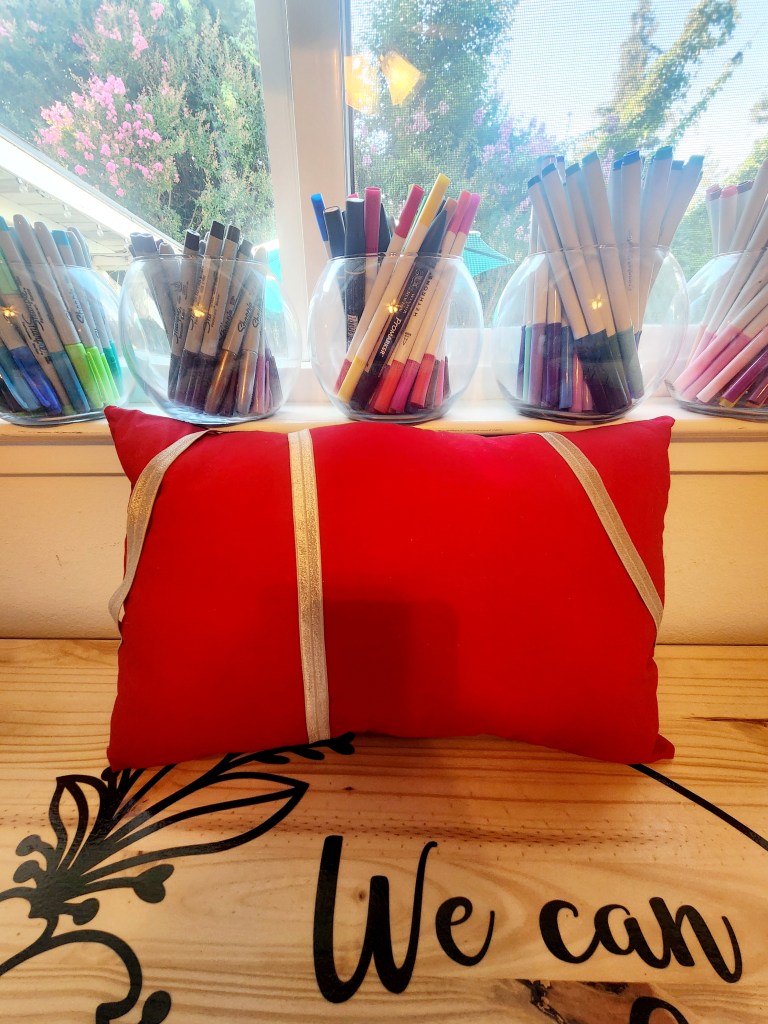
Step 3: Pin your pillow for sewing. You will be pinning the elastic to the right side of your top fabric. Make sure you pin your elastic at these measurements:
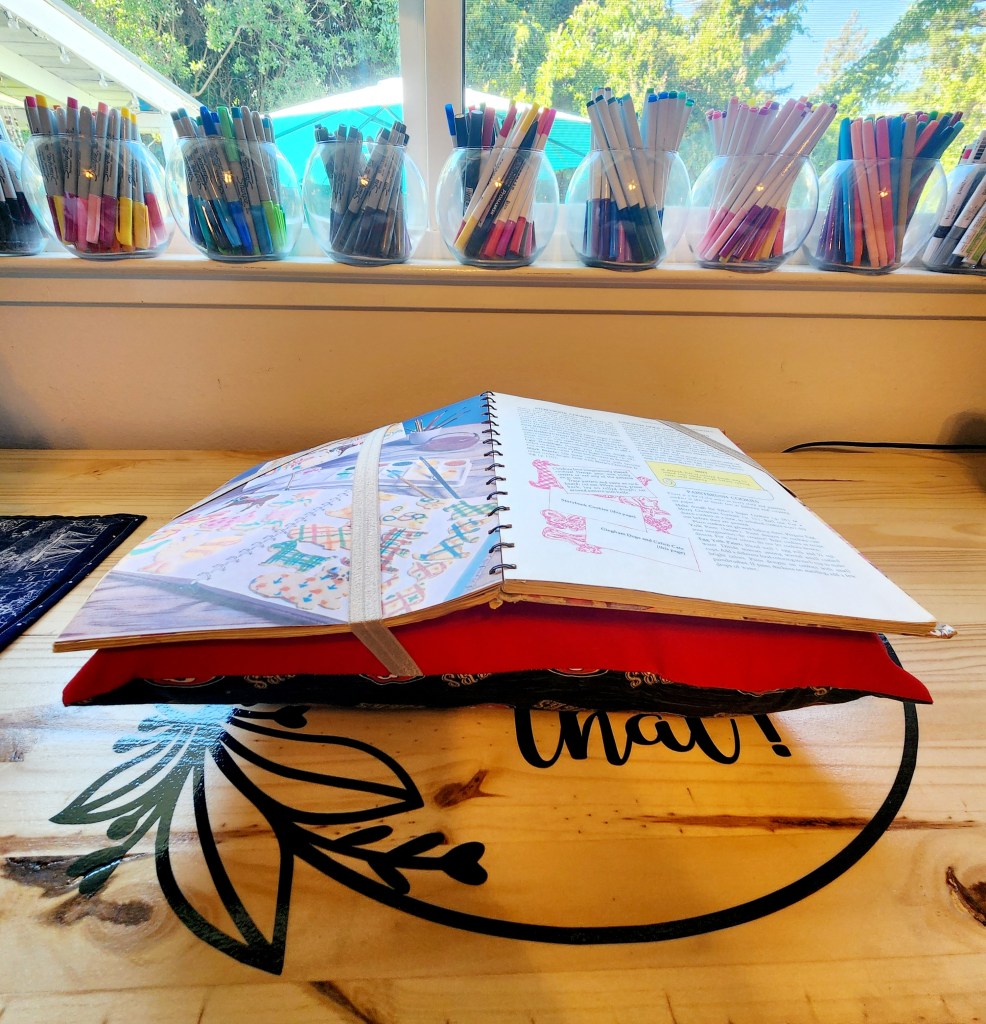
Using one of your 12” long elastic pieces place one end 5.5” from the top left of your pillow and the other end at 9” down the left side of your pillow. Now with the other 12” long elastic piece you need to do the same thing on the opposite side. Place one end at 5.5” from the top right of your pillow and the other end at 9” down the right side of your pillow. The third piece of elastic goes straight towards the center of your pillow at 7”. It should be a bit more to one side to allow for a book to slide in place. Keep in mind when pinning your elastic that depending on the size of the books you may want to move your elastic more in. Our measurements are better for hard cover books but may not work for paperbacks.
We know this is a bit confusing… that’s why there is a photo! See photo for help.
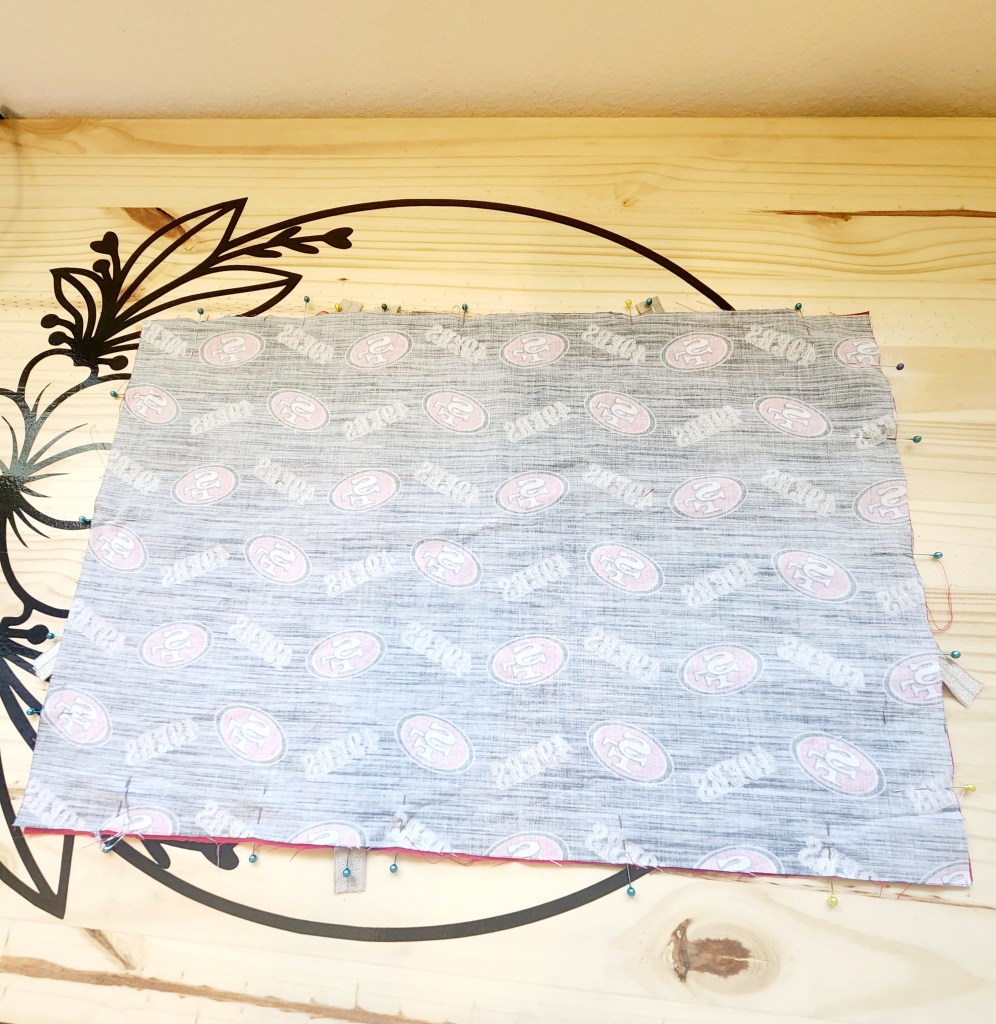
Step 4: Pin the bottom fabric to the top fabric right sides together.
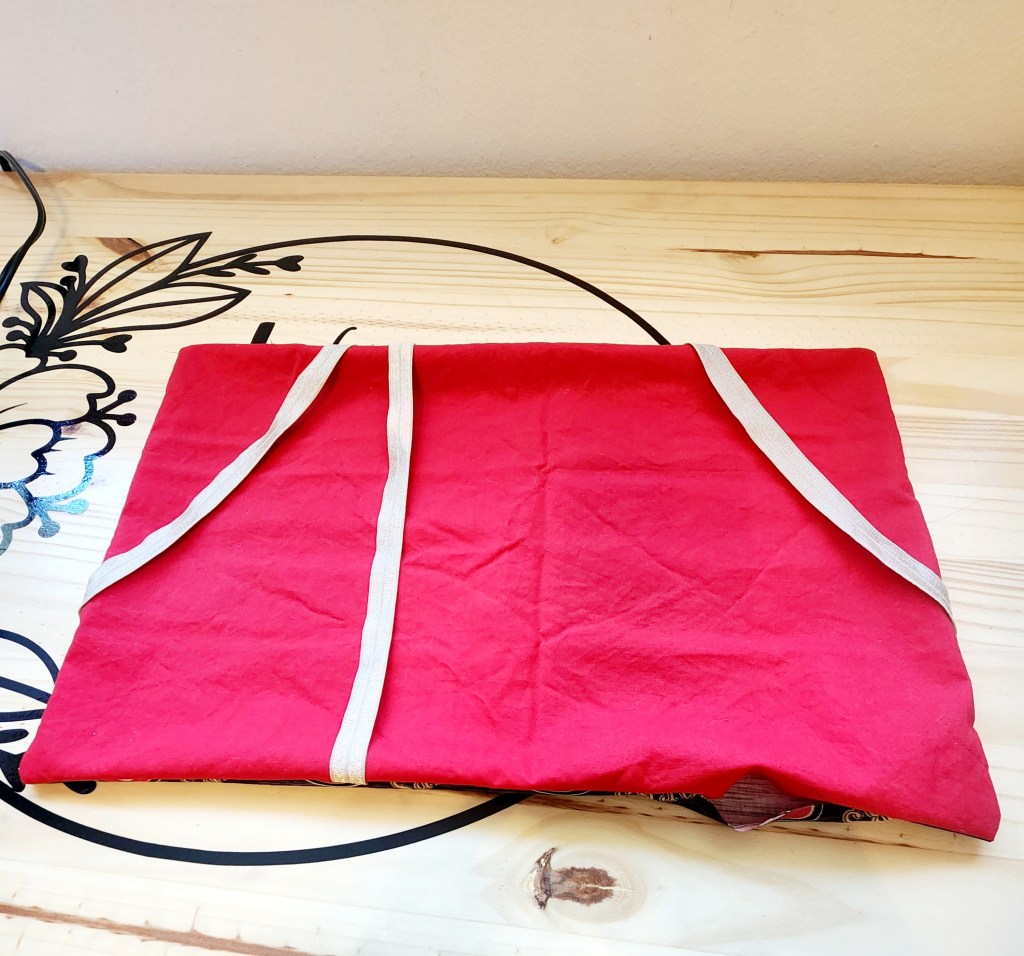
Step 5: Sew your pillow. Leave a large enough hole for yourself not sewn so you can turn your pillow right side out and insert the stuffing inside.
Step 6: Trim corners to ensure a good point on your finished pillow. You can also trim any elastic that is way too long. Try to leave about a quarter inch at least to allow for a little movement.
Step 7: Turn your pillow right side out. Trim off any stray strings that survived the sewing process. Feel free to iron your pillow to achieve crisper edges but we didn’t bother.
Step 8: Stuff your pillow. We used poly-fill fluff but any old pillow stuffing will work. Including that old pillow that’s been hanging around a little too long.
Step 9: Finish sewing your pillow by using a latter stitch with a needle and thread.
One of the best things about this pillow is if you chose a style that matches your house it can be turned around and used as a regular throw pillow. This pillow can be made in any shape or size and obviously any cool fabric you find. Happy reading!


Leave a comment