

Hello all you beach beauties out there! Whether you purchase your sea glass from your local craft store or your addicted to foraging for the free stuff like we are this is a creative way to use all those awesome finds you’ve been collecting.
Step 1: Gather your supplies:
- Sea glass and/ or anything else your planning on using
- E6000 adhesive
- Scrapbook paper
- Picture frame
- Drop cloth or old towel

Step 2: Decide on your design. There are so many ideas out there to be found! Pinterest is a fabulous resource for inspiration!
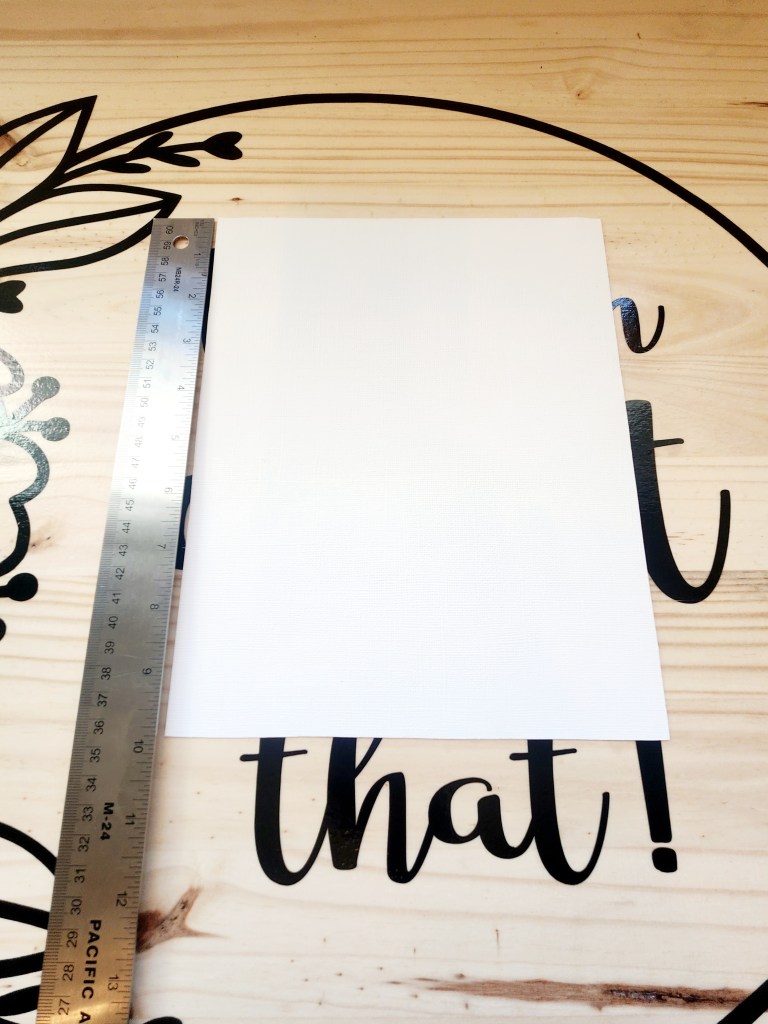
Step 3: Cut your scrapbook paper to size. You will want it to be the size that will fit in your frame. Ours is an 8” x 10”. You don’t have to use a frame of course, we just thought it finished this particular art piece off perfectly. Your welcome to paint the scrapbook paper a color to make the background of your piece stand out more. Perhaps an ocean scene? The possibilities are endless!
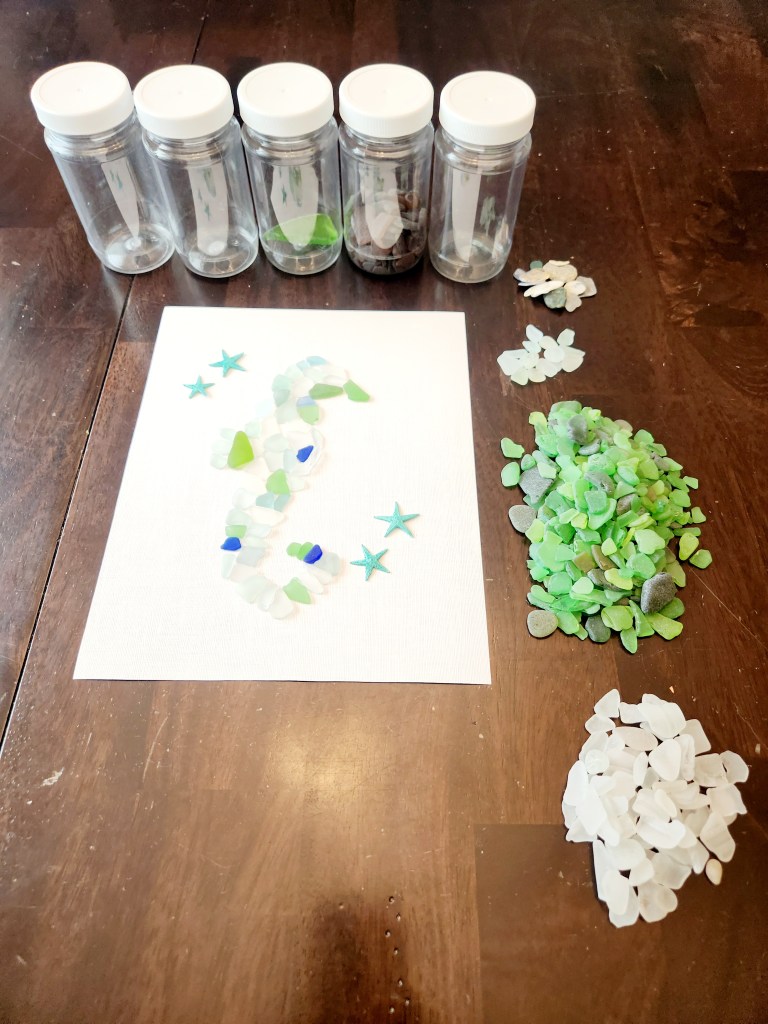
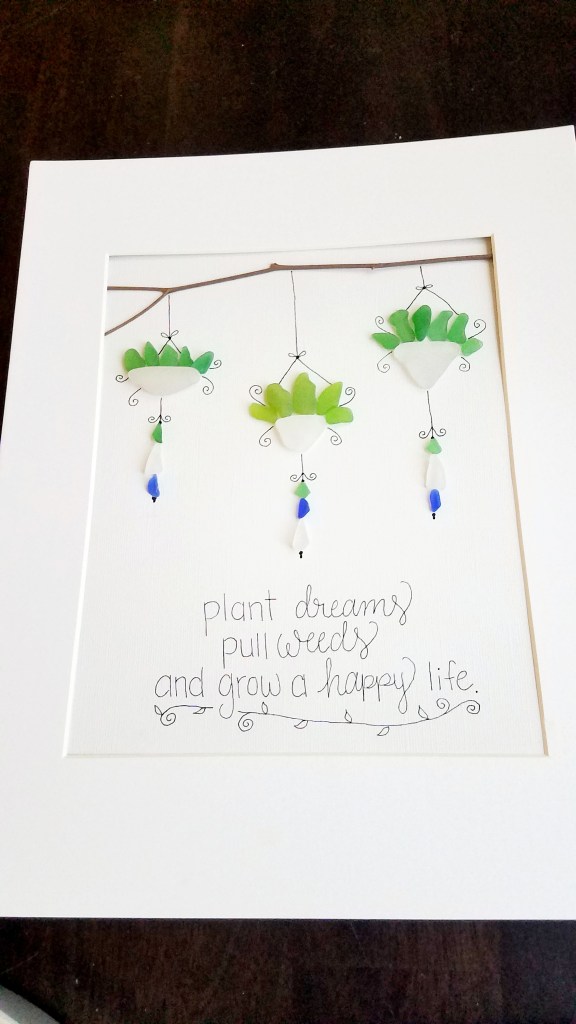
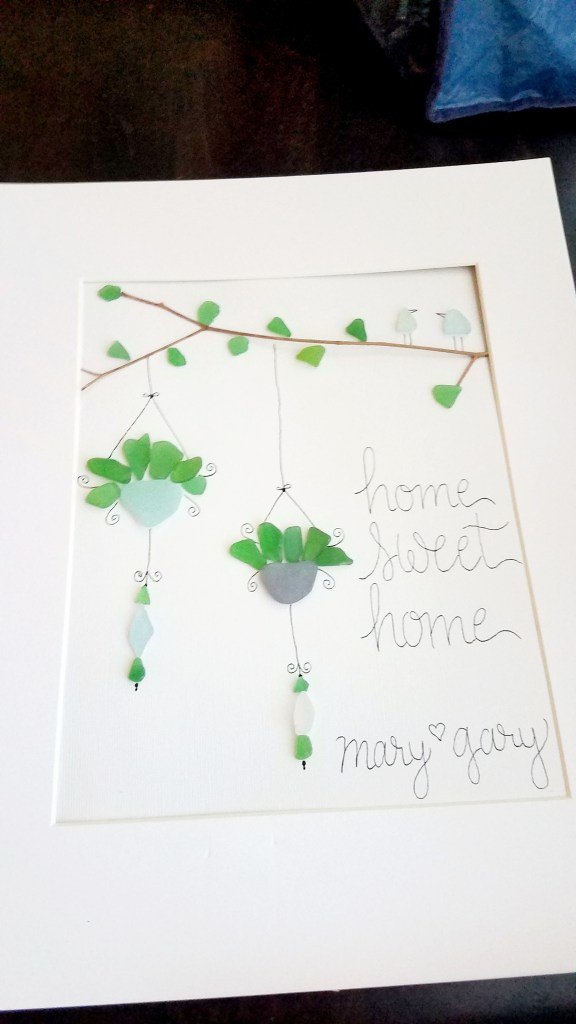
Step 4: Lay out your sea glass. There is no wrong way to do this. Use as many colors and shapes that feel right to you.
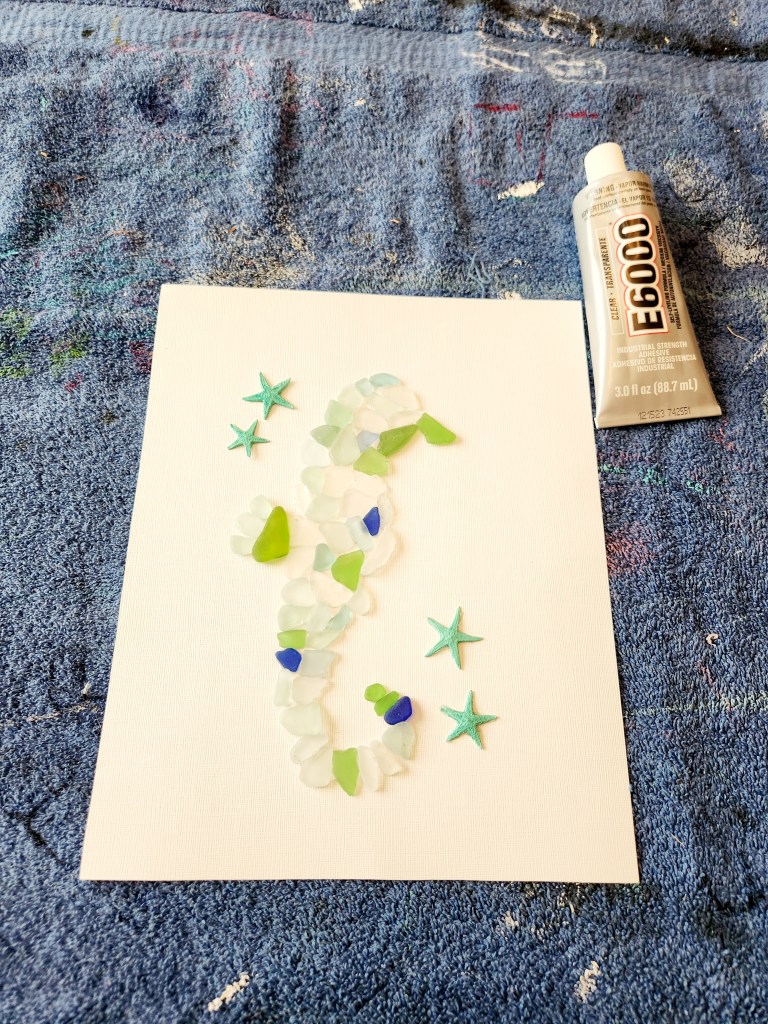
Step 5: Glue your sea glass to your scrapbook paper. We like to put a towel or drop cloth down for this step ( we have quite the collection of “craft towels”). You will need to pick up each piece of glass one by one and glue it down. The E6000 adhesive is a little tricky to work with. It’s not so much the glue itself that’s difficult, in our experience it’s more poor packaging. It kind of oozes out while it’s open, so just be mindful of that. We like to use a toothpick to pick up a little bit of adhesive and spread it on the back of the glass. This helps you have more control over how much glue your using at a time. It takes a little while to dry so you’ll have a little bit of time to adjust any pieces that you need to.
Step 6: Allow for your adhesive to completely dry before you finish your piece and try to frame it. We usually allow it to air dry overnight just to be safe. We’ve made the mistake of rushing this more than once.
Step 7: Frame your piece. It depends on the thickness of your sea glass whether or not you can use the glass that comes with your frame. Ours was a bit too thick so we opted to ditch the glass and just use the frame.
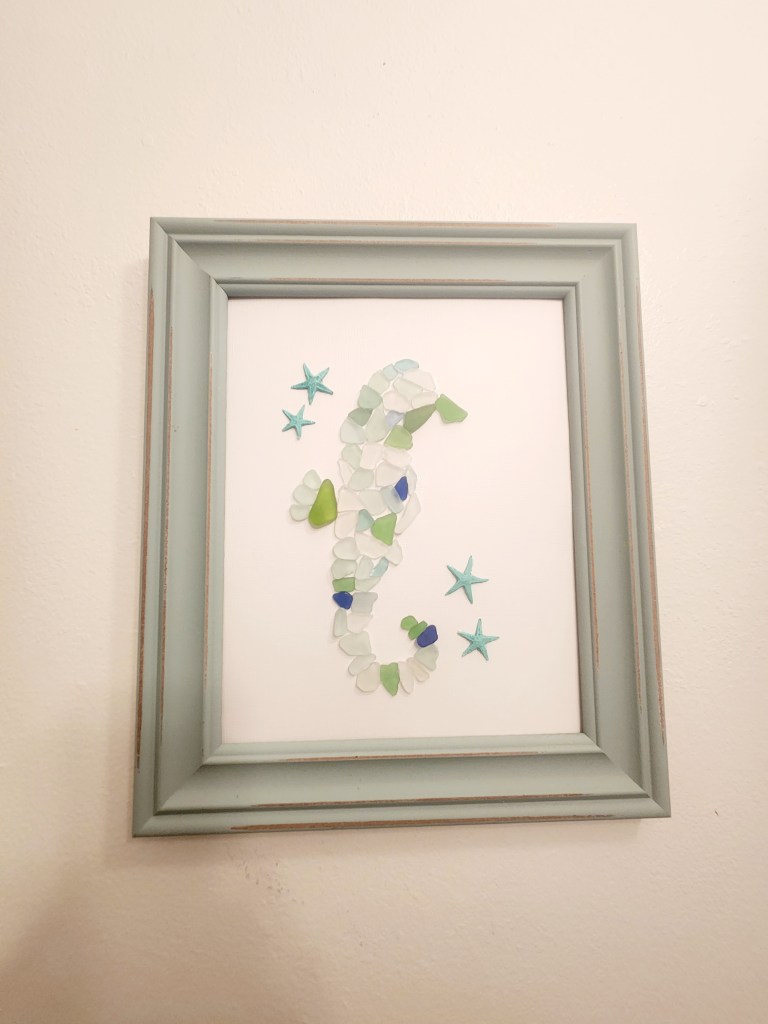
And just like that you have a new piece of wall decor! There are so many possible variations you could do with this. It doesn’t have to just be coastal themed. Get creative! You could even glue sea glass or seashells to the frame itself. You don’t have to stick to just sea glass either. You could use pretty rocks or even driftwood. This project is relatively quick and easy. So, next time you’re out somewhere and see something neat on the ground, pick it up! It might come in handy in a future craft project!
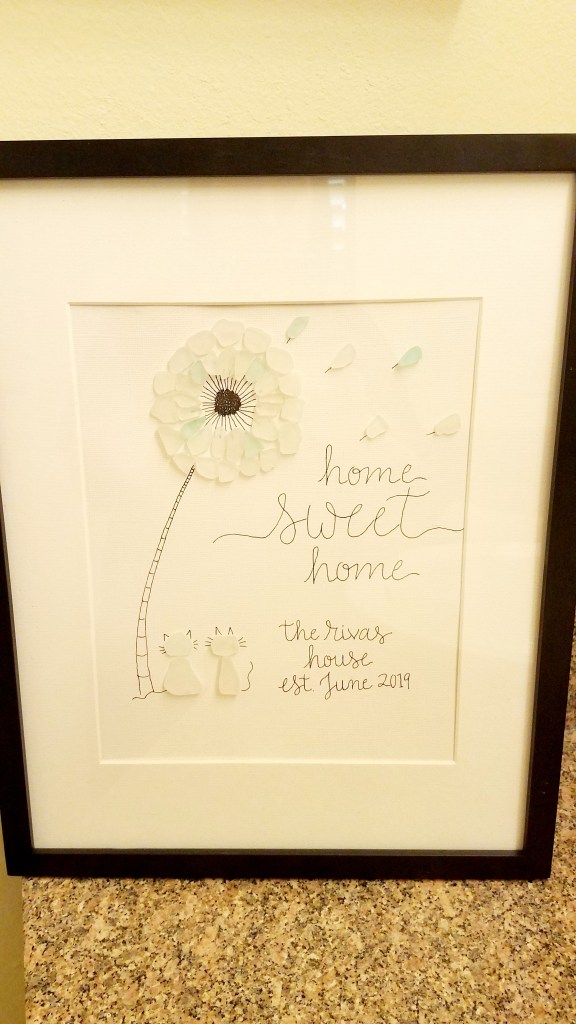
An adorable housewarming gift.
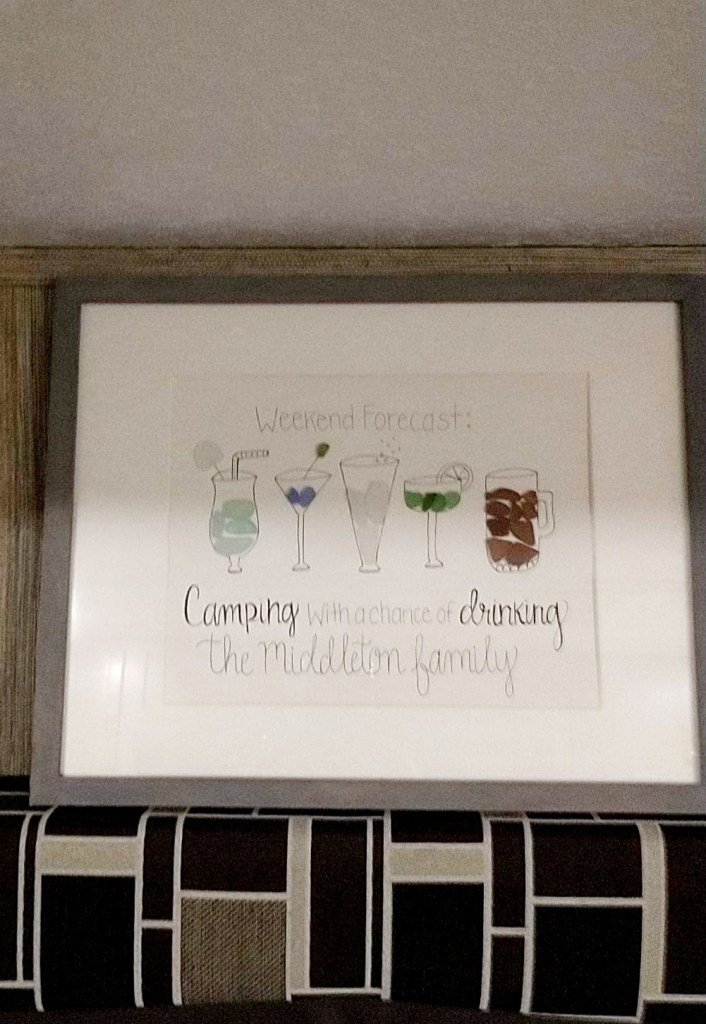
This one is in a camping trailer that is mostly used by the beach.
Let us know what you came up with!!!


Leave a comment