

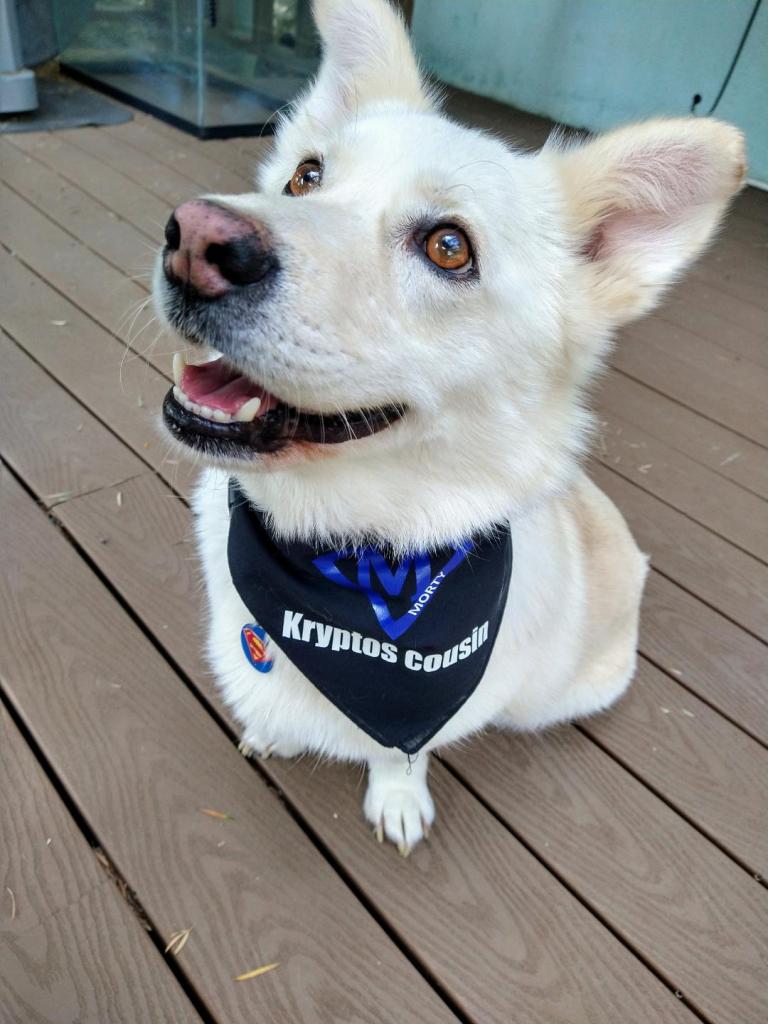
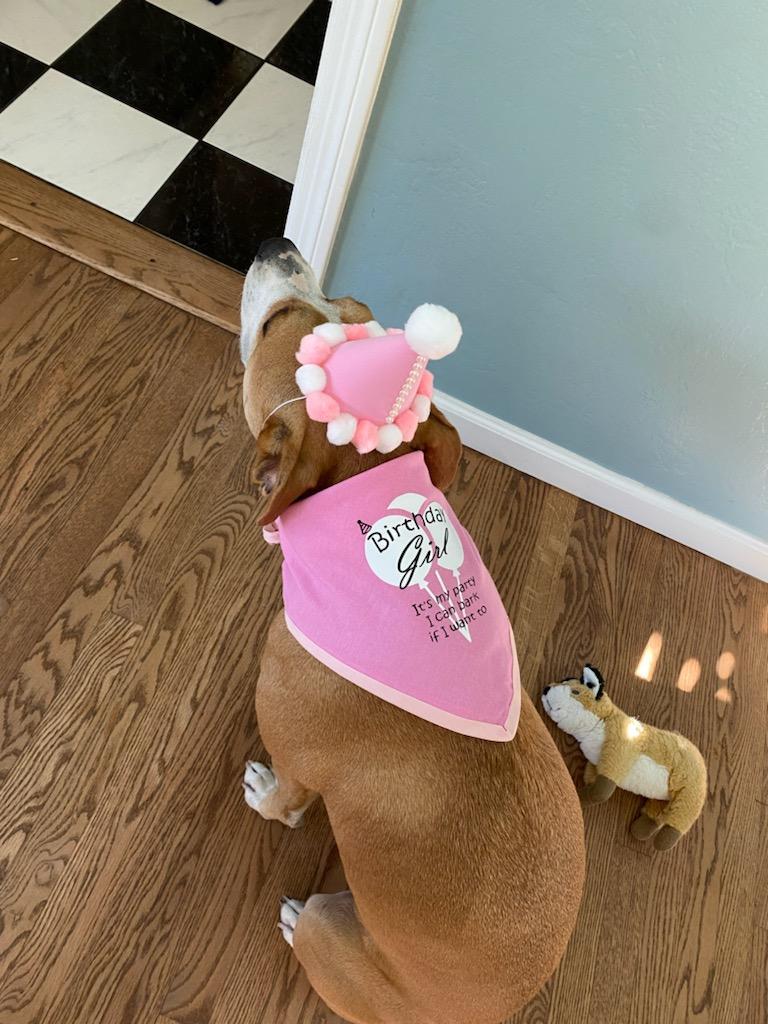
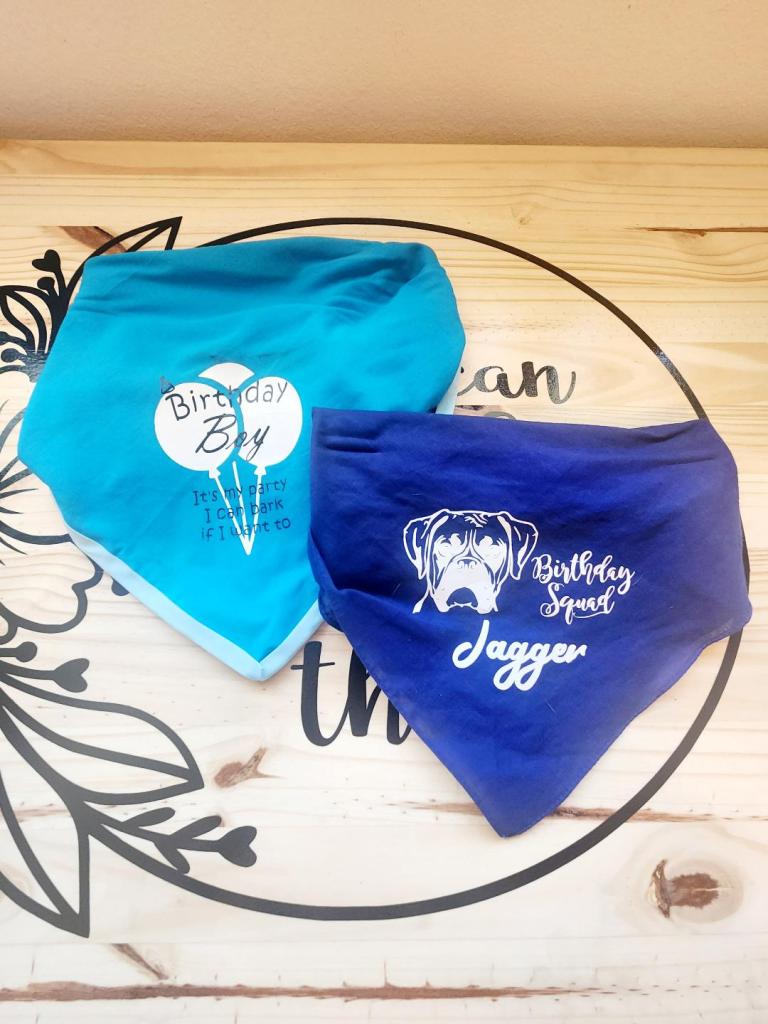
Every pup needs a few cute bandanas in their wardrobe for holidays and special occasion. Well in this case its because we thought the husbands and their friends would get a kick out of it. By making them double sided you use less bandanas and just as importantly have less to store. Since we made a cute one for hub we decided to make one with the name of local business we go to ( they LOVE dogs).
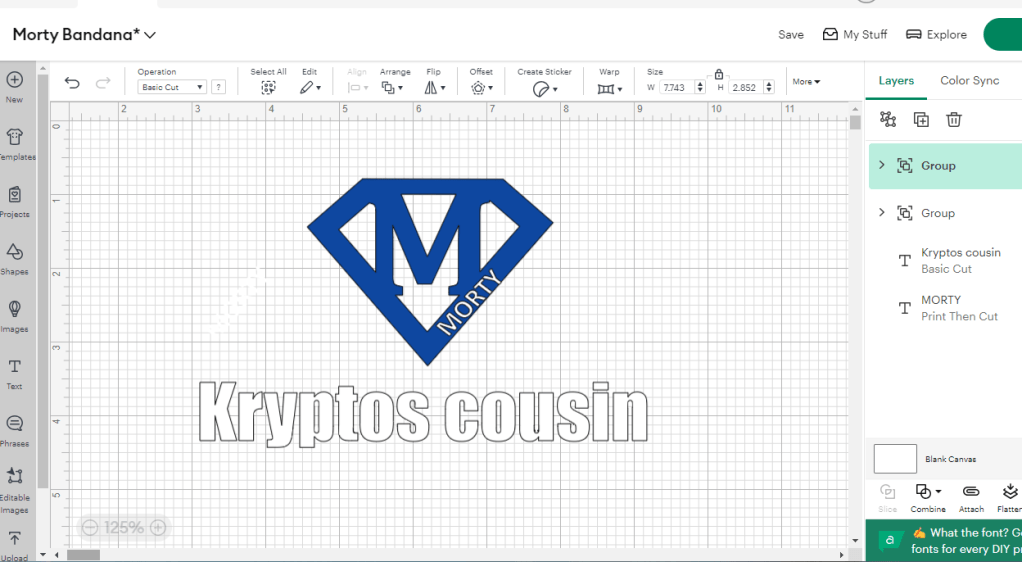
Step 1: Design
Usually, we have you gather things to begin but this one is ALL about design and there are a few options. When using HTV (heat transfer vinyl) you will most likely want to use a cutting machine like cricut or silhouette so use their software to make your design into an svg and cut it out.
If you don’t have access to one you can still use either iron on letters from the craft store. Printable transfer paper is another great option as you can print whatever design you create and just print it on. This is also a great time to mention Canva, which is a free design site that is absolutely perfect for this sort of thing. We aren’t sponsored we just use the heck out of their site.
Step 2 : Sizing
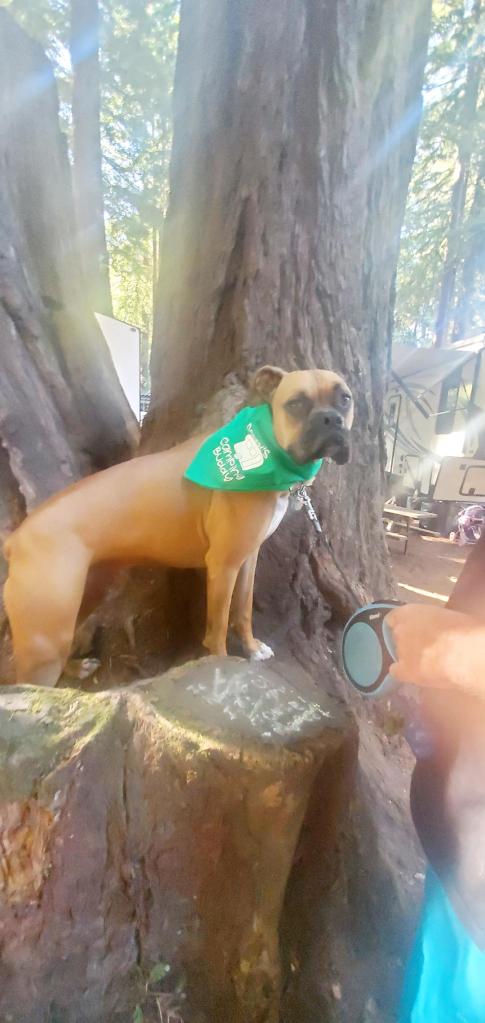
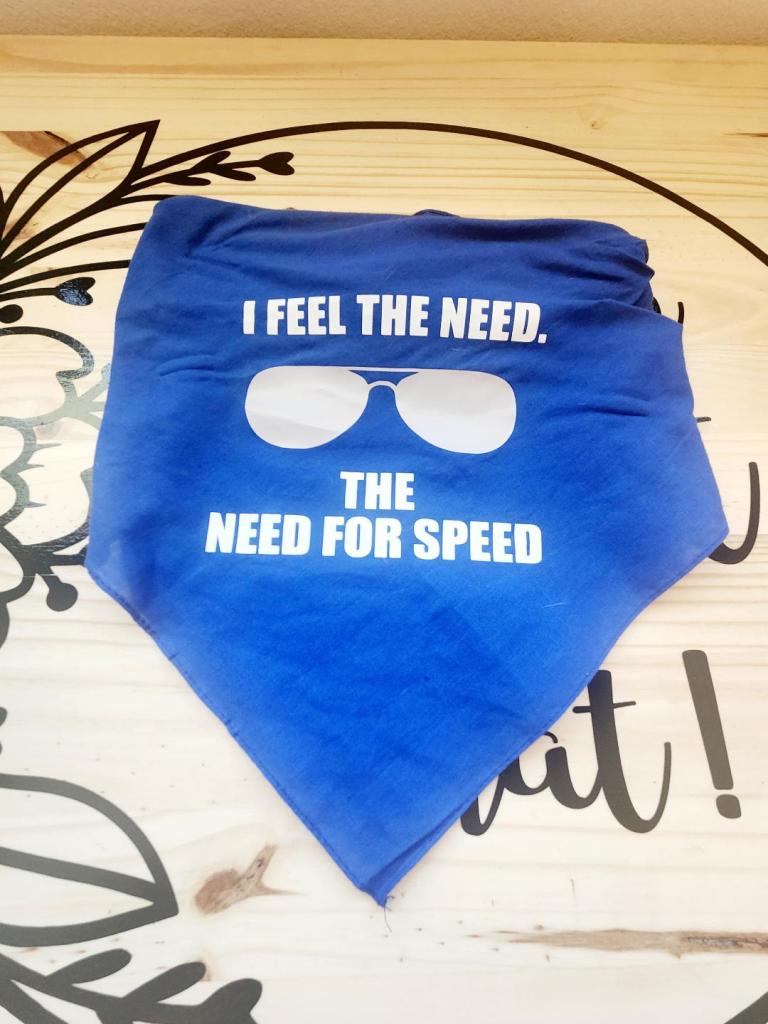
Make sure that you are creating a design that will work for the bandana but more importantly the size of dog you have. When making a design for the boxer we can use thinner fonts because the overall image can be larger. For the tiny chihuahua you need to use a bolder font and have a much smaller image. Try fitting the bandana to the dog first to get a good idea of what part with be visible when worn.
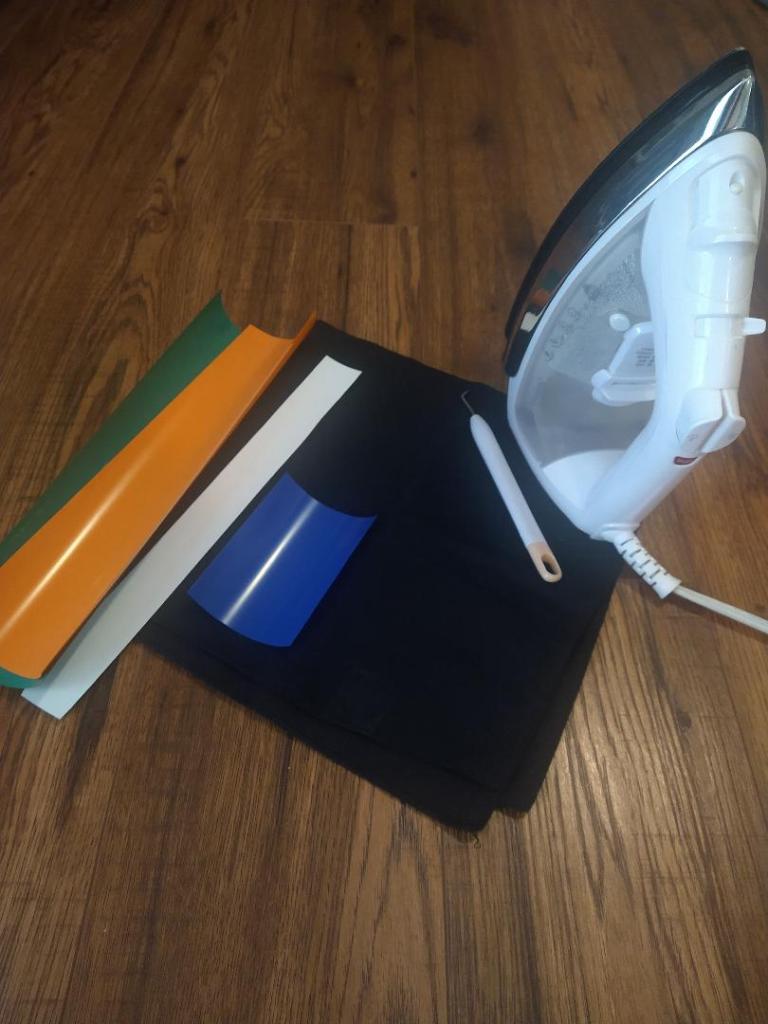
Step 3: Gather your supplies.
-Printed Designs
-Bandana
-Iron
-Parchment paper or cloth
Step 4:
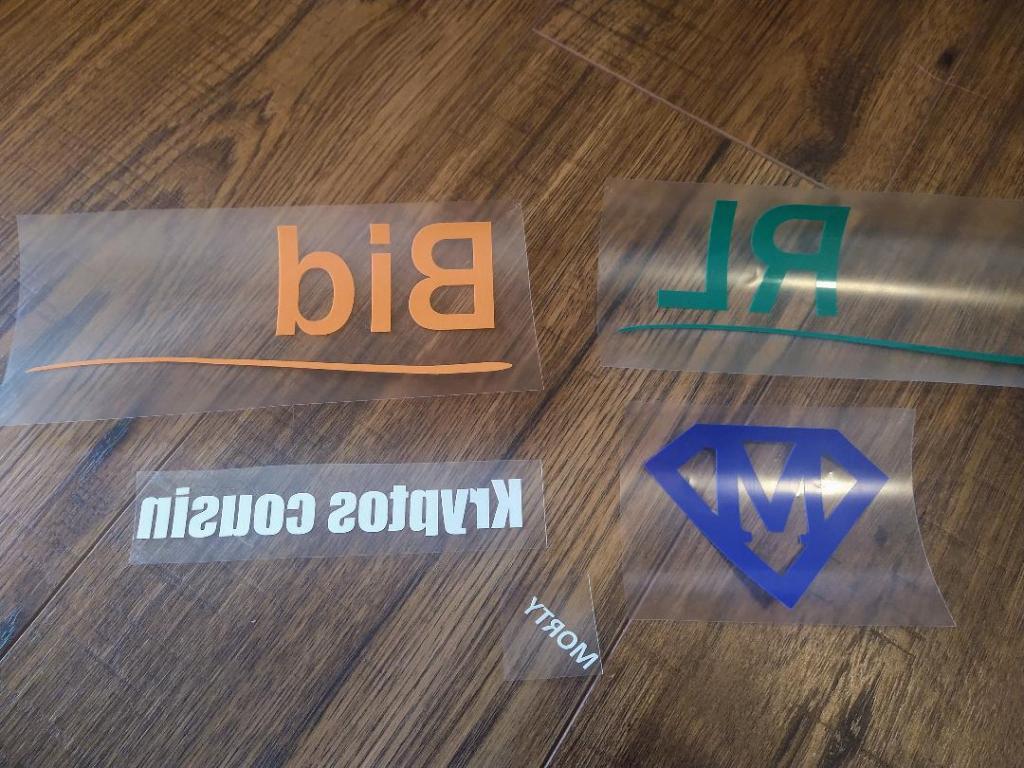
Once you have you design done and printed by whatever method you choose, here we used cricut and HTV, you need to make sure the transfer is prepared. So for HTV do the weeding and for printable transfers make sure to cut it down to exactly how you want the borders to look.
Step 5 :
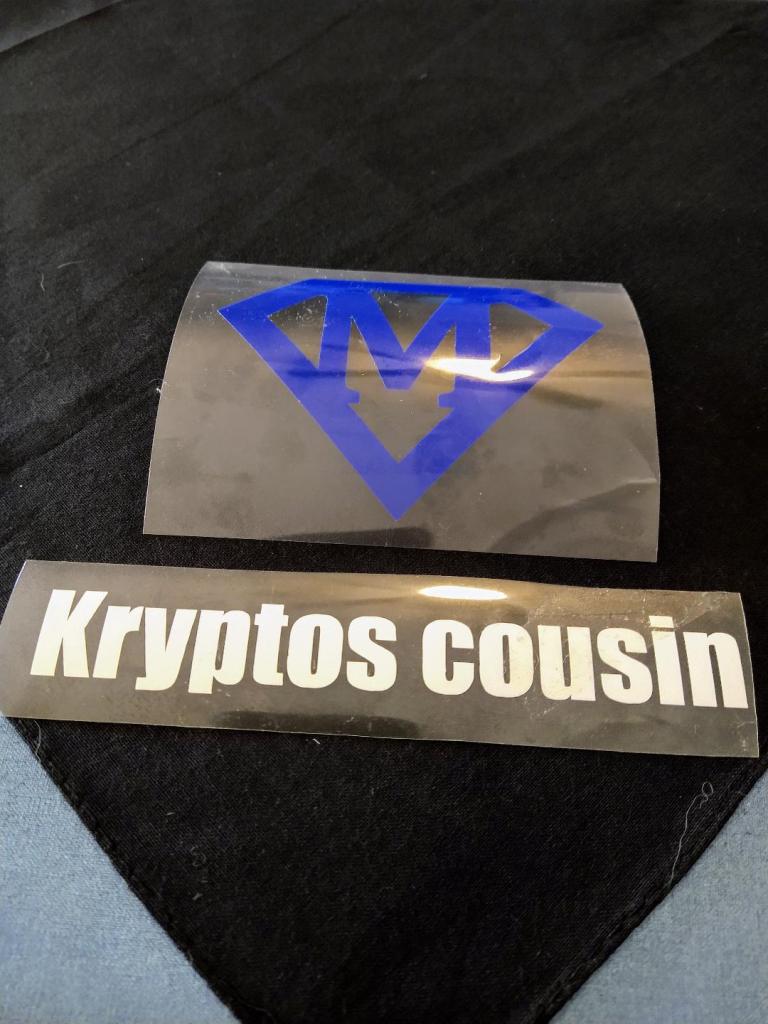
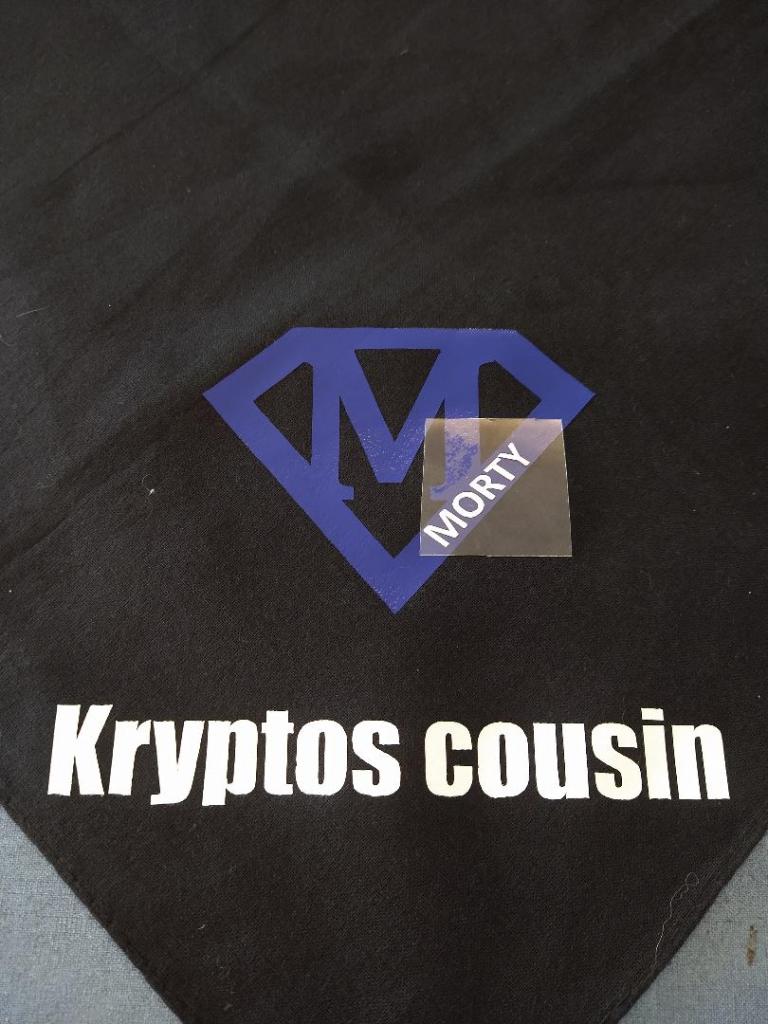
You can apply the first design to one corner of the bandana by following the directions on the product you are using. We do recommend putting something such as parchment or a cloth over the design to avoid any weird things getting stuck to the iron and spread. Ask us how we learned that one.
Step 6:
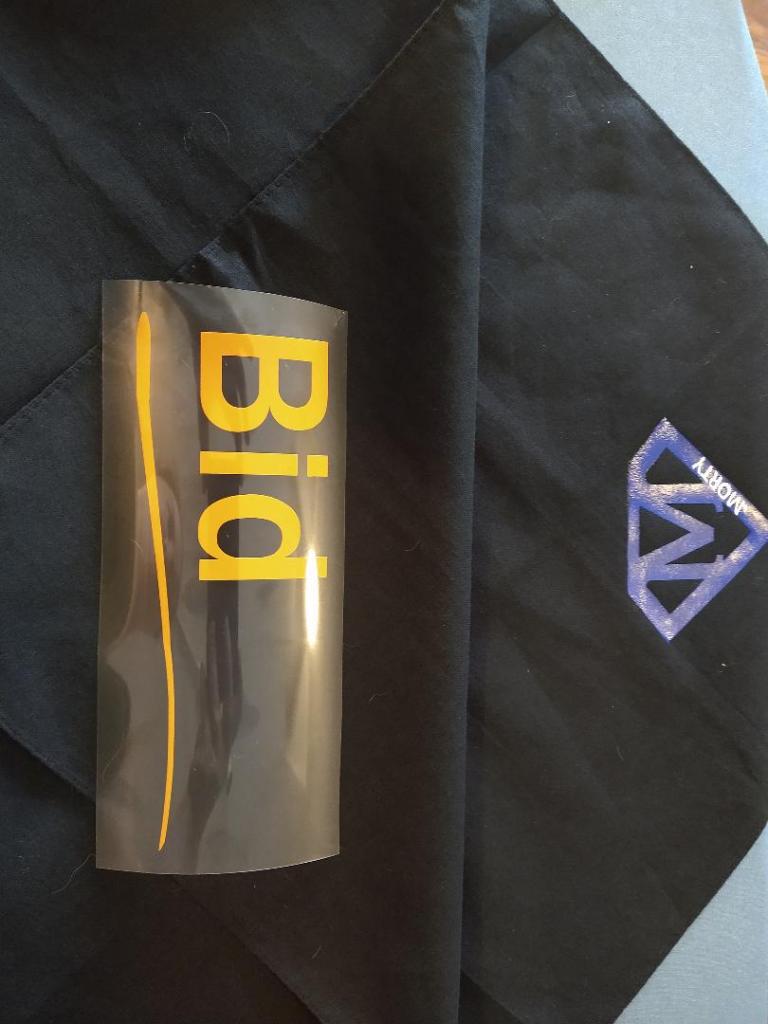
Now grab the opposite corner of the bandana and repeat the process with the other design. Both designs should be on the pretty side or right side of the bandana just on opposite corners.
Step 7:
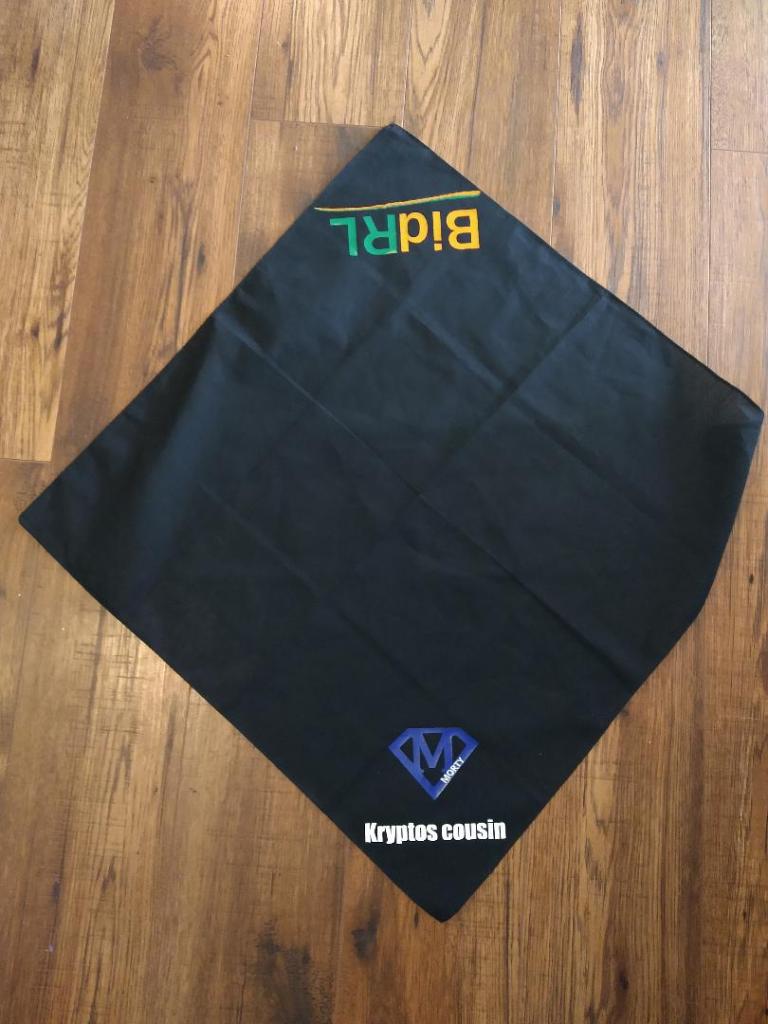
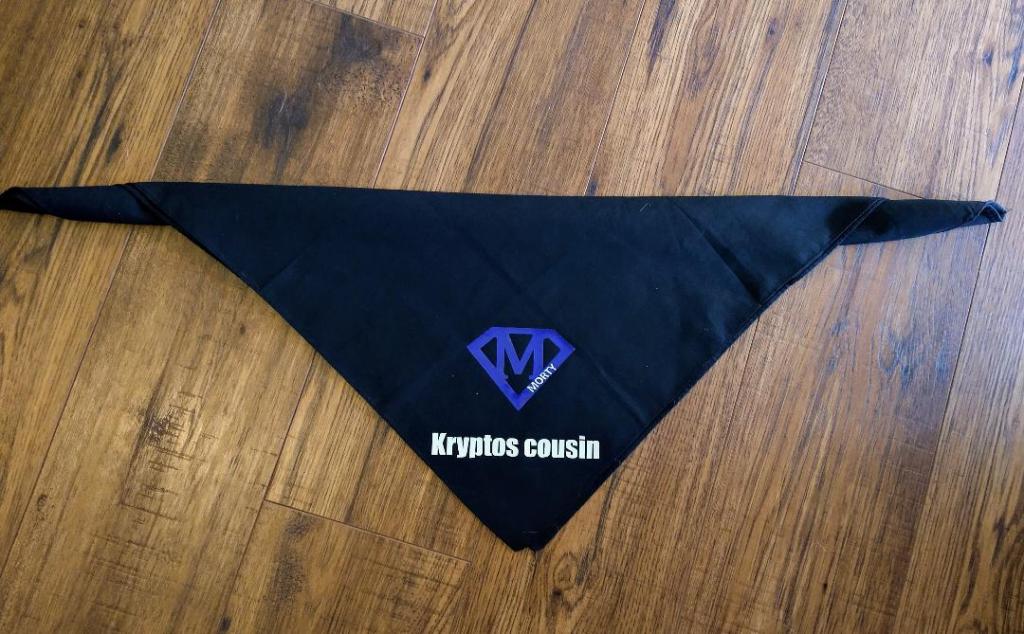
When all done and cooled, fold bandana in half so one of the image is showing properly and roll/ fold down the top make it a good size for you dog.
Step 8:
Find a willing participant and tie on the bandana. We usually bribe then with a cookie or two. When you want to use the other side just flip it over. You usually don’t even have to untie it if you can slip it off their heads.
Hope you all enjoy making so absolutely adorable bandanas for your fur babies. Don’t forget these make adorable gifts as well since they are so easy to customize.

Don’t forget to send us pics of your fur babies in their new stylish bandana.


Leave a comment