
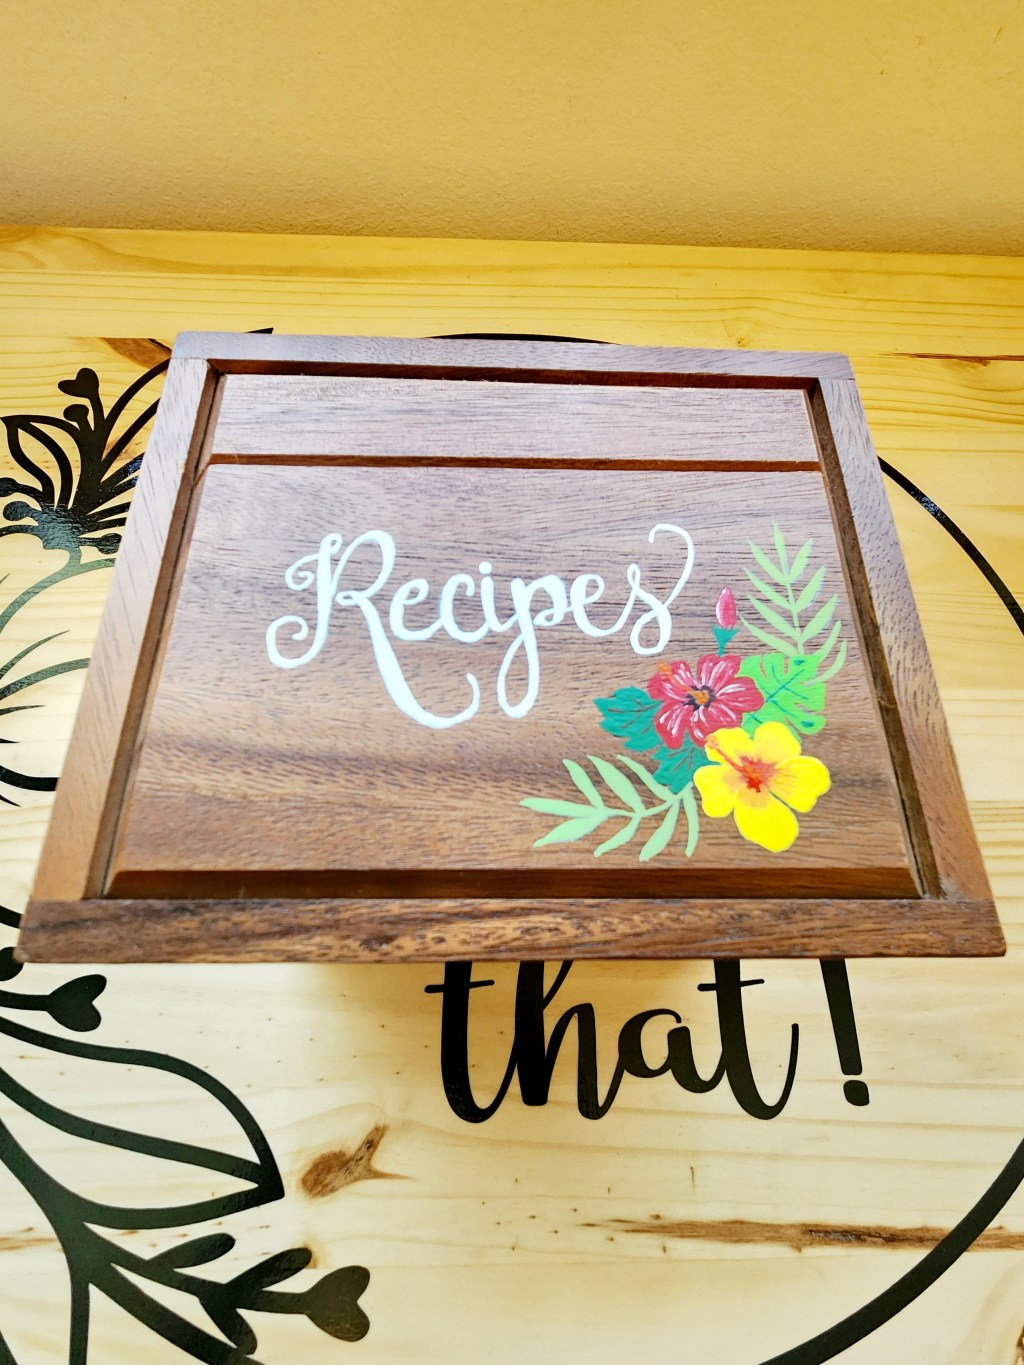
This is a customized recipe box designed for one of our family members. She loves Hawaii and tropical designs and colors so that’s the vibe we were going for. We plan on decorating the recipe cards and identifying tabs with markers and using acrylic paints to embellish the exterior of the box itself.
Step 1: Gather your supplies:
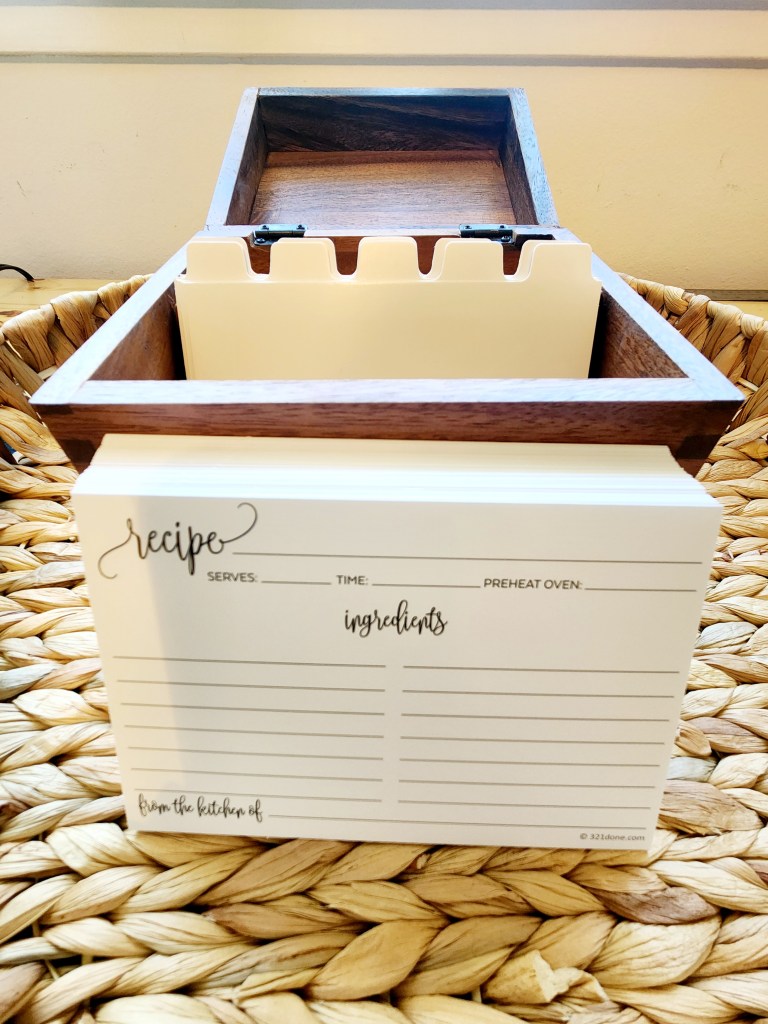
-Recipe box ( we purchased ours on amazon) the identifying tab cards were included
-The correct sized recipe cards to fit in your box. The box we purchased happens to work for 3X5 and 4X6 but we opted for the larger sized cards for more writing space.
( we don’t know about you but we liked to add little notations on our recipe cards from trial and error to avoid mistakes in the future)
-Whatever medium your using. We used markers and acrylic paints. You could also use watercolors or even stickers.
-Pencil and eraser
Step 2: Pick your design/ theme. We love our themes! It really helps us gather inspiration and have more fun within our projects. Pinterest is a wonderful resource for getting inspiration and getting ideas.
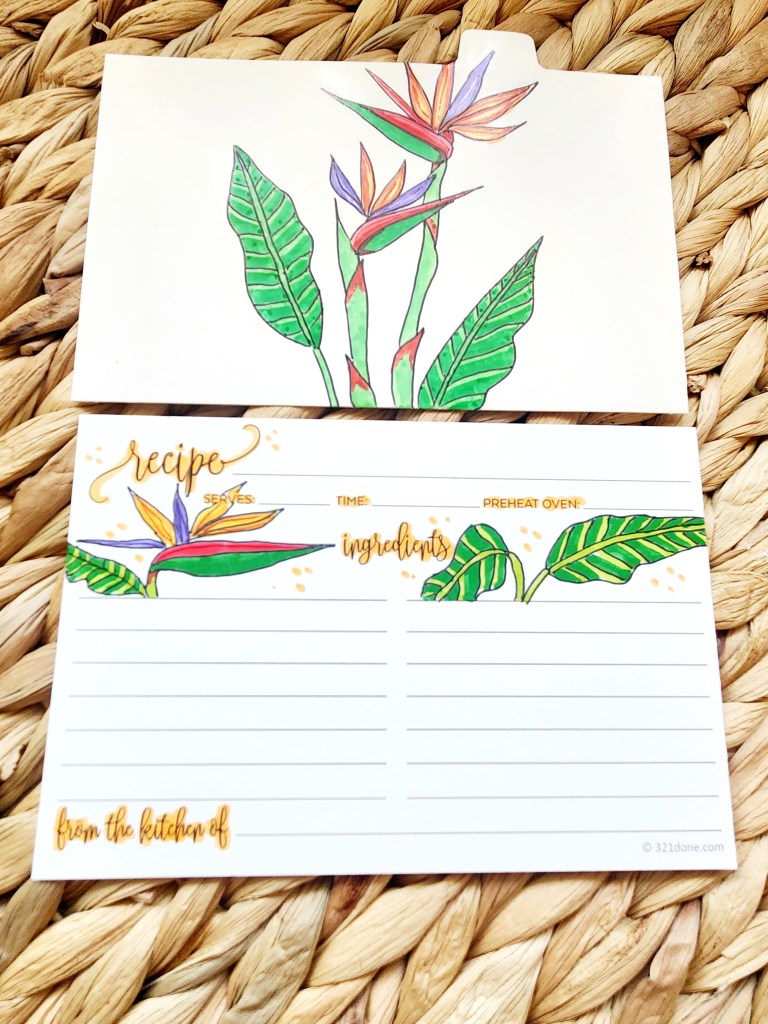
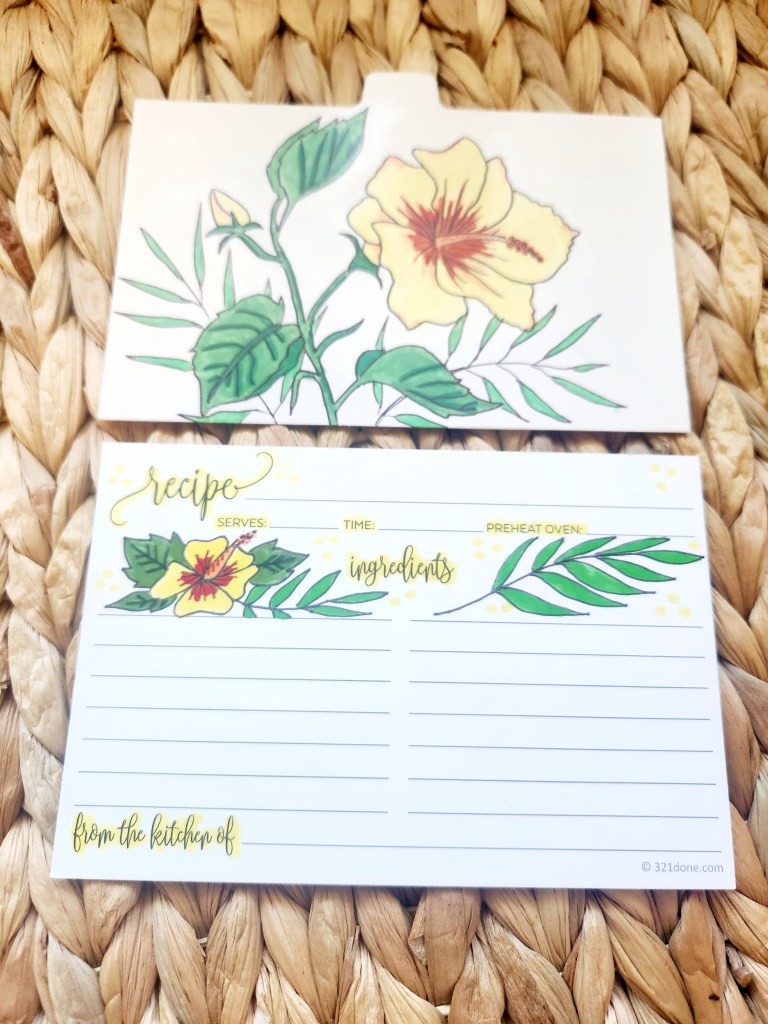
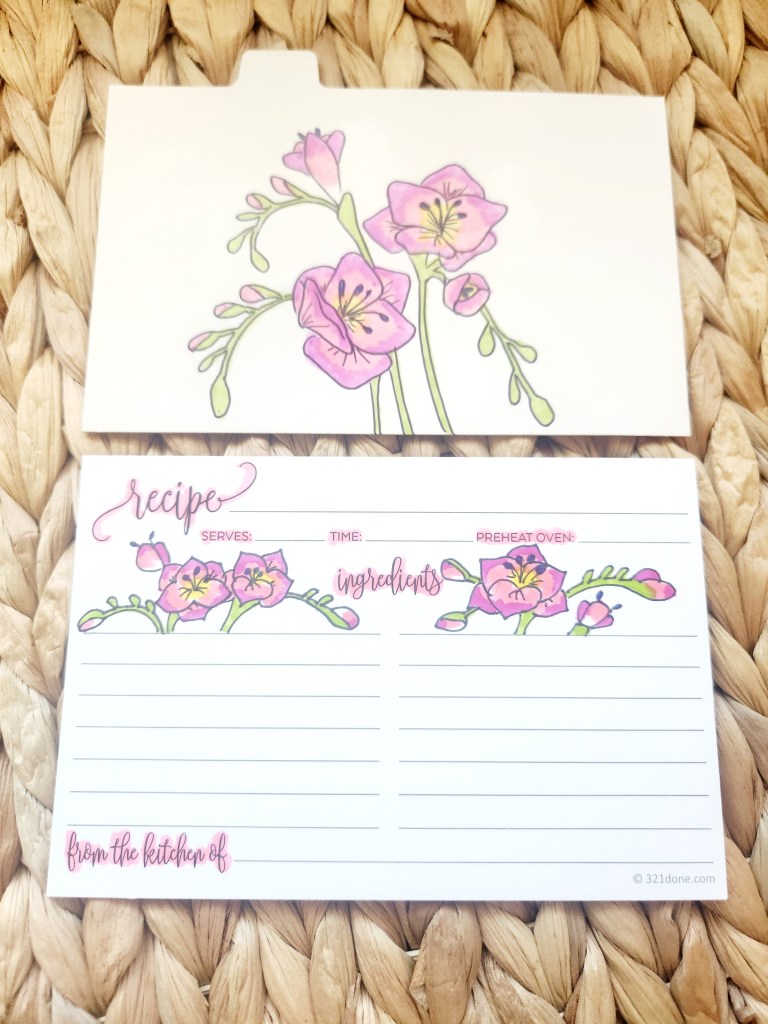
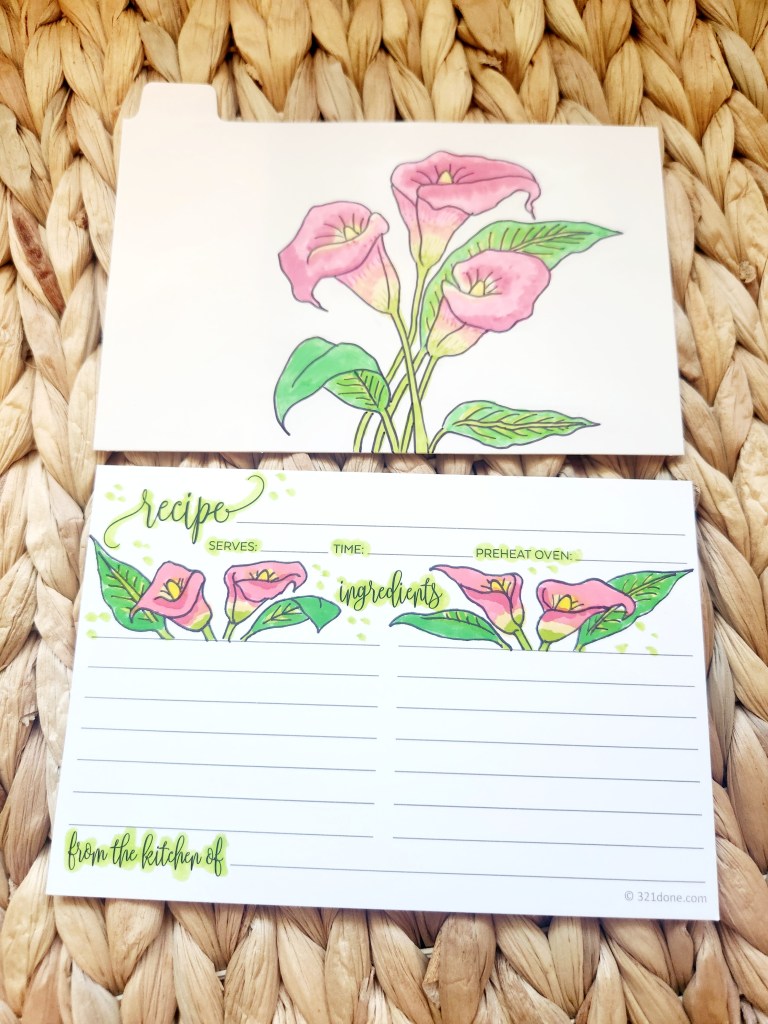
Step 3: Design your recipe cards and identifying tab cards. Since the pack of recipe cards we ordered is a pack of 50 we knew we would want several variations of flowers to add more interest. We like to draw out the design with pencil first, this allows for mistakes along the way.
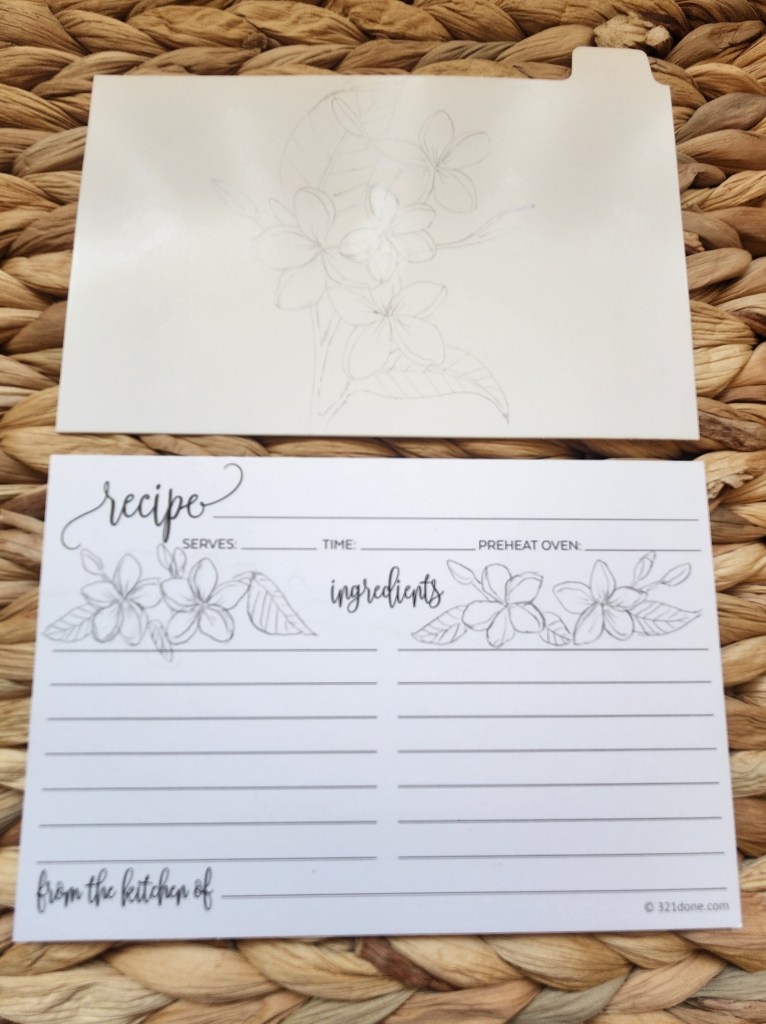
Step 4: Once you have your designs how you want them with pencil now you can trace your design with a fine tipped black sharpie. Then you can erase any visible pencil showing. Now you’ve basically created a coloring book for yourself. You can always go back and add more detail after you have finished coloring.
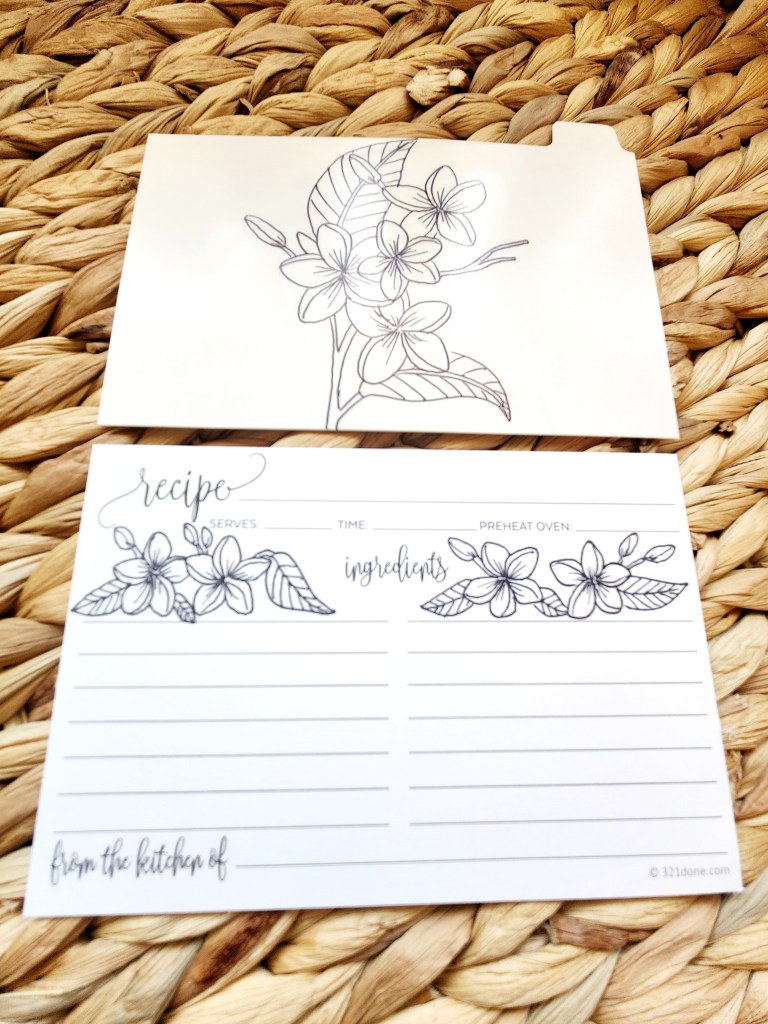
Step 5: Get to coloring. Have fun with it! Use whatever colors speak to you. We finished coloring the design and then realized it needed a little extra pizzazz ( it looked fine but we are extra!) so we decided to add some coordinating color to the writing on the recipe cards and some cute dots sprinkled around. We really think it adds something special. But, that’s the beauty of creativity you can do what you want! You can leave it simple or make it bold.
Step 6: Once you have your recipe cards and identifying tab cards done and how you want them it’s time to move on to the box. We are going to use acrylic paints so it really stands out on the wooden exterior.
Step 7: Draw your image. We used a pencil to draw the rough image on the box first. You can make it as detailed or as simple as you like. This is really just to add something pretty and personal to the front of the box. It will be the first impression after all.
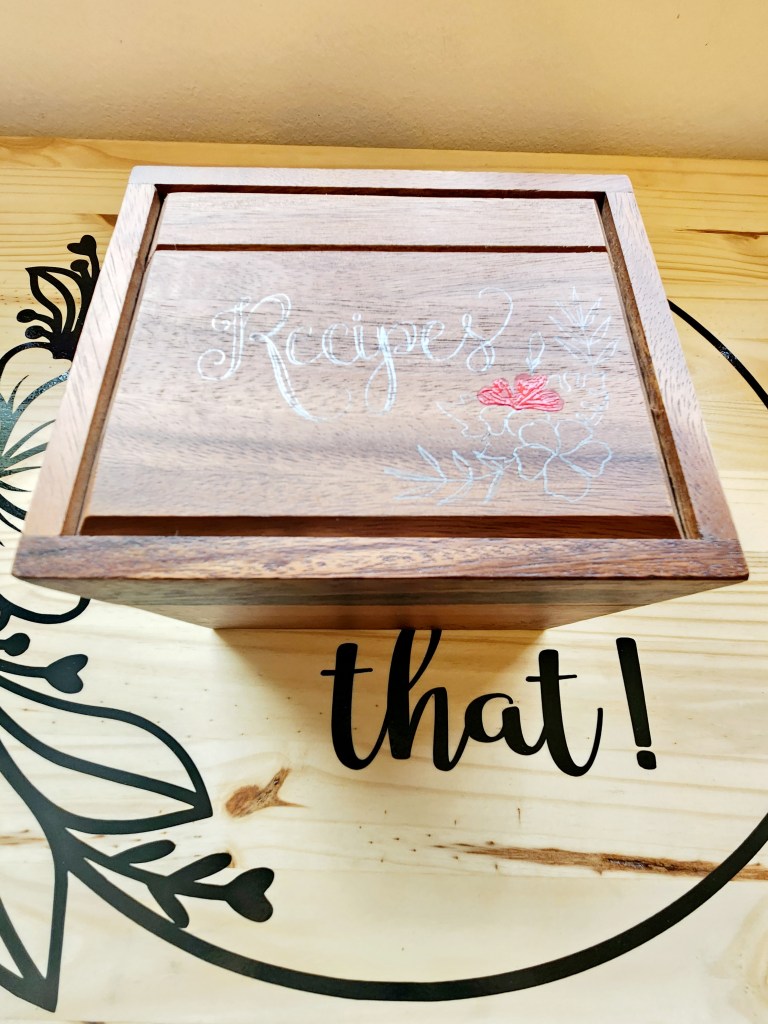
(Ignore the red paint. We got excited and forgot to take the picture for a minute.)
Step 8: Paint your box. You really have to trust the process here. The first coat always looks patchy and not vibrant so don’t be discouraged by what it looks like at first. The second coat makes all the difference! Certain colors may require a third coat ( it depends on what colors you are using and what color your box is). Just keep adding thin coats until it looks the way you want it to ( make sure you let the paint completely dry in between coats). Once your painting is complete your recipe box is done!

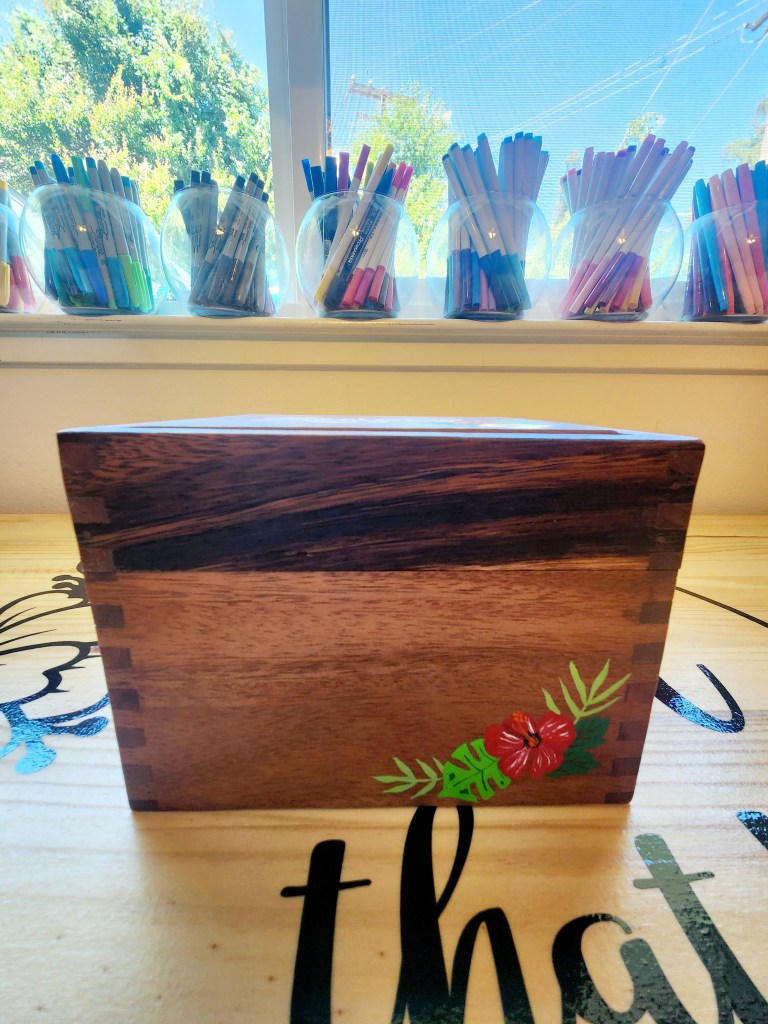
Don’t forget that you can add images to the sides!
This project is time consuming but so worth it! It makes a wonderful gift for a loved one (or yourself). It can be personalized to any ones taste or kitchen style. You could even let your kids decorate the recipe cards to get the whole family involved. The more fun you have crafting the better the outcome!


Leave a comment