
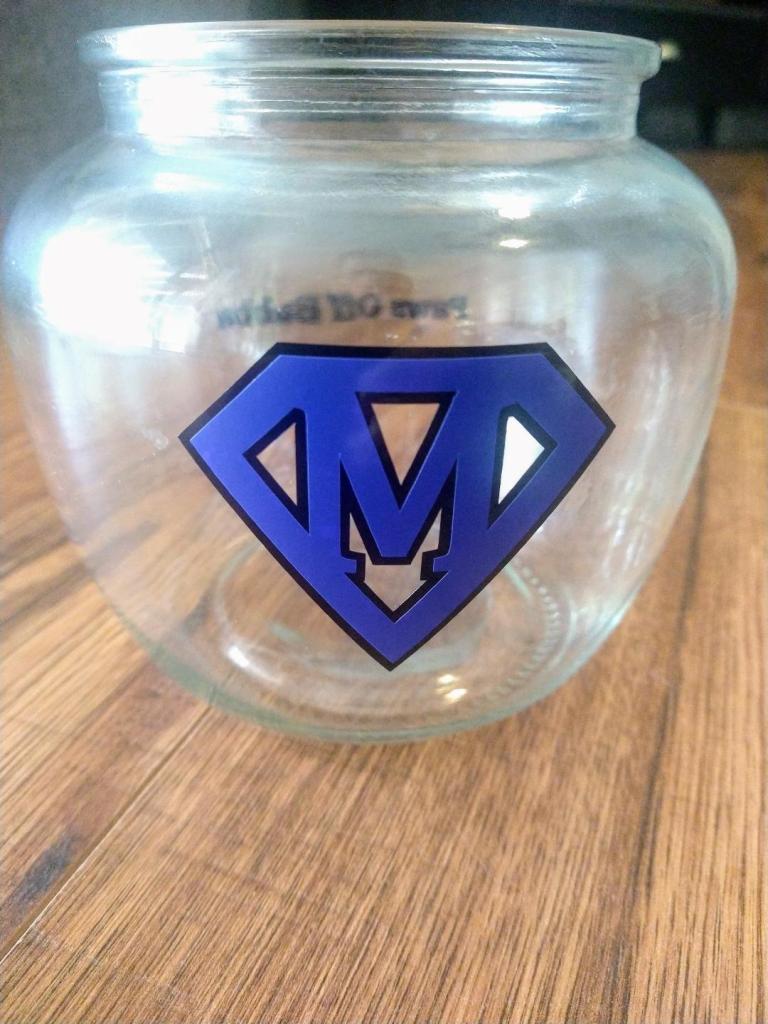
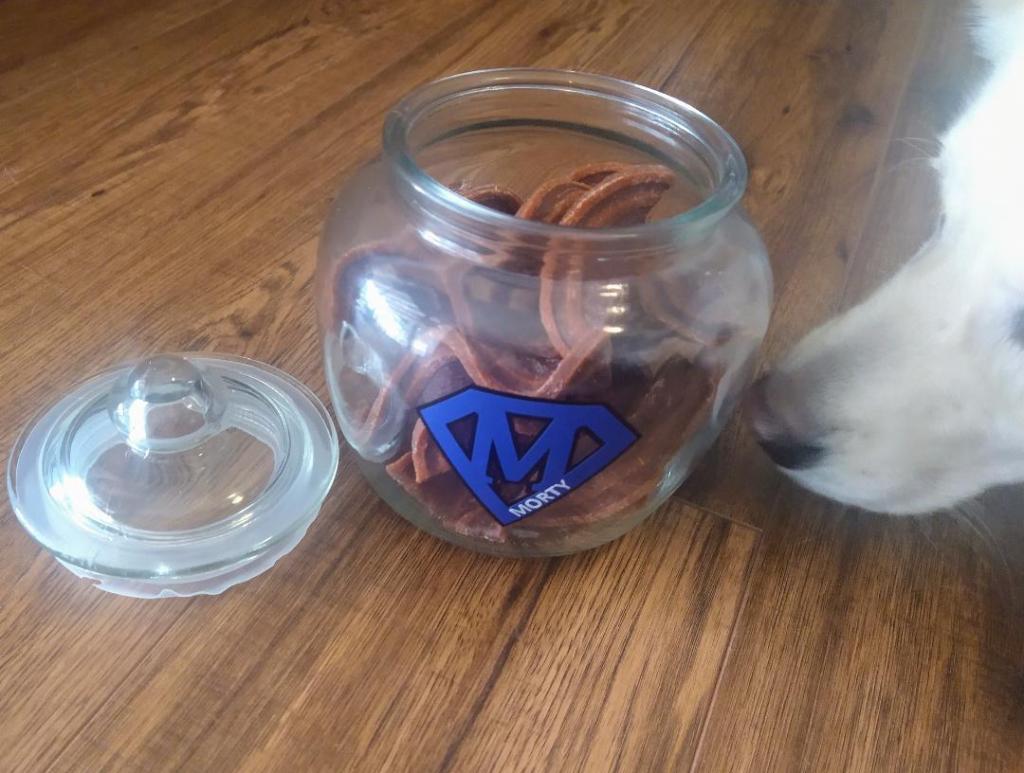
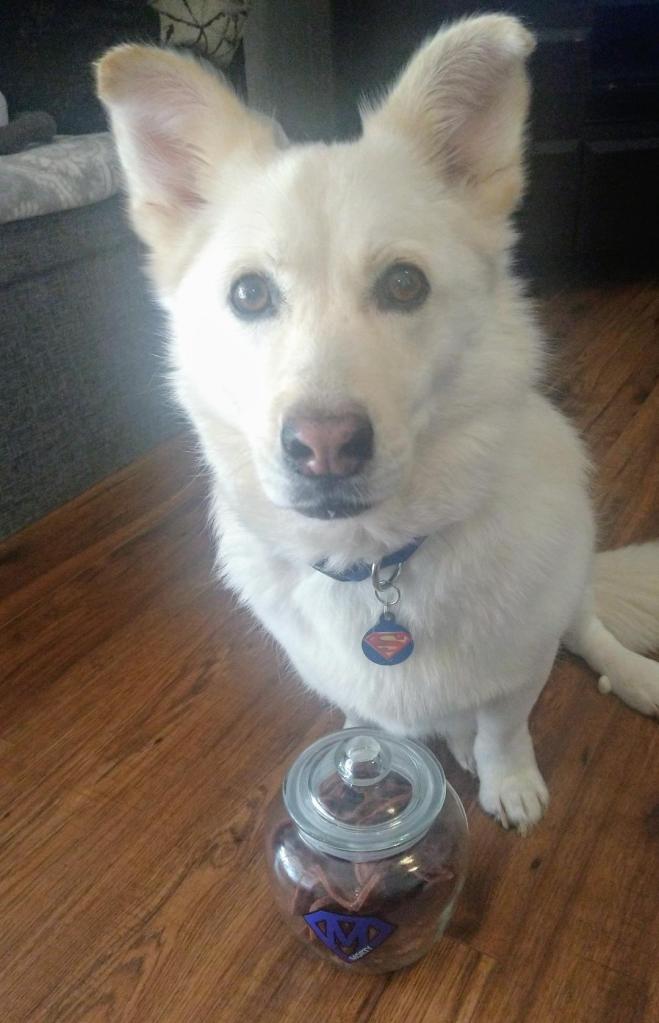
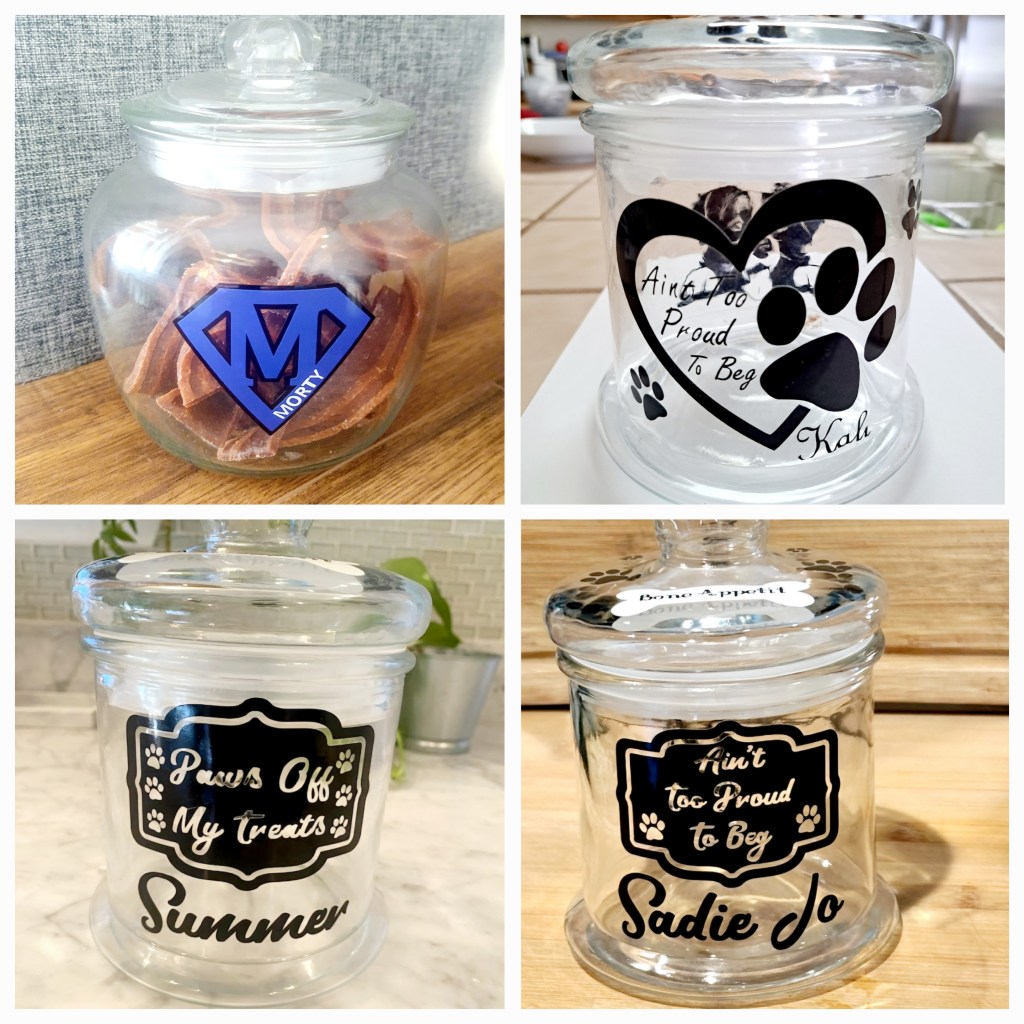
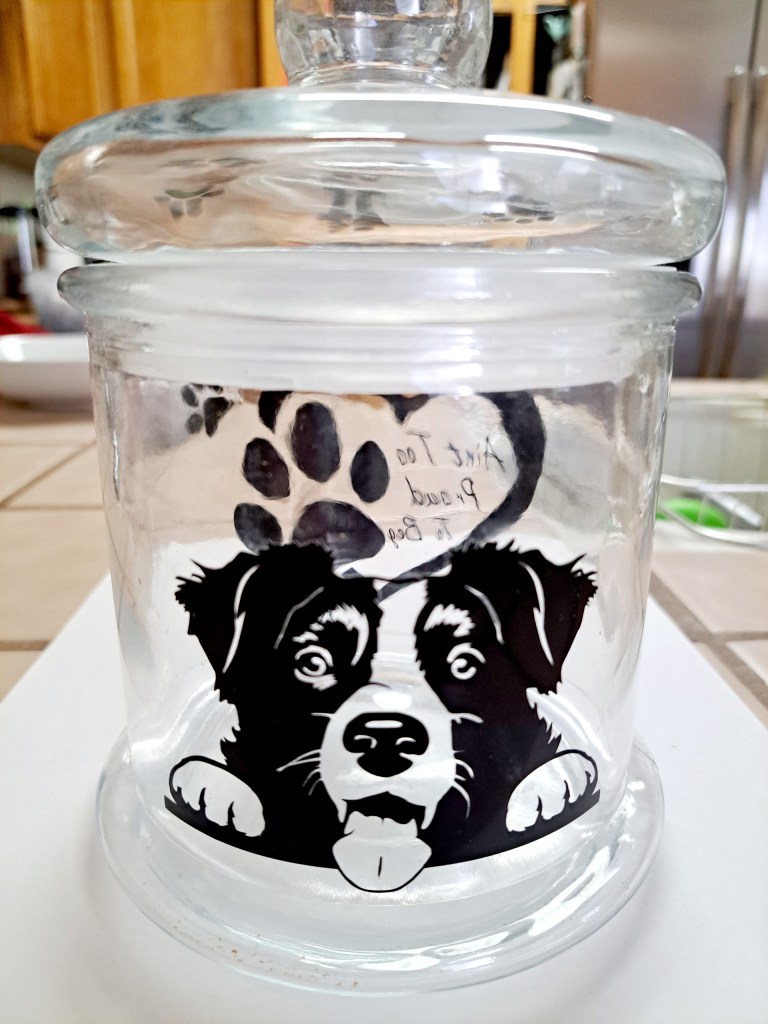
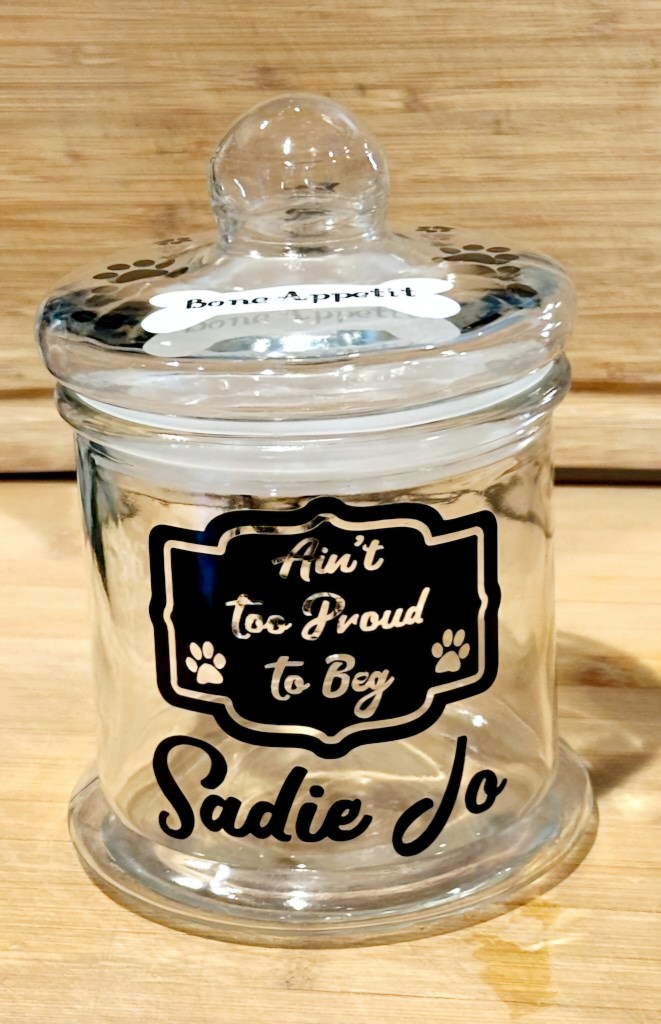
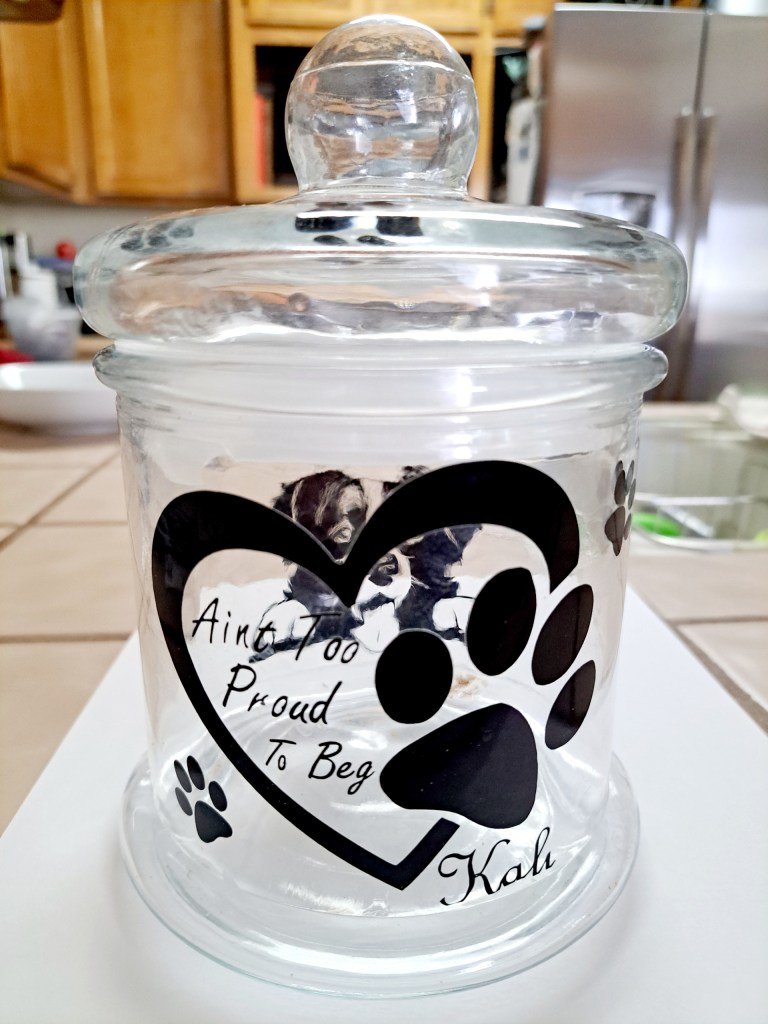
Anyone else sick of seeing the dog treat boxes or bags on your counter. If you put them away pup might miss a cookie opportunity and if you leave them out you have an ugly container to look at. Lets be real a hubby will leave it out either way. These jars are the perfect solution. They can be designed to match your kitchen or your pets personality. Also these make a great gift for the fur babies in your life; especially when filled with cookies. This is a fairly easy project with the hardest part being the design.
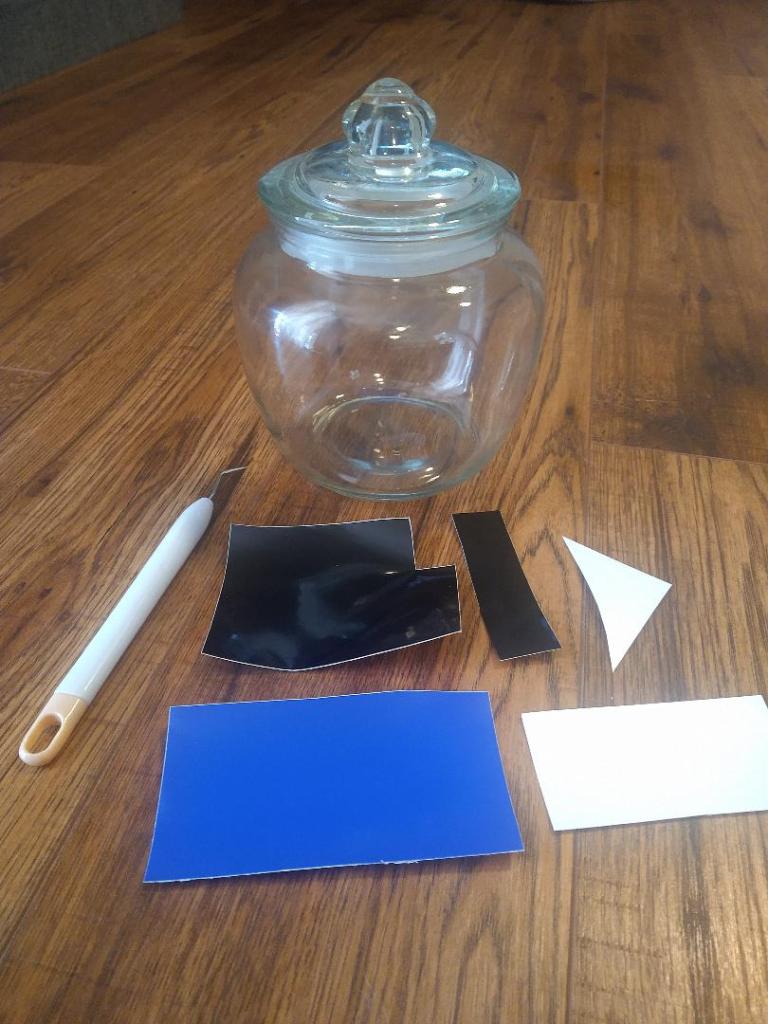
Step 1 : Gather supplies
- Glass jar with lid (preferably air tight to insure freshness)
- Vinyl (we use Oracal 651)
- Transfer tape
- Scissor
- Cutting machine
Step 2:
This is where you let your creative flag fly. Maybe you love cartoons or your kitchen has a lemon theme. Maybe you just want to have little dog prints everywhere or a kitty face with long whiskers. The sky is the limit. Make sure that you make a design that would cut well on your cricut or silhouette. Some thinner fonts and detail images don’t cut very well when this size.
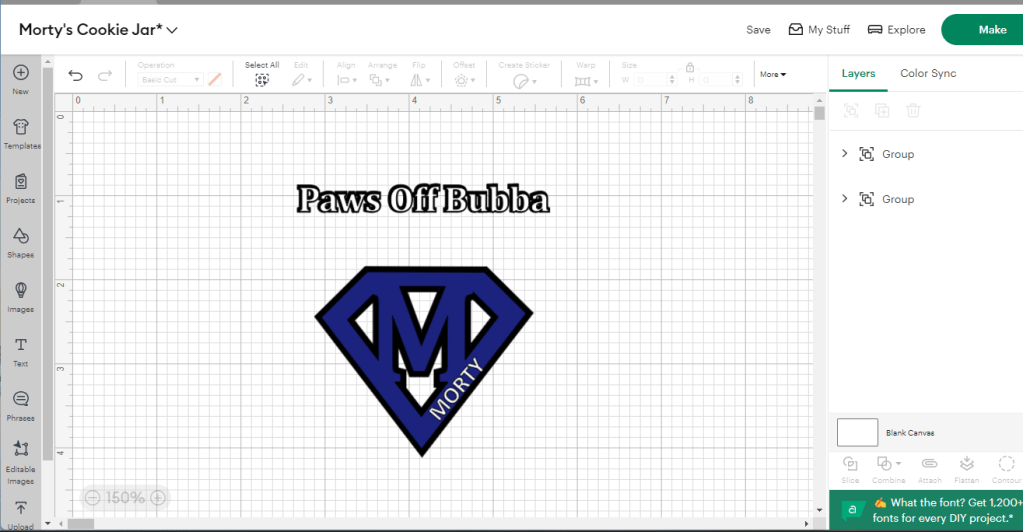
Step 3:
Size your design to fit well on you chosen jar and cut it out. Feel free to use layers if you want. Make sure to weed each piece completely before moving on.
Step 4:
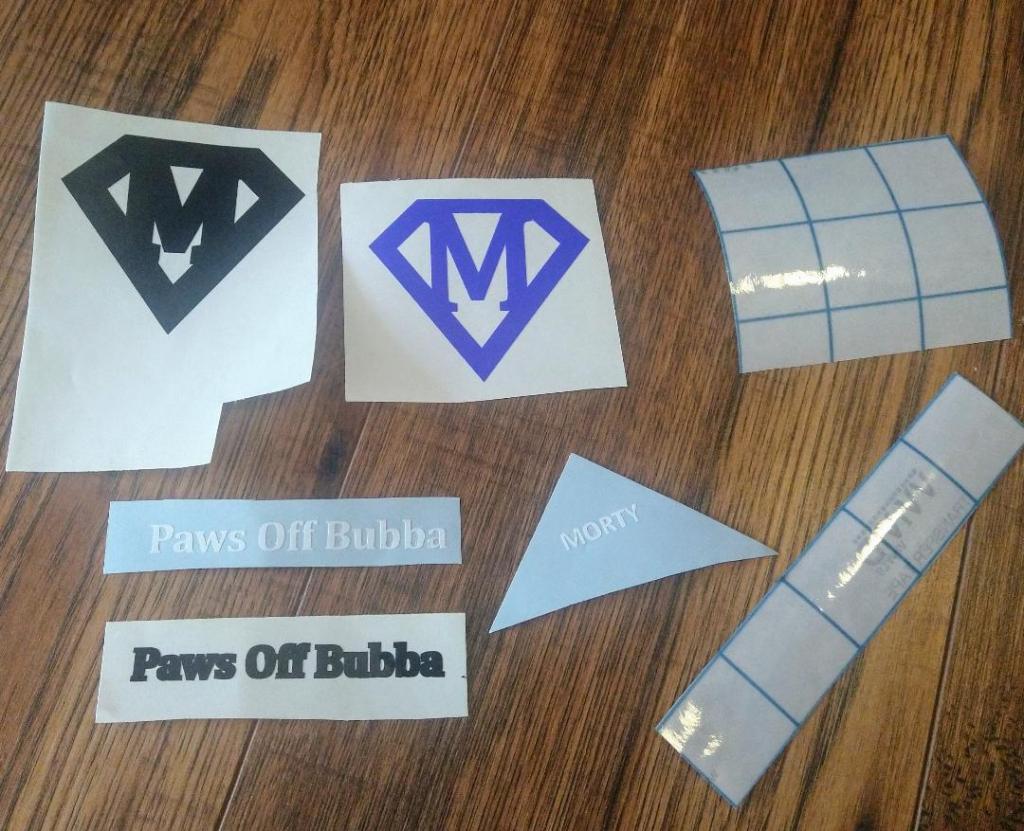
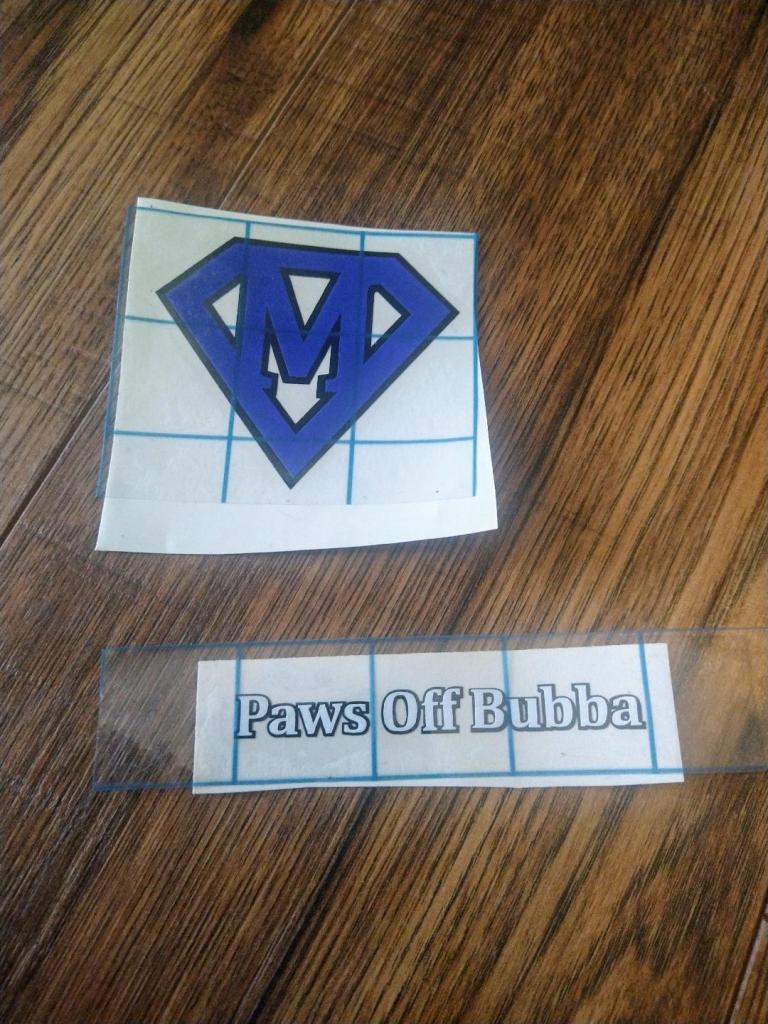
Make sure your jar is clean and dry before starting. Some people like to apply decals wet so if you have experience with that go ahead. Apply transfer tape to image making sure to get good adherence. Start with the base layer if you have multiple layers. If that makes you nervous you can attach all your layers working from top to base before applying them like we did this time. When we have 2 layers we seem to have more control over centering this way. Anymore than that its usually better to just layer on the glass.
Step 5:
Apply decals going slow and working any bubbles or weird wrinkles as you go. Don’t stress about a little bubble here or there but getting the decal on very rounded surfaces can be tricky so take your time. If you have issues with bubble or wrinkles after applying a decal you can try using a heat gun to help move the bubbles out and flatten wrinkles. Just be careful not to burn yourself or use too much heat on the jar.

Step 6:
If you want, you can use a dishwasher safe sealer to protect your cookie jar. We do this often for gifts but its not necessary. We didn’t do it on this one since it’ll be in one of our kitchens.

That’s it! Really they are that simple but absolutely adorable. They make great gifts and help keep down the clutter of ugly containers on you counter tops. Also in case you didn’t notice this is a great way to use up scrap vinyl. Hope you guys like these and we want to see your fur babies with their brand new cookies jars.


Leave a comment