
We love decorating for Halloween. It’s such a fun holiday! So, when we came across this idea on Pinterest we knew we wanted a set for ourselves. Since we both have dogs collecting empty tin cans was easy peezy.
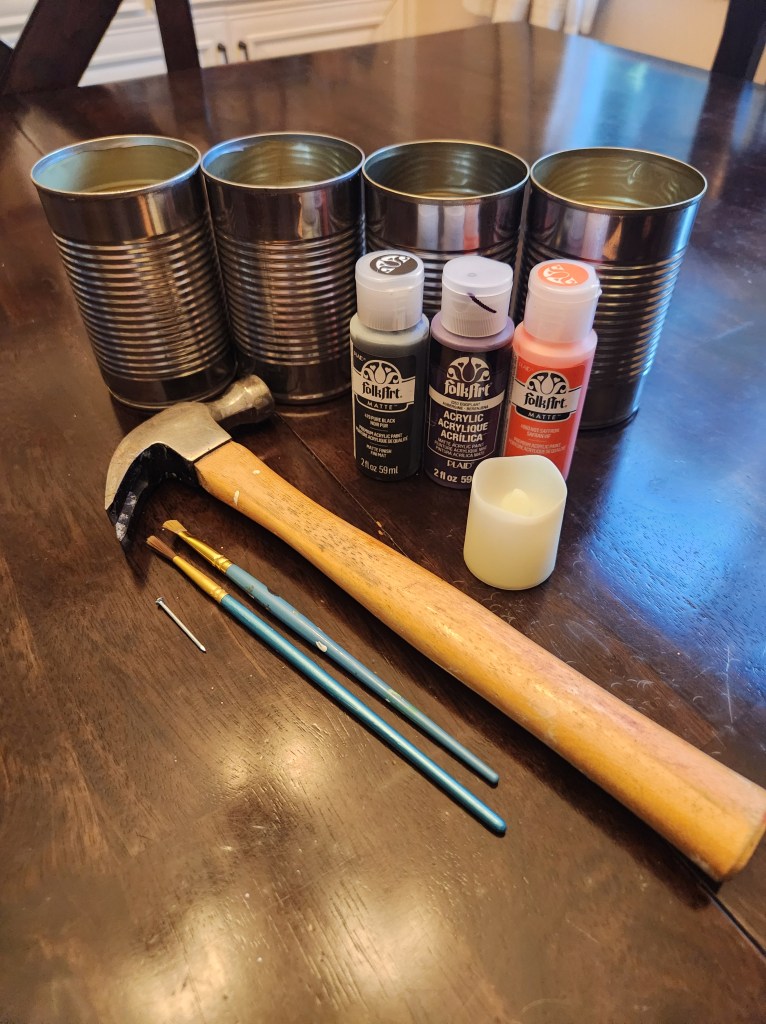
Step 1: Gather your supplies:
- Tin cans
- A hammer
- A Nail
- Paint
- A sharpie
- Brushes
- Tea light candles ( We opted for flamless but you could use a regular tea light)
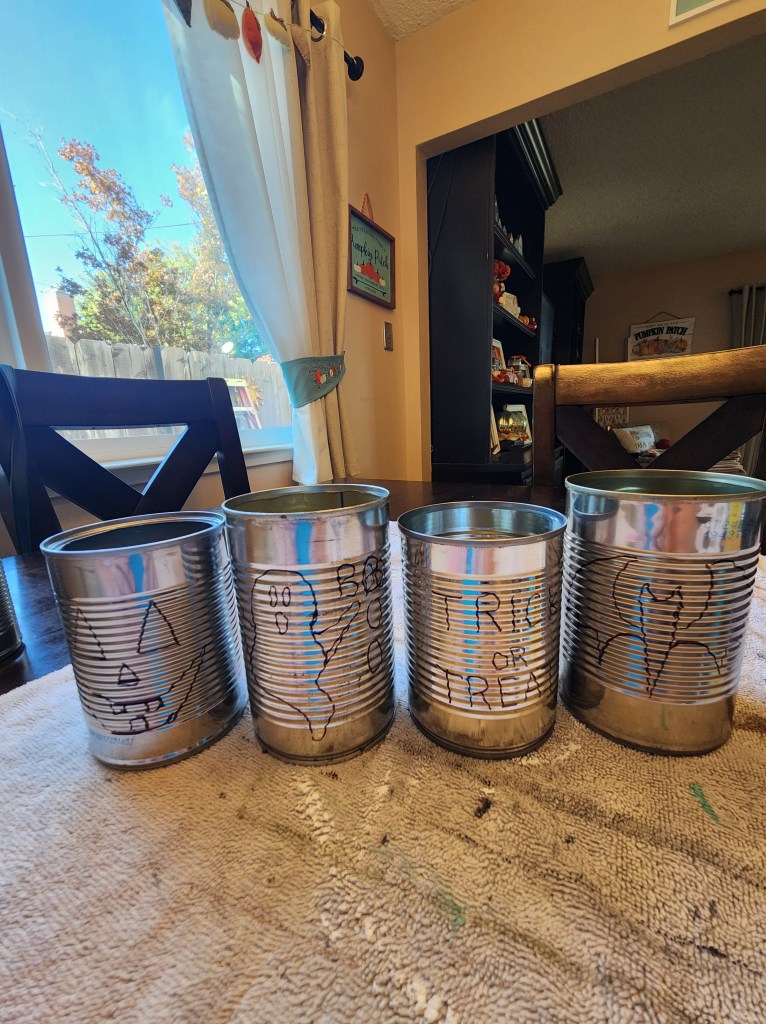
Step 2: Draw out your image with your sharpie
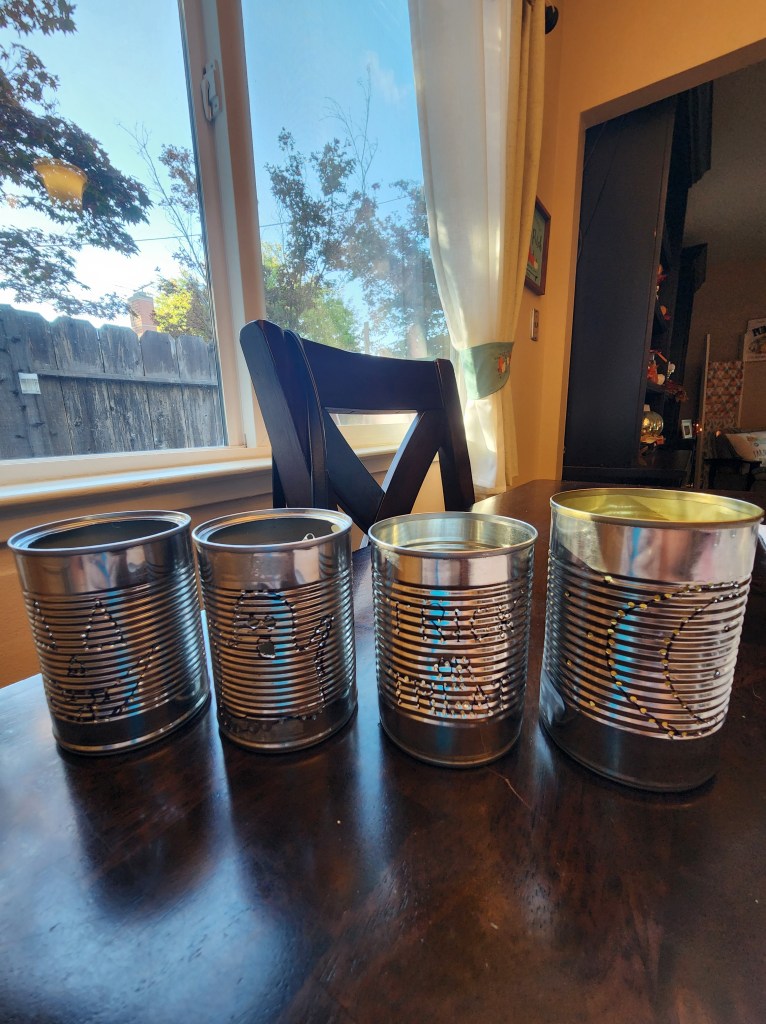
Step 3: Using your nail and hammer carefully poke holes following your sharpie line. It doesn’t have to be perfect ( trust us it won’t be). Just hold the nail where you want your hole to be and tap it with your hammer. We had to pivot a few times because our designs were a bit too difficult. But, we eventually found some that worked for us. That’s how crafting goes sometimes.
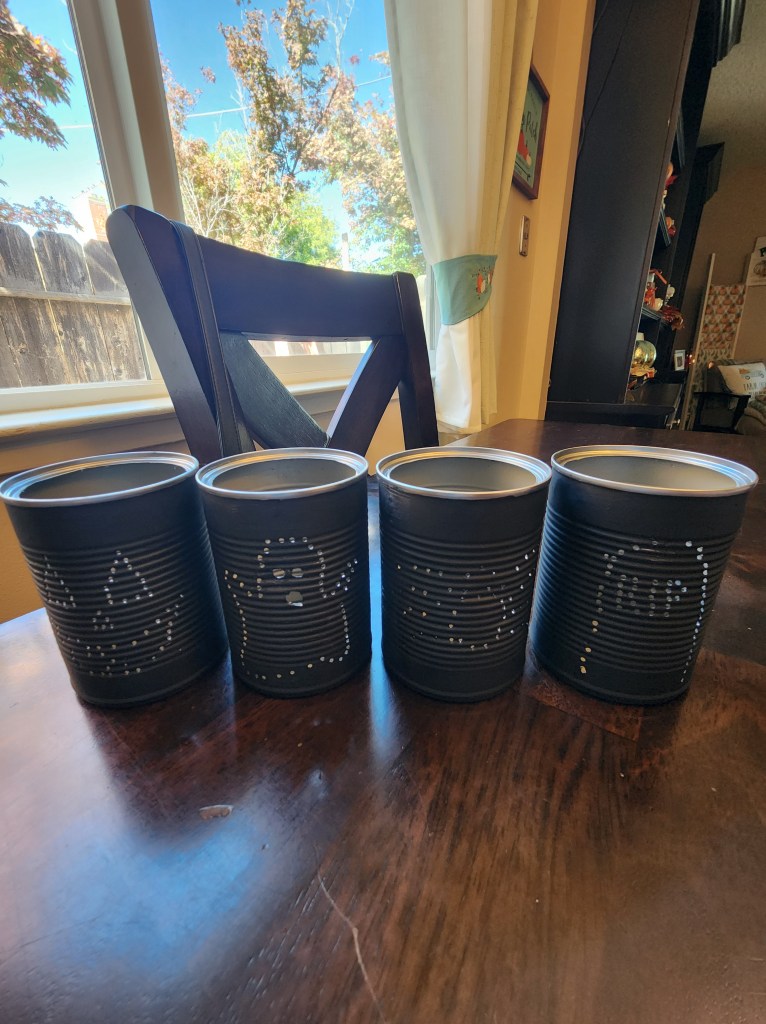
Step 4: Paint your can whatever color you want it to be. We went for a black background so they would be spooky. Then so they looked cute in the daytime too we added some details to the images. Add your candles.
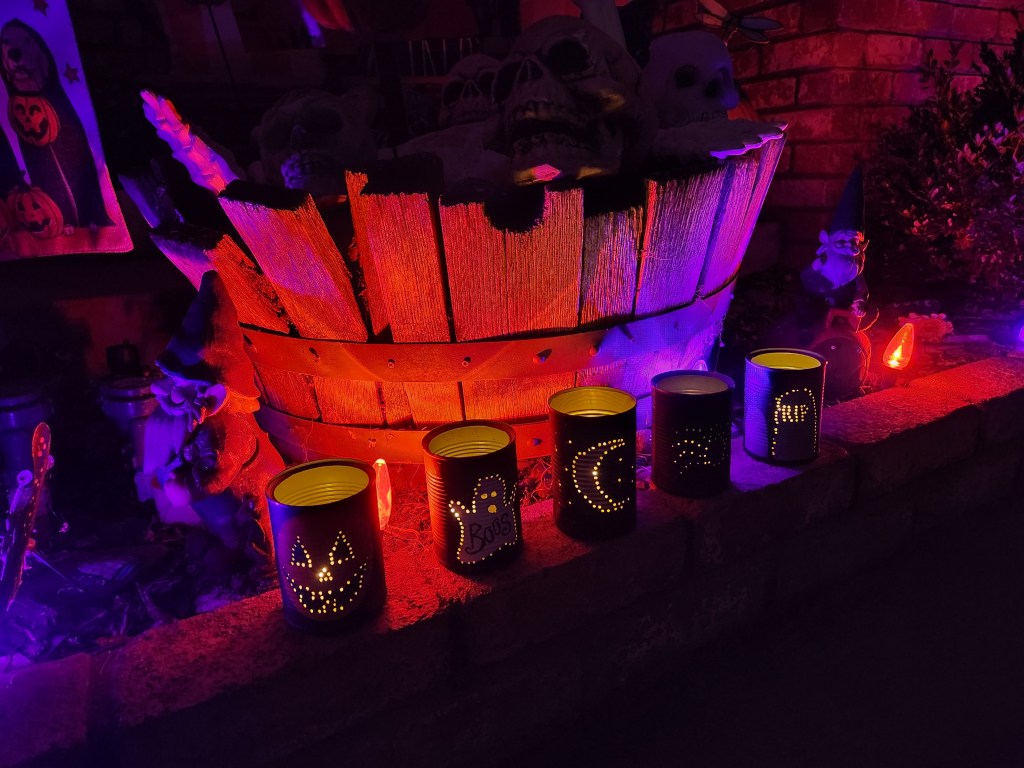

That’s it! Now we have a unique set of Halloween luminaries. This craft is so versatile. How cute would a set of Christmas ones be? Once you get the hang of this it’s pretty simple. You may need to take a few breaks in between to give your hands a rest ( Or enlist a helper) but, these are definitely worth the trouble. They are adorable! Happy Halloween everyone!


Leave a comment