

Let’s be honest… curtains aren’t all that exciting. Lots of people have them in their homes. We’ve never given them much thought. We occasionally change our neutral colored curtains out to red for Christmas or black for a spooky themed party. But, that’s about as exciting as it gets. So, when we saw on pinterest these beautifully embroidered fabric tie backs we knew what our next project would be!
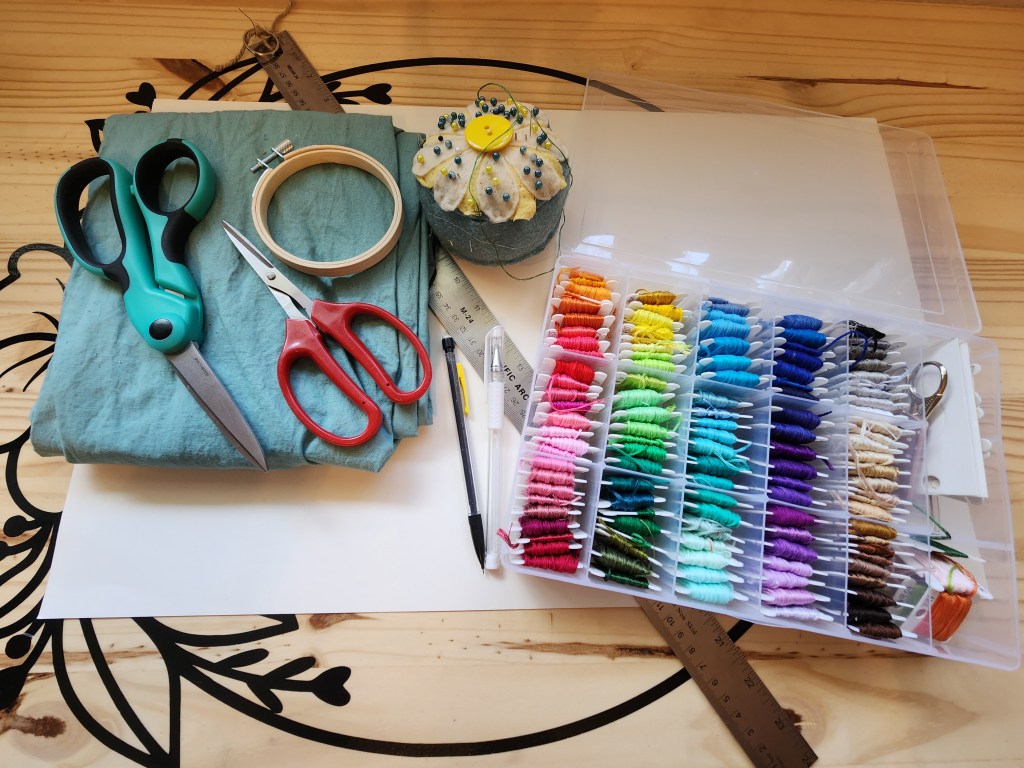
Step 1: Gather your supplies:
- Fabric of choice ( we chose a teal cotton fabric that we had left over from a previous project but you could use anything that will embroider nicely. )
- Scissors
- Heat erase pens ( this is optional. You could use a regular pen but we find ones that can erase are a safer bet. )
- Embroidery floss and needle
- Embroidery hoop the size you need
- Scrap paper or poster board for stencil
- A ruler
- Elastic or ribbon
Step 2: Determine the length you want your curtain tie backs to be. There is no wrong answer for this. It just depends on your style and curtains.
Step 3: Create a stencil. We used a scrap piece of poster board we had lying around. Keep in mind you’ll loose a little size when you sew your tie backs so make your stencil a bit bigger than you want it to end up being in the end. Our tie backs were about 32inches long, 6 inches at the widest part and 3 inches at the smallest part.
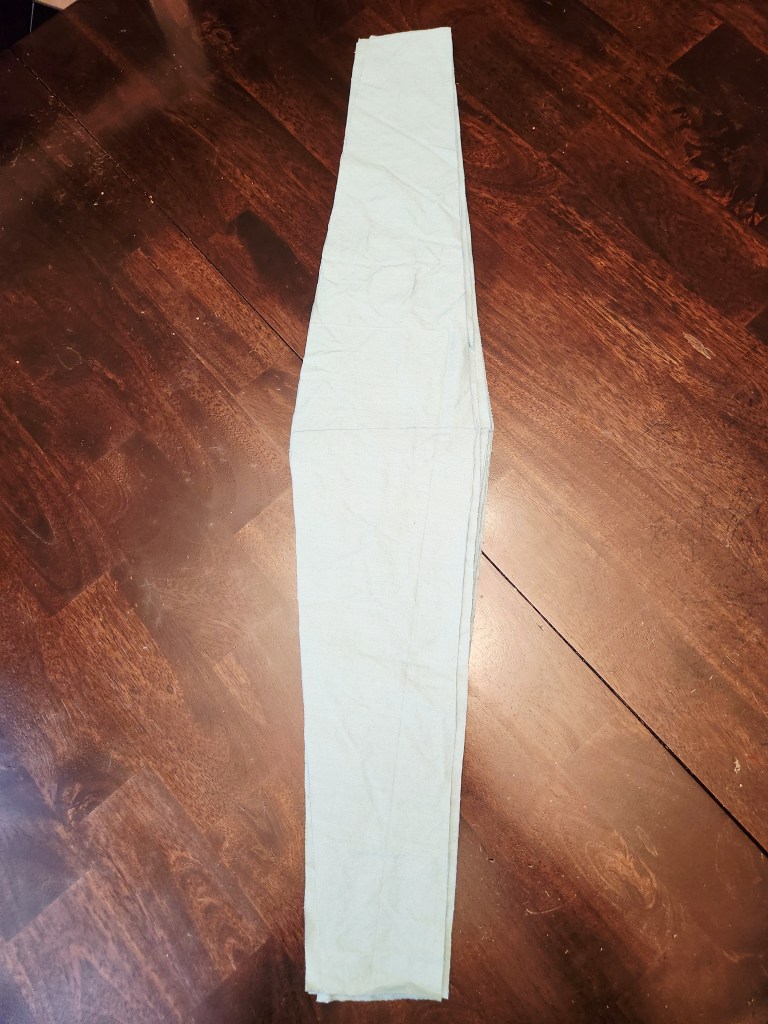
Step 4: Trace your stencil onto your fabric and cut it out. You’ll need 2 pieces for each tie back. A front a back.

Step 5: Draw out your design on of side of your tie back. I folded one piece in half so I knew where to keep my design. You’ll want to stay towards the middle of your tie back with your design. You will also need to keep in mind that since there’s a right side and a left side tie back your designs might vary. I chose to do the biggest set of pumpkins on the largest part of the fabric and then gradually decrease in size towards the outside. But, this is completely up to you.
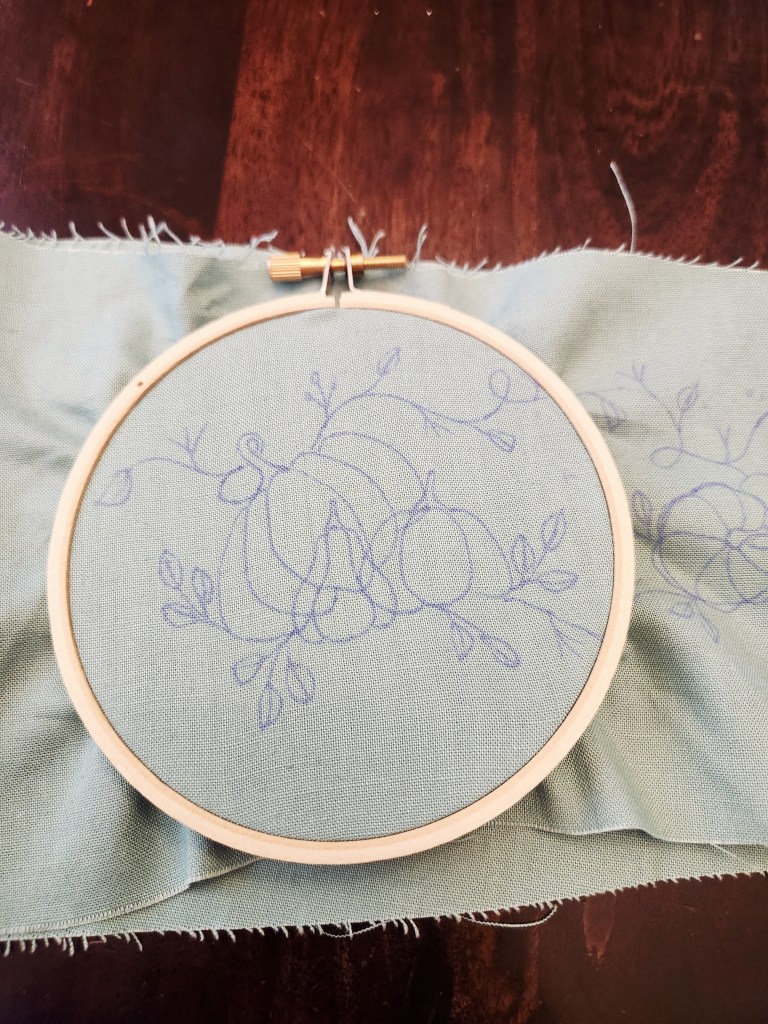
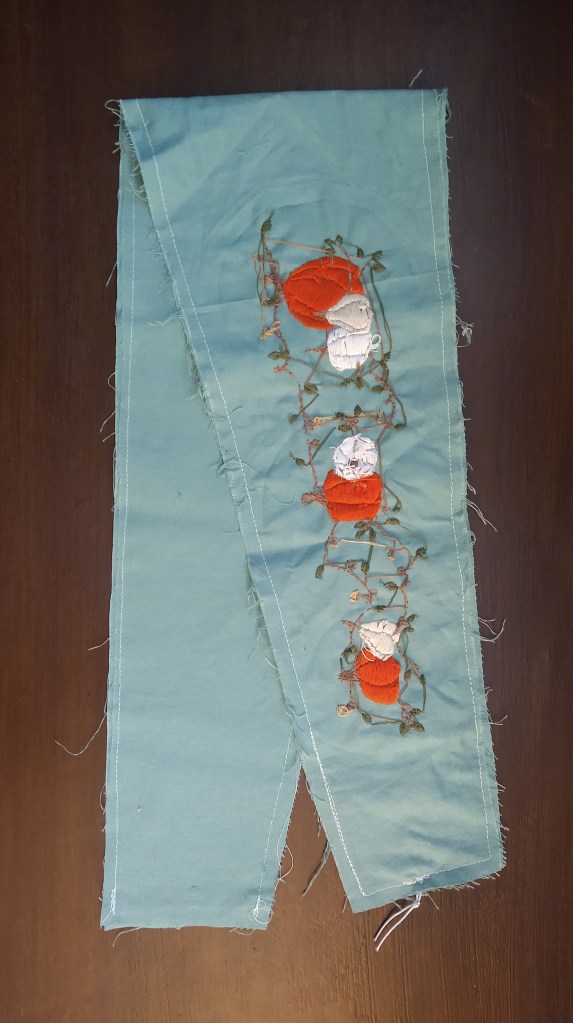
Step 6: Attach your embroidery hoop and start embroidering! This where things really start to take shape. We had to work in sections because of how long they were. So we carefully moved our hoop from section to section to finish the entire design.
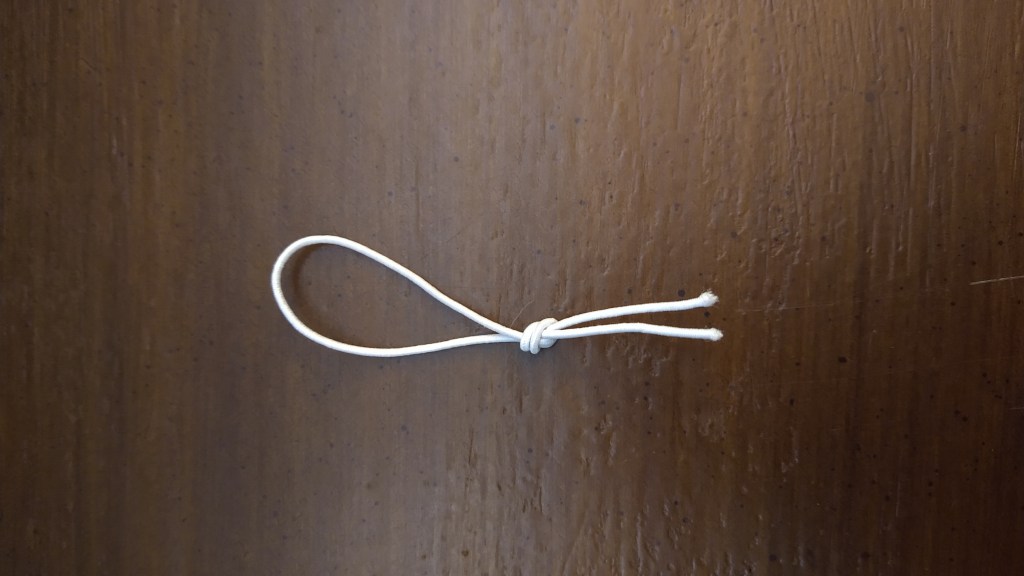
Step 7: Cut your elastic or ribbon to size. You’ll need 2 pieces per tie back. One for each end. Ours were cut at about 3 inches. Then tie them with a small knot to help hold it in place better for sewing.
Step 8: Once your finished embroidering it’s time to sew your tie back. The sewing on this pretty simple. Pin the 2 main pieces with pretty sides together. Also at this point you’ll want to add on of you loops into the middle of one end. The loop goes inside where the embroider is with the little knot sticking out. (It seems wrong but go with it. )Sew all the way around at your desired seam allowance; leaving the end of the non embroidered side open to turn out.
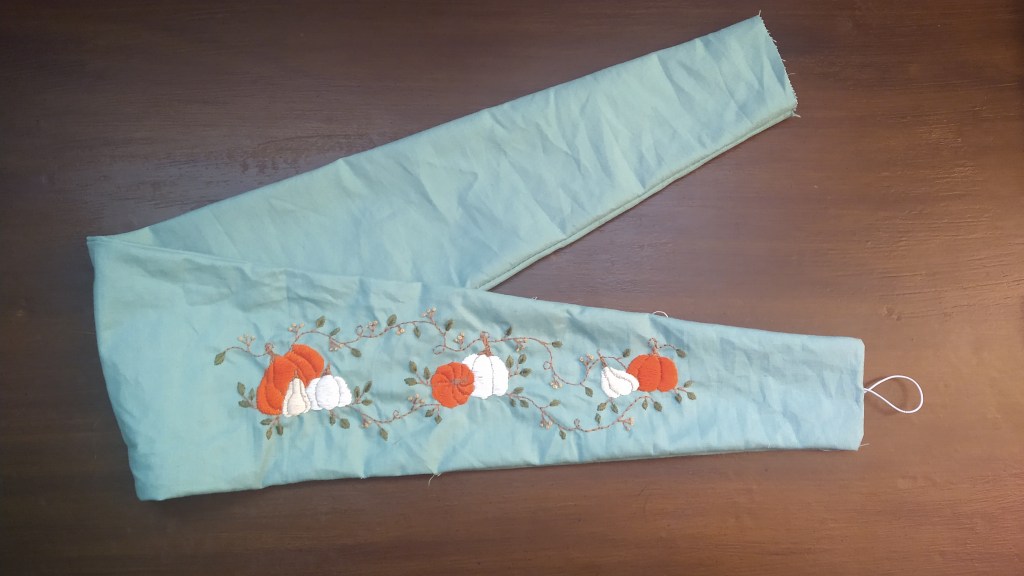
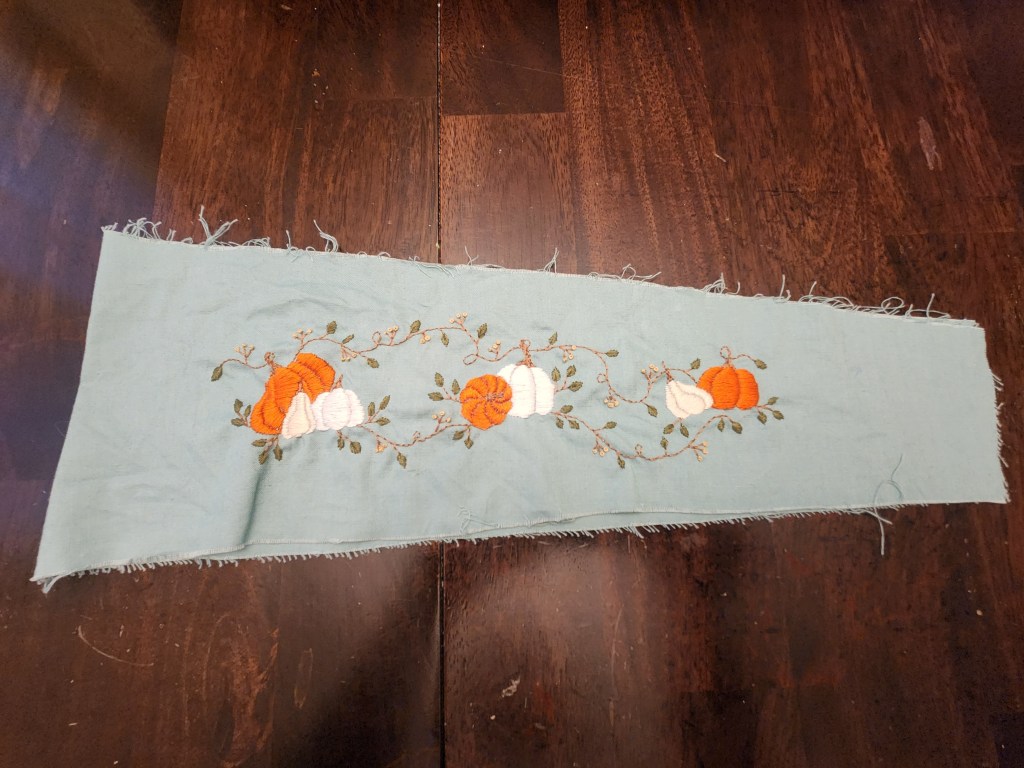
Step 9: Turn your curtain ties right side out. It would be a good idea to press it now while you can still work it easier.
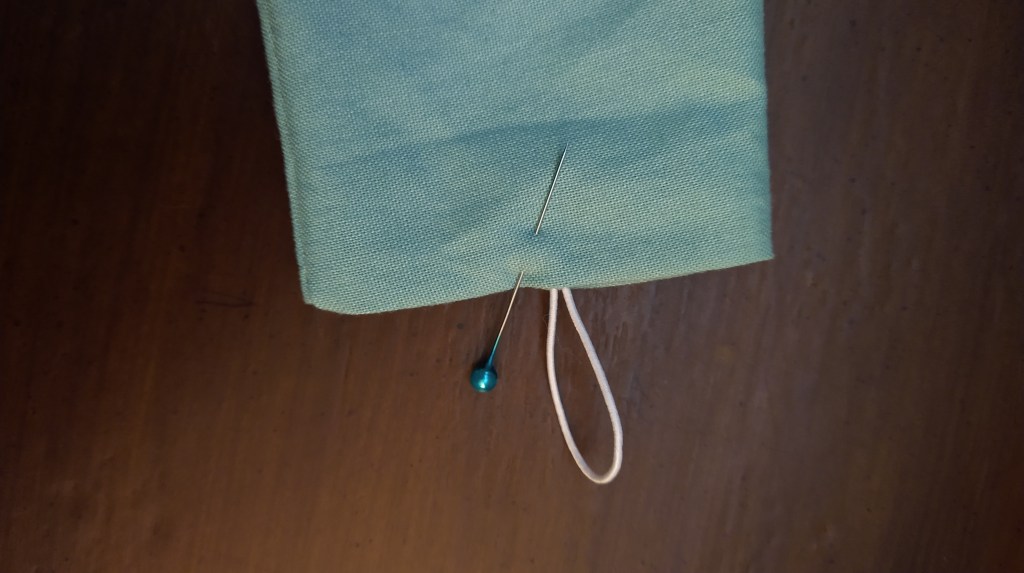
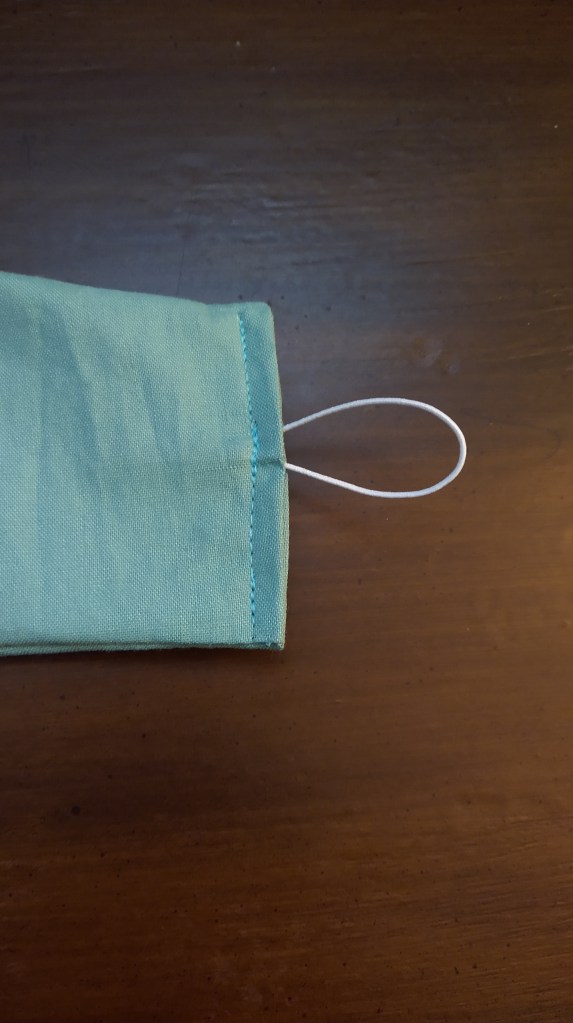
Step 10: Tuck in the open end about a ¼ inch and insert the knotted end of your loop in the end and pin in place. Sew a line with a coordinating thread to seal up the end, making sure to make an extra pass or two to secure the loop.
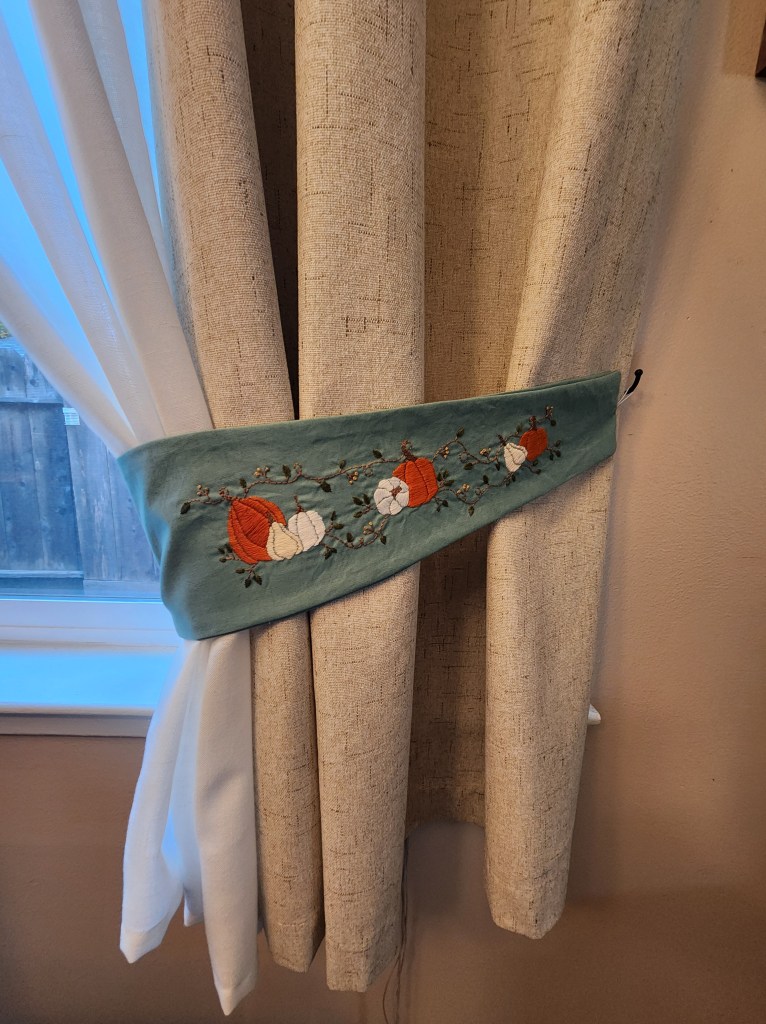
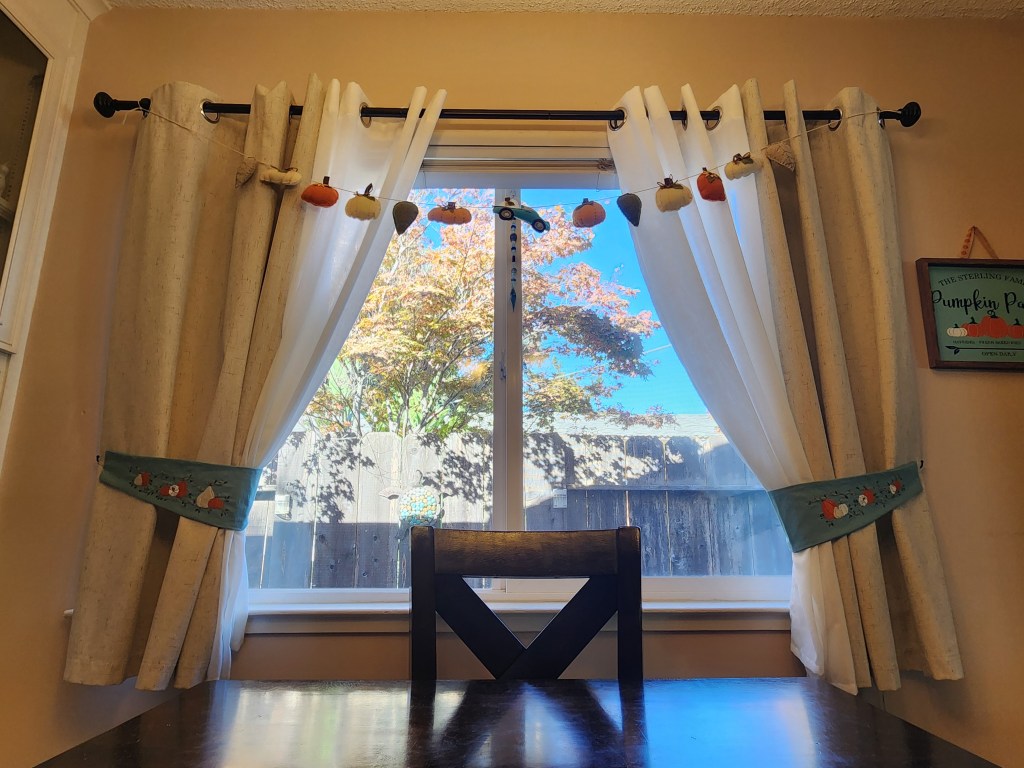
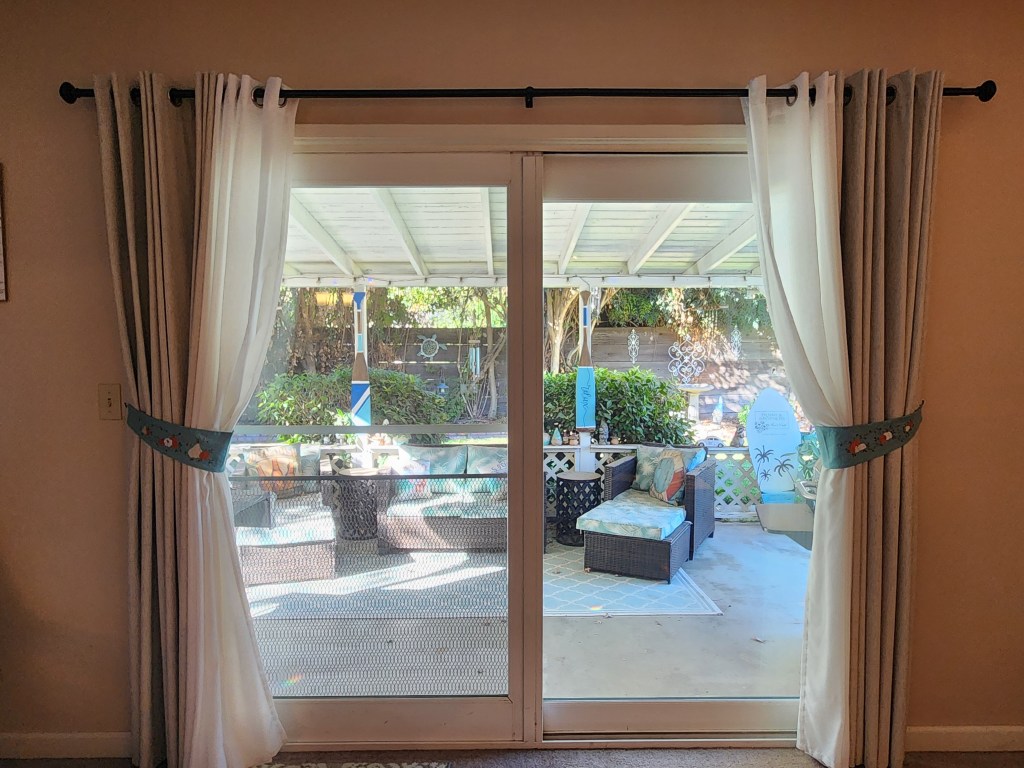
That’s it! Now you have a unique and adorable curtain tie back! Of course now we’ve created another crafting addiction and want to do them for several occasions. Next, we plan on doing a set for Christmas. These would also make fantastic gifts. They can be made for every color scheme, decorating style or holiday. The possibilities are endless! Happy crafting!


Leave a comment