
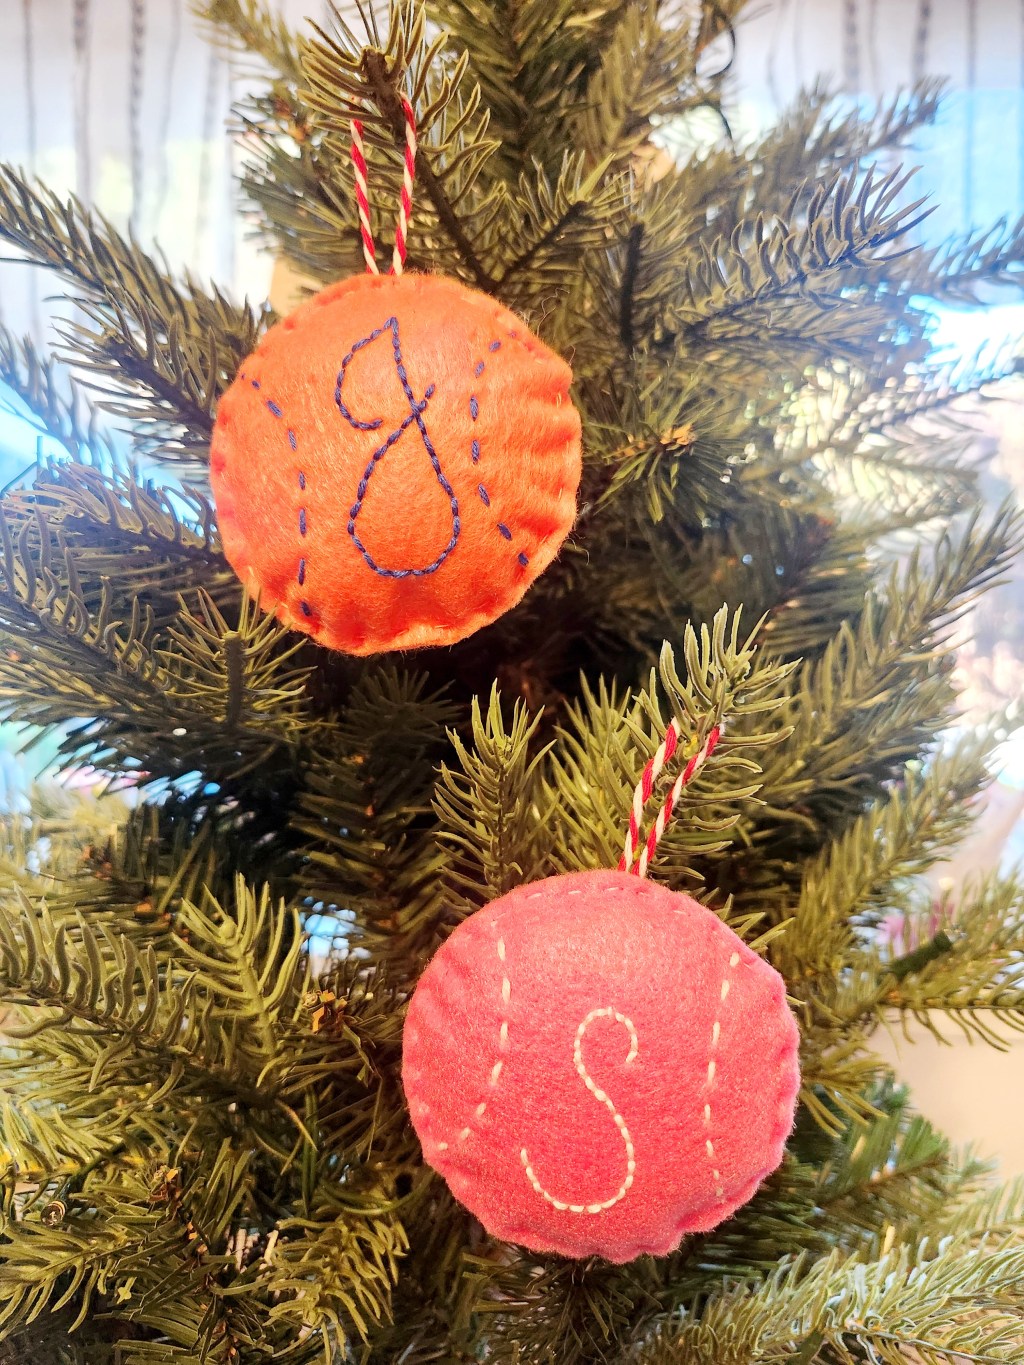
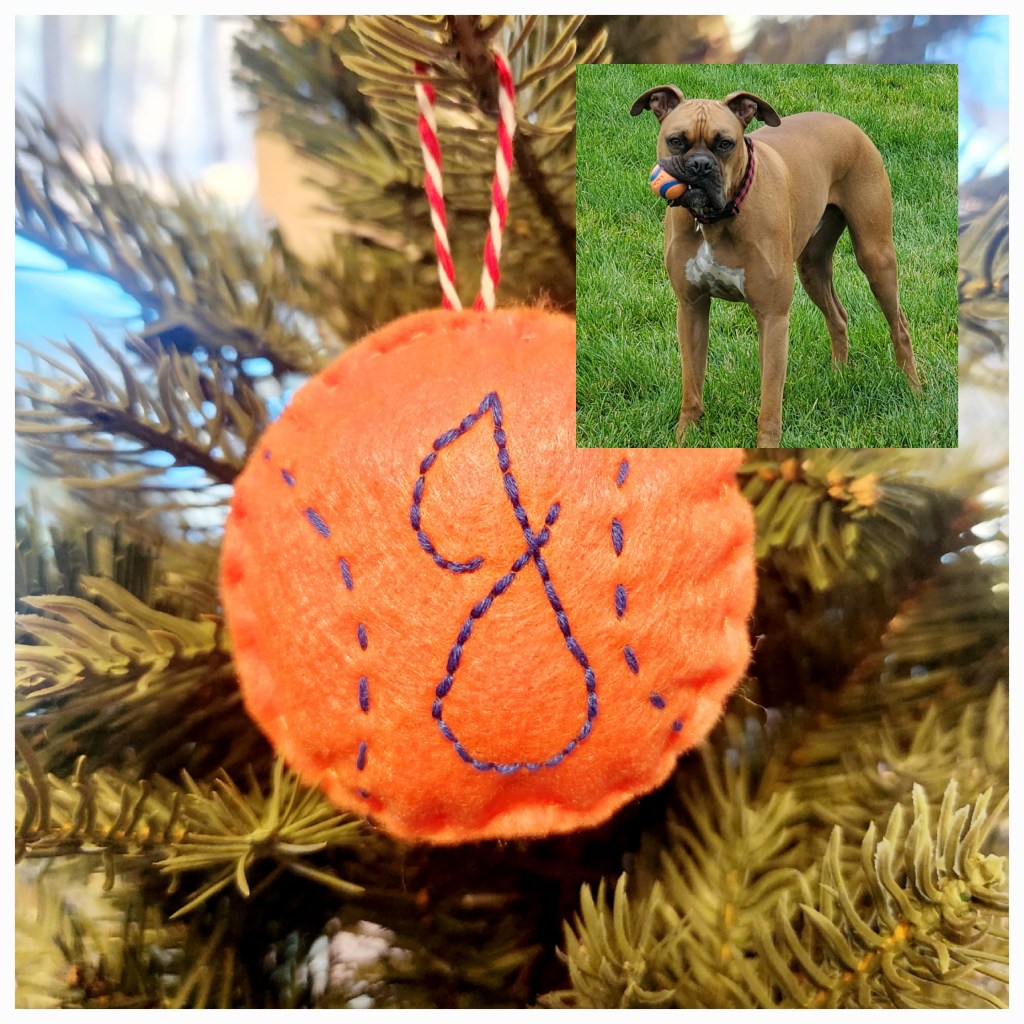
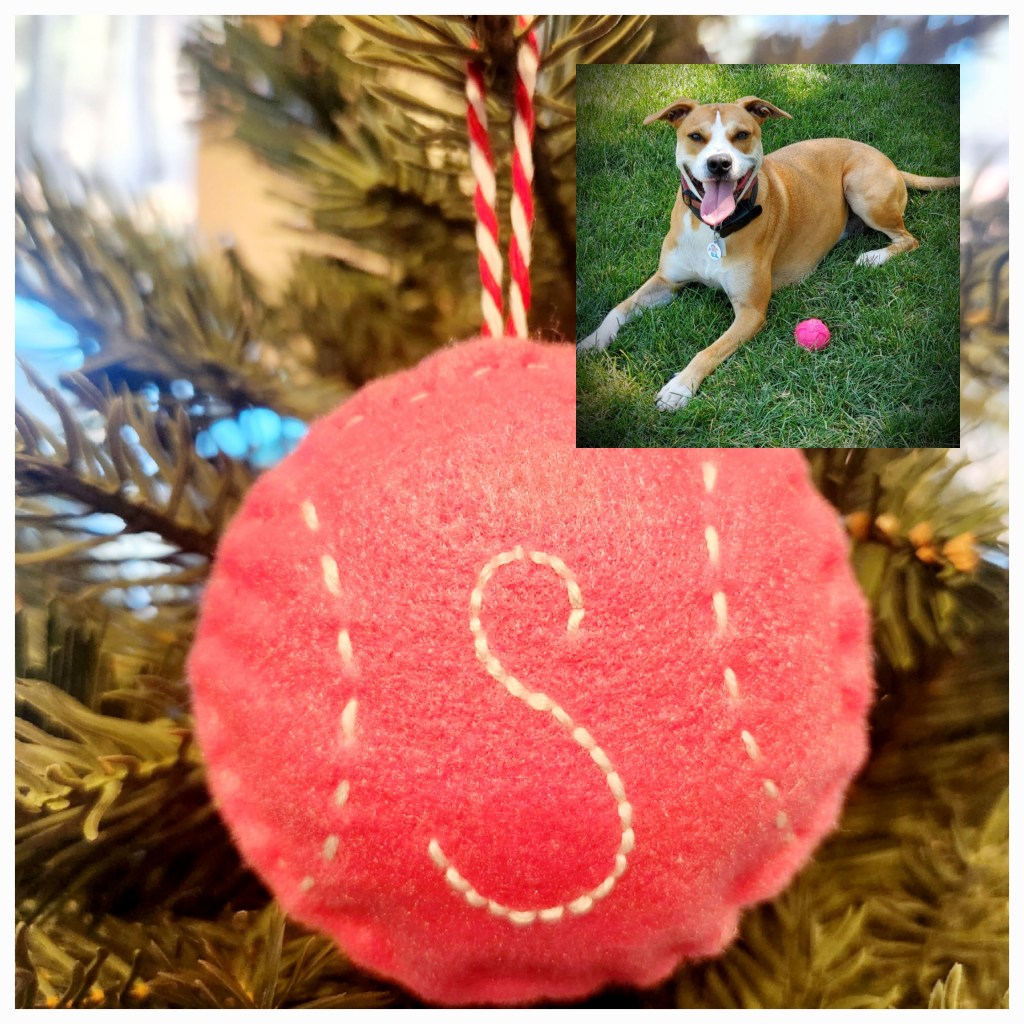
Do you have or do you know a dog that is absolutely obsessed with it’s favorite ball? One of our dogs ball of choice is the chuck-it ball. His girlfriend Summer’s favorite happens to be a bright pink tennis ball ( you know… because she’s a princess). So, when we decided to gift Summer’s mom a table top Christmas tree and ornaments we obviously wanted to incorporate an ornament that would capture Summer’s one of a kind spirit.
Step 1: Gather your supplies:
- Felt in your color of choice
- Scissors ( We love fabric scissors for cutting felt but any will work)
- Poly fill fluff
- Heat erase pens ( this is optional but they really are so handy!)
- Embroidery floss
- Needle and thread in coordinating color to your felt
- Twine or ribbon ( whatever you’d like as your ornament hanger)
Step 2: Find something to trace that’s round and the size you want your tennis ball ornament to be. Keep in mind the ornament will shrink a bit once it gets stuffed. We chose a random coffee mug we had handy. You’ll need two pieces. One for the front and one for the back. Then cut them out.
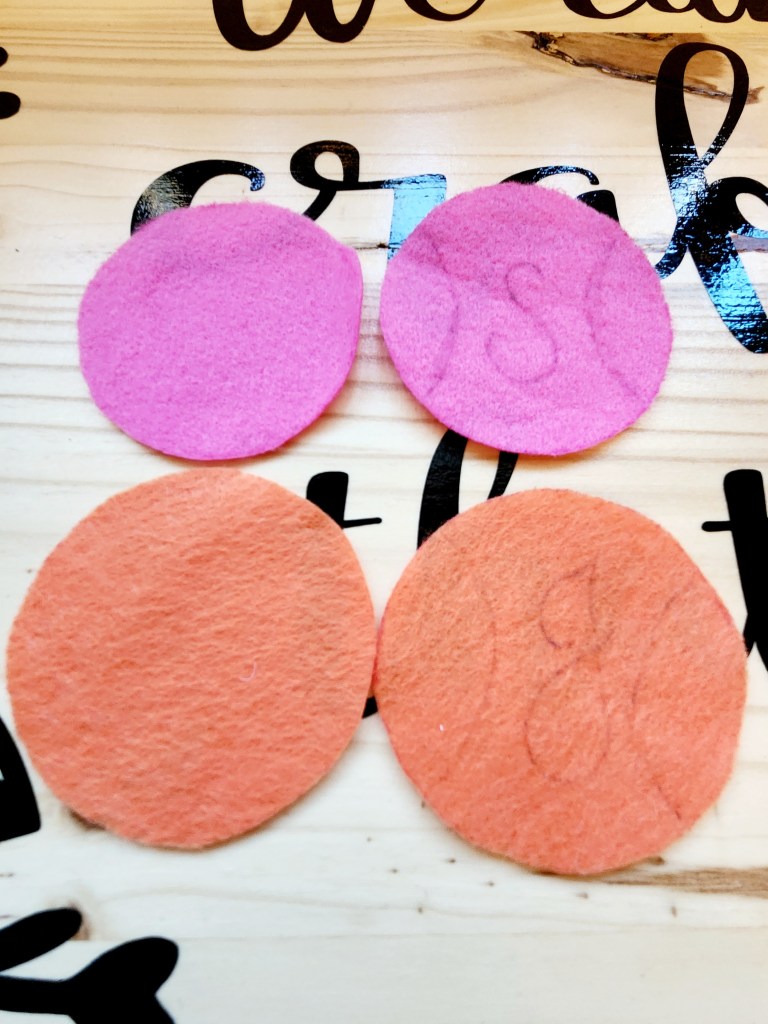
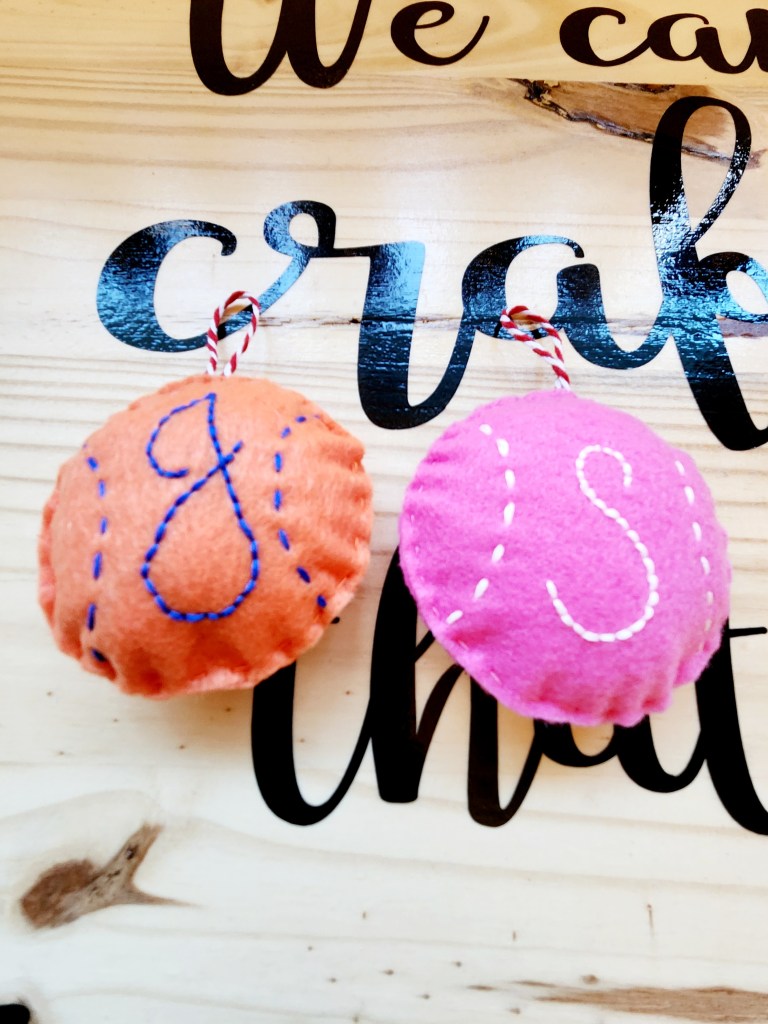
Step 3: Draw in your tennis ball stitches with your heat erase pens or a regular pen. We prefer the heat erase pens because they keep errors down to a minimum and the way we craft… well, we appreciate that a lot! We also chose to do an initial of the pups name in the center for an extra level of cute.
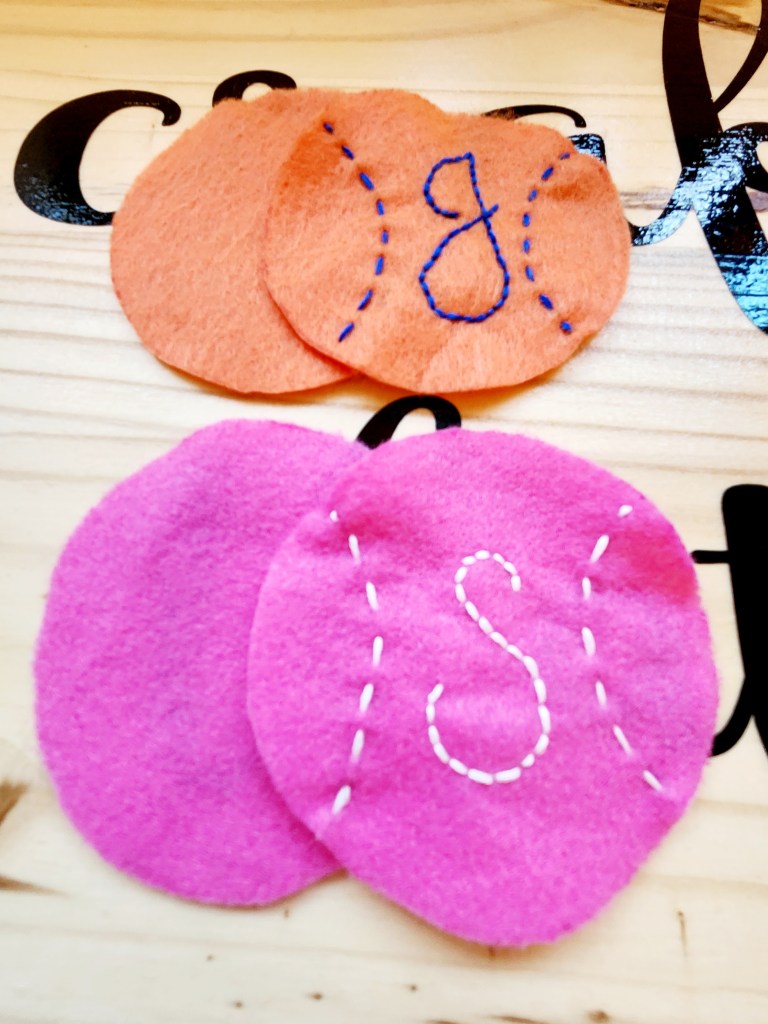
Step 4: Stitch over your lines. We used a running stitch for the ball stitching and a back stitch for the letter. We used embroidery floss so it would be thicker and really stand out but you could use regular thread if that’s what you have on hand.
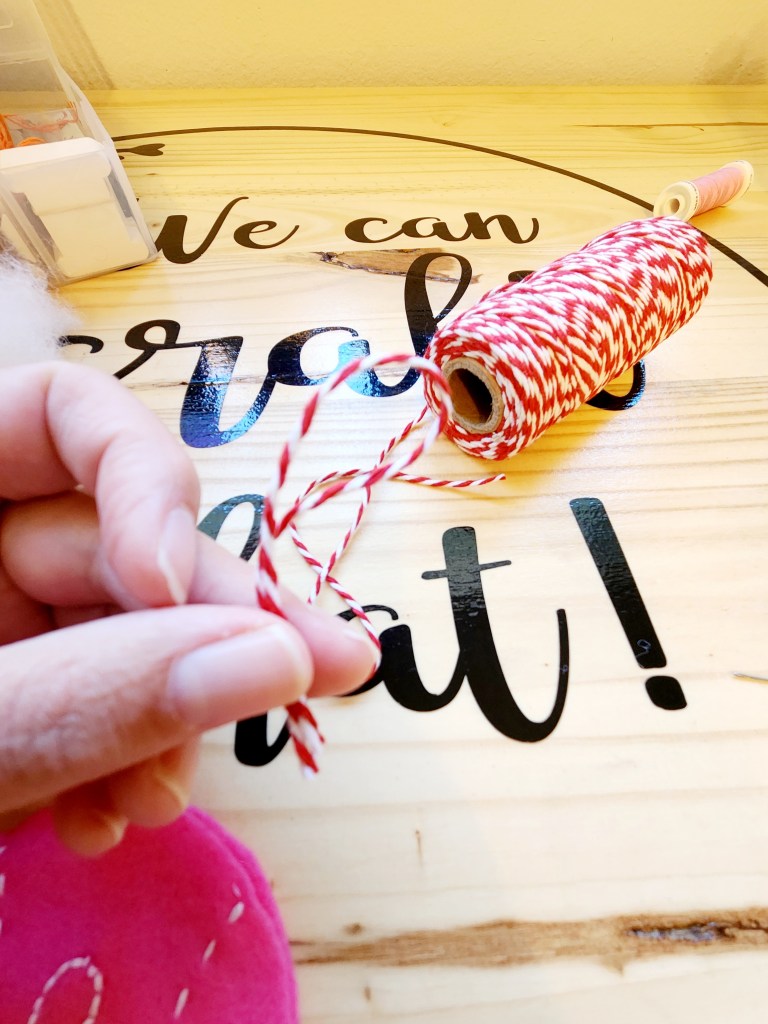
Step 5: Cut a small amount of your twine ( or ribbon or whatever your using for ornament hanger) and place it in your ornament sandwiched between the front and back pieces. Your going to be sewing it in place. You could add a dab of fabric glue if you’d rather do that.
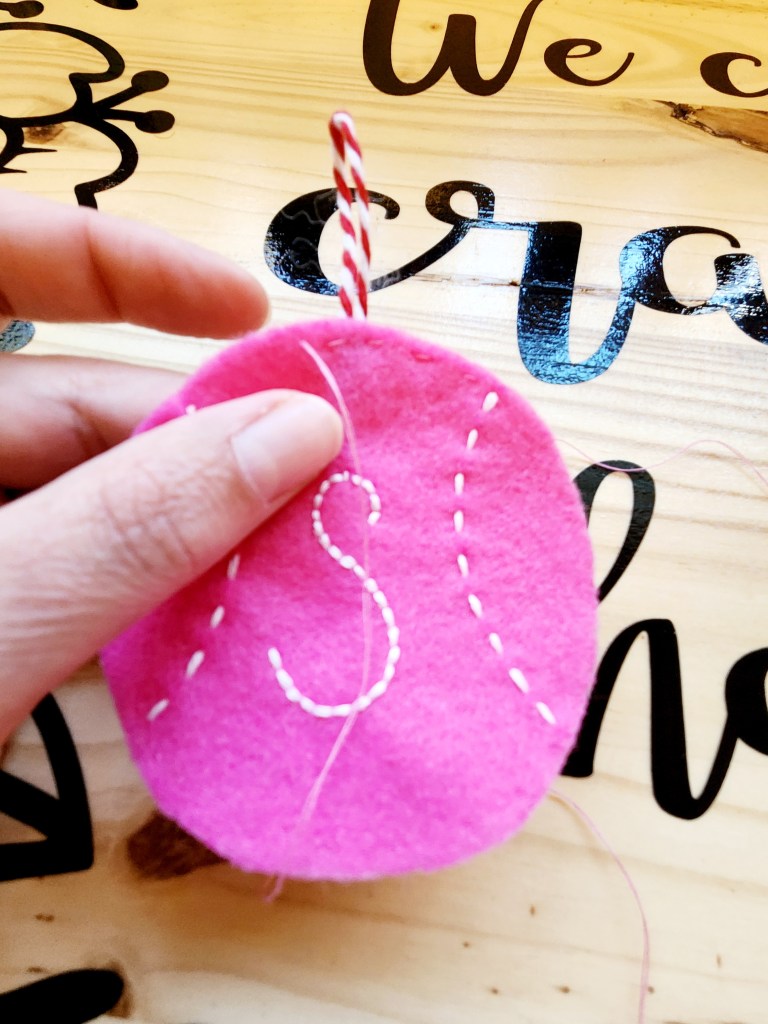
Step 6: Sew around the edge of your ornament. Make sure you stitch through both sides of your twine to secure it in place. We used a coordinating colored thread so it would blend in but you could use whatever color you’d like to. You could chose a color that stands out so the stitch becomes a feature. It’s completely up to you! Make sure you leave a small section open so you can stuff your ornament.
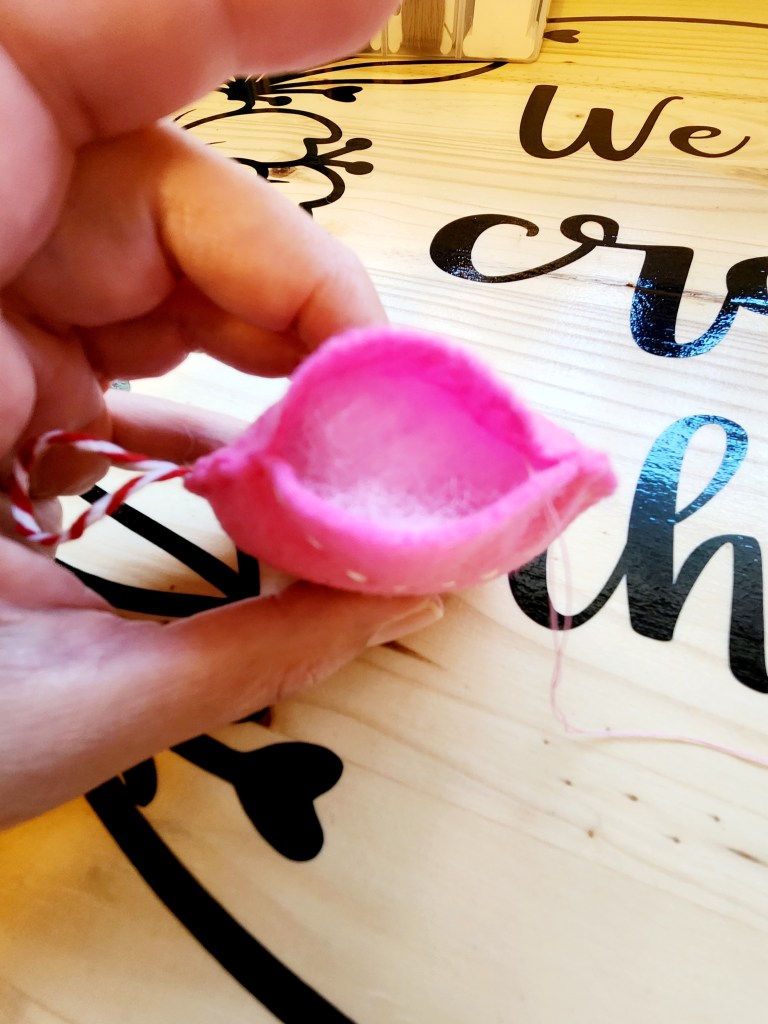
Step 7: Stuff your ornament with your poly-fill.
Step 8: Finish sewing the perimeter of your ornament.
Step 9: Heat erase your pen marks if you used a handy dandy heat erase pen. We like to use our heat guns to do this but you could use a hair dryer too.
That’s it! This is a quick and pretty easy project. But, we think they come out pretty darn adorable! You could do any color or type of ball. Have fun with it!


Leave a comment