
Is it just us or do you think a calendar is such a fun gift to give. They come in every theme, style or design you could possibly want. Who doesn’t use a calendar? We’ve made several hand drawn calendars over the years as gifts. They range from pet calendars with photos of our family and friends fur babies to a spooky villain calendar. They are the perfect gift to give for the holidays so they can be used right at the beginning of the new year.
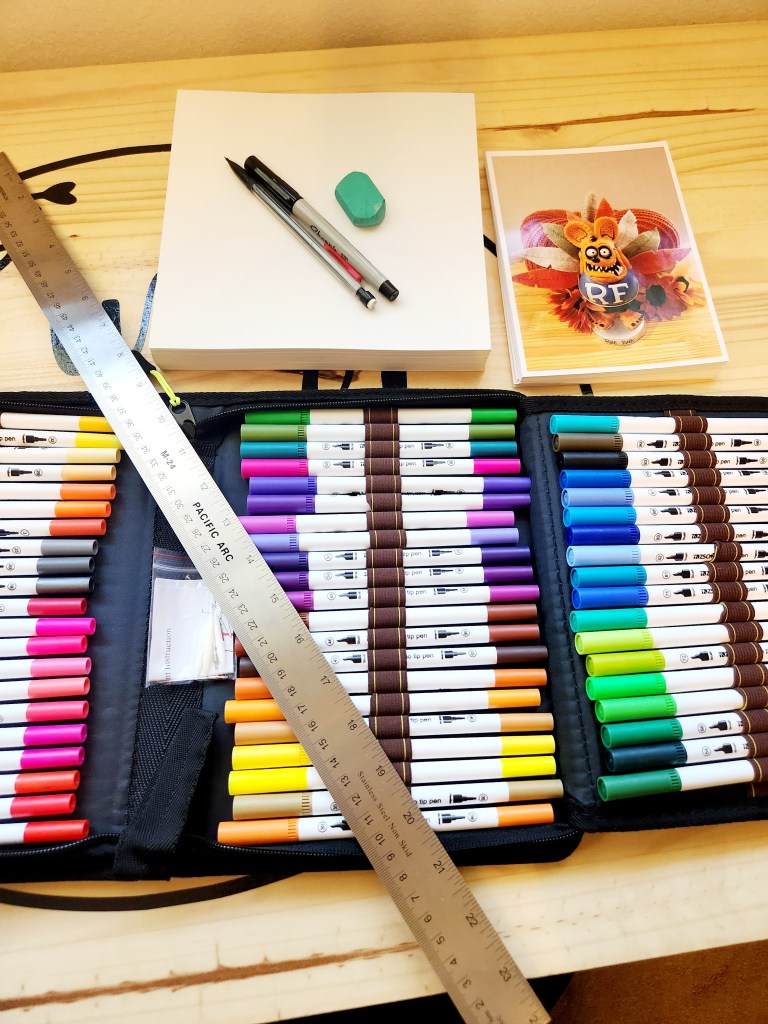
Step 1: Gather your supplies:
- Card stock ( we used 8×8 but you could do any size)
- Pencil and eraser
- Fine tipped black sharpie
- Ruler
- Markers
- Any other decor you’d like to use: washi tape, stickers etc.
- Photos ( we printed ours with our home printer)
- Clips or ribbon for binding ( we ordered .75” binder clips off Amazon)
- Hole punch
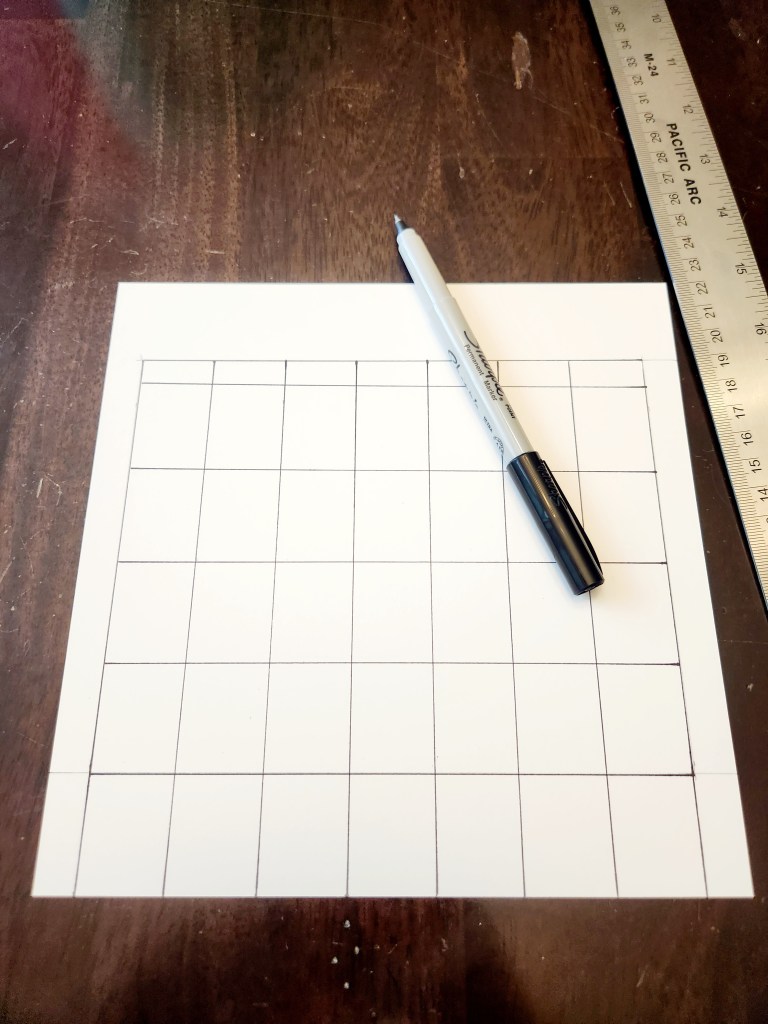
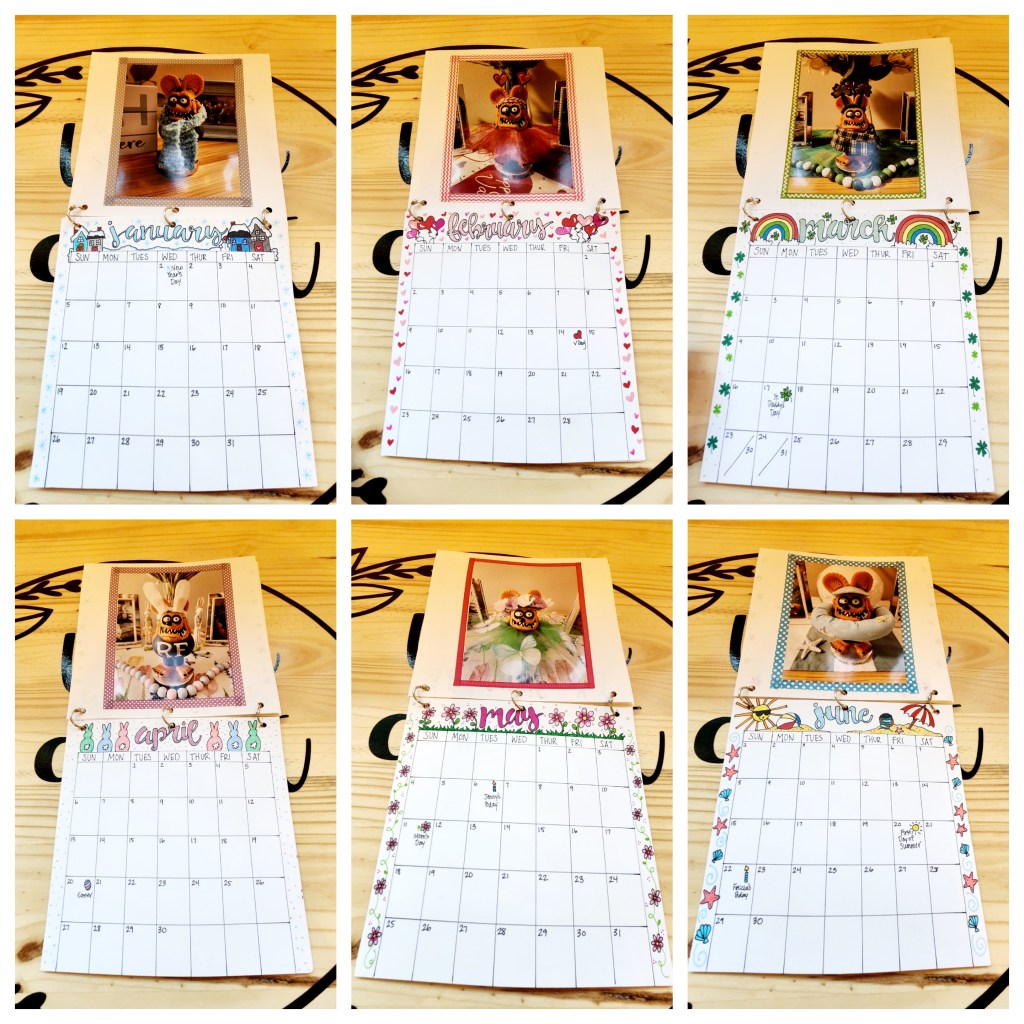
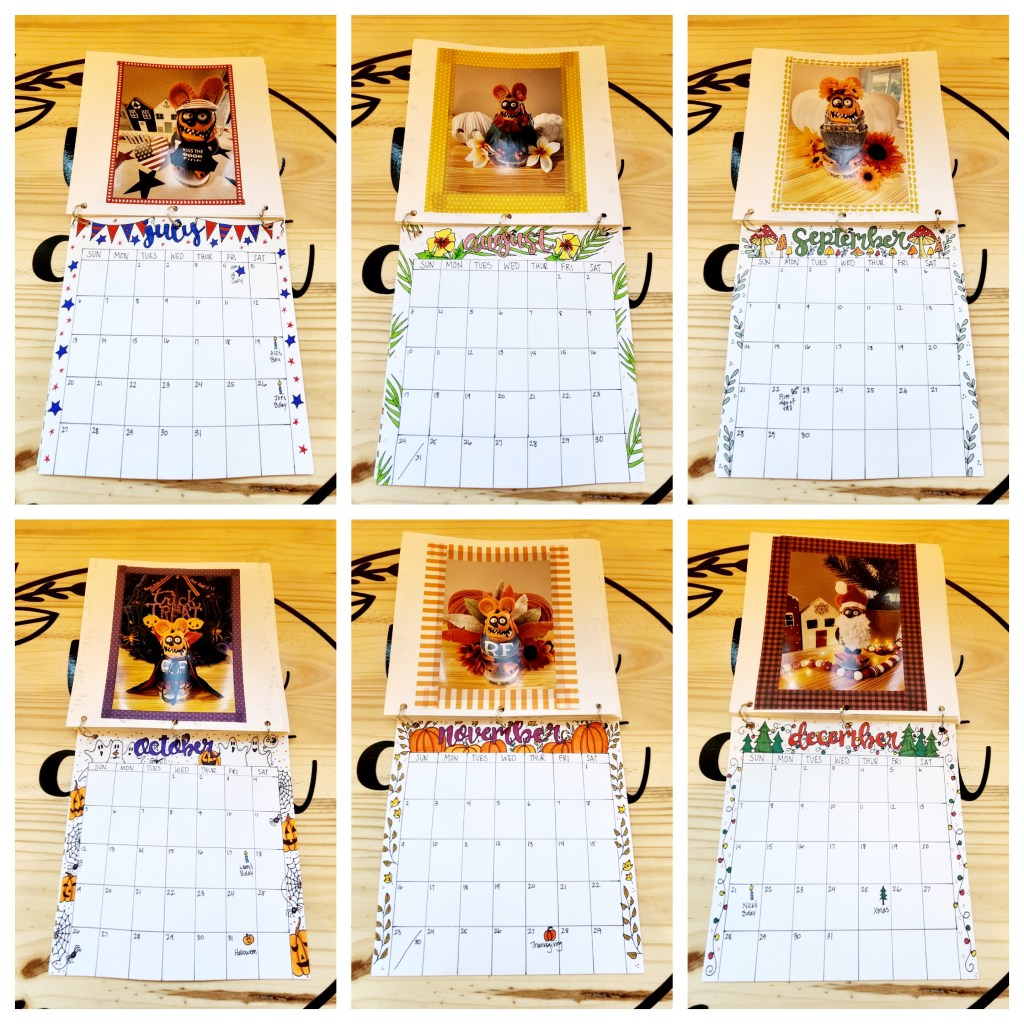
Step 2: Draw your grids. Depending on the size of your card stock figure out where all your lines need to be. They do have printable calendar options online but we prefer a more handmade look. You’ll need seven columns to the right ( Sunday through Saturday) and seven columns up and down ( five for the numbers, one for the days of the week and one for the month header.) We used pencil first and then went back over it with a fine tipped sharpie.
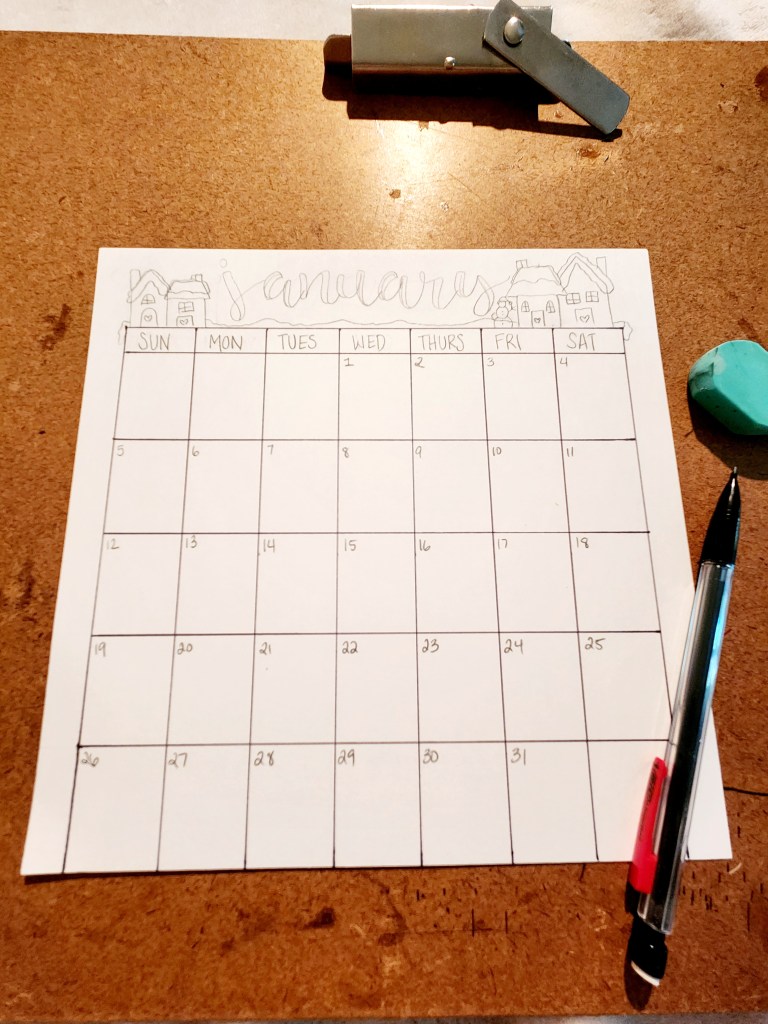
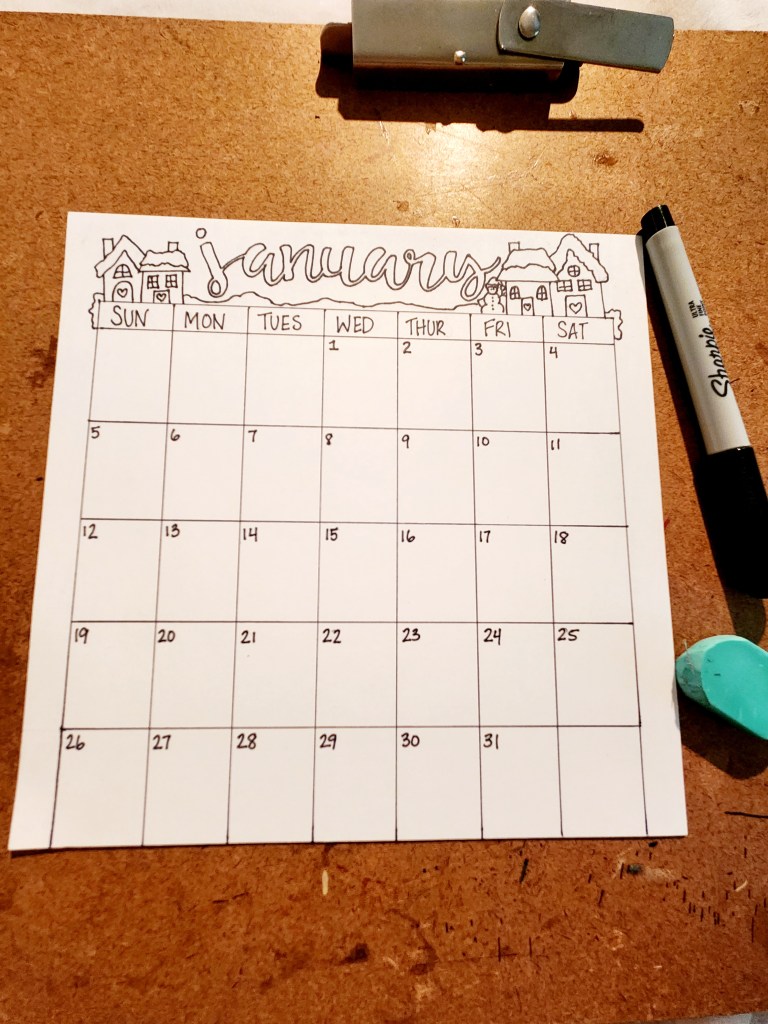
Step 3: Add your days of the week, numbers and month header ( January-December.) We again did everything in pencil first and then went over it with our sharpie. We also chose to add some coordinating decorations around the month to give the calendar some more interest. This is optional but we think it makes the calendar extra special. You can always go back and add more later. After everything is drawn on with sharpie erase any pencil lines.
Step 4: Add any color you’d like. Have fun with it! There are no wrong answers to this.
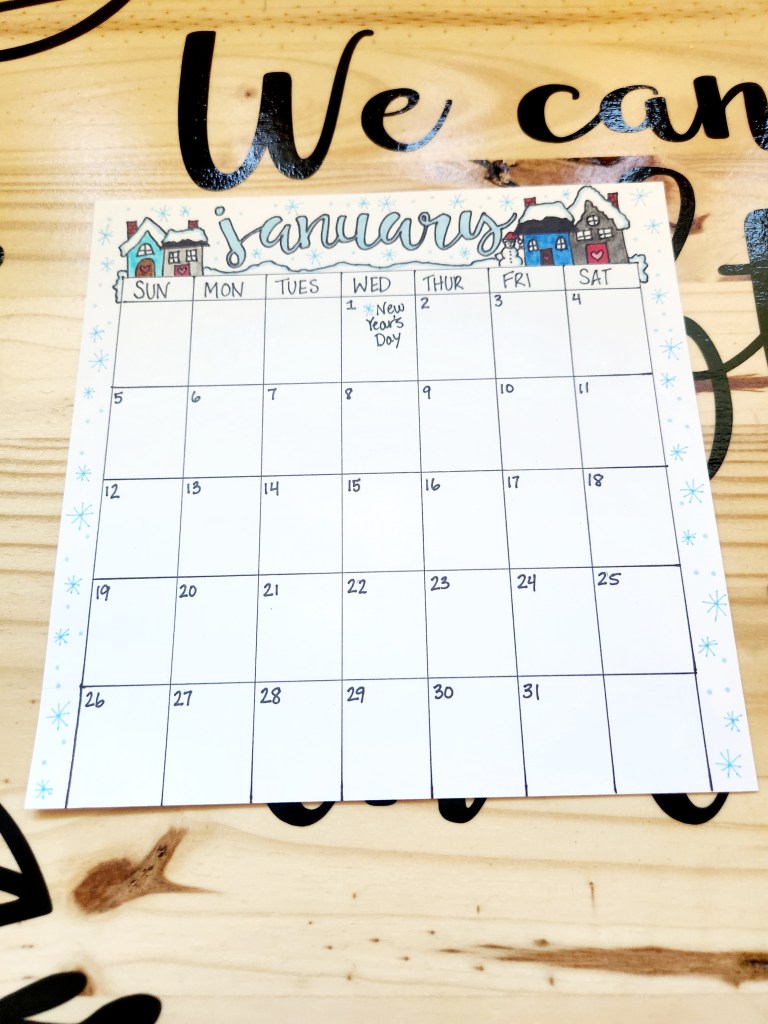
Step 5: Add any extras. We chose to write in our favorite holidays and family birthdays to add a more personal touch. You could add stickers too if you really wanted to take it over the top.
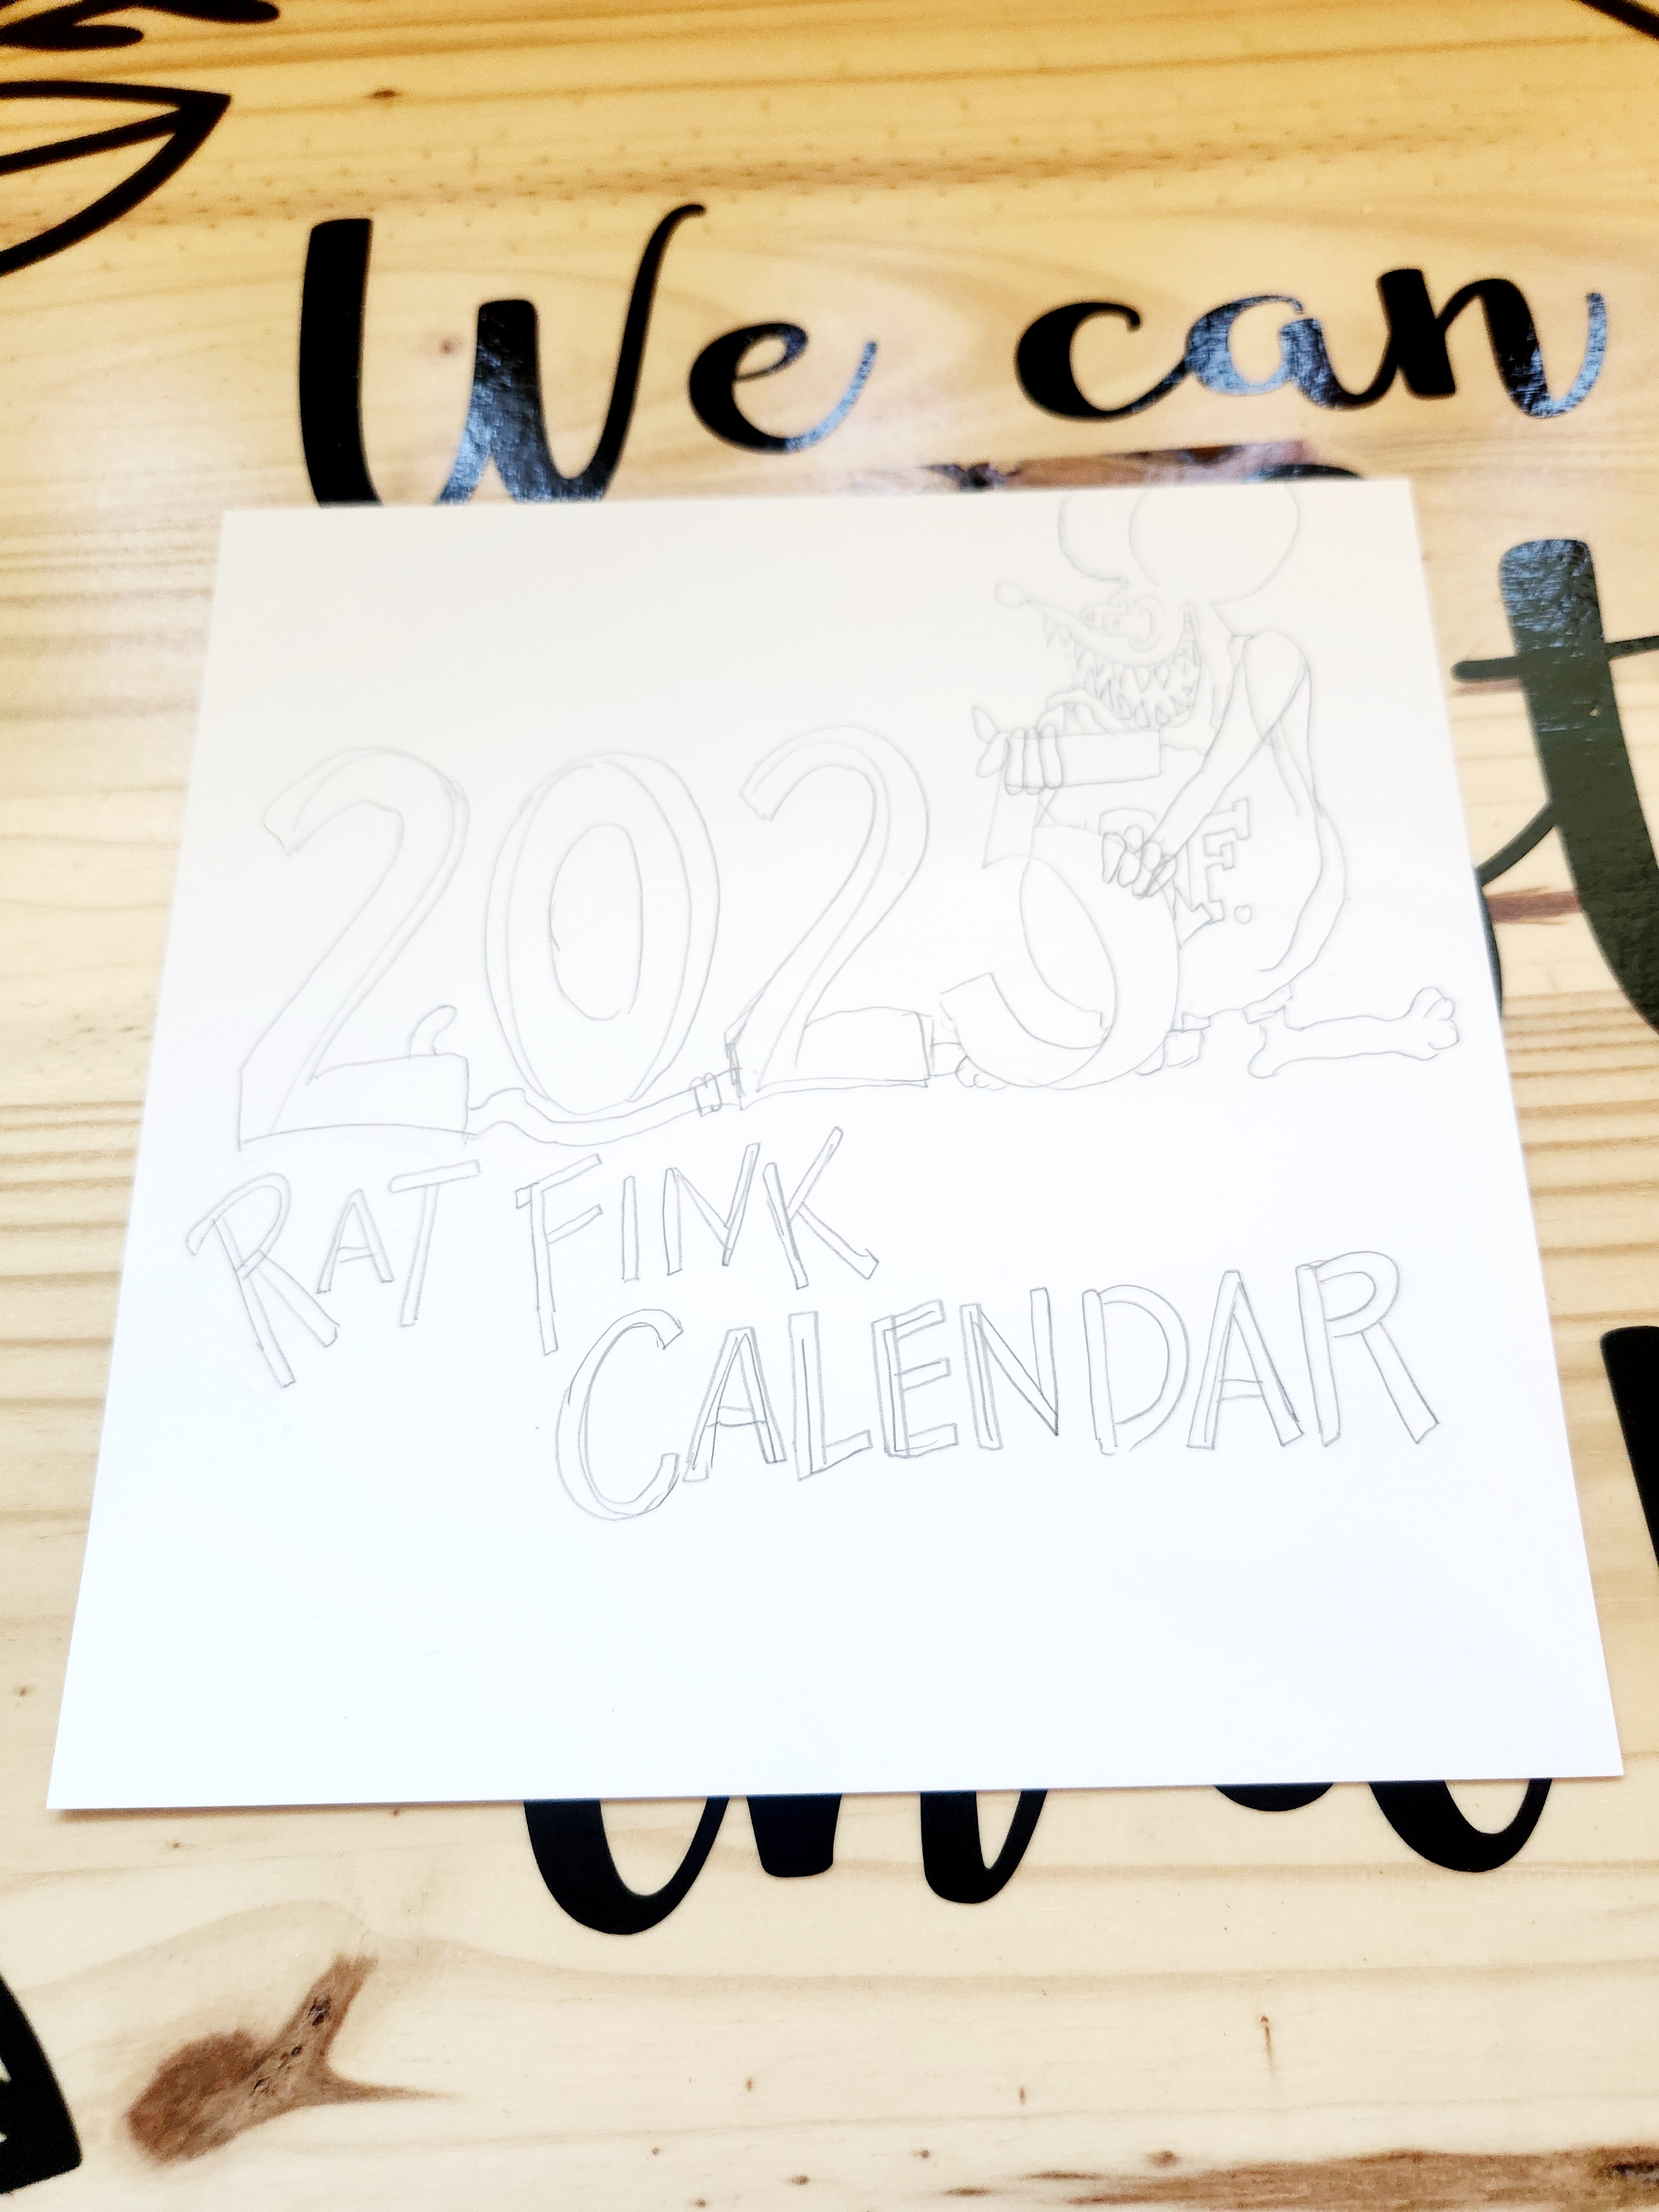
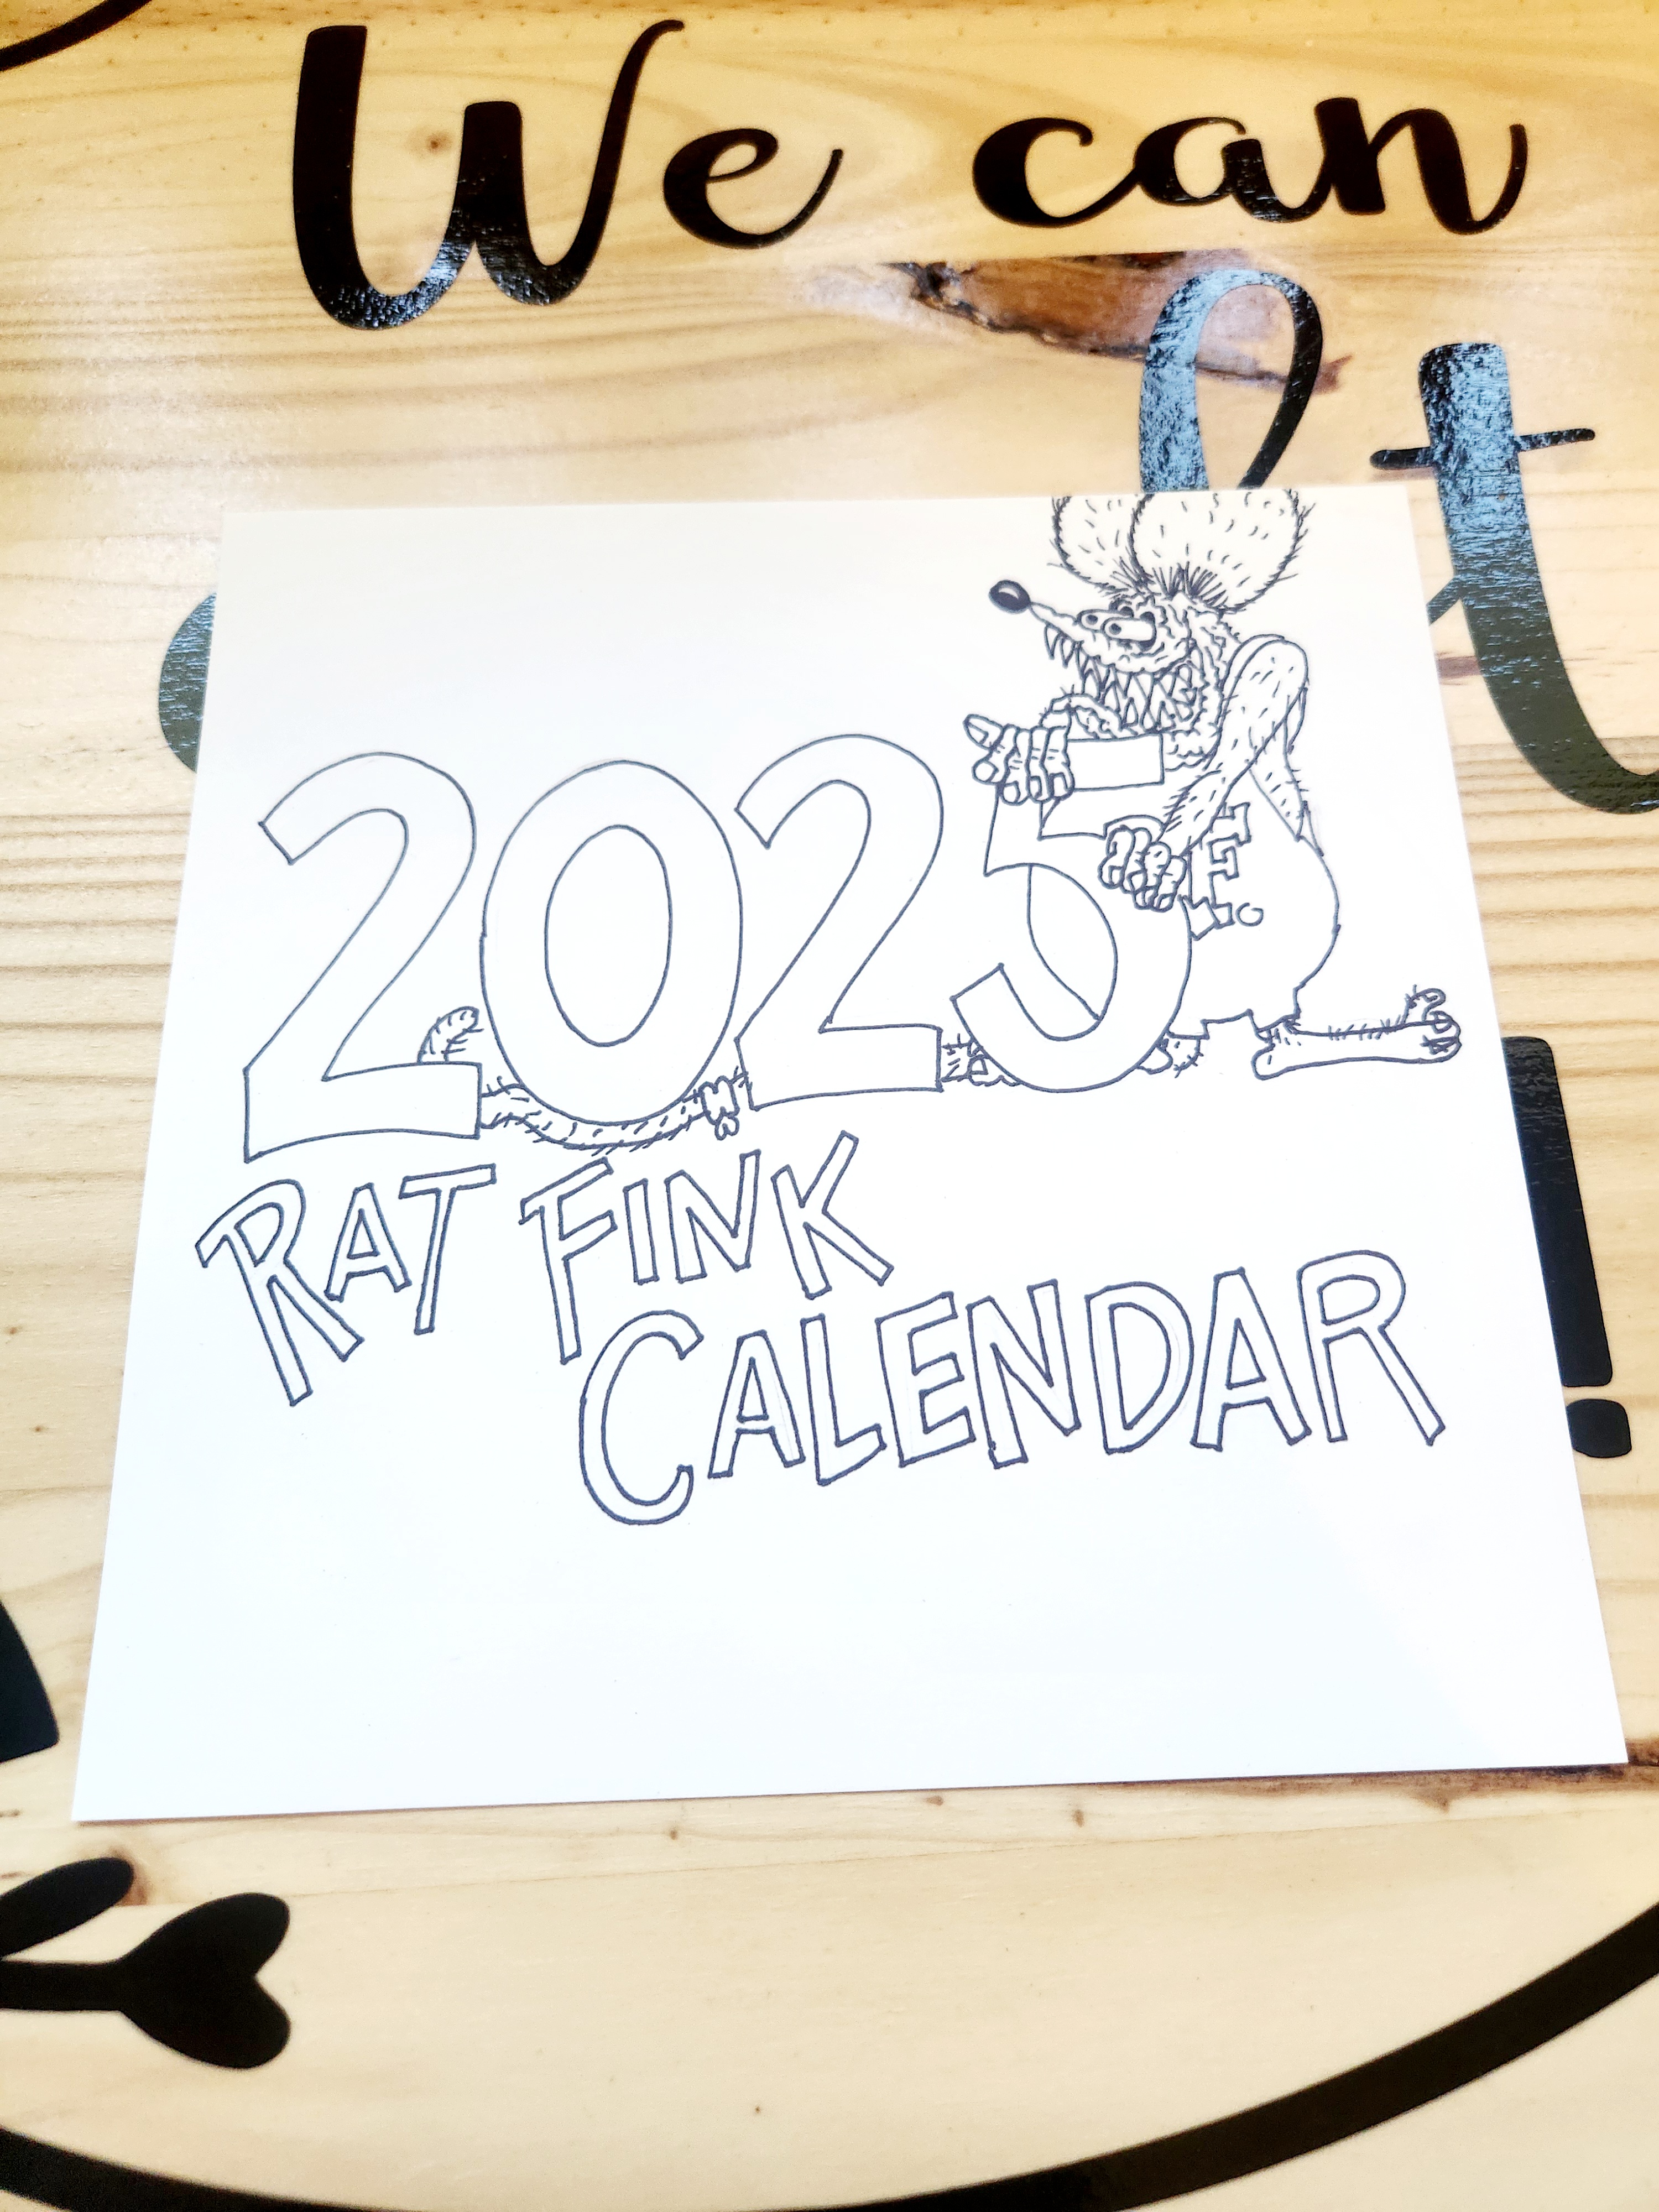

Step 6: Create a cover of some sort. You could either draw one like we did or print an extra photo.
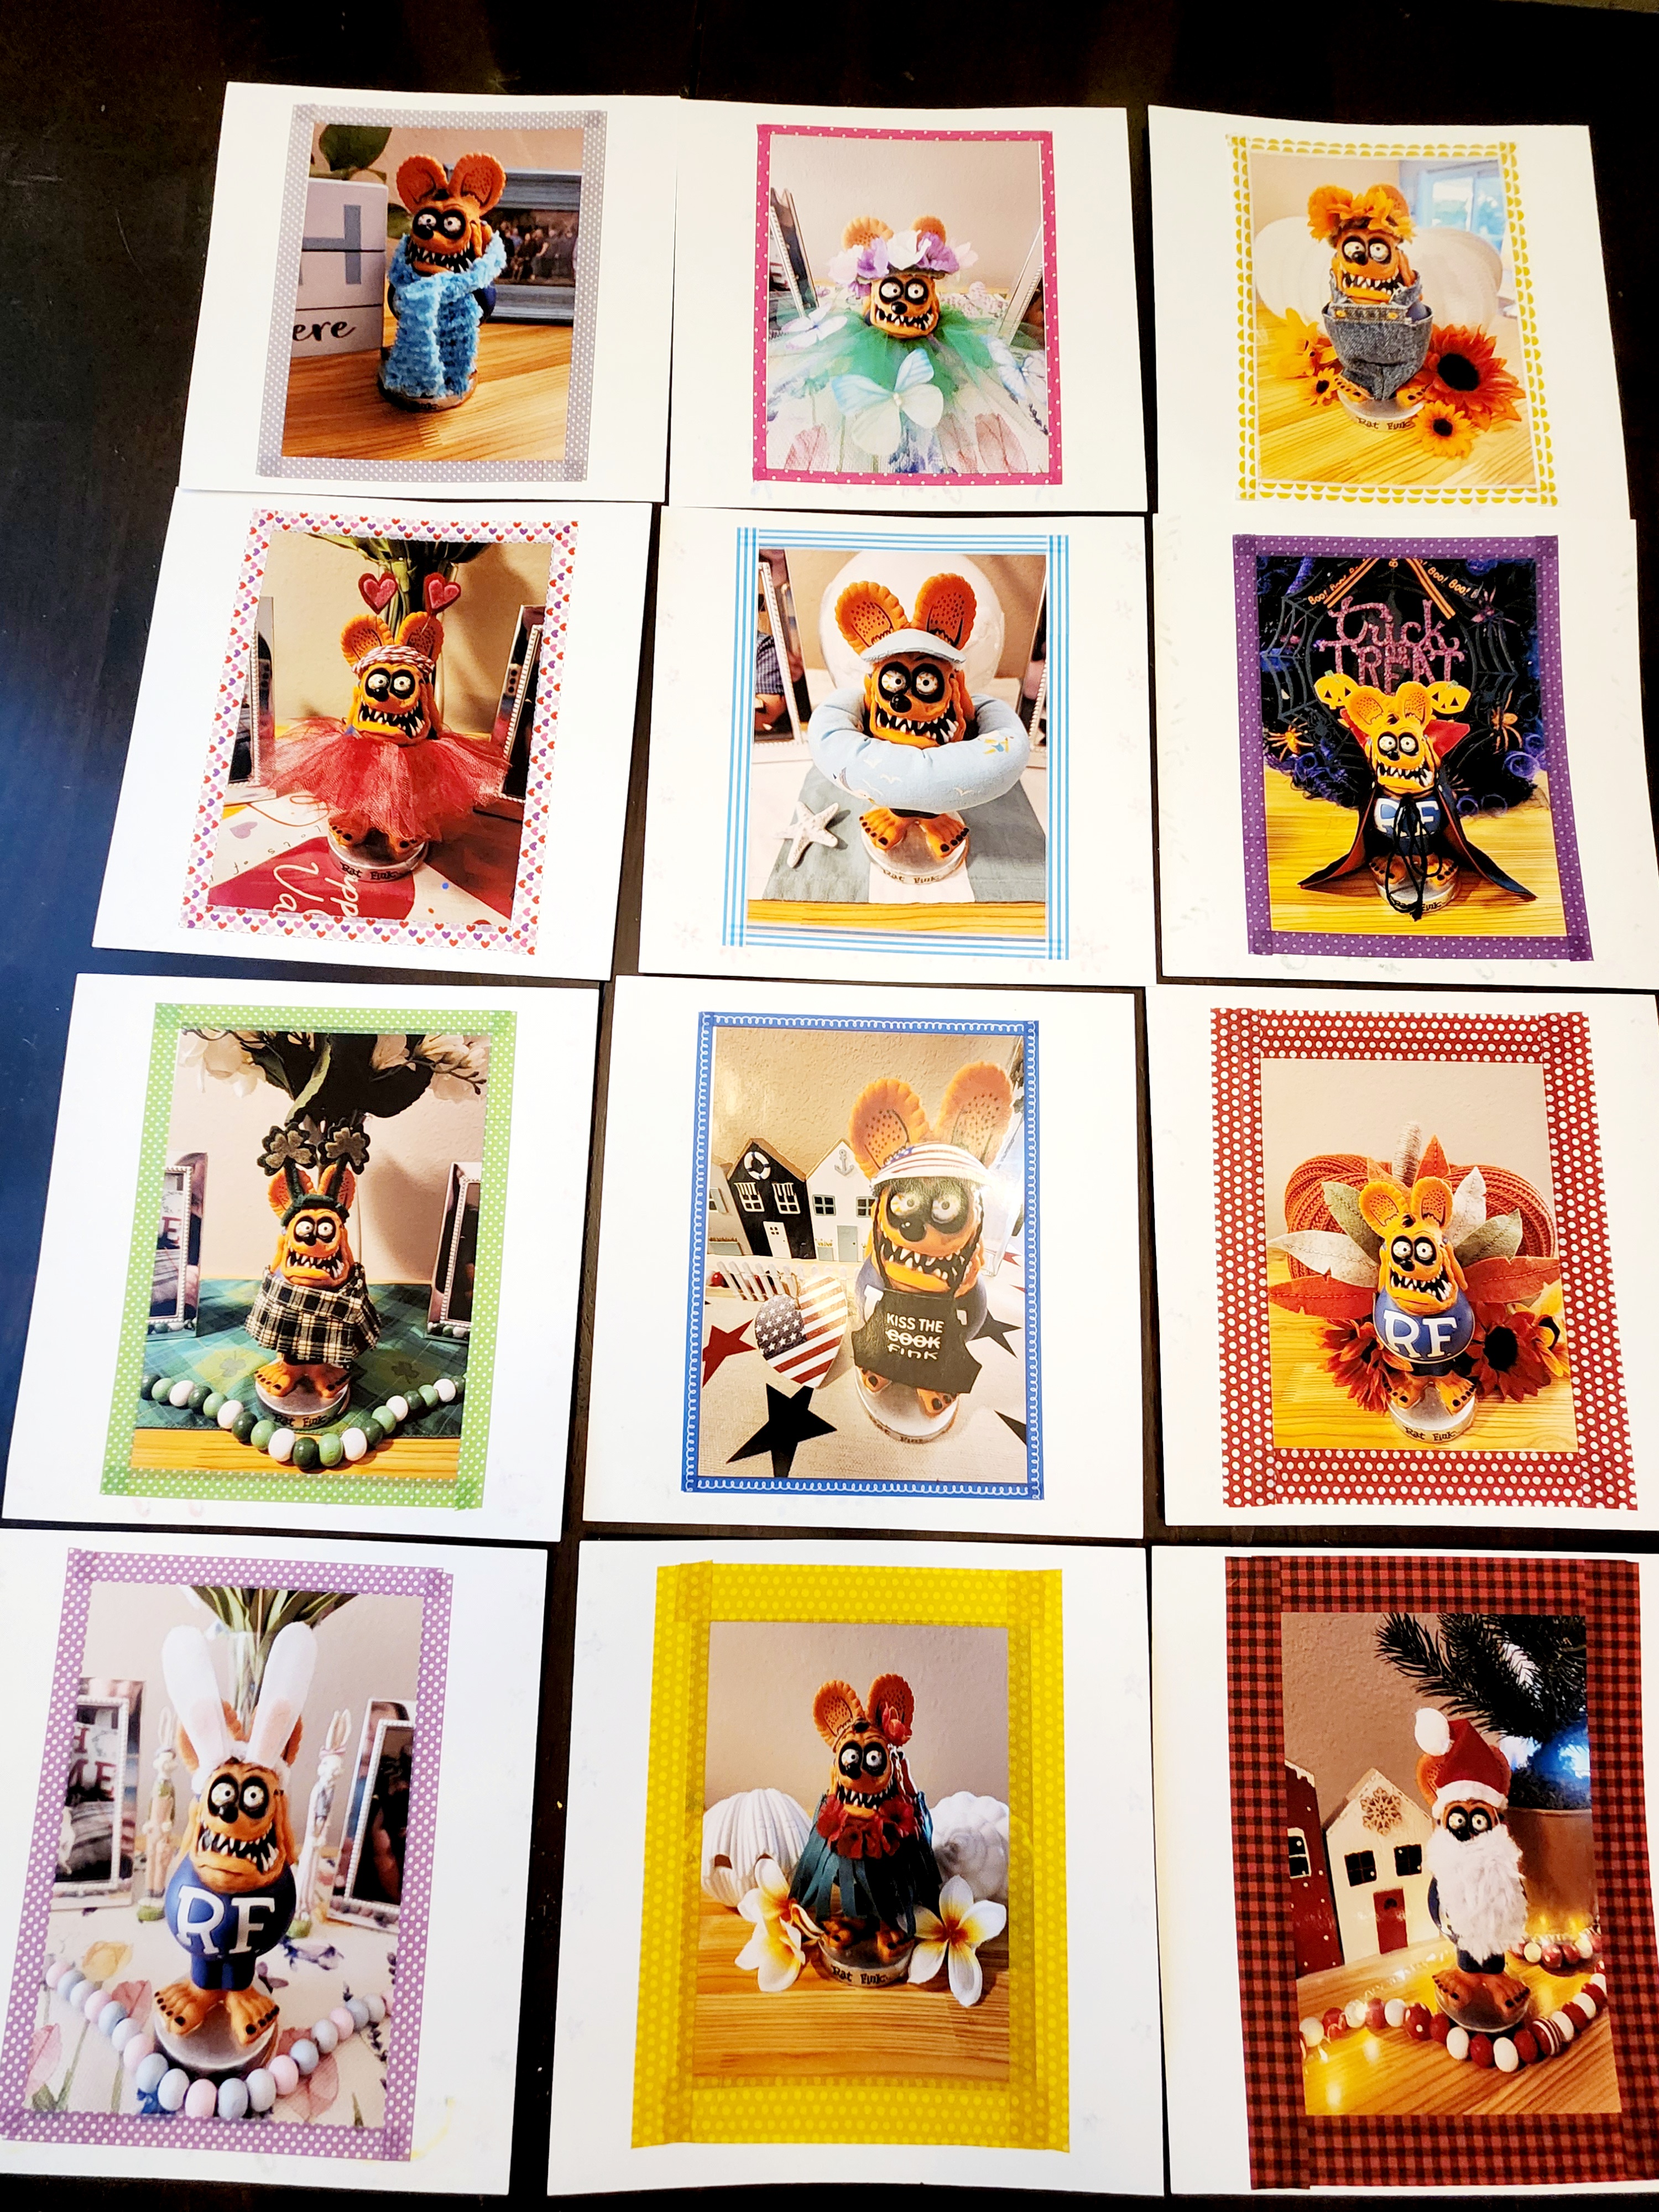
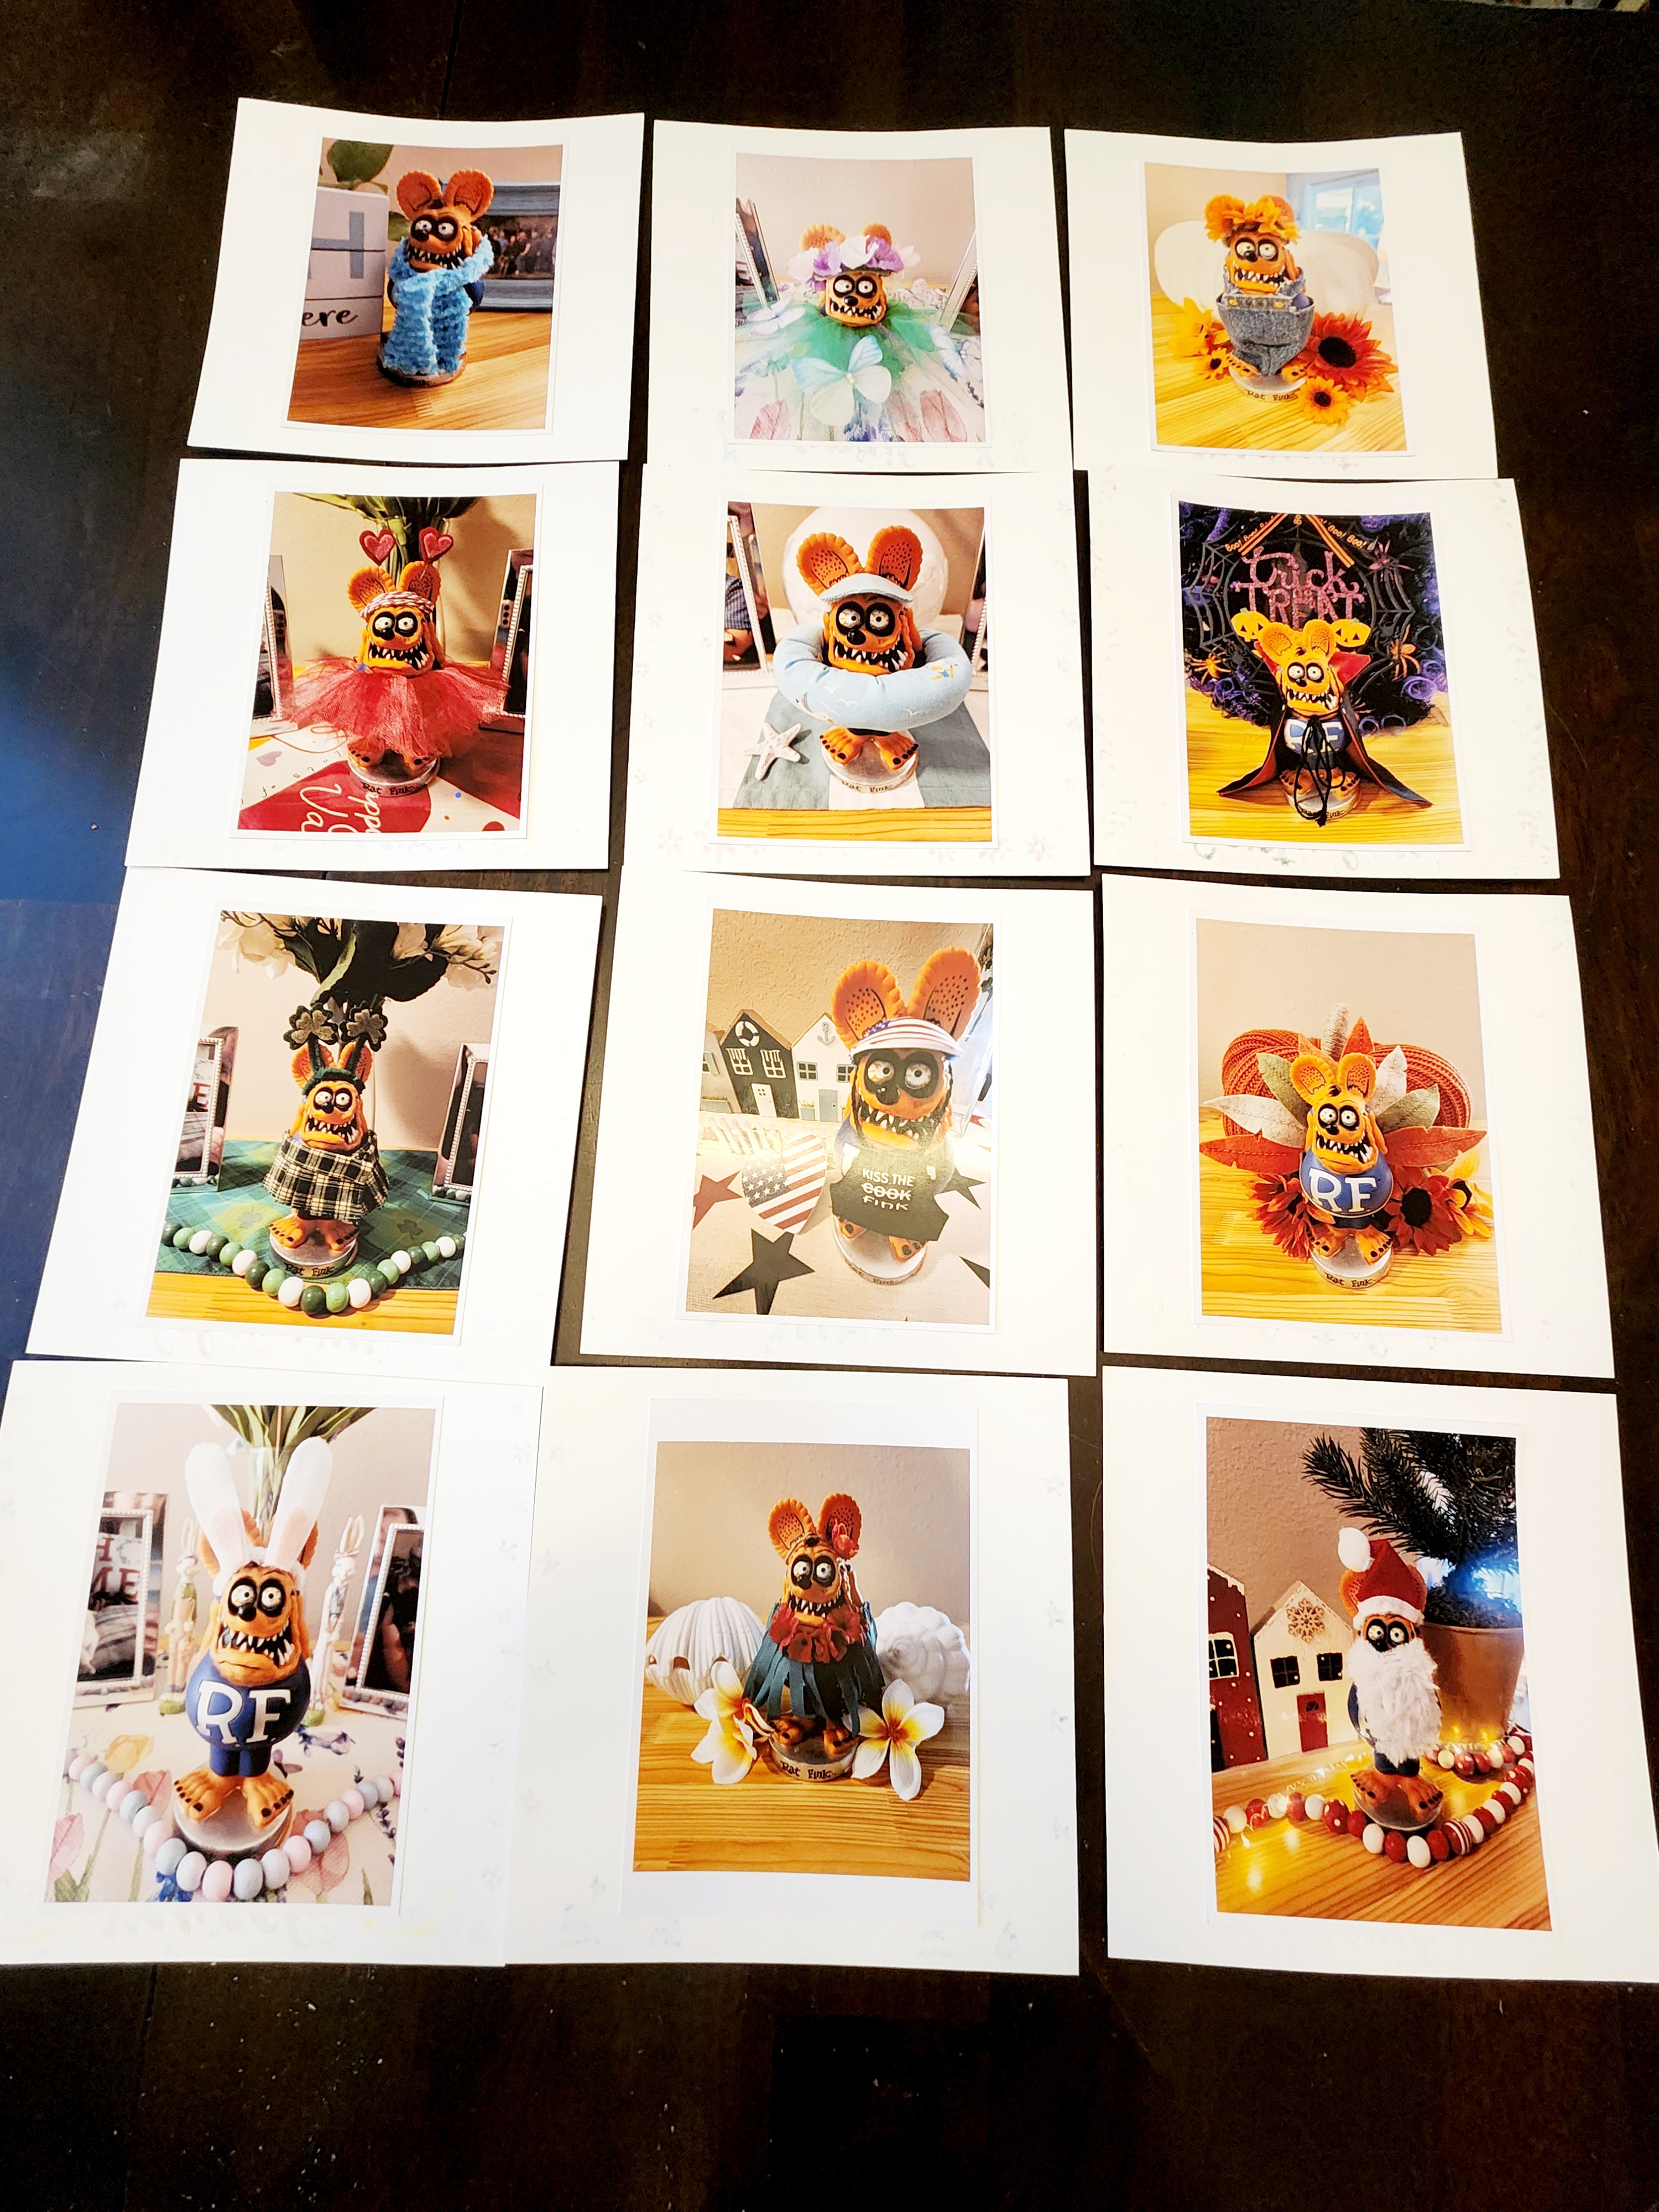
Step 7: Add your photos. We used a glue stick to attach them to our card stock.
Step 8: This is optional but we just happened to have quite the stash of washi tape from a previous project. So, we decided to add washi tape as a border on all our photos.
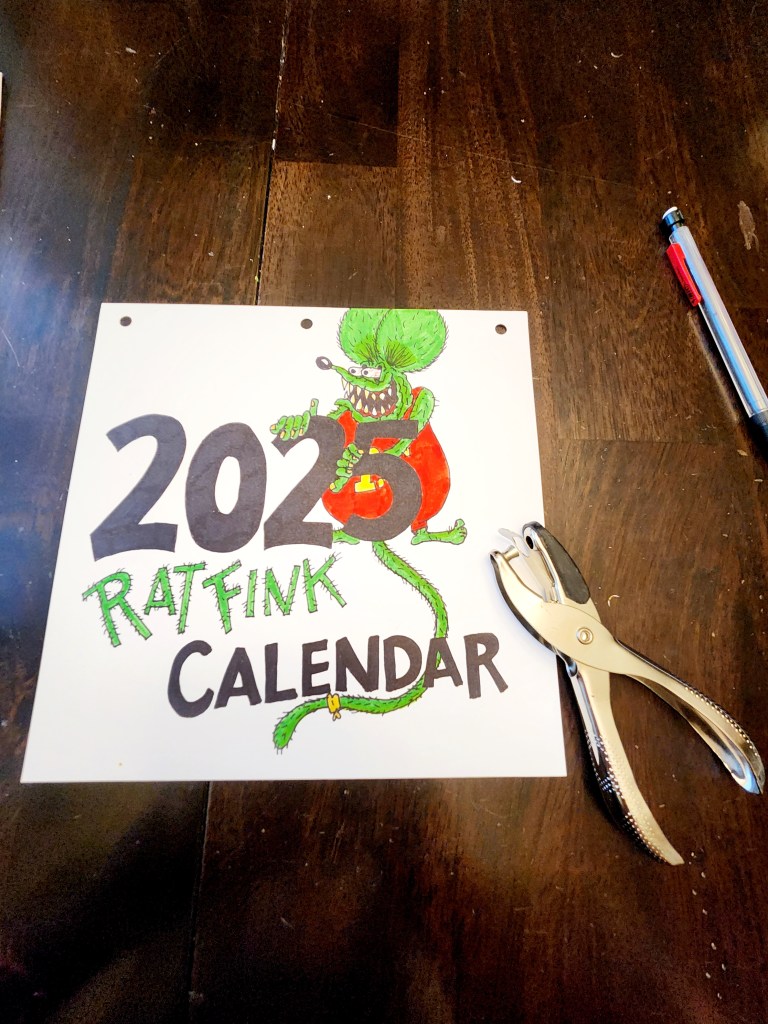
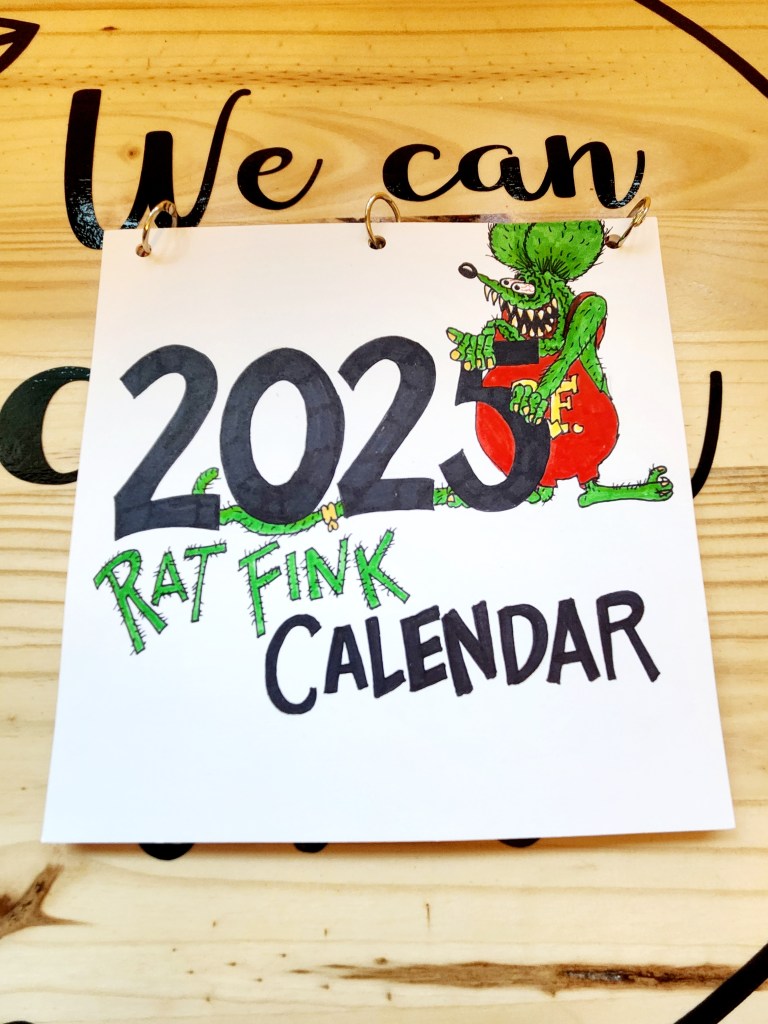
Step 9: Use a hole punch to create holes in your calendar. We used a pencil to make sure all the holes lined up. Then use your binder clips ( or decorative ribbon) to attach everything together.
Now you have a one of a kind gift able calendar! Trust us, your family and friends are going to go bonkers over these! Not only are they awesome they are actually useful.


Leave a comment