

Happy Valentine’s day everyone! We don’t know about you guys but we just love to decorate throughout the year. The obsession started outside on the porch and now has slowly migrated inside too. It just brings some extra cheer once all the Christmas decorations are taken down. Plus it gives us a great excuse to use some of our fabric scraps in our fabric collection. It’s a win win!
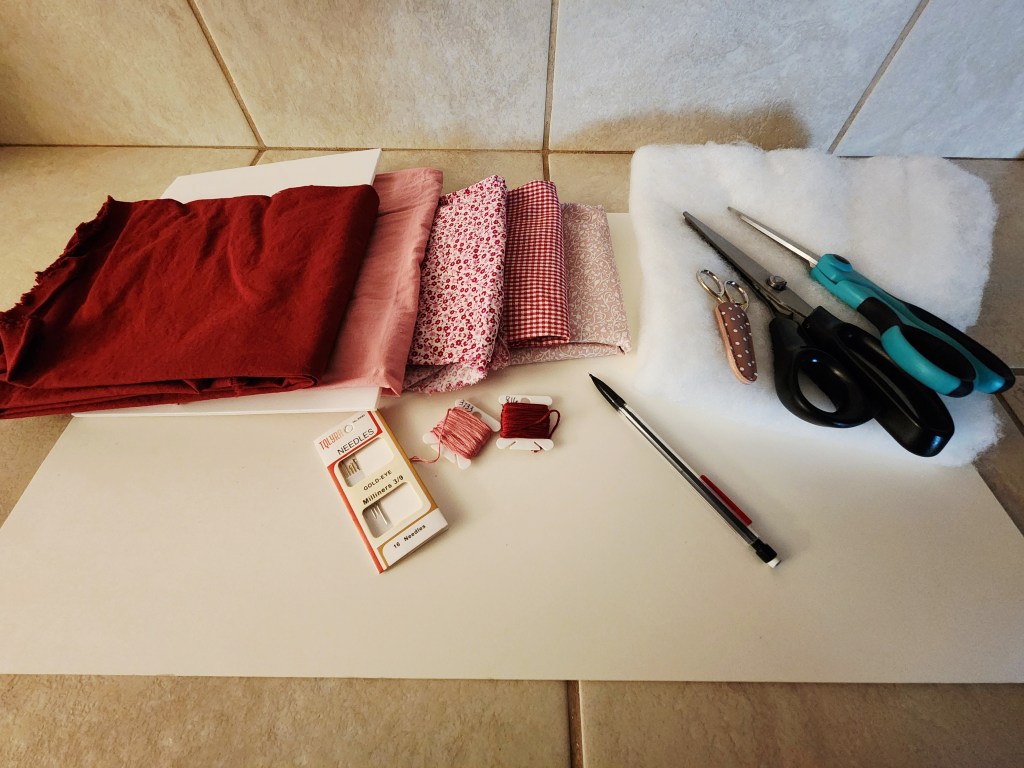
Step 1: Gather your supplies:
- Fabric ( we wanted each heart to be different so we used a selection of coordinating fabrics but this is up to you and what look your going for)
- Fabric scissors and pinking shears
- needle and thread ( we used embroidery floss so we could get a more exaggerated stitch but regular thread would work too)
- poly fill
- Paper for a stencil
- An iron
- String
- Fabric glue
- Heat erase pens ( or a regular pen)
- Bows or embellishments ( this is optional)
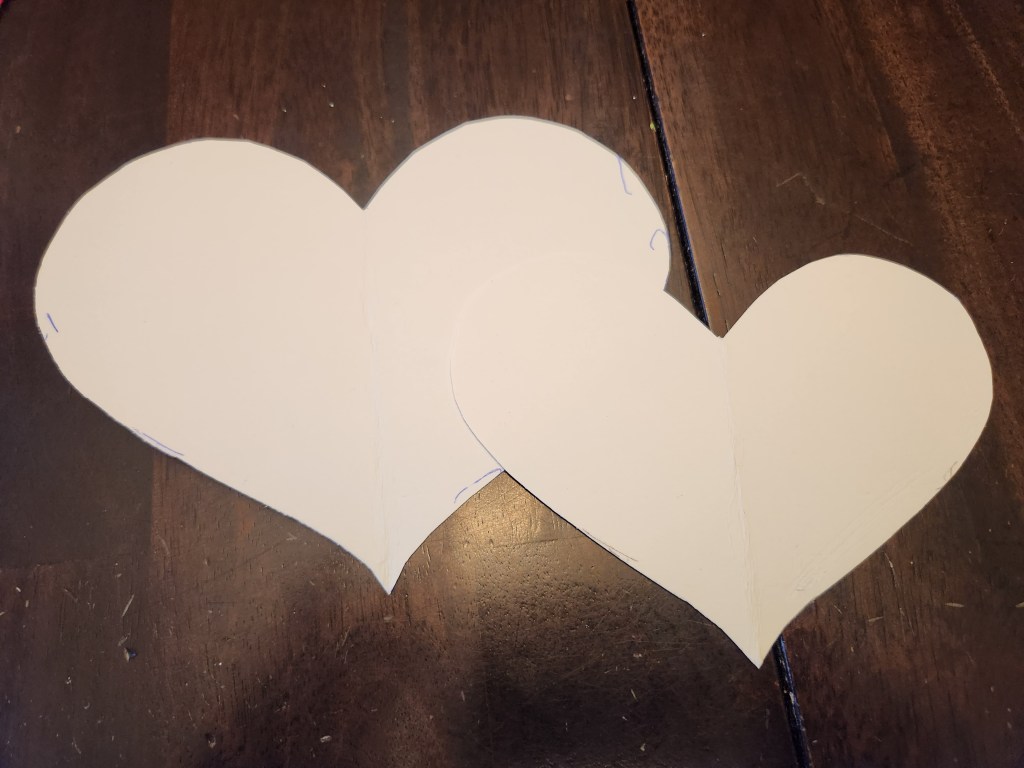
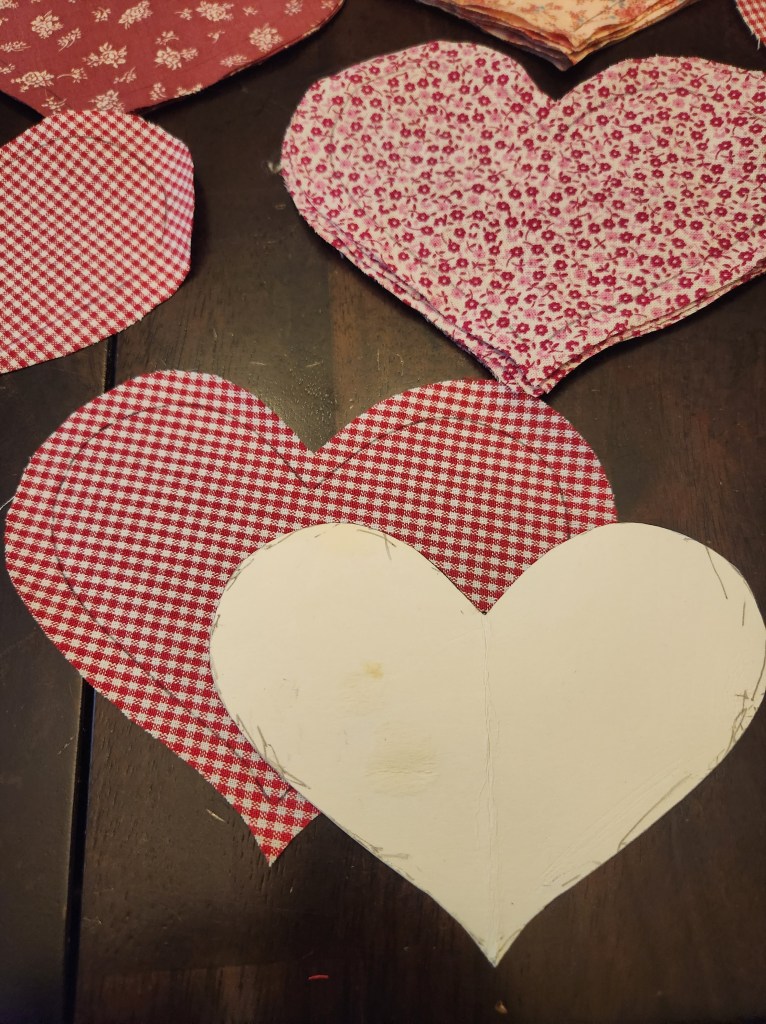
Step 2: Create your stencil. Your heart can be as big as you’d like it to be. Keep in mind your shape will shrink once it’s filled and cut down with your piking shears. We decided to create two different stencils to make things easier. We made a bigger heart for the main shape and then a smaller heart for where our stitches need to be. This will help our stitches remain in a straight line and make sure there’s enough room to cut off with our piking shears to make the cute scalloped border.
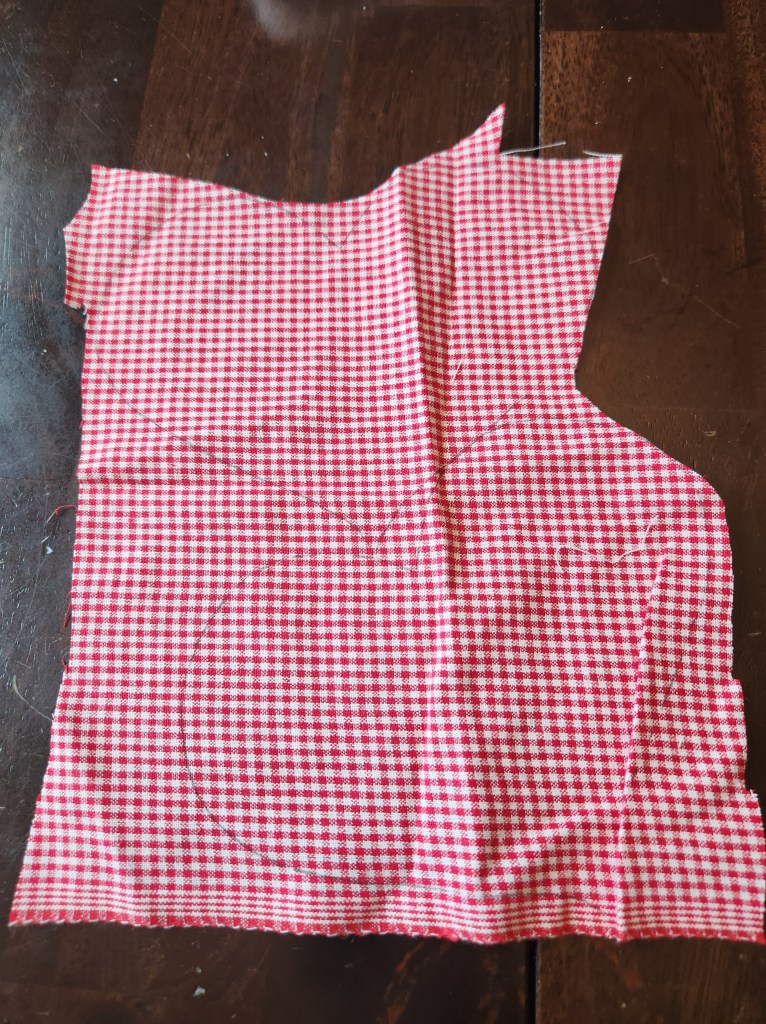
Step 3: Lay out your fabric and trace your stencil onto your fabric. You’ll need 2, a front and a back.
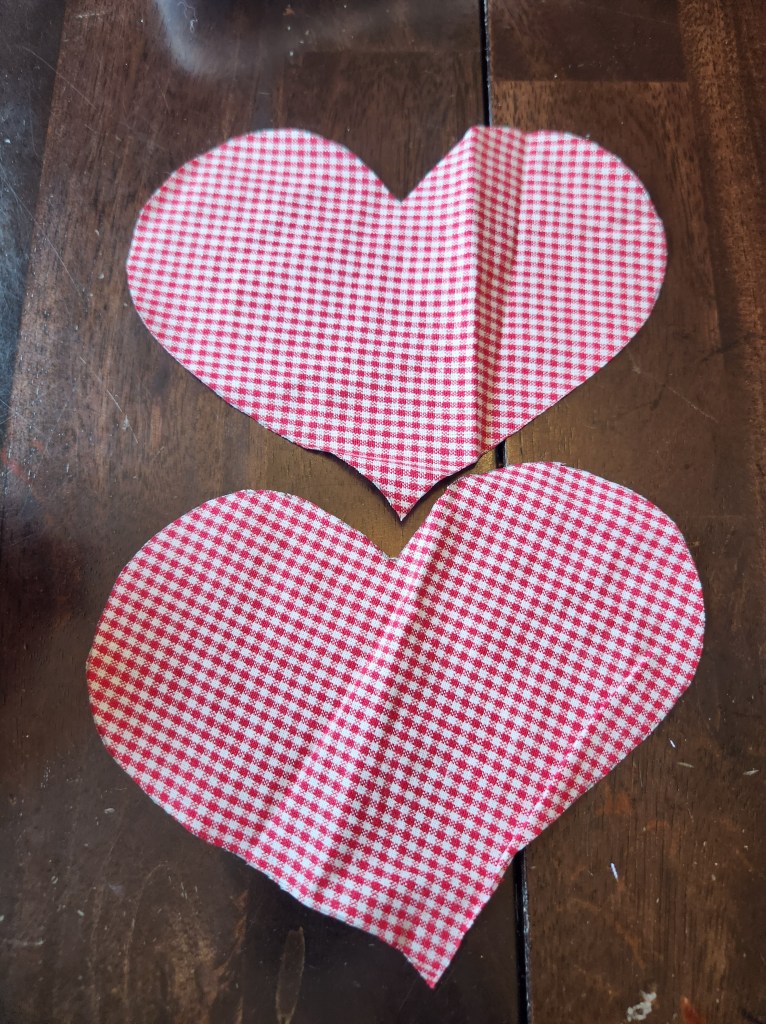
Step 4: Cut out your hearts.
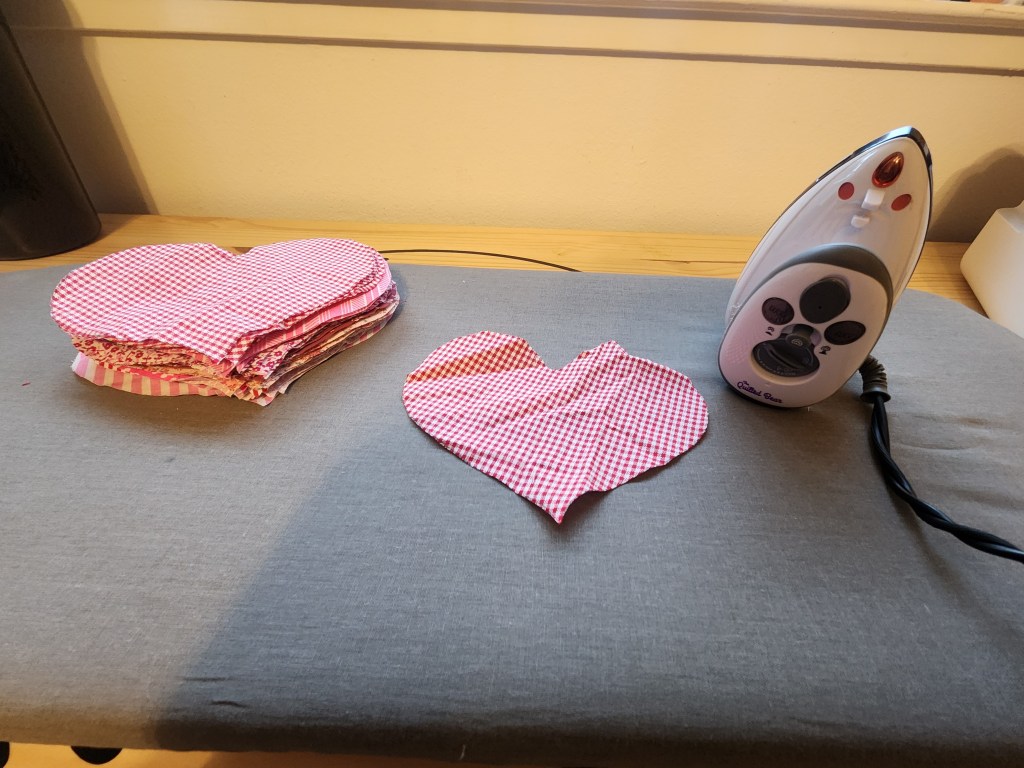
Step 5: Iron your hearts ( this step optional). We think it helps with sewing and makes the final project look slightly better.
Step 6: Using your heat erase pen trace your smaller stencil onto one of your hearts. You only need it on the front heart . Now you have something to follow while your sewing.
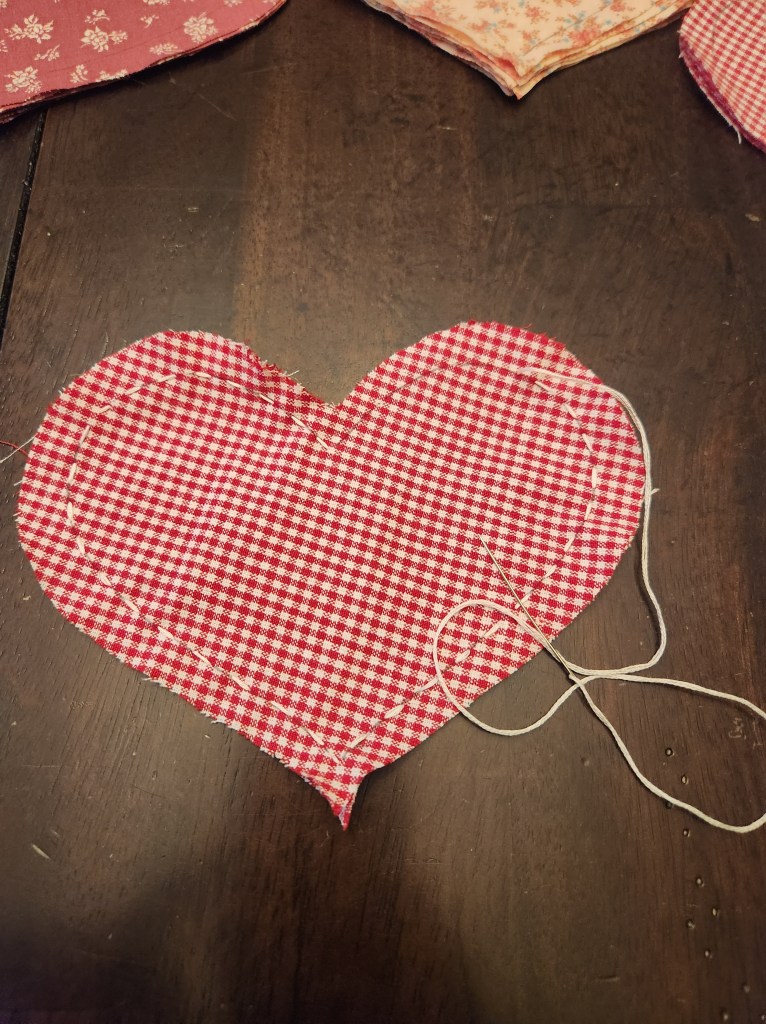
Step 7: Sew your two hearts together ( make sure you have the front part of your fabric facing out). Leave yourself a small hole so that you can fill your heart with poly fill.
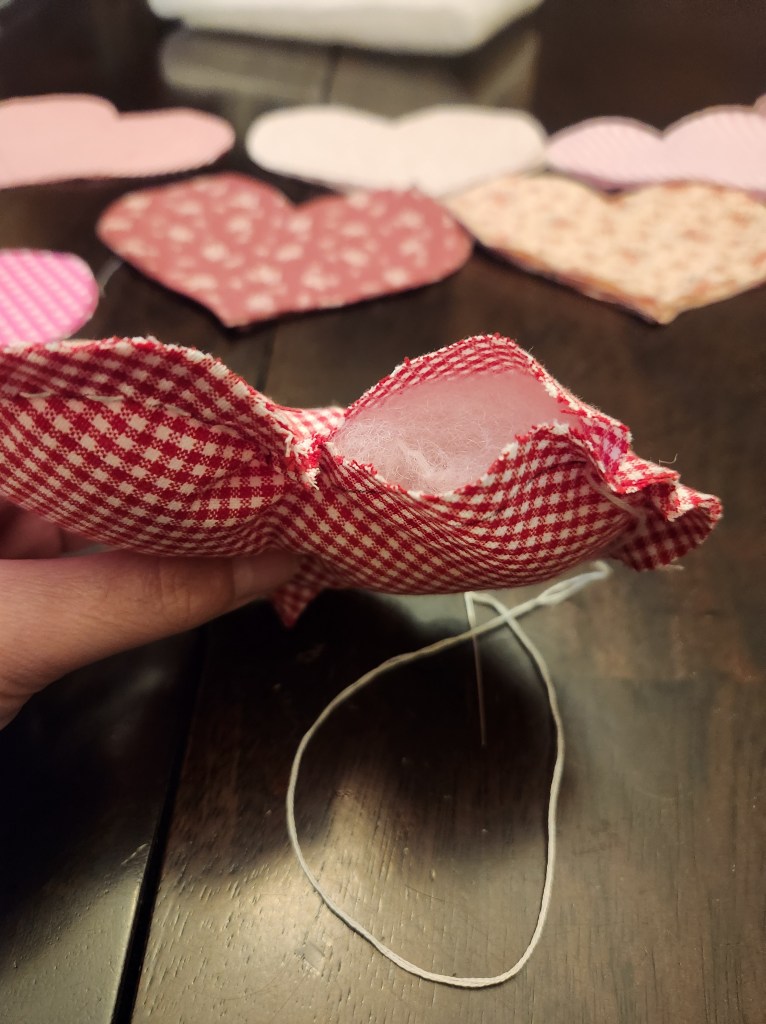
Step 8: Fill your heart with your poly fill.
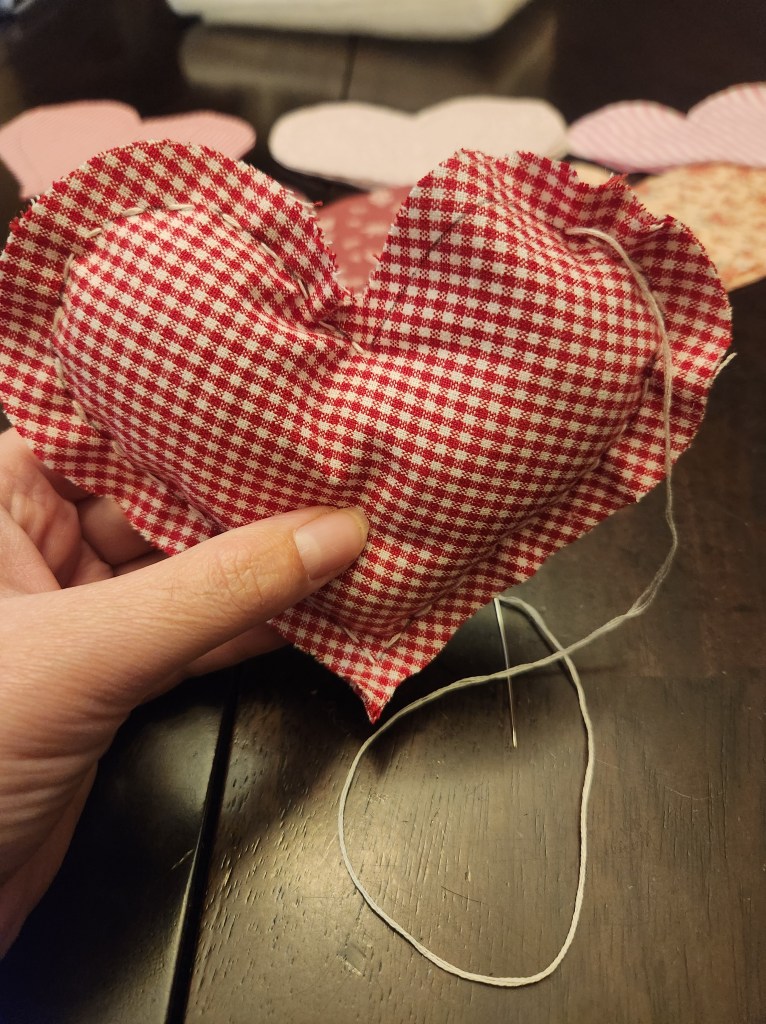
Step 9: Finish sewing your heart closed.
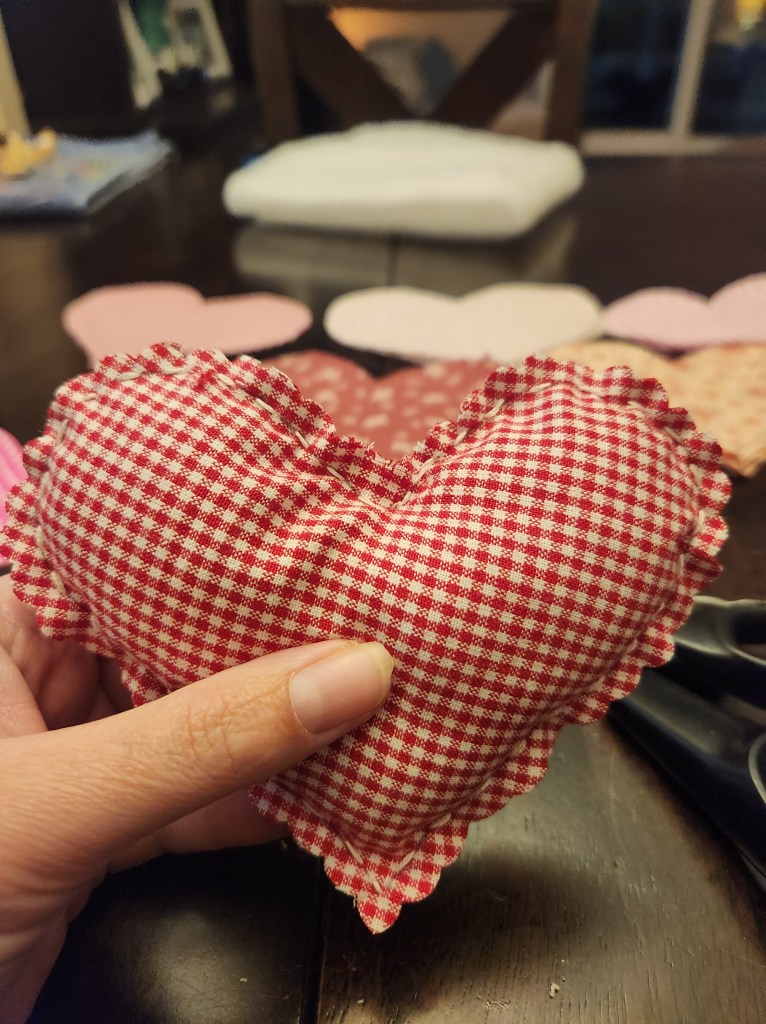
Step 10: Cut on the outside of your stitches using your piking shears to create your scalloped border.
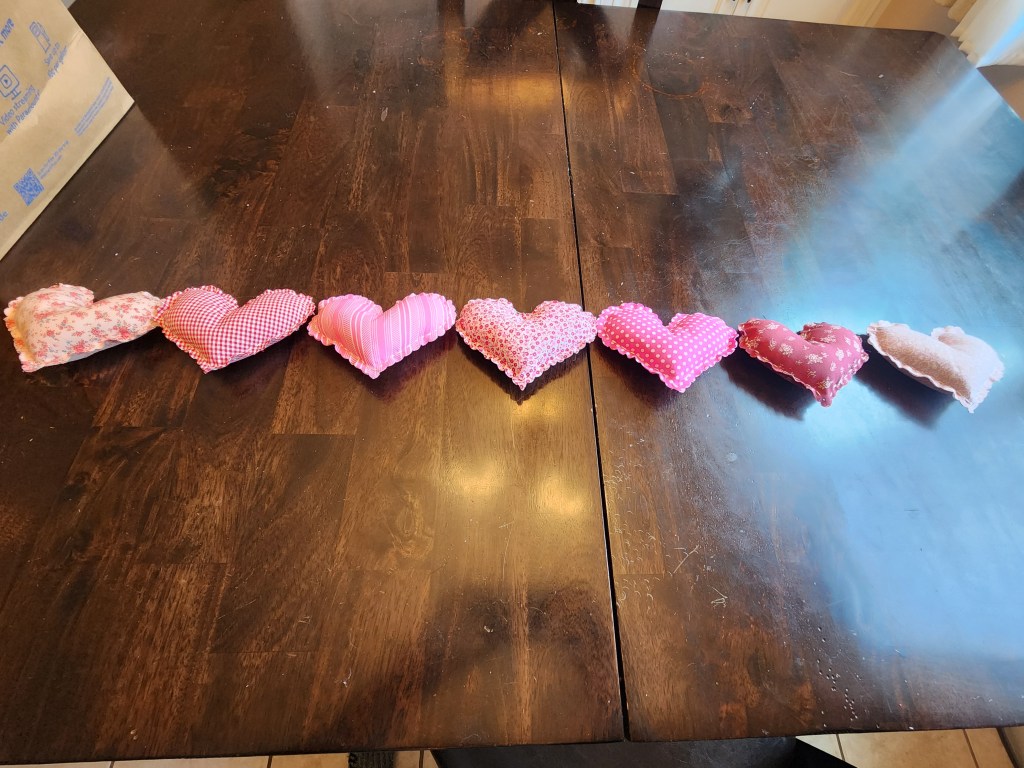
Step 10: Layout your hearts to figure out what you want your pattern to be.
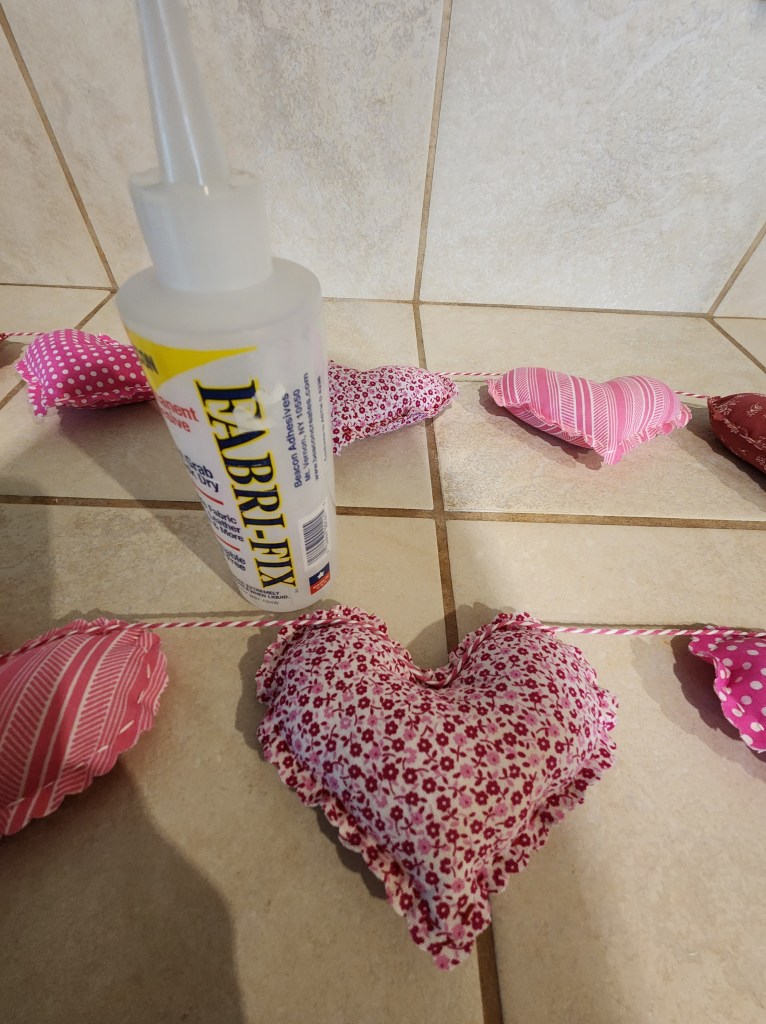
Step 11: Using your fabric glue attach your string to the backs of your hearts. We decided to attach it all the way across the tops of the hearts so that they hung nicely.
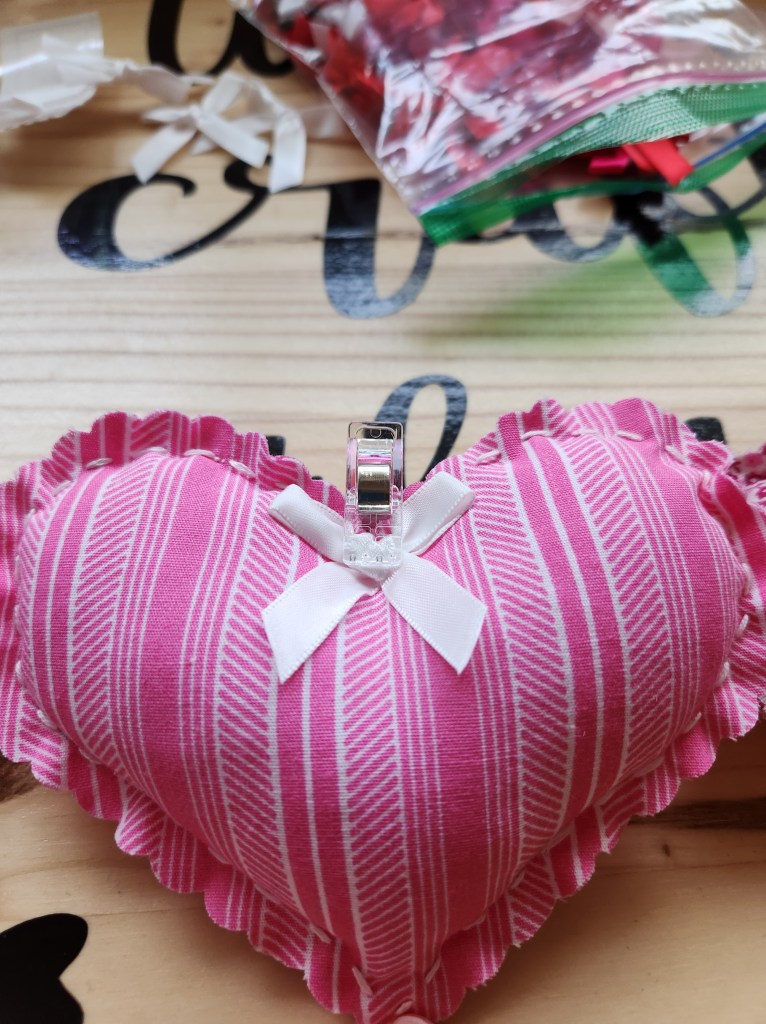
Step 12: This is optional but we wanted to add even more cuteness to our garland by gluing on some pretty satin white bows to each one. After all we never do anything small.
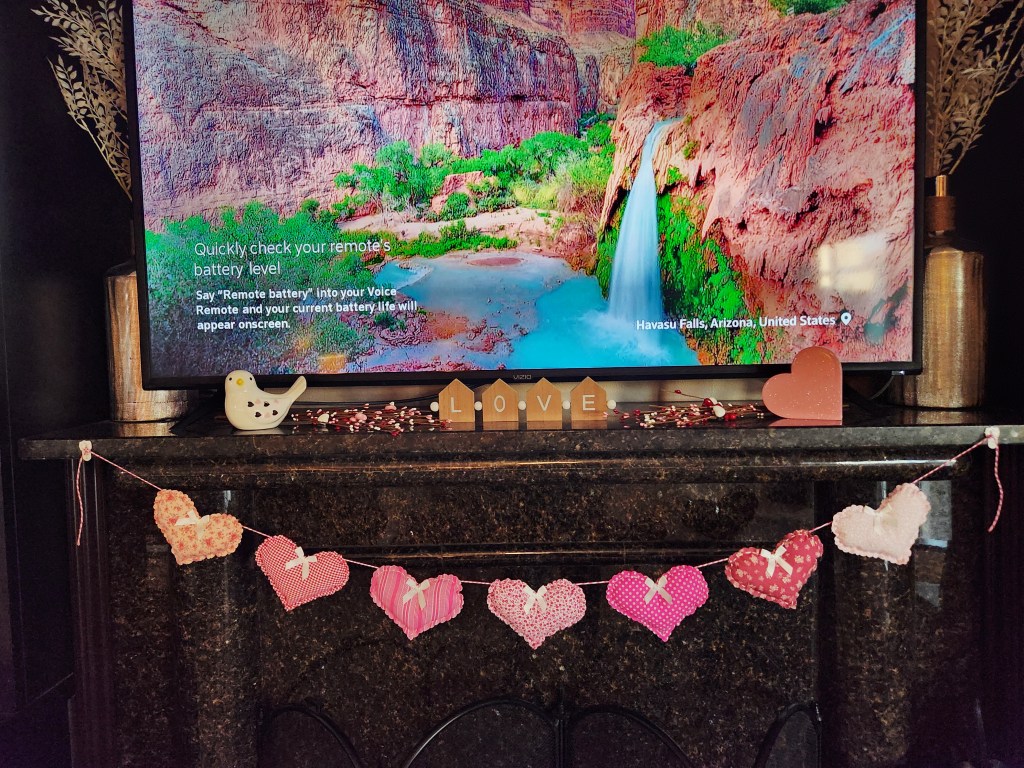
That’s it! Now you have a beautiful and festive one of a kind heart garland ready for Valentine’s day. Whether you prefer romantic red or sweet pink Valentine’s decor this garland is sure to make your space shine! That’s why making things yourself is so wonderful. You get to make it exactly how you want it to be. Happy Valentine’s day!


Leave a comment