
Raise your hand if you enjoy decorating your porch for the holidays? We do! From Christmas to Saint Patrick’s day we love the way our homes look all decked out for whatever holiday or season it happens to be at the time. Not only is it adorable it just makes us smile every time we arrive home. So, we thought a festive doormat is was an excellent addition to our outdoor decorations. But, sometimes you just can’t find exactly what your looking for in a store. Sometimes you just have to make your own!
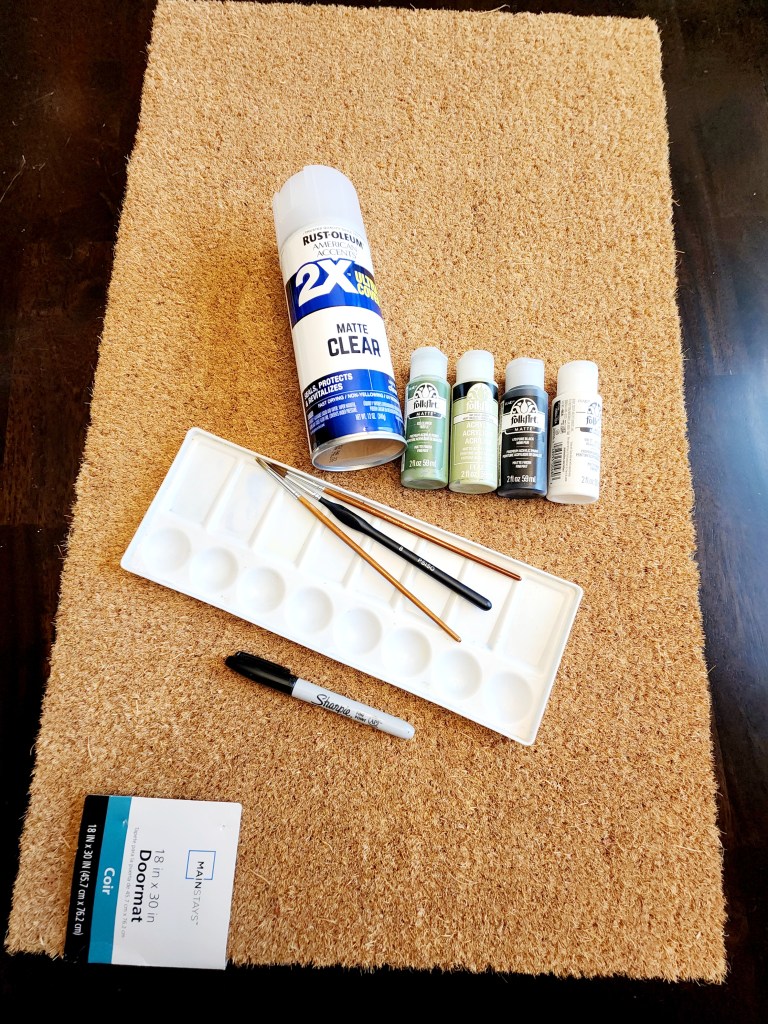
Step 1: Gather your supplies:
- Outdoor doormat
- Acrylic paints and brushes
- Sharpie or black marker
- Clear coat spray paint ( we chose Rust-oleum brand)
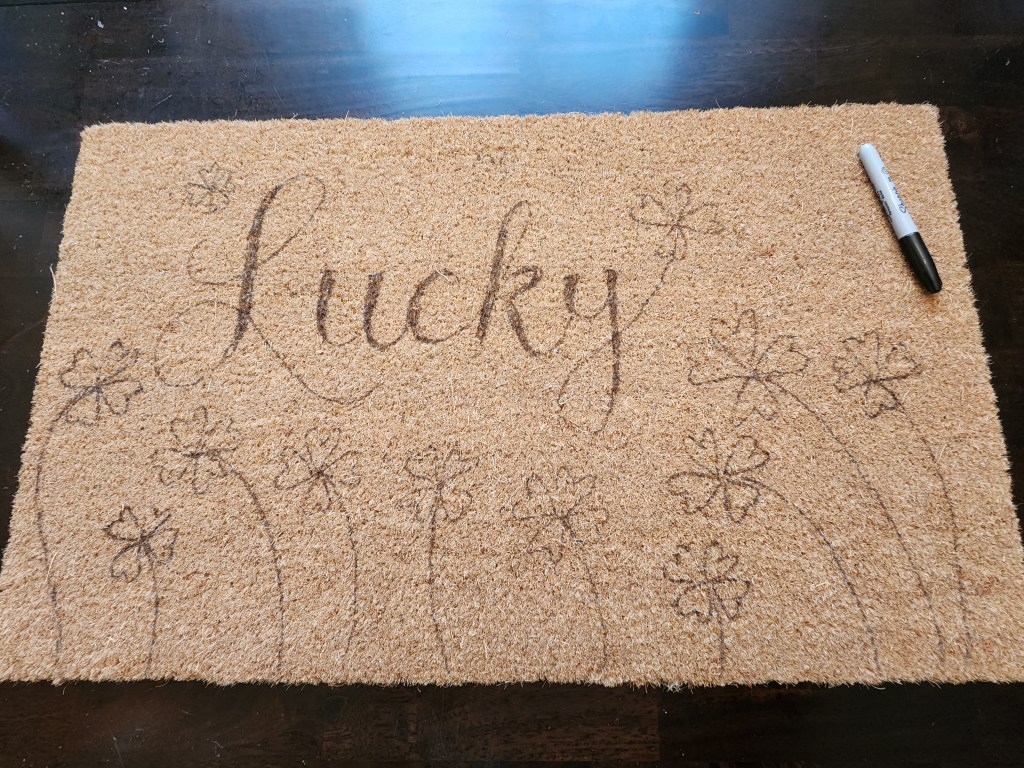
Step 2: Draw out your design using your marker. You could either use a stencil or freehand it. We chose to just go for it! Either way works fine.
Step 3: Paint your design. We worked from top to bottom so we could do all of the first coat in one shot. This process is a bit tedious because it takes quite a bit of time to really get a good amount of paint dabbed where you want it. But, it’s well worth it in the end!
Step 4: Once your first coat is dry you can go over everything with a second coat. The second coat really helps to bring the colors to life. They become so much more vibrant after the second coat.

Step 5: After everything is completely dry you can spray your protective clear coat on your finished doormat. It helps extend the life of your doormat. But, this really depends on the climate you live in and the conditions your doormat is exposed to. You can always reapply as needed.
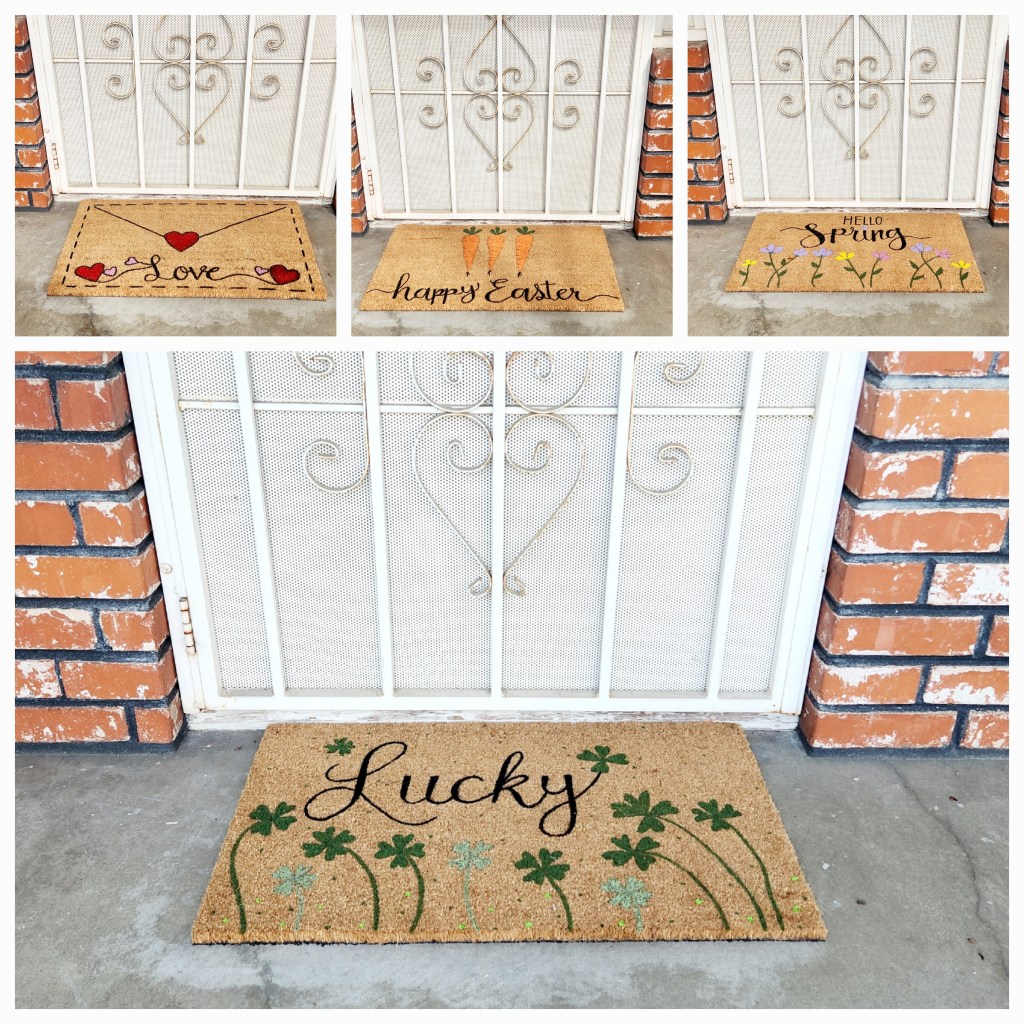
That’s it! Now you have a custom doormat that fits any style, occasion or season. These also make great gifts. That is, if you want to part with it in the end. They come out so cute! Happy crafting!


Leave a comment