

Ahoy all you beach babes out there! These adorable nautical inspired cottages are the perfect addition to any coastal decorated home! But, they could be decorated so many different ways to make them work for any style. They could be spooky haunted houses, woodland cabins or even a Christmas village!

Step 1: Gather your supplies-
- Wood ( any scrap wood you have will work) they can be any shape or size. In fact, the more variety the cuter it is in our opinion! We purchased a stick of 1”x4”x8′ and two sticks of 2”x1/2”x3′. We also used a random wooden sign we found in the backyard which we repurposed to get two houses out of.
- A saw and someone willing to use it ( in this case we roped one of our “willing” husbands into helping).
- Acrylic paints and brushes
- Glue ( we used elmers because we have an industrial sized jug of it) but wood glue would probably be the right thing to use.
- Any decor or add on pieces ( we happened to have some scraps of wood from a previous project that happened to be perfect sizes for what we needed. ) We also used some seashells we had lying around.
- Paper for stencils ( we used scraps of poster board but anything will work)
- Scissors and a pencil
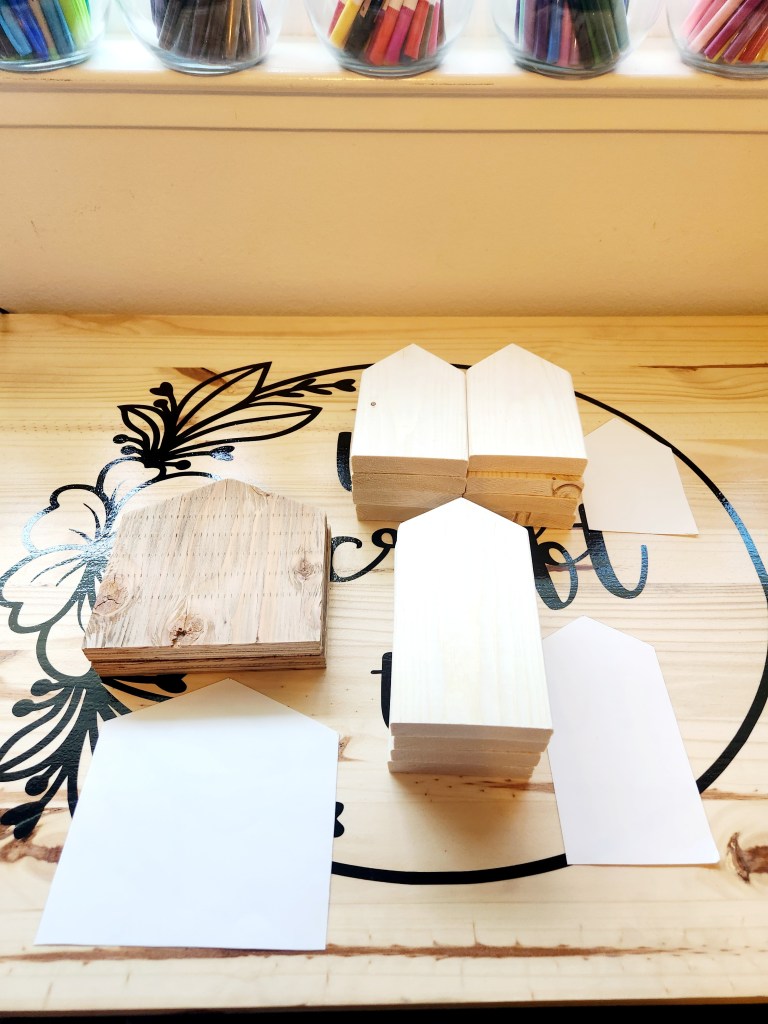
Step 2: Make your stencils. We decided to make three different sizes. One smaller, a taller one and a wider one. Make them whatever sizes work for your lumber ( there is no wrong answer for this). Cut them out with your scissors.
Step 3: Use your stencils to draw on your lumber. You can do as many houses as you want to do. We wanted to do two smaller sets ( one for an entry way table and one for a gift) We already have several sets in the house. They are addictive!
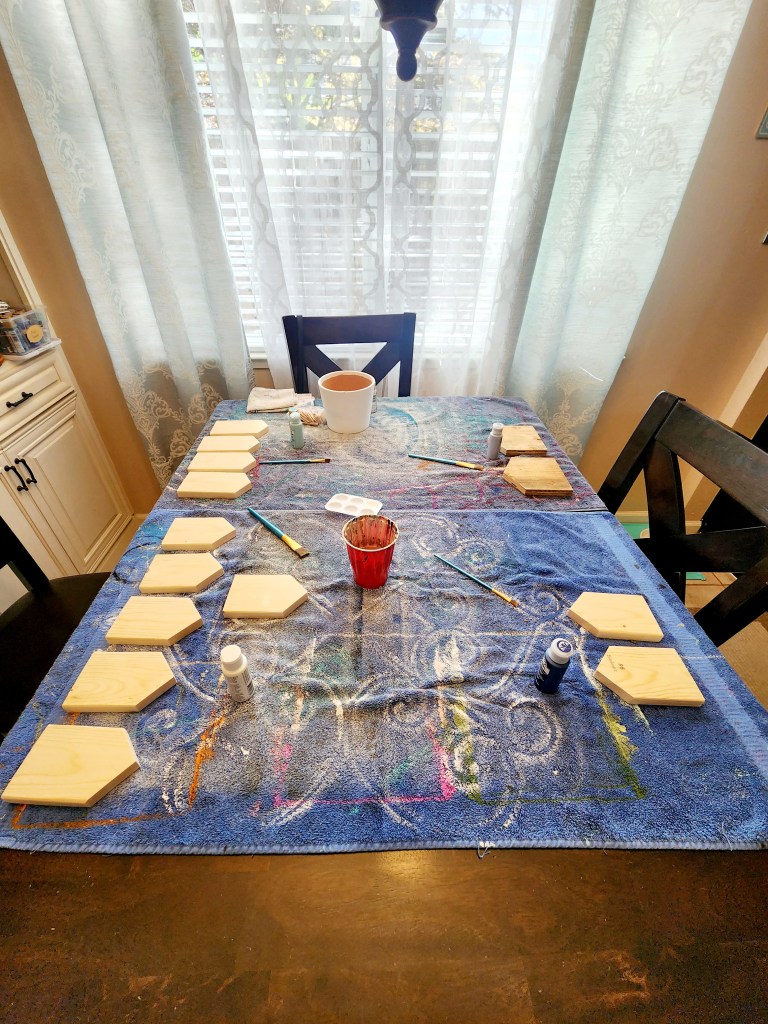
Step 4: Cut out your cottages with a saw ( we used a table saw but use whatever you have at your disposal). We did roughly sand the cuts just to get rid of any splinters but this is optional.
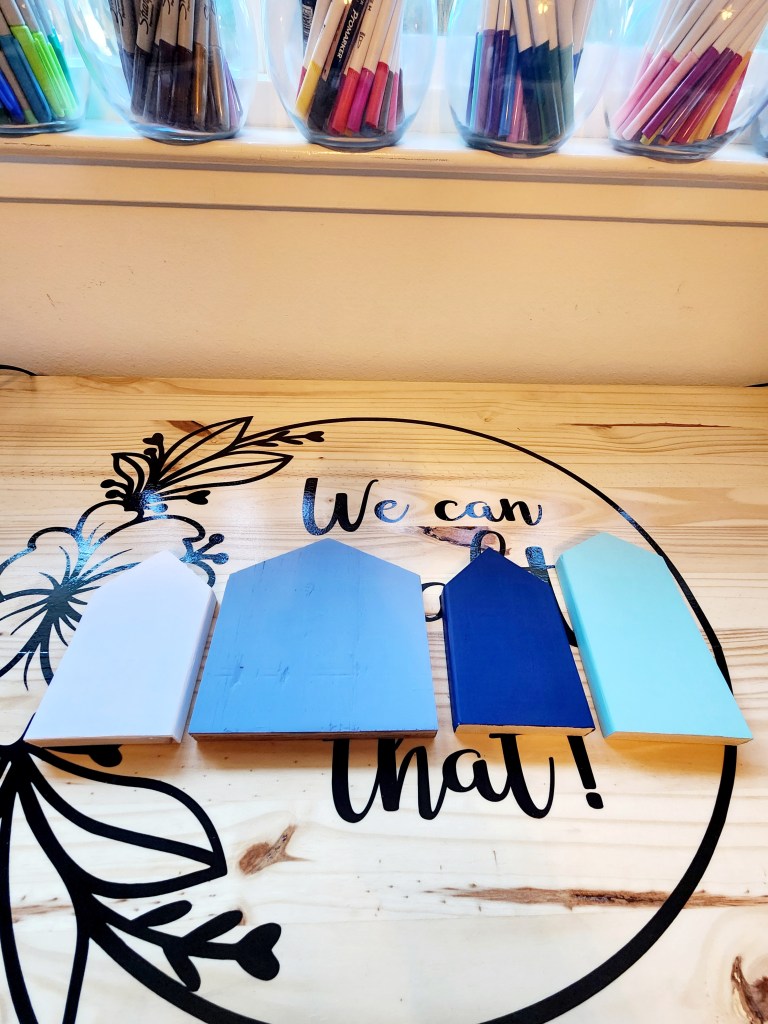
Step 5: Paint your cottages. You can do as many or as little colors as your heart desires. We were trying to match decor in one our homes. When picking your cottage colors keep in mind you can add more color with decor pieces ( such as front doors, window trim, shutters, window boxes, awnings, etc.) We used two coats on each to ensure a more vibrant color. Make sure you allow the paint to dry completely in between coats. You also want to paint any other decor that your planning on adding while your at it so everything is dry when your ready to glue everything on.
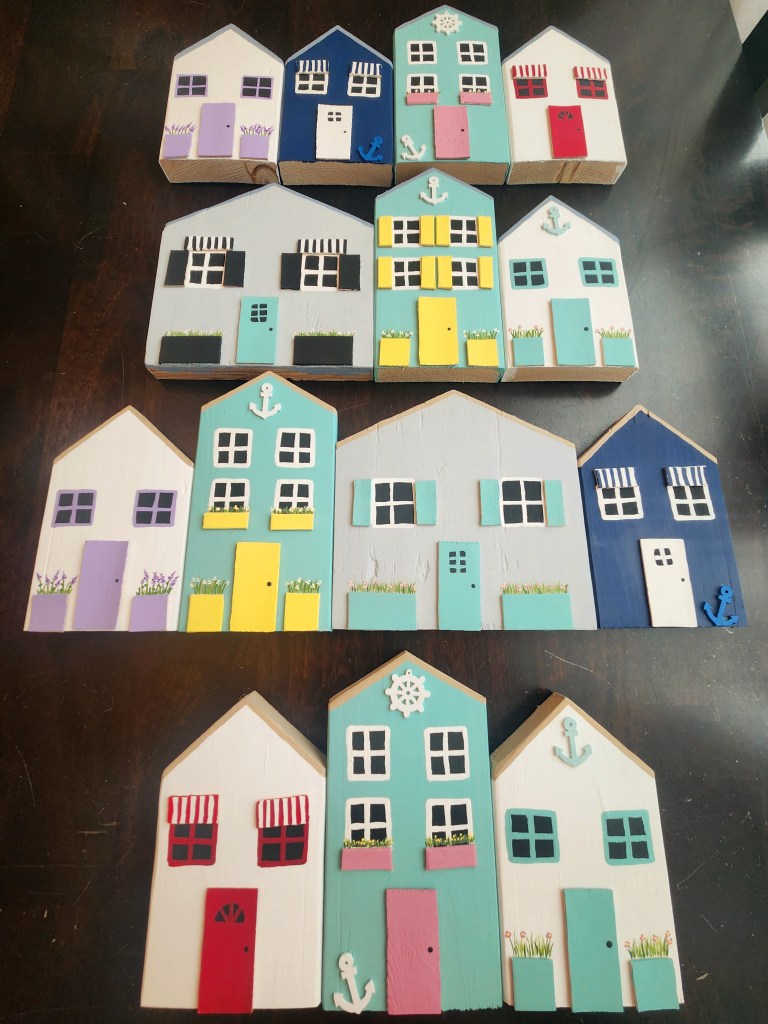
Step 6: Paint your roofs. This is completely optional but we thought it added something. We used a beige color for one set and a gray color for the other set to paint the tops of the cottages.
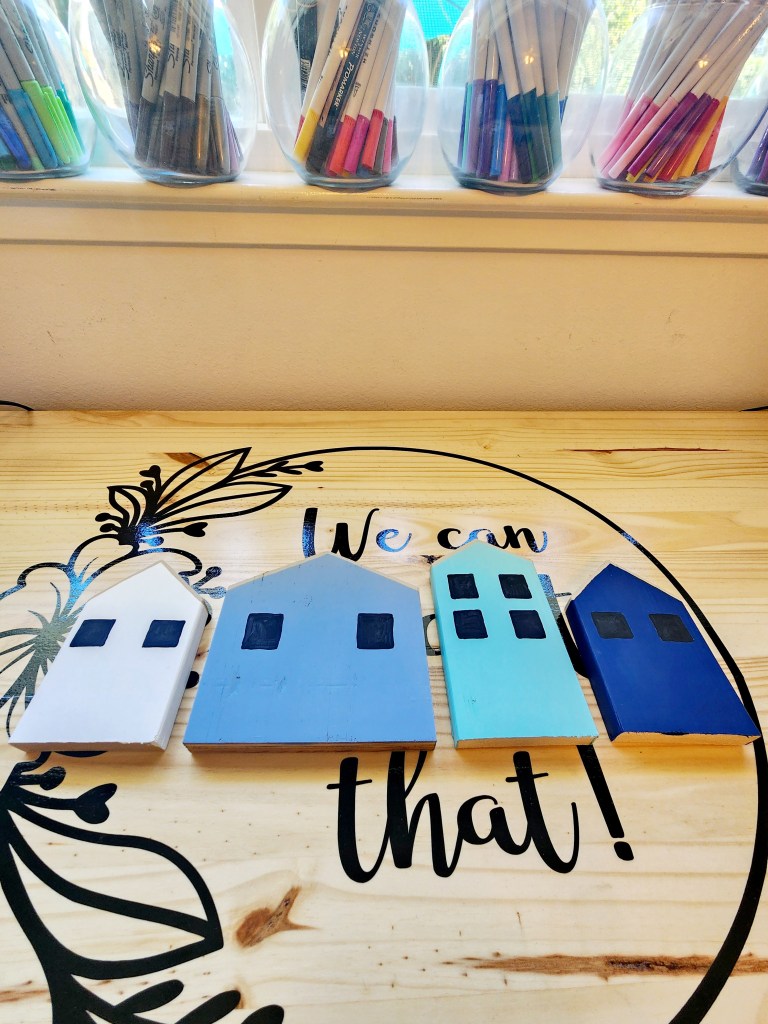
Step 7: Add your windows. We made small stencils for this to trace on our cottages ( it helps make sure they are all even). You could do each one different or keep them more uniform ( it depends on what style your trying to achieve). We went with a black background for our windows but you could use any color. We really wanted the window trim color to stand out. We decided to match our window trims to the front doors.
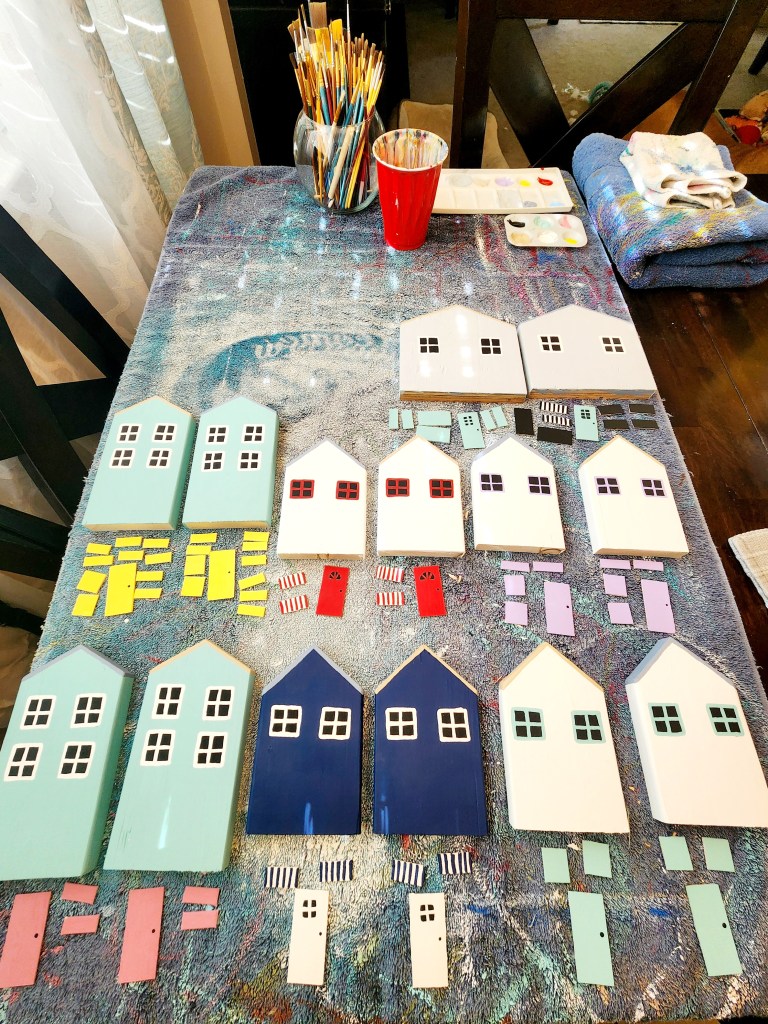
Step 8: Glue on your front doors and anything else your adding. We added some shutters, a few decorative window awnings, some window boxes and some pots to our cottages to add some more detail. We painted some pretty plants in our window boxes and pots to take them to the next level of adorable-ness!
Step 9: We used a glossy modge podge to clear coat our cottages. This helps them be a little more durable ( this is optional). We did two layers.
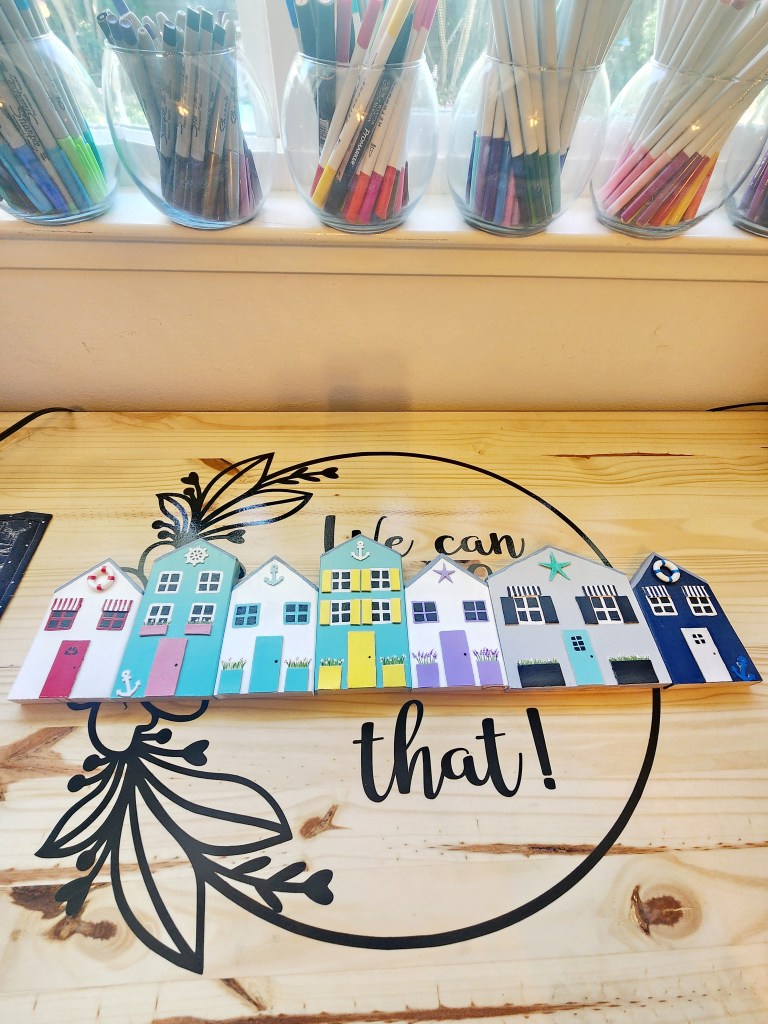
Step 10: We used a piece of lumber ( 2” x 1/2” x 3′) as a base for our cottages to sit on. We purchased two of these because we are making two sets. We learned the hard way that they hold together better when attached to something. We lined them all up next to each other to determine how long the board needs to be ( we cut off a few inches). We used elmers glue to attach everything together. We glued the bottoms of the cottages to the board and all sides that touched another cottage together.
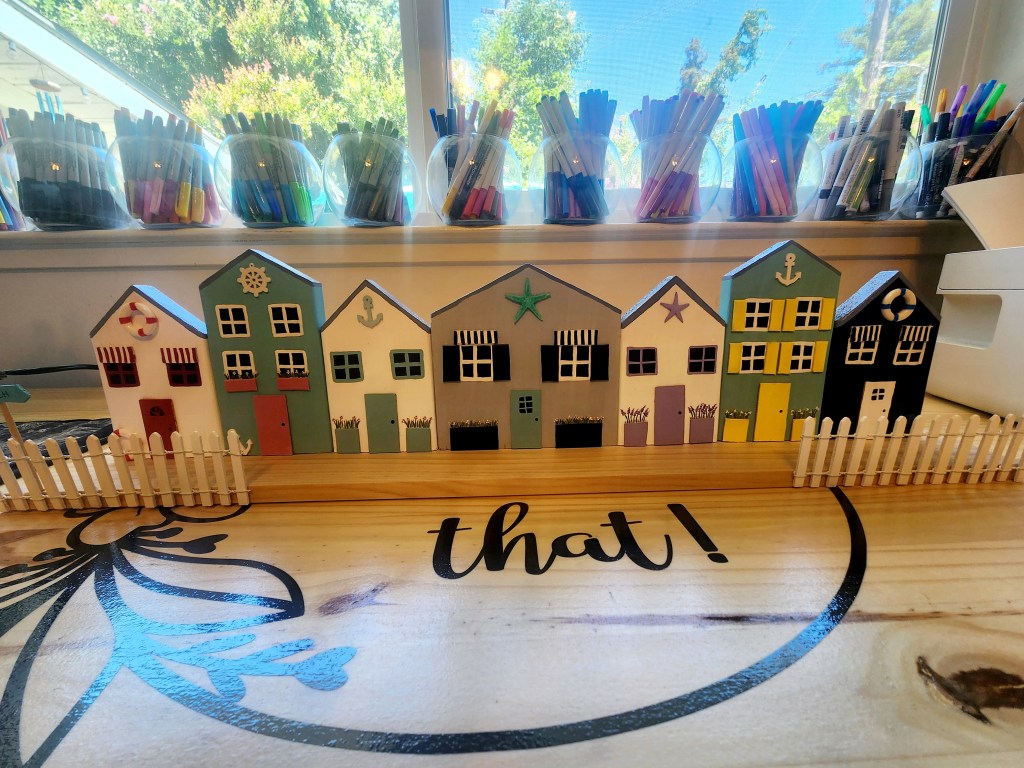
Step 11: The rest of this project is completely optional… we found an adorable white picket fence ( the intended use is for a doll house) that we thought added something to our coastal cottages. We also made a little beach directional sign out of a wooden skewer and a piece of a popsicle stick. Basically, now you can add anything you want!

How cute are these! Can you see why we’ve made multiple sets? You could make them for any season or holiday! We have a set in one of our homes that are double sided ( one side is beach cottages and the other side is a Christmas village complete with holiday wreaths on the doors). It makes it easy to switch over for the holidays. We even made little planter boxes with fall foliage and mini pumpkins so the beach cottages can be decorated for fall. It is absolutely adorable if we do say so ourselves! We plan to make little front door mats and a set of mini Adirondack chairs for the porches in the future. This project does take some patience but it is so worth it!


Leave a comment