
Are you a person who thrives on organization and structure? Or are you a person that could use a bit more of it in your life? Either way, this cute planner is a fantastic way to stay organized this year. Or you could give the gift of organization to someone that could benefit from it. This particular planner is a birthday gift for someone that falls into the second category.
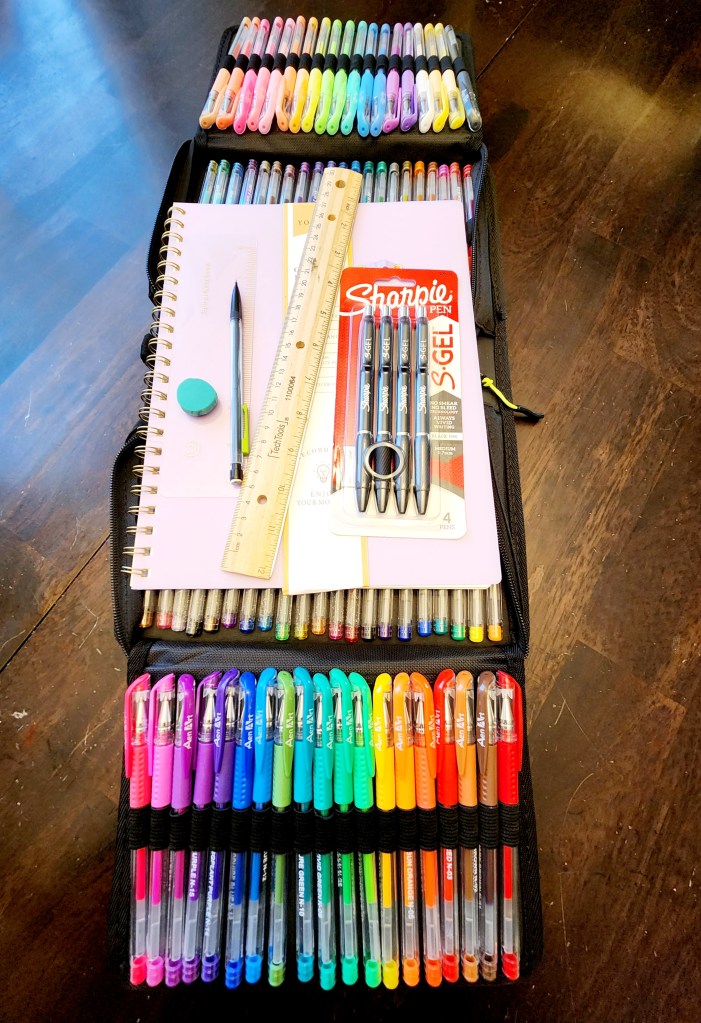
Step 1: Gather your supplies:
- A journal. We chose one that we found on Amazon. You could use any type of journal. We wanted one that had graph paper inside so that we could keep all the lines as straight as possible.
- A pencil and eraser
- Pens, markers, colored pencils ( whatever medium you want to use) we chose to use gel pens so that they wouldn’t bleed through the pages
Step 2: We don’t know about you but for us the hardest part of starting a new project is actually getting started. There’s something so daunting about staring at an empty page. But, then once we start going the fun starts! So, first things first you need to decide what type of planner you need. There are so many different types out there. This planner is for a retiree who’s children are grown so all she really needs is a calendar where she can write down appointments, special occasions/ events, birthdays and random lists. You can make yours as detailed as you need it to be. Spend some time researching the type of planner that fits your needs.
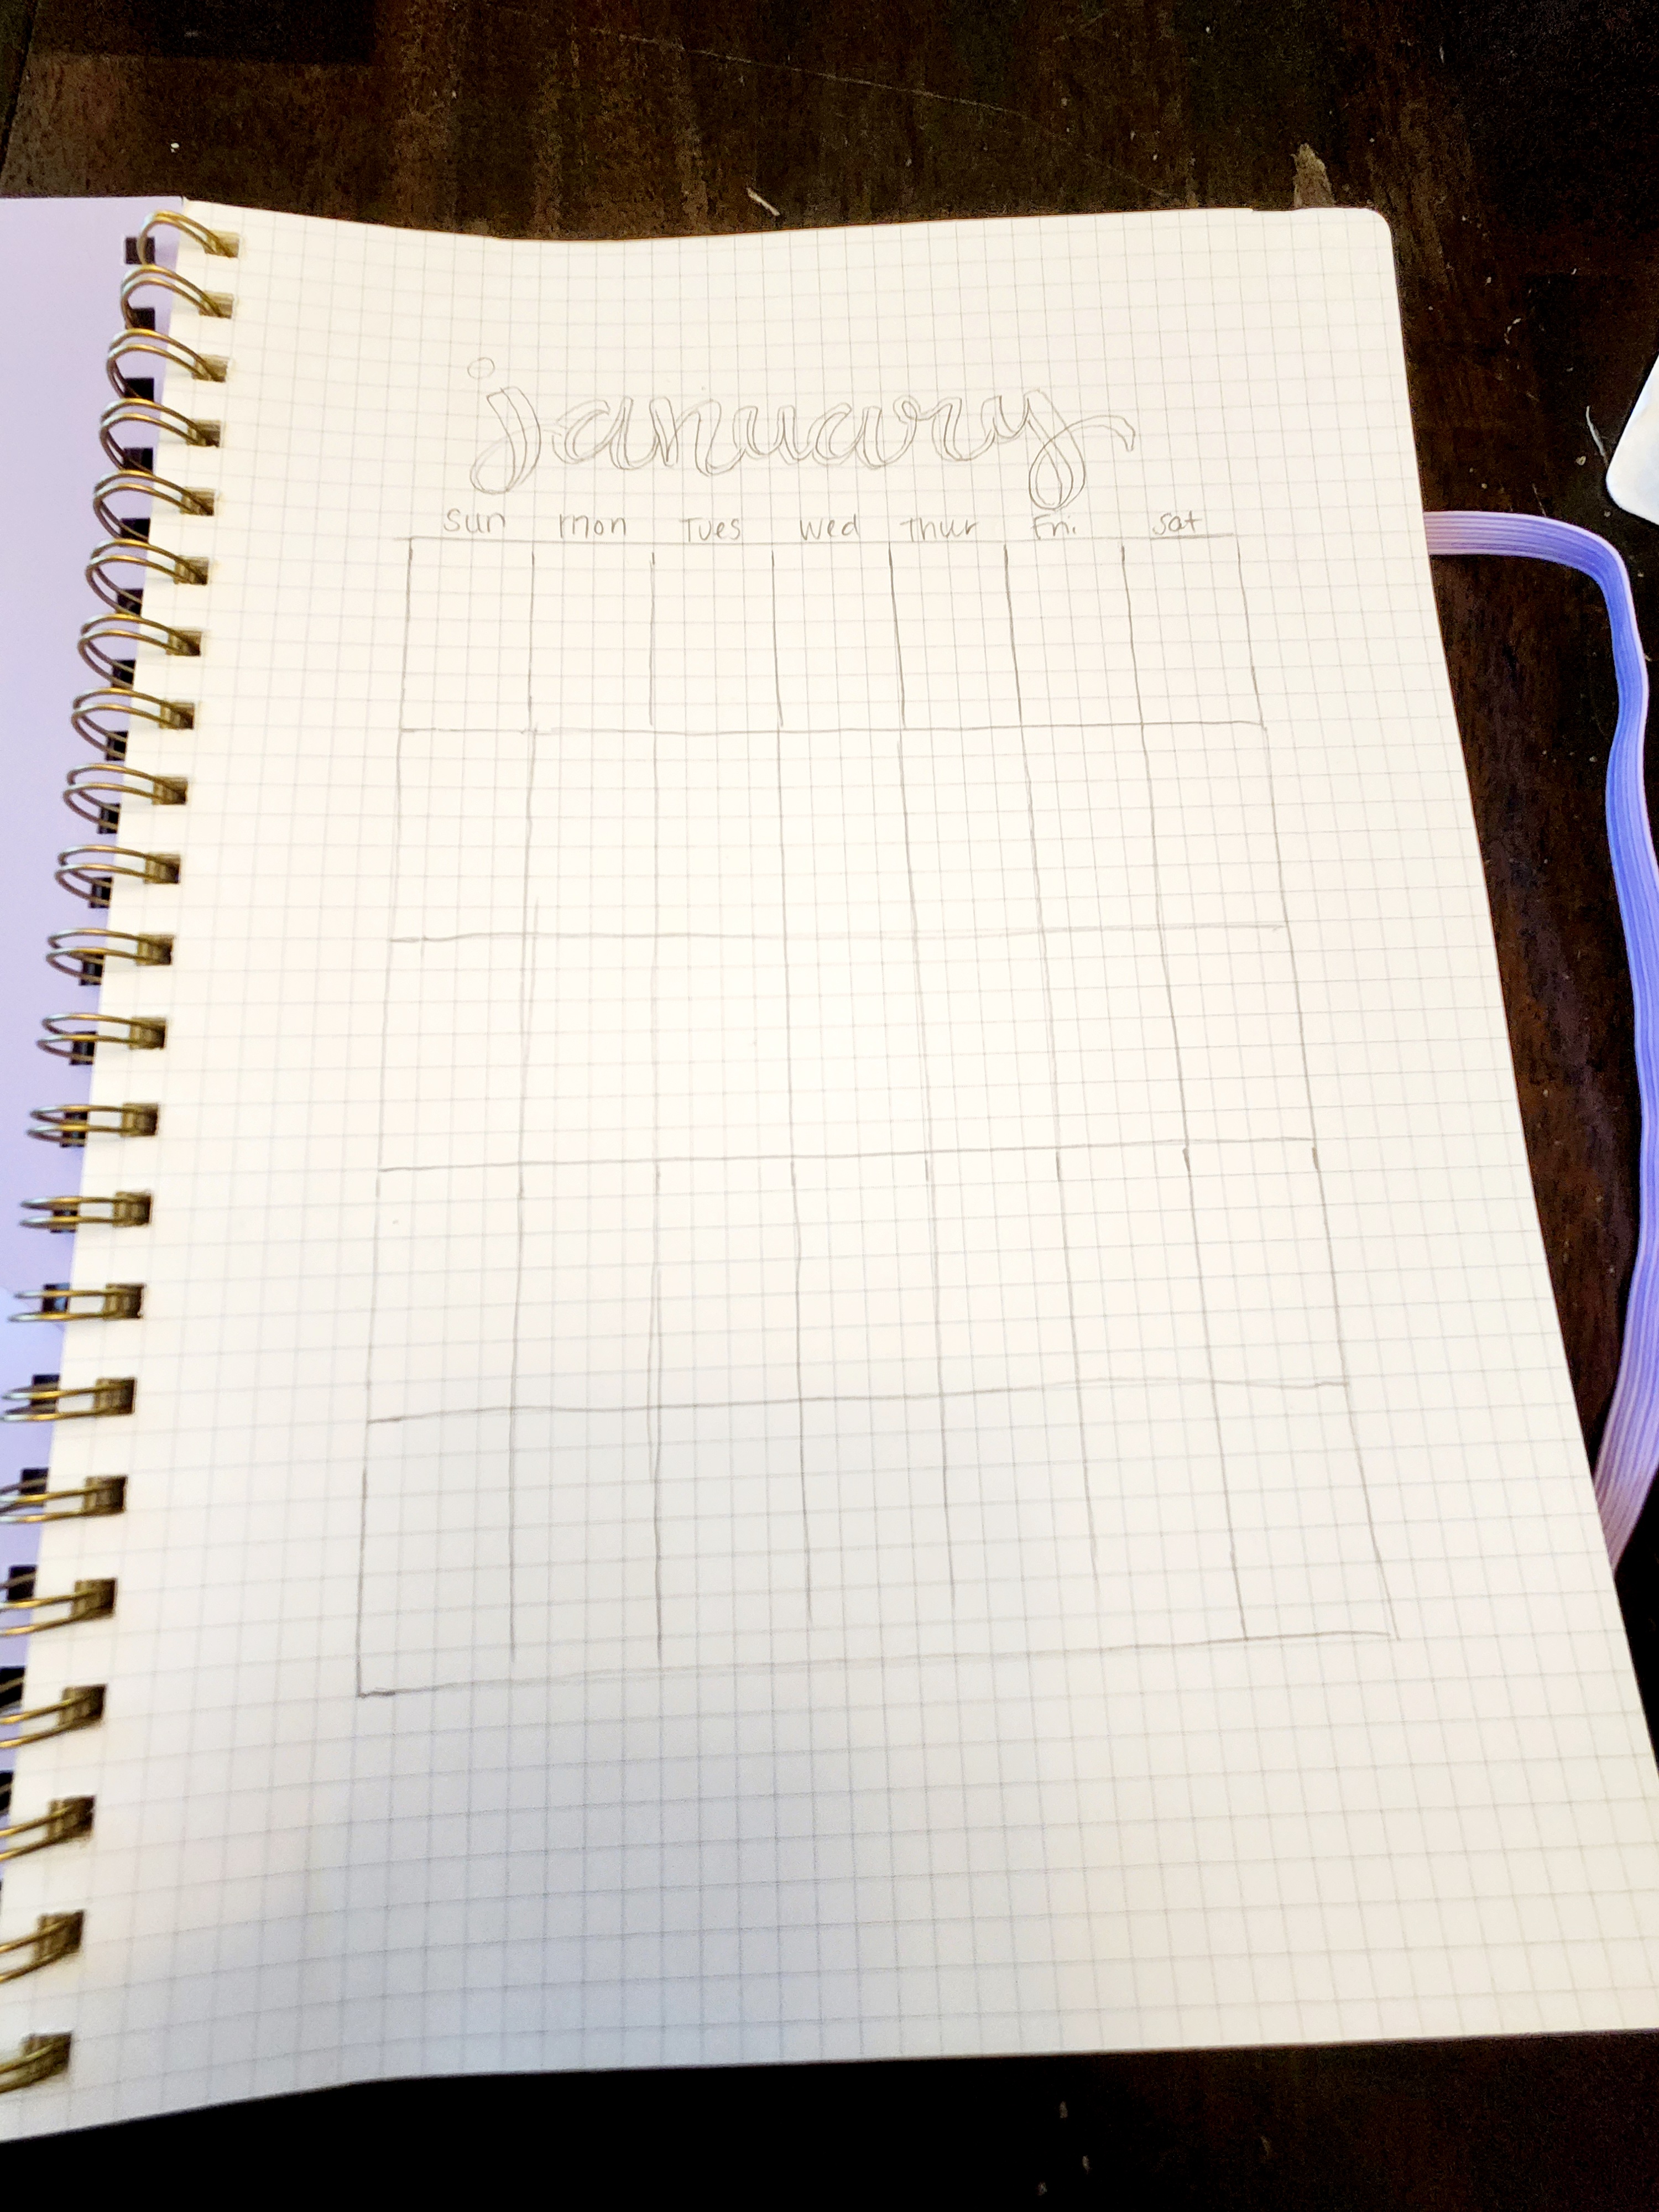
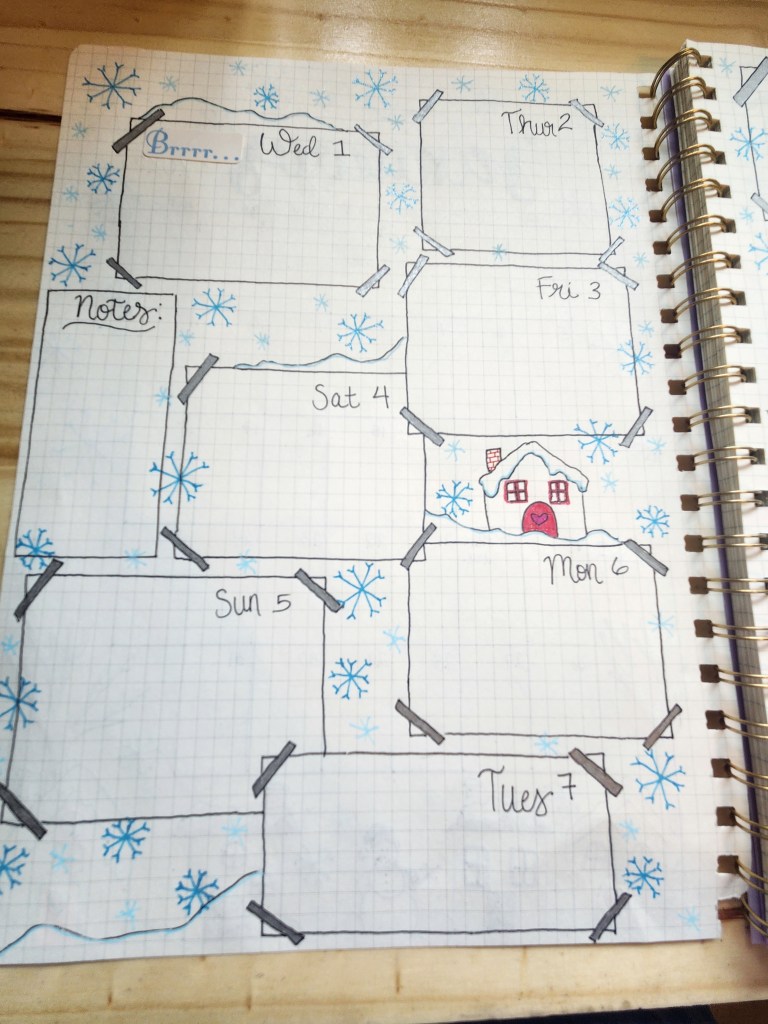
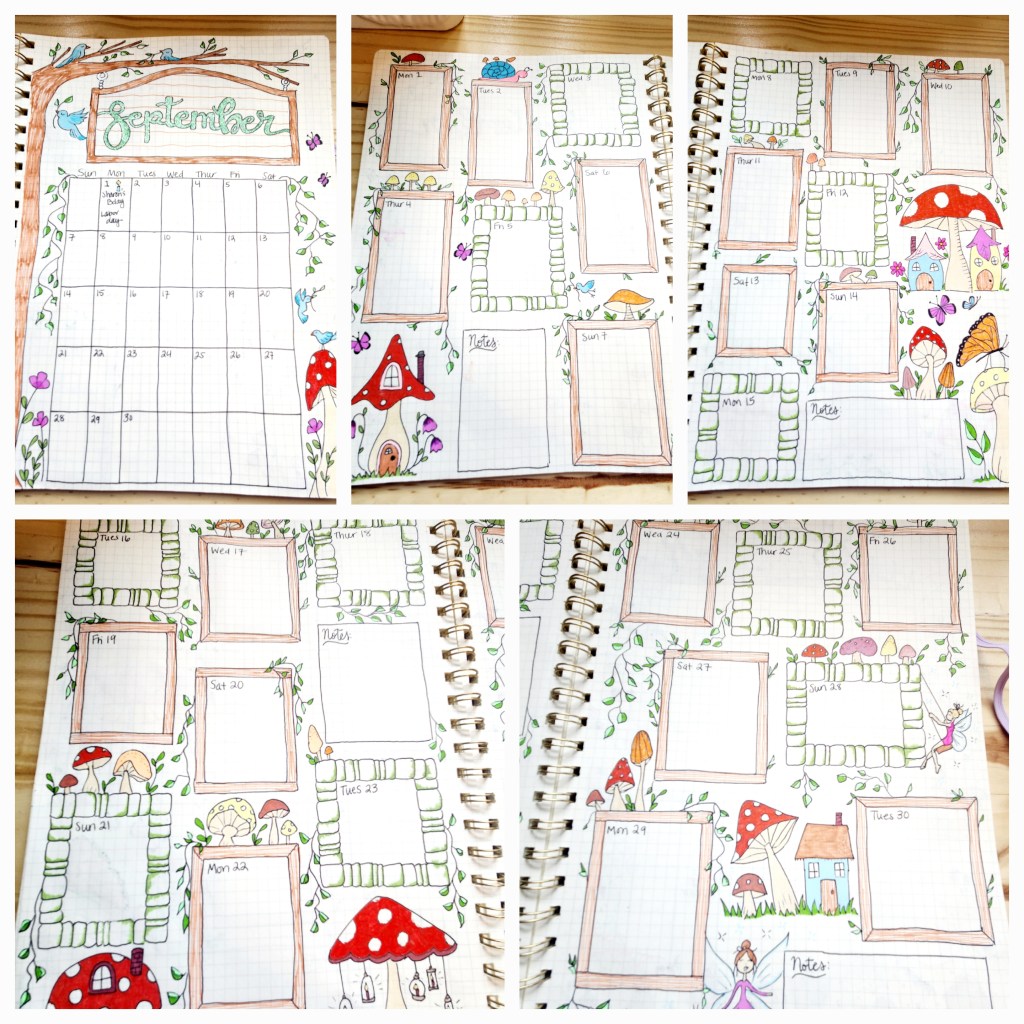
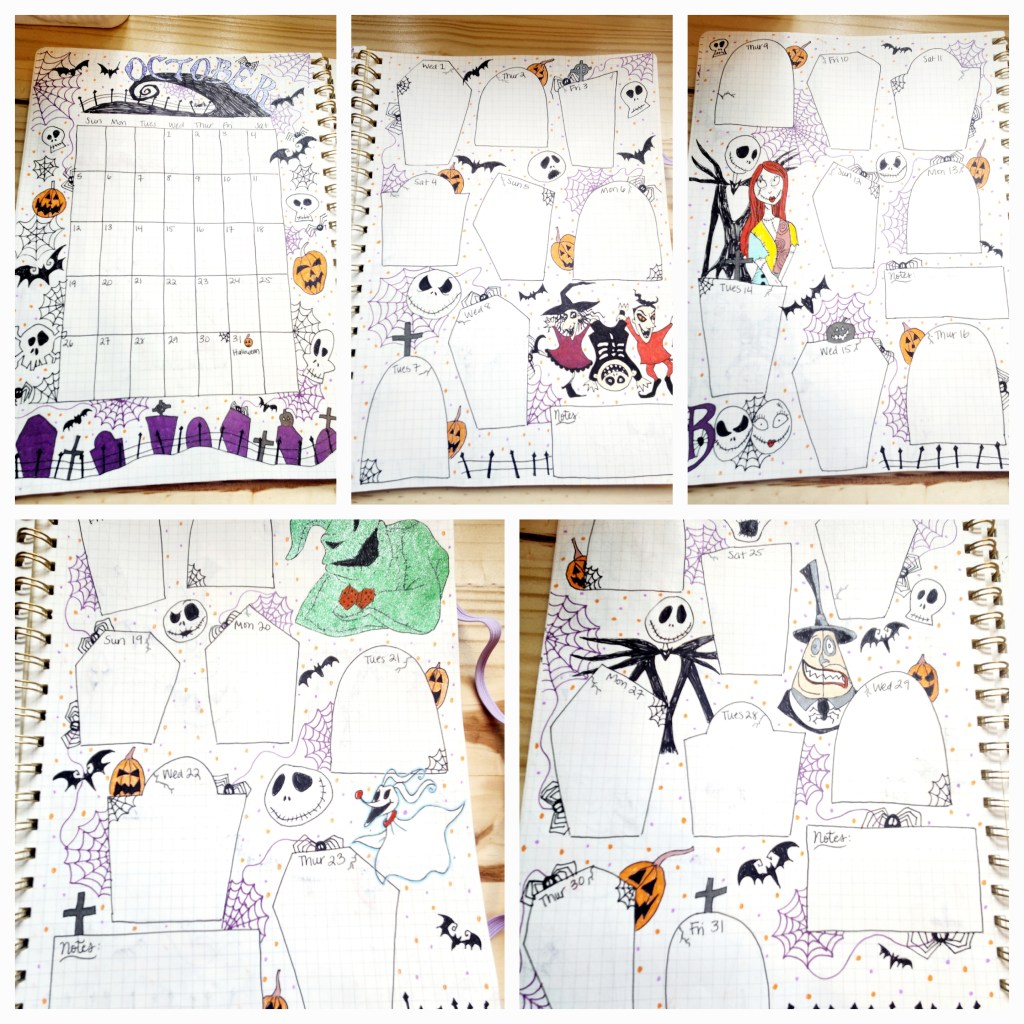
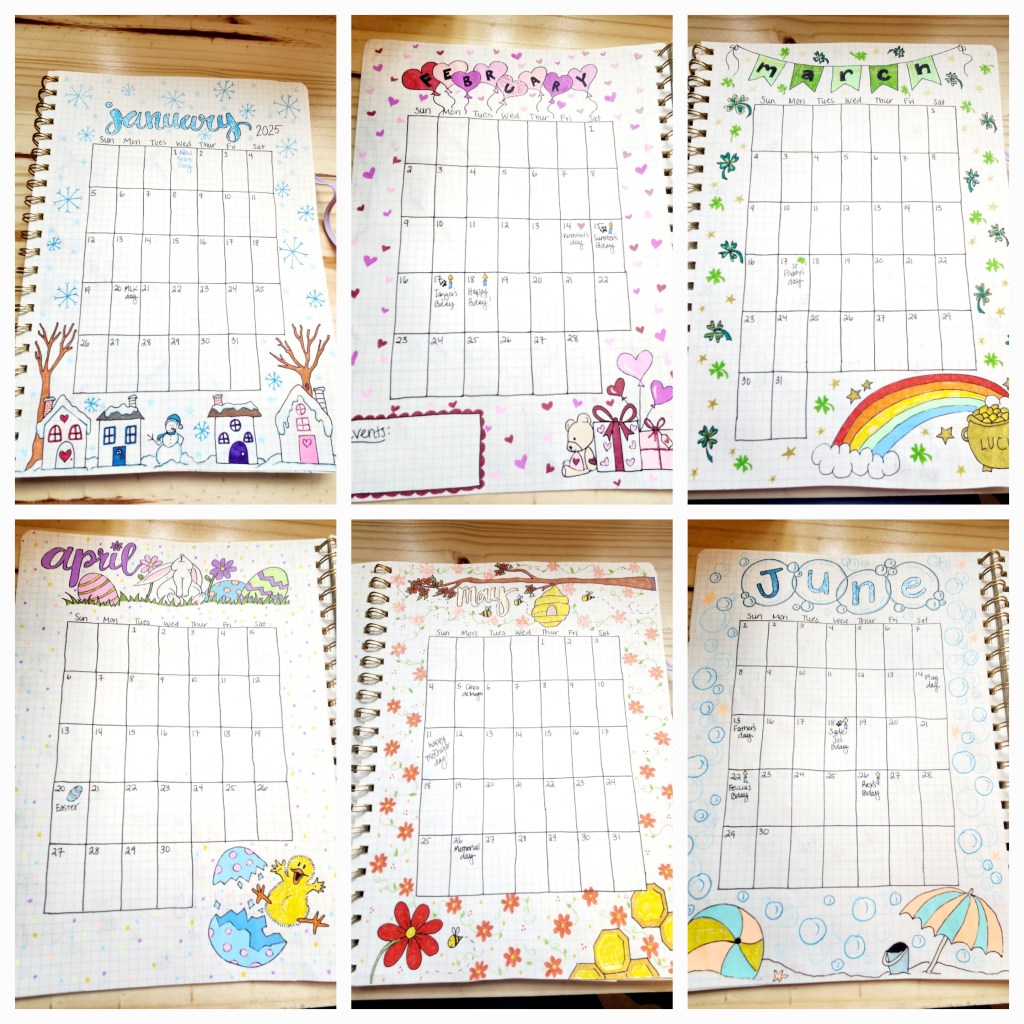
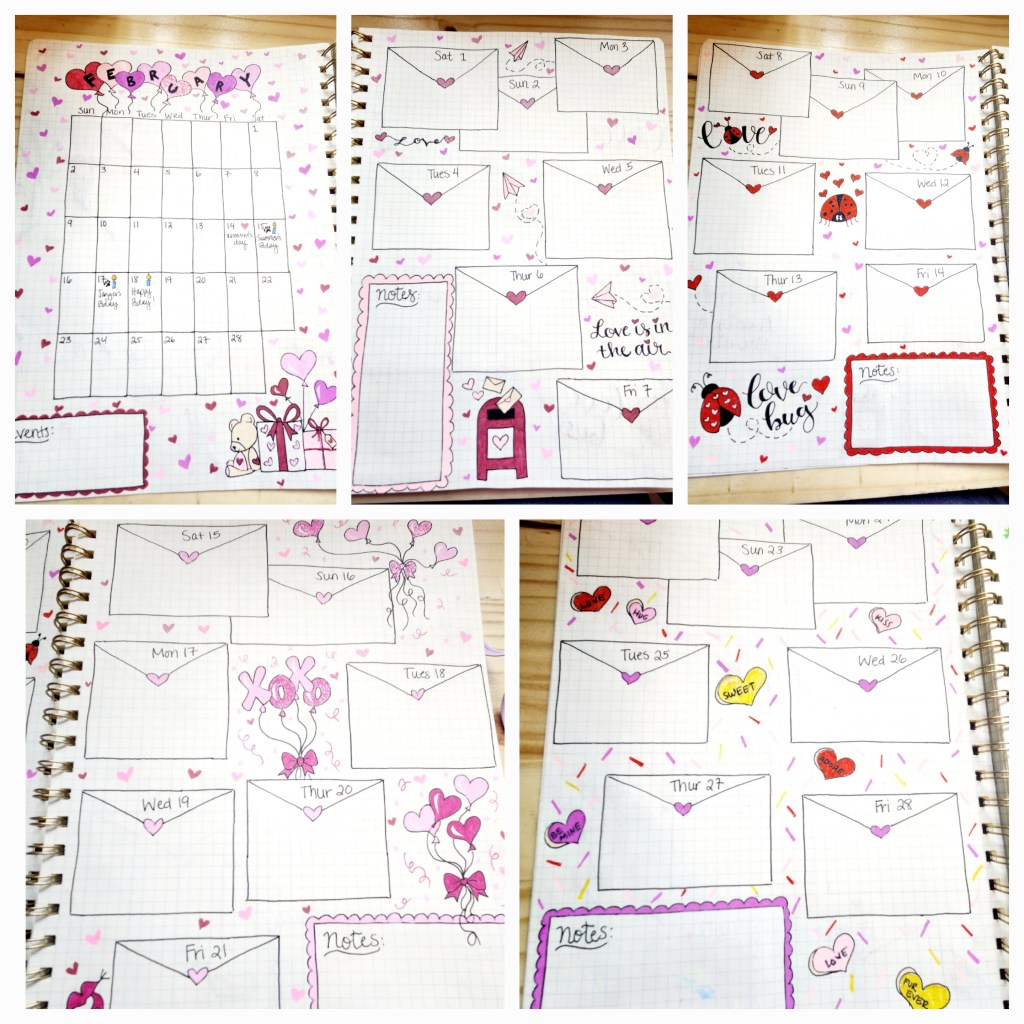
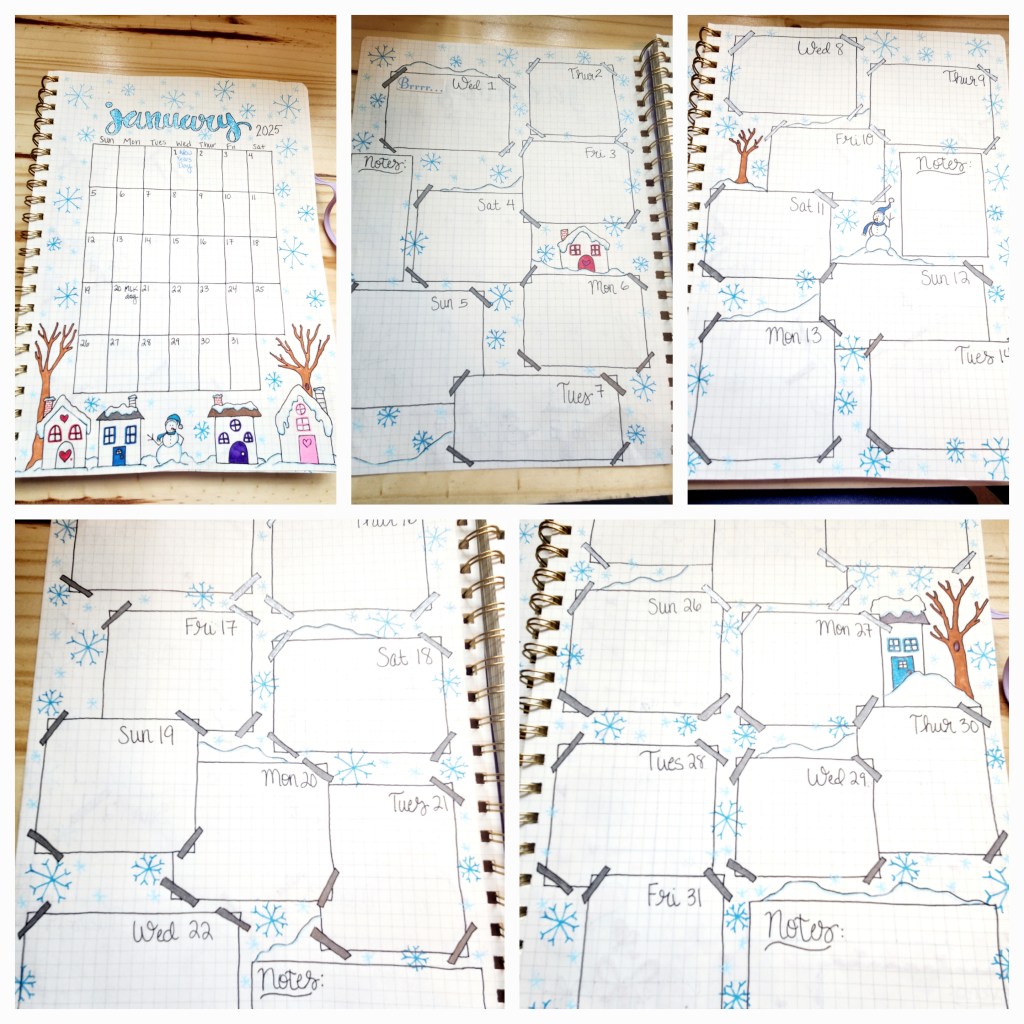
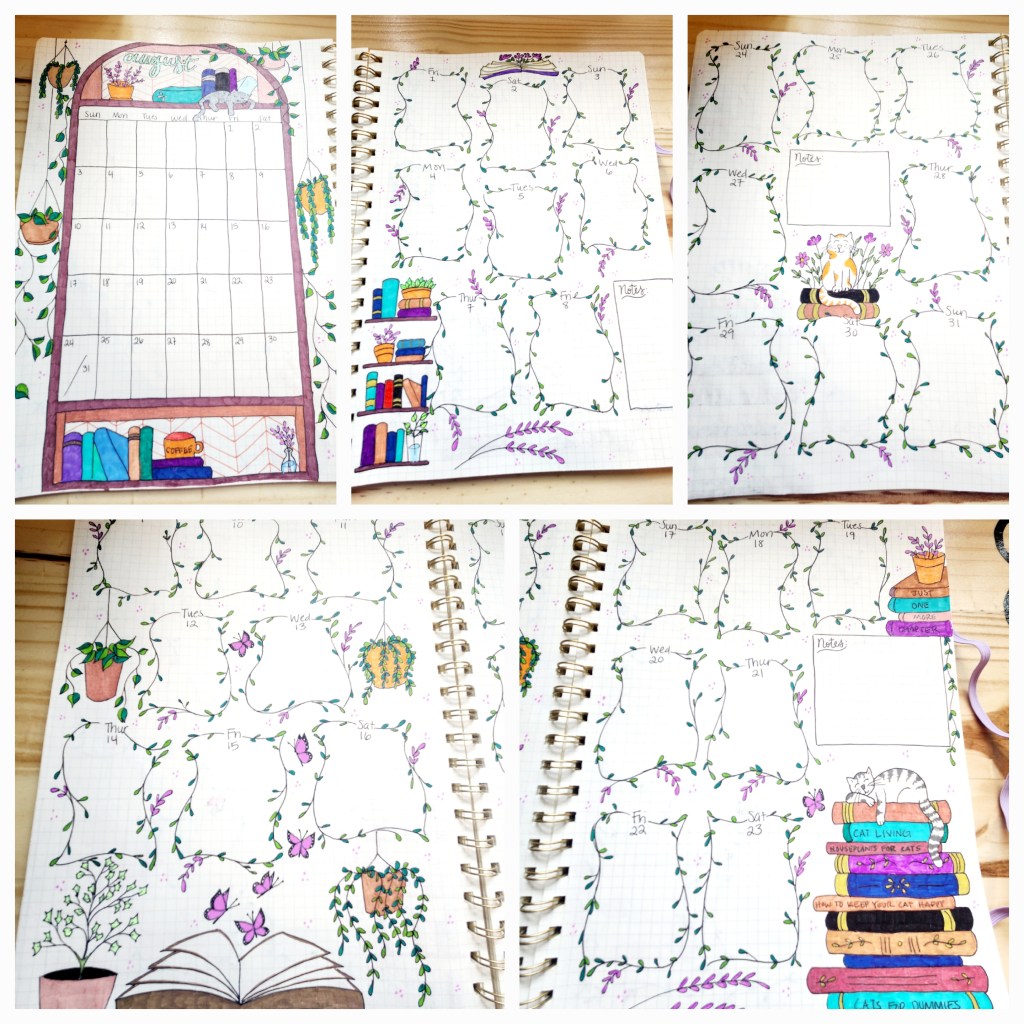
Step 3: Start your journal. We picked a journal that has graphed paper inside so we could keep things as straight as possible without having to use a ruler. But, if you’d like to you could certainly use one. We laid ours out by doing a full page calendar for each month followed by four pages for more detailed information. We used different shapes depending on the months design for a space to fill out that days events. For example for February we chose to do little envelops for each day of the week to fit in with our Valentines theme. We used pencil first just in case.
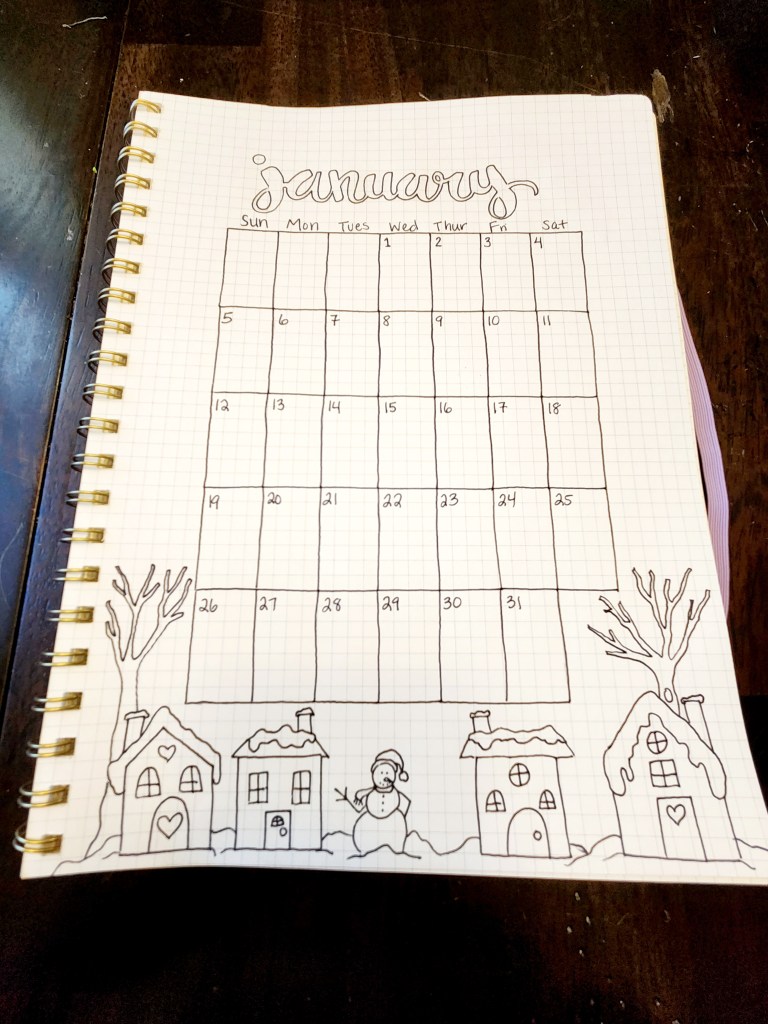
Step 4: Add your special touches. We love to draw so doodling comes naturally to us. We just used our imaginations to personalize each calendar with cute designs that fit in with each individual month. How much you do is completely up to you. You could even choose to decorate your journal as you go if you’d like to have something to doodle on throughout the year.
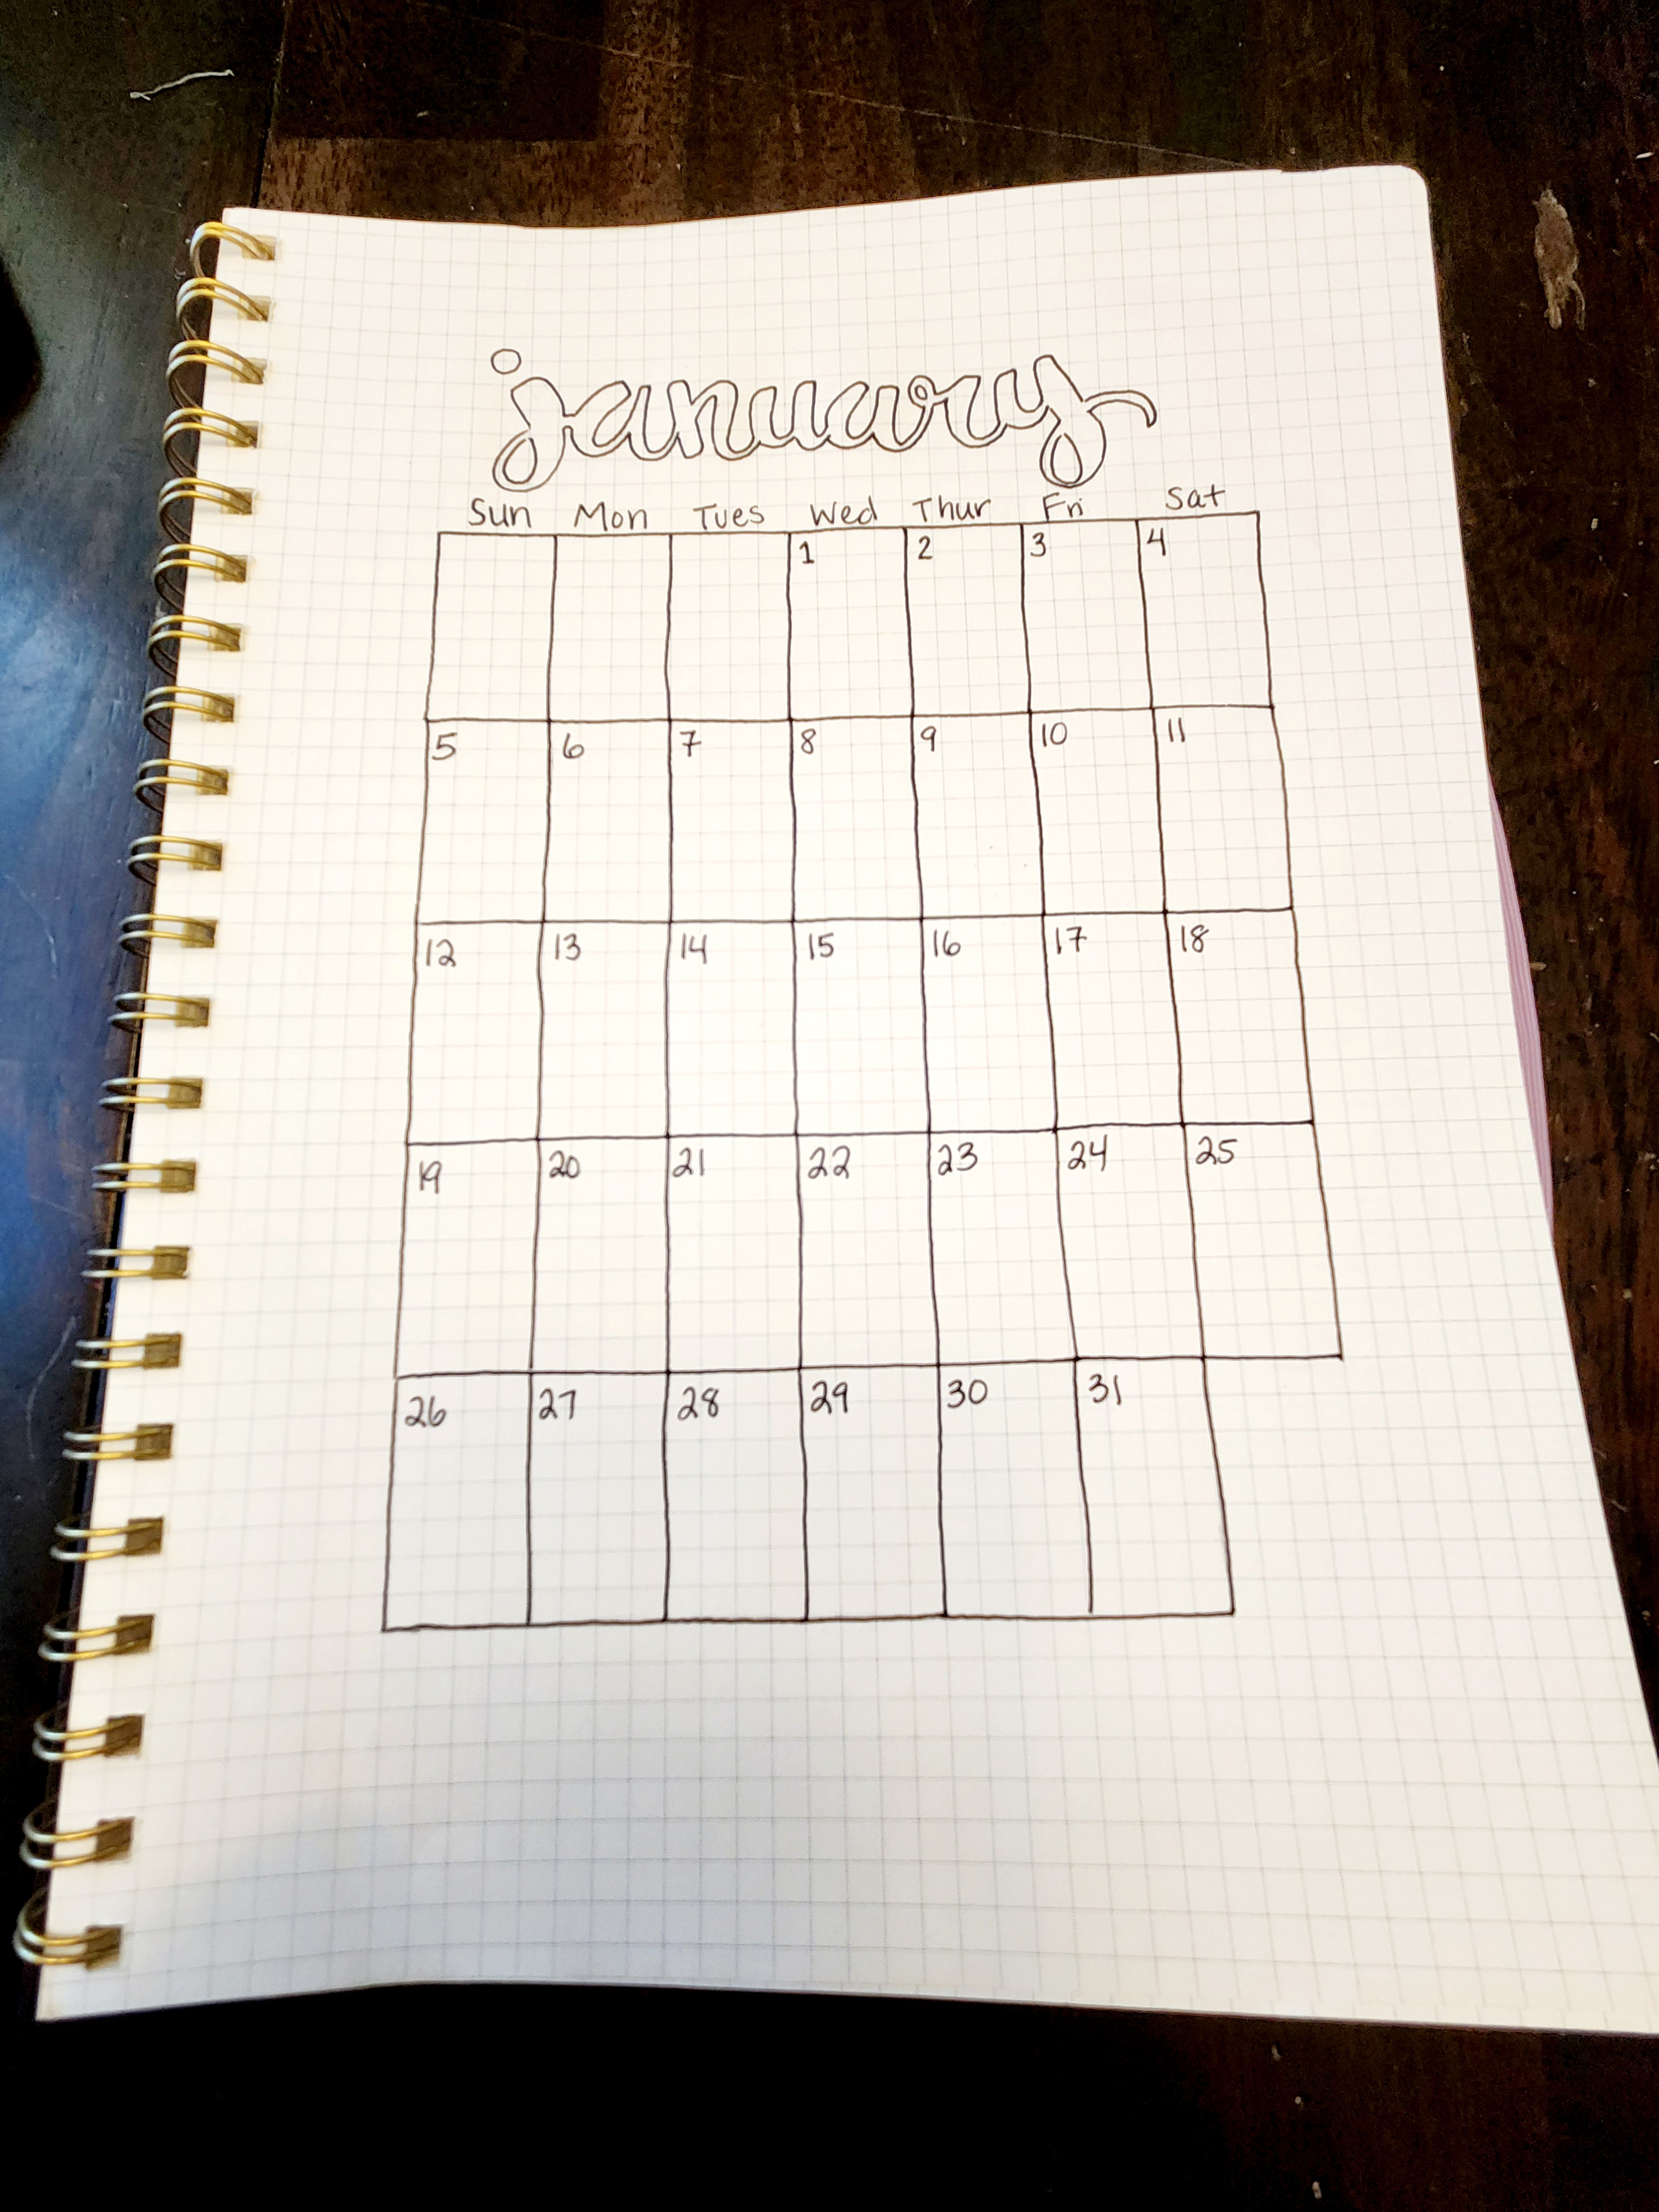
Step 5: Go over all your work with pen. We used a black gel pen for this so it wouldn’t bleed through our paper. Then go back and erase all visible pencil marks.
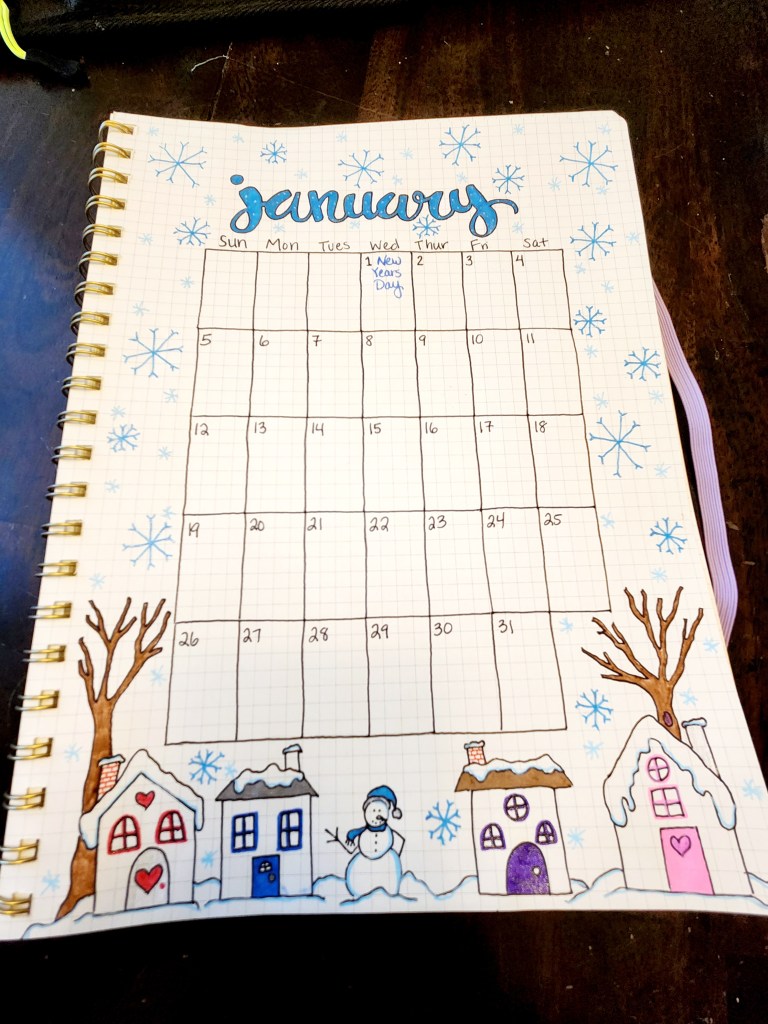
Step 6: It’s time to add some color! We always love this step. It’s where things start to really come to life. Have fun with it!
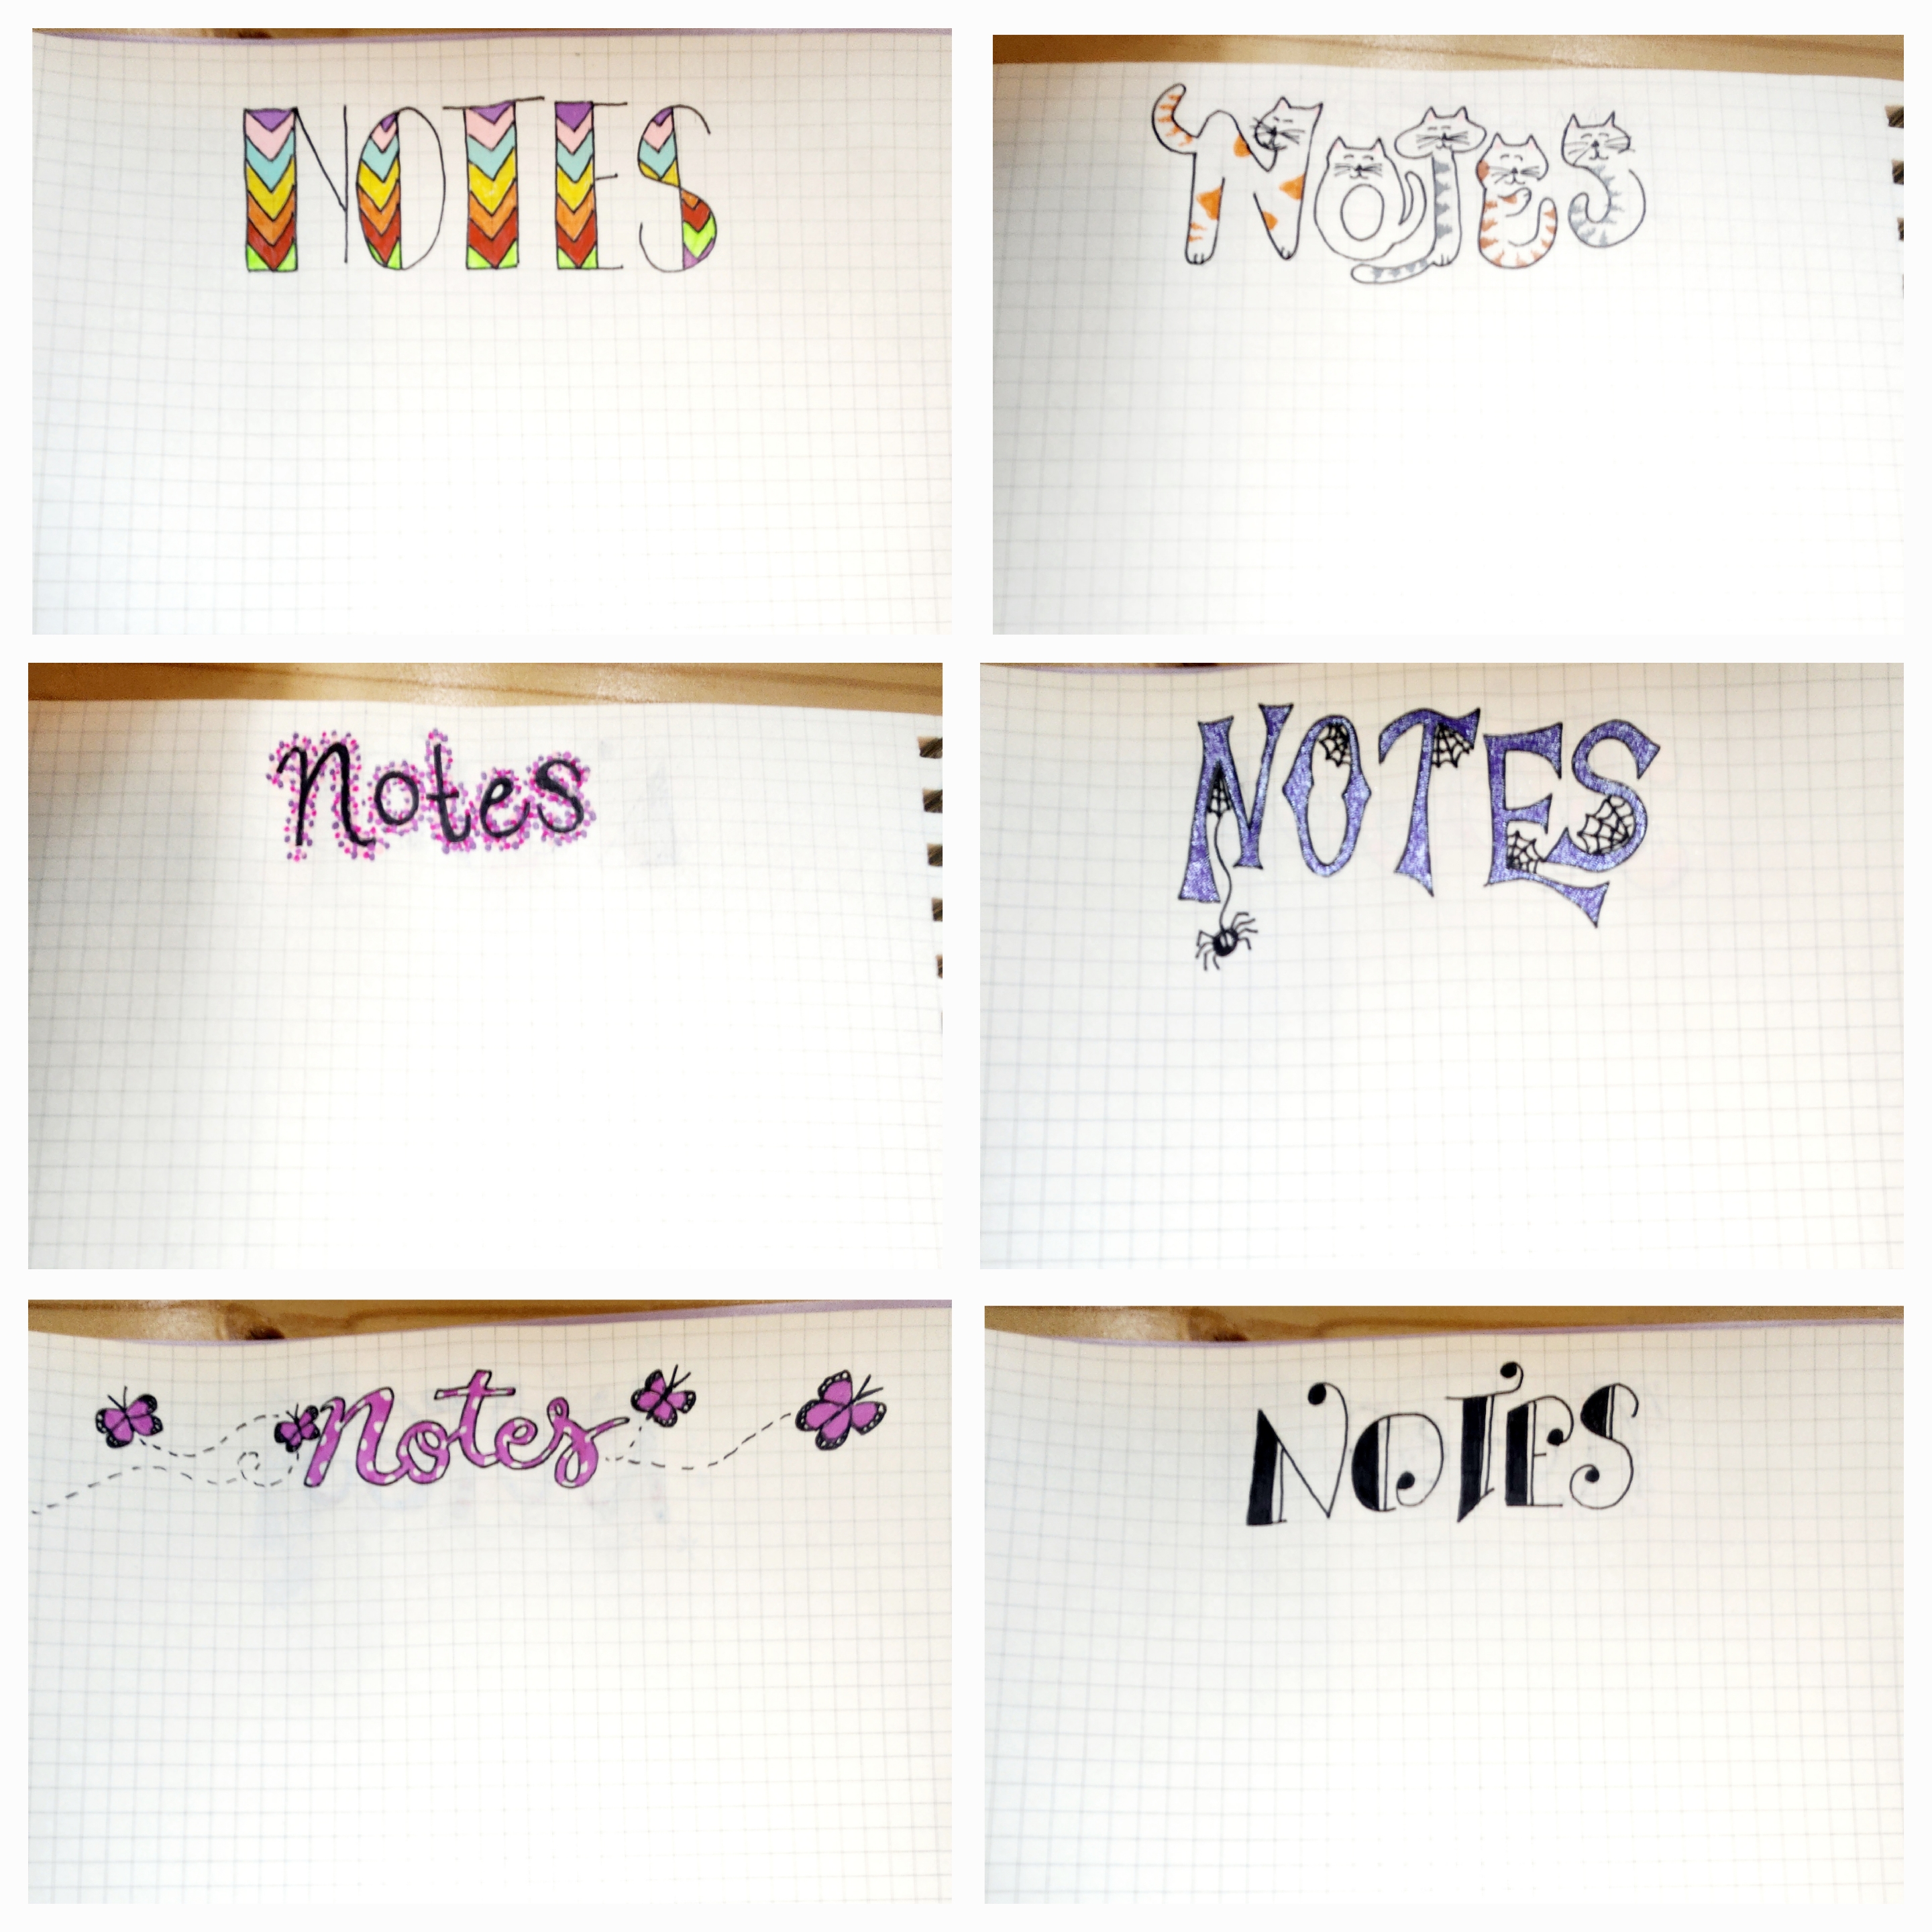
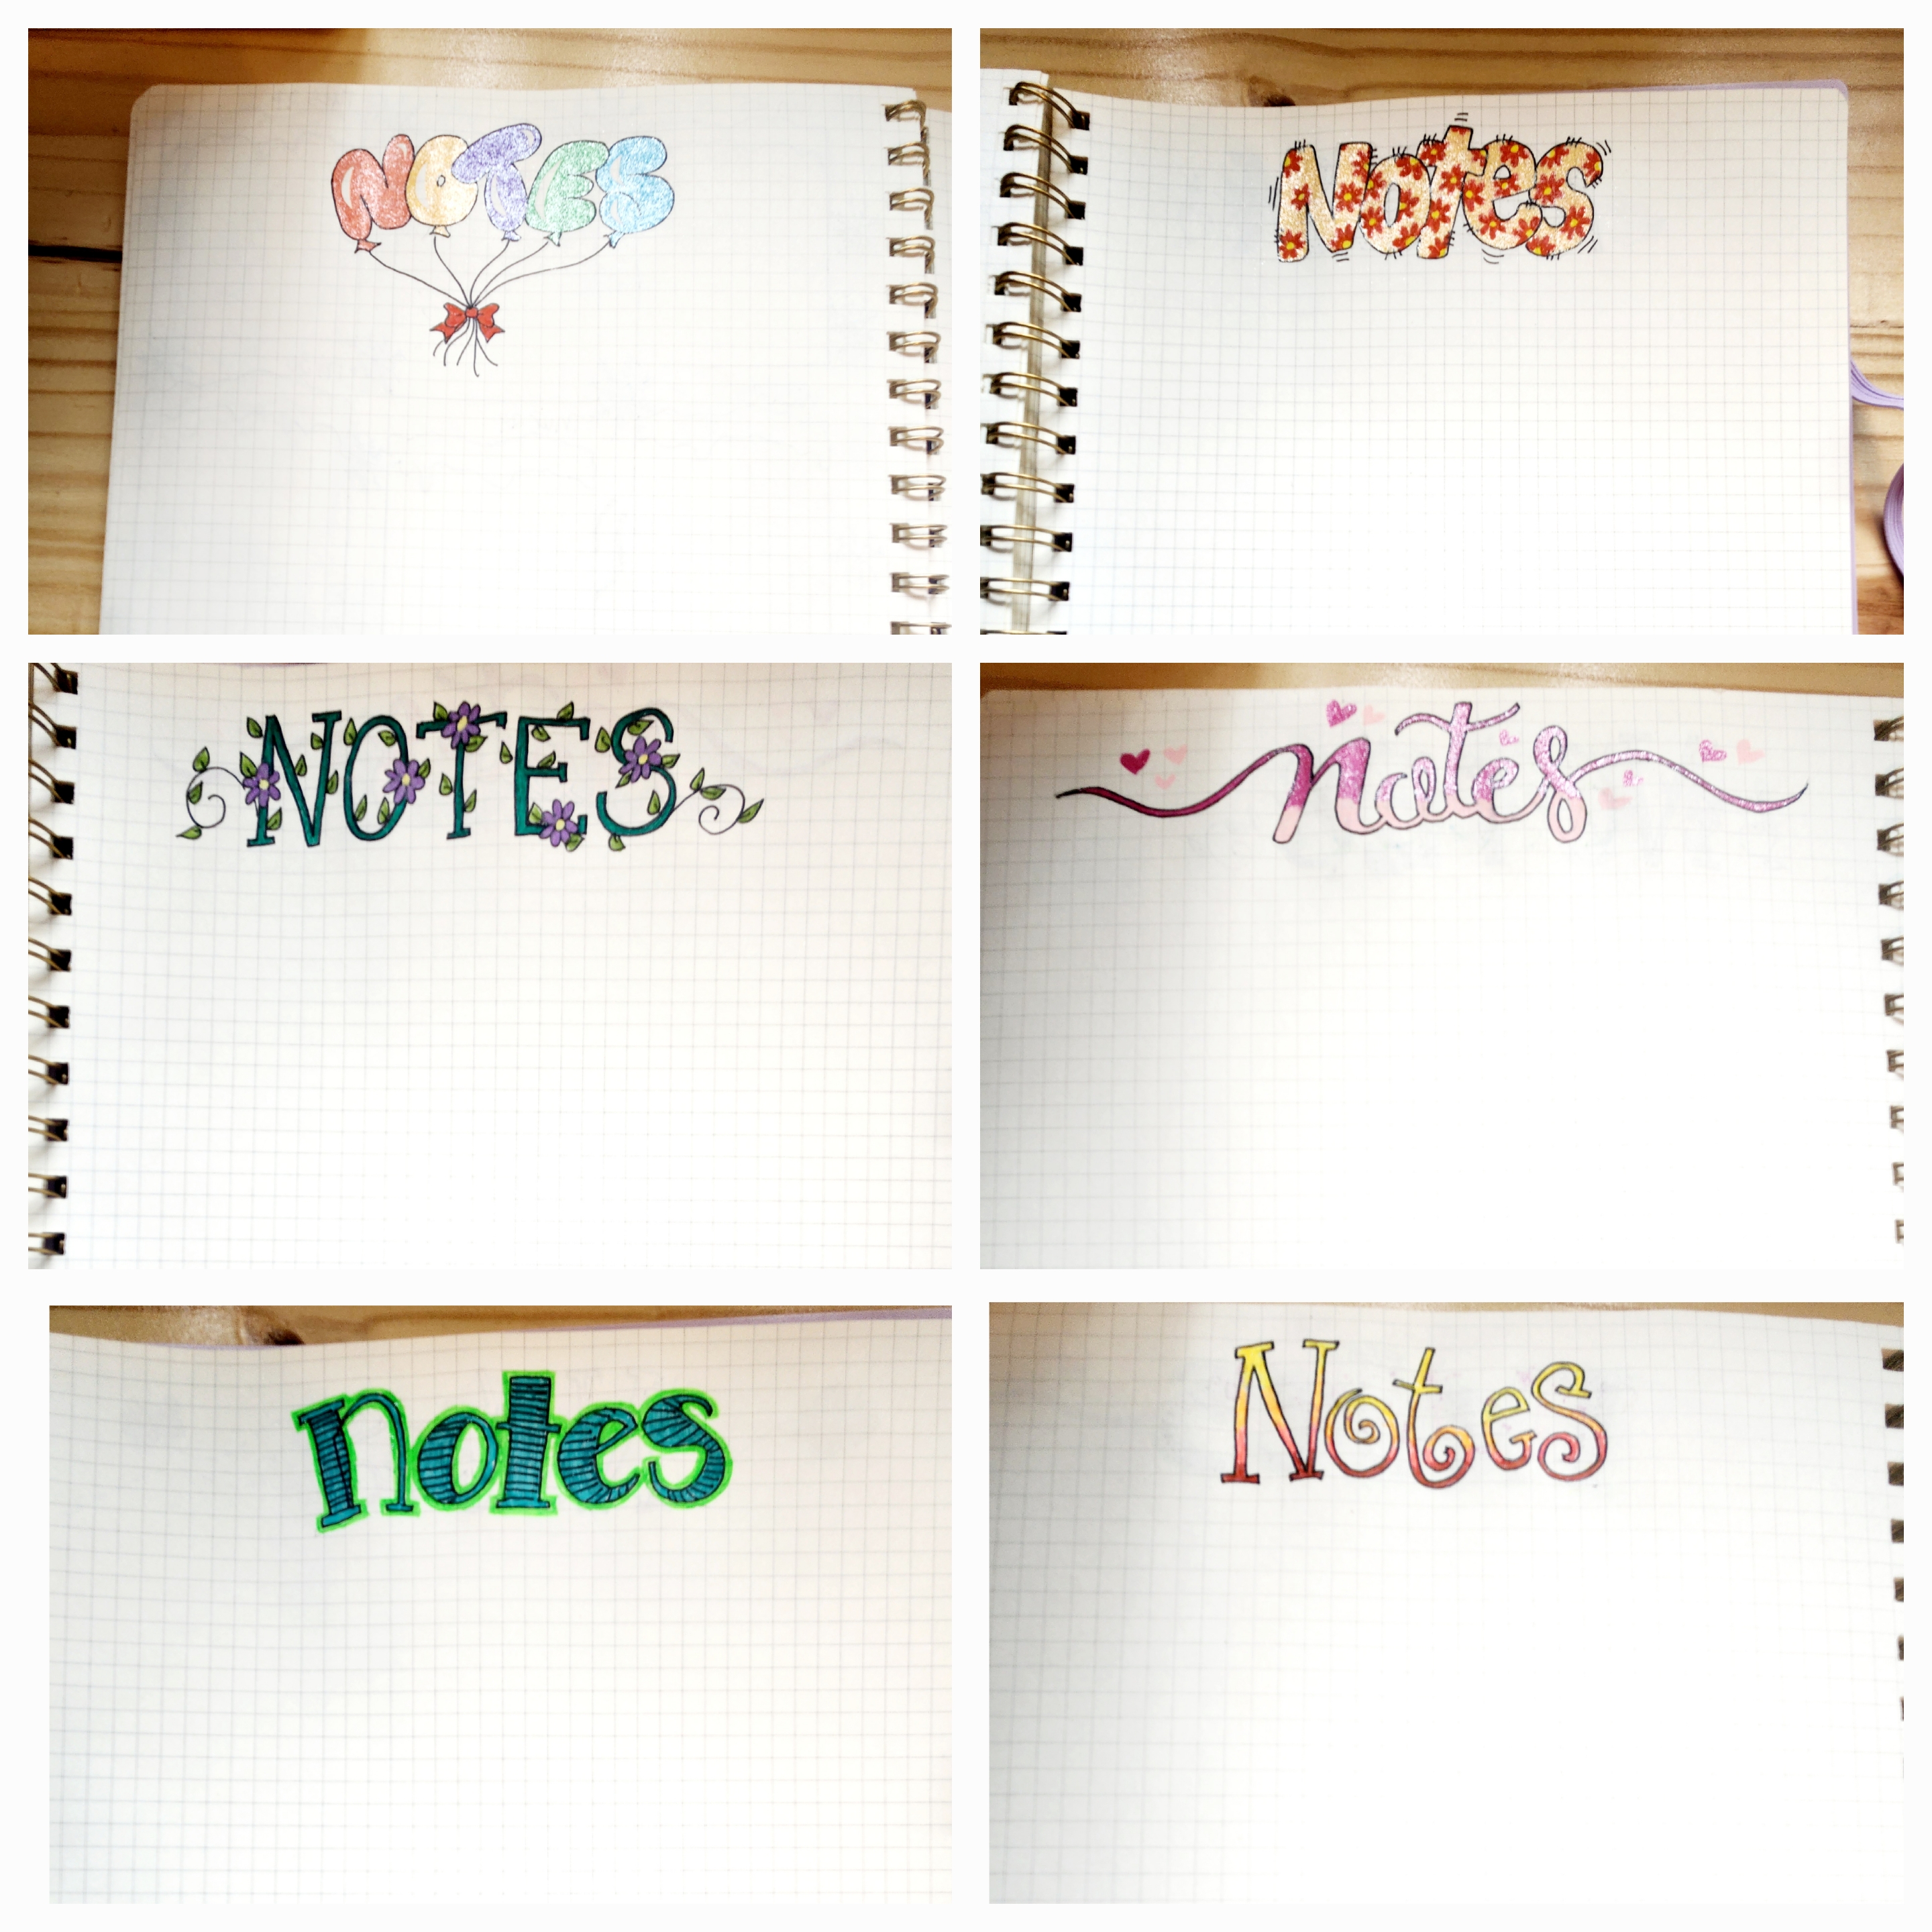
Step 7: After we finished our calendars and information pages we still had some empty pages left. You could just leave them blank of course but because we are extra we had to put something on them. We just added the header “Notes” to the tops of the blank pages in interesting fonts.

That’s it! Now you have a place to jot down important information, things to remember, grocery lists and meal planning, appointments or all of the above and more! Whether this journal is for you or a gift for a friend or family member it is the perfect way to stay organized this year.


Leave a comment