
Hello all you party people! What’s cuter than a personalized banner for a party? We’ve made so many paper banners over the years. They are so easy and really add a lot to any occasion. You can make them to fit any event theme, color scheme or occasion.
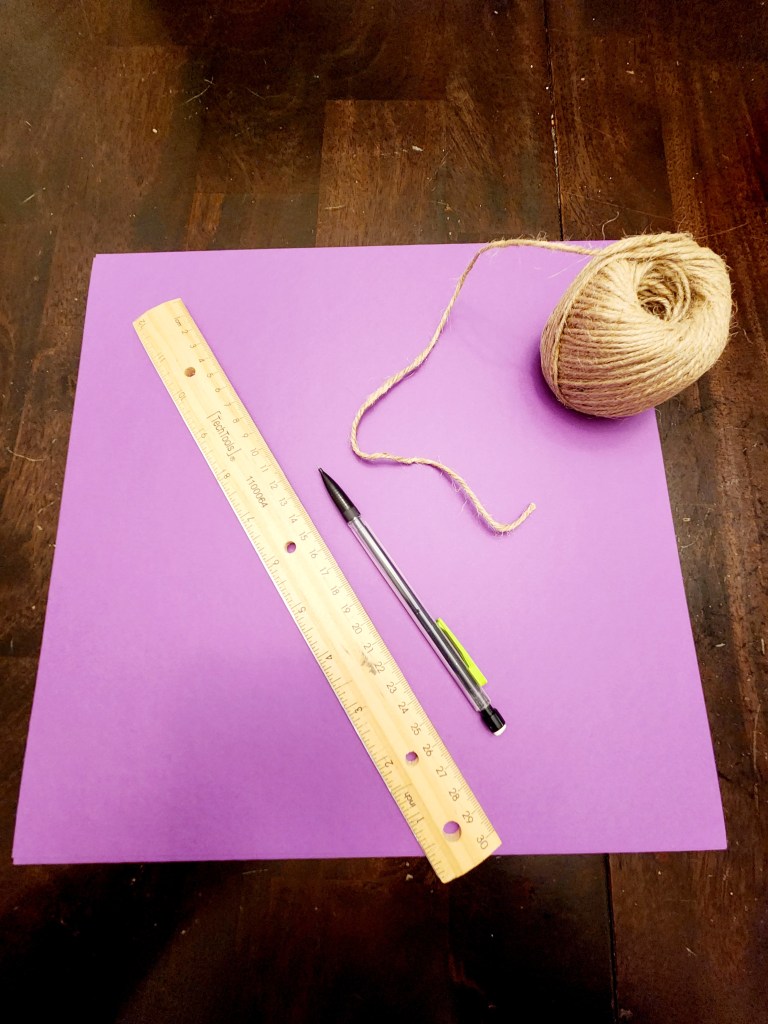
Step 1: Gather your supplies:
- Card stock in your chosen color or colors. We were going for a purple and white theme.
- A pencil
- Scissors
- A ruler
- Twine or ribbon ( whatever you’d like to string your banner with)
- Your letters ( We used our cricut machine to make some letter decal stickers) You could use anything that you’d like to. You could cut out paper letters, you could use stickers or you could even paint them on. It’s completely up to you.
- Hole punch
Step 2: Draw out your banner shape on your card stock. We chose to do the classic banner flag shape but you could do whatever shape works for your project.
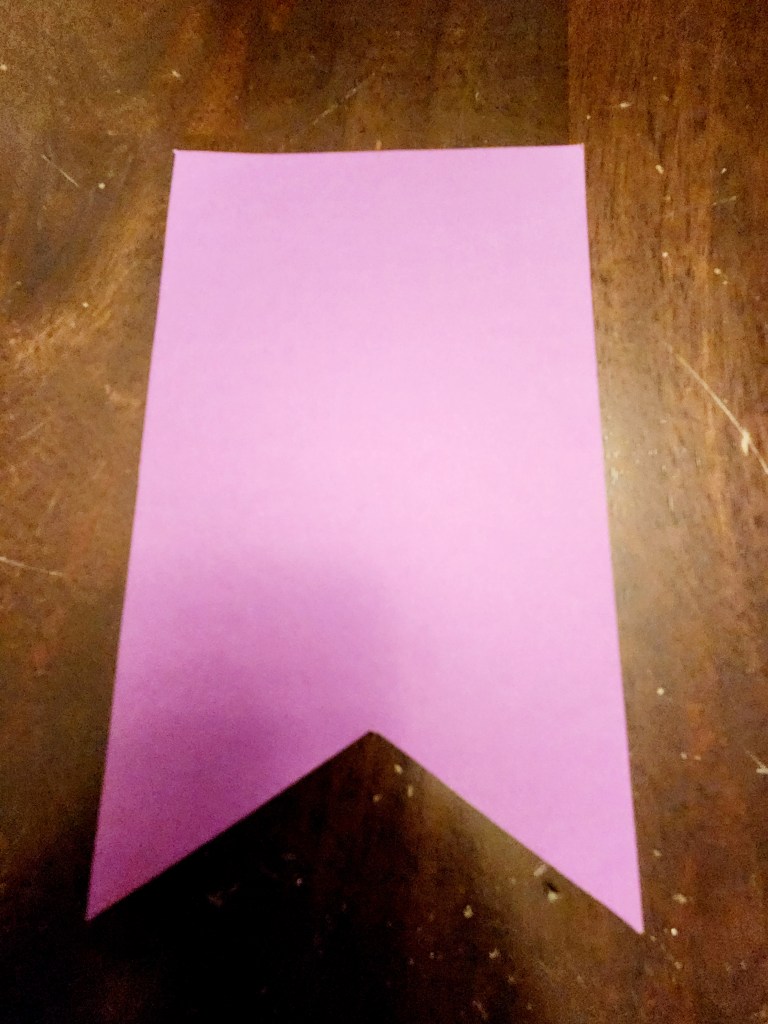
Step 3: Cut out your shape
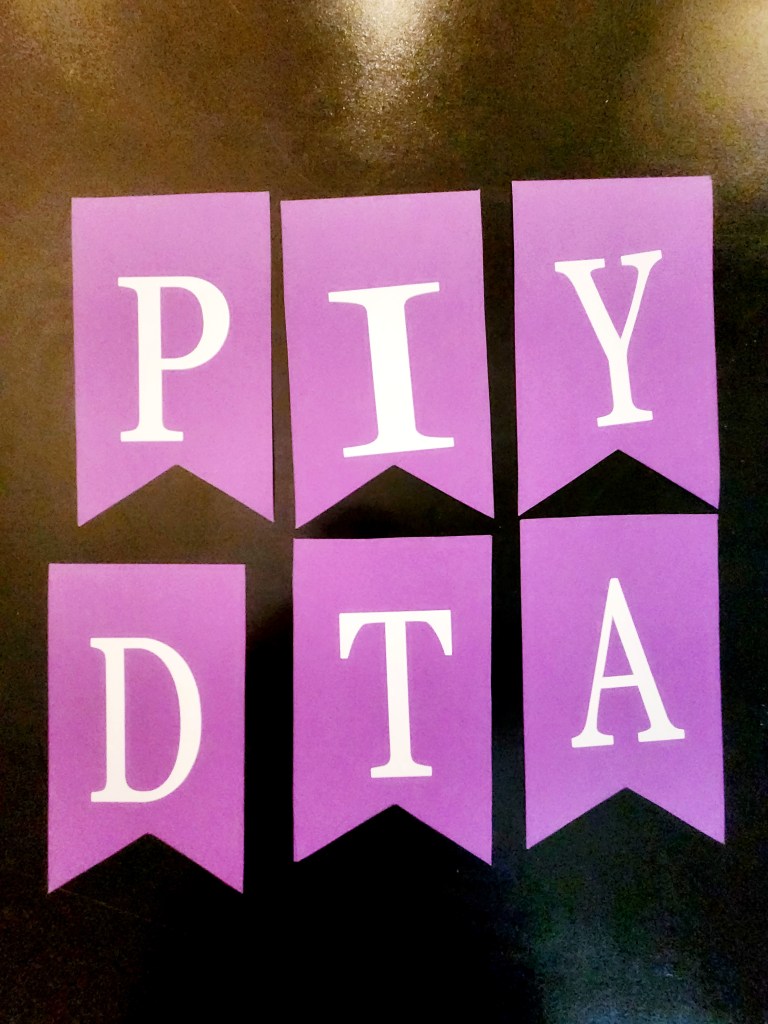
Step 4: Use your shape as a stencil and trace it. Make as many as you need to spell out the words your wanting.
Step 5: Attach your letters.
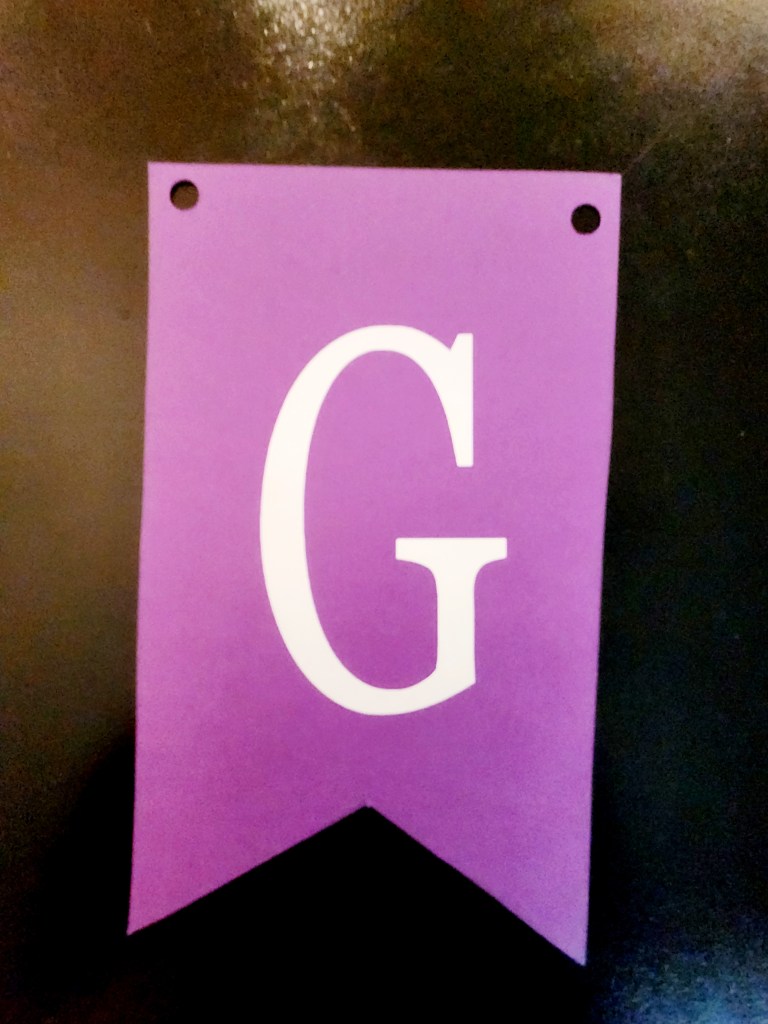
Step 6: Using your hole punch make a hole in each top corner of your flag.

Step 7: Weave your twine or ribbon through each hole of your flag. Make sure to leave some extra twine or string on either side of your banner so you can hang it up.
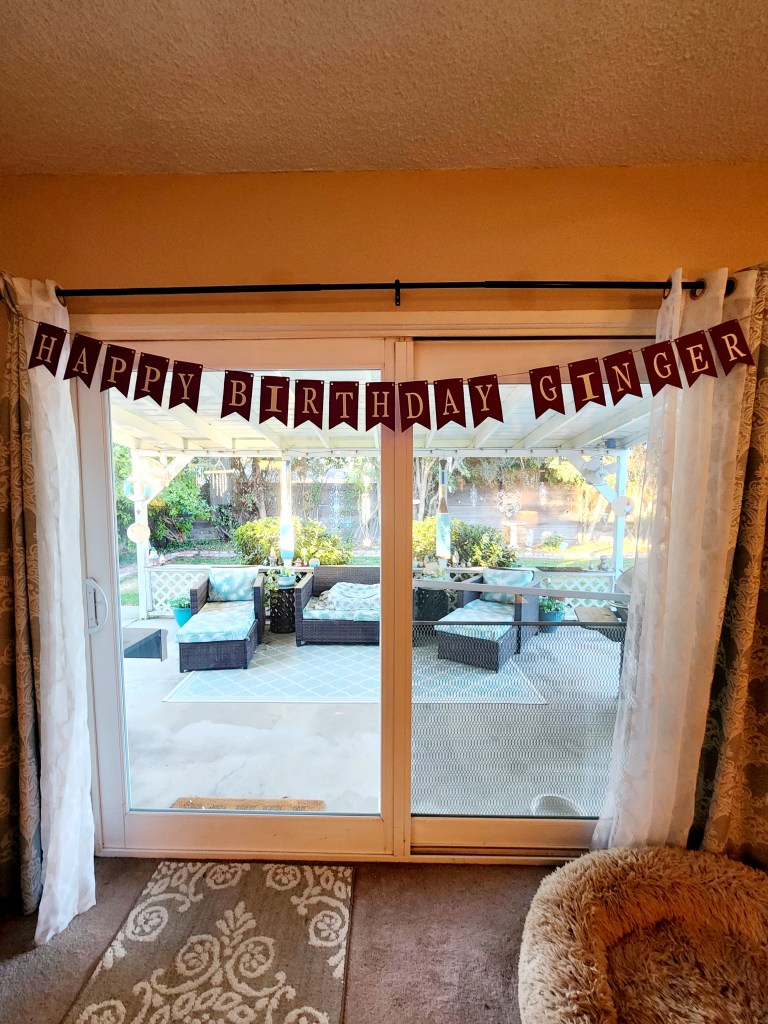
Wasn’t that easy? Now you have an adorable banner for your next party! Whether your making this for a birthday party, a baby shower or even just as a super cute decor piece in a bedroom this is sure to add a touch of sweetness to any space. These can be made in so many different ways and colors. Trust us, once you make one you’ll be addicted! You’ll want a banner for everything!


Leave a comment