

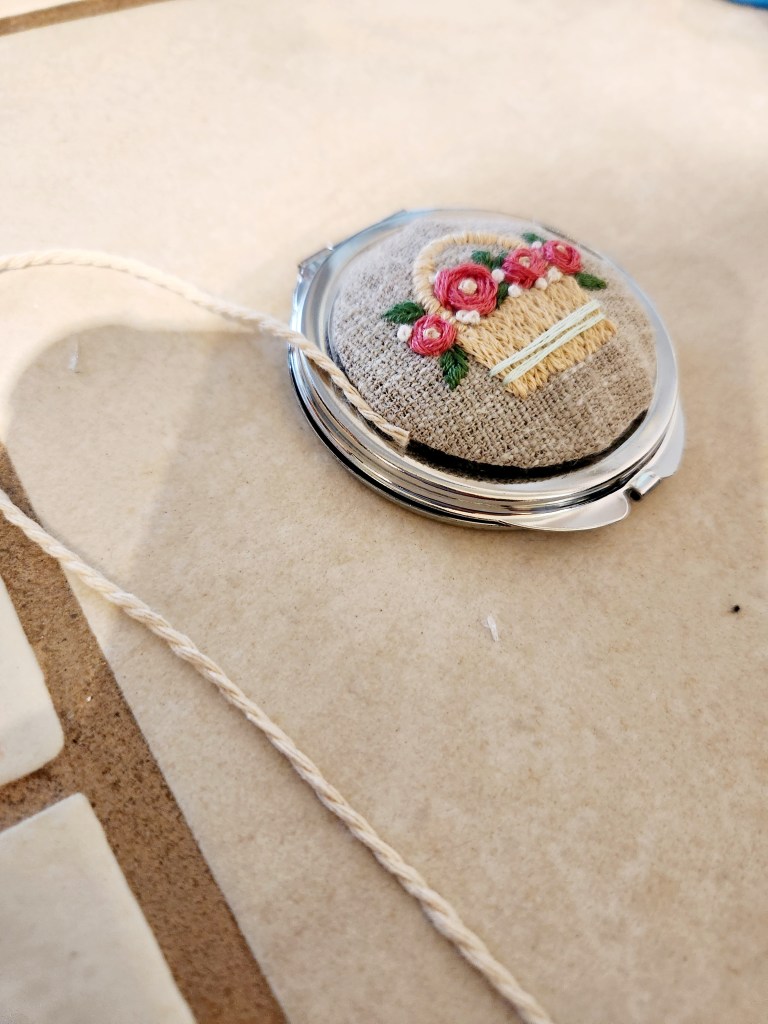
Hello all you craft supply collectors out there! Have you ever purchased something that was a steal of a deal with the intention of “using it eventually” and then eventually turns into many years? We have more times than we would like to admit. These cute little metal compact mirrors were one of those purchases. So, when we finally came up with an idea of how to use them and turn them into a gift-able item for our family and friends we were thrilled!
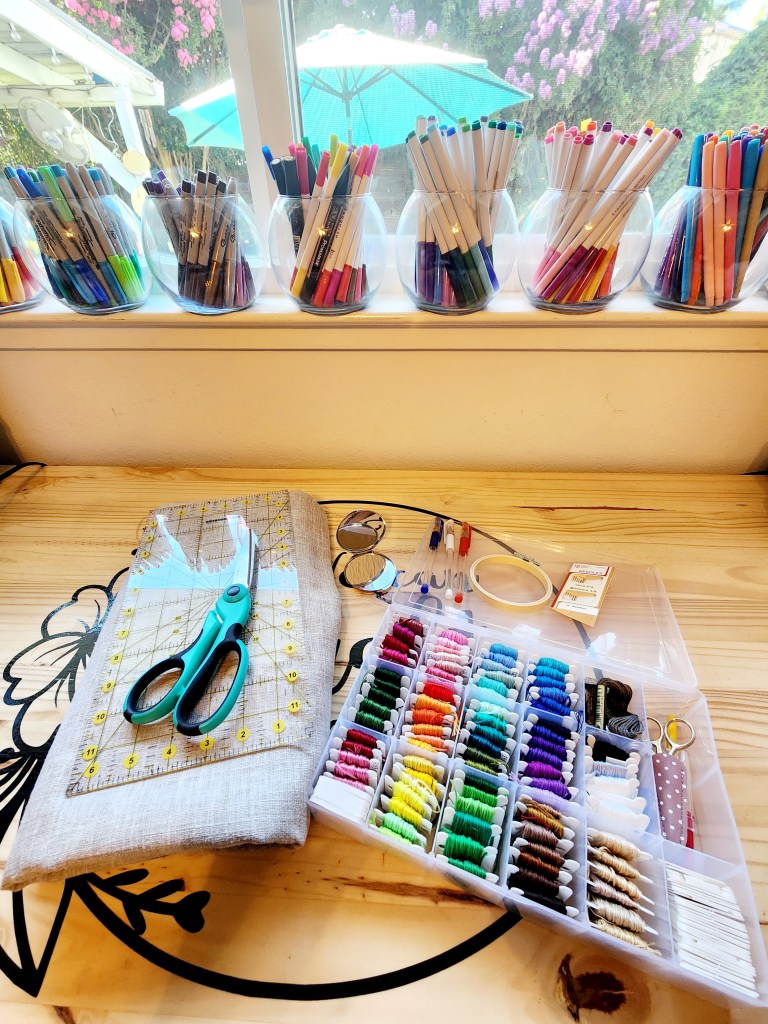
Step 1: Gather your supplies:
- Compact mirror
- Fabric of your choice
- Small embroidery hoop
- Embroidery needle
- Embroidery floss and scissors
- Heat erase pens ( this is optional but we really think they make things so much easier!)
- Poly fill
- A cardboard circle the size of the top of your compact. We used our cricut machine to do this because we were doing several. But, you could just cut them out with scissors.
- Hot glue
- A ribbon that coordinates with your embroidery design ( this is optional)
This post contains affiliate links, which means I may earn a commission if you click through and make a purchase at no extra cost to you
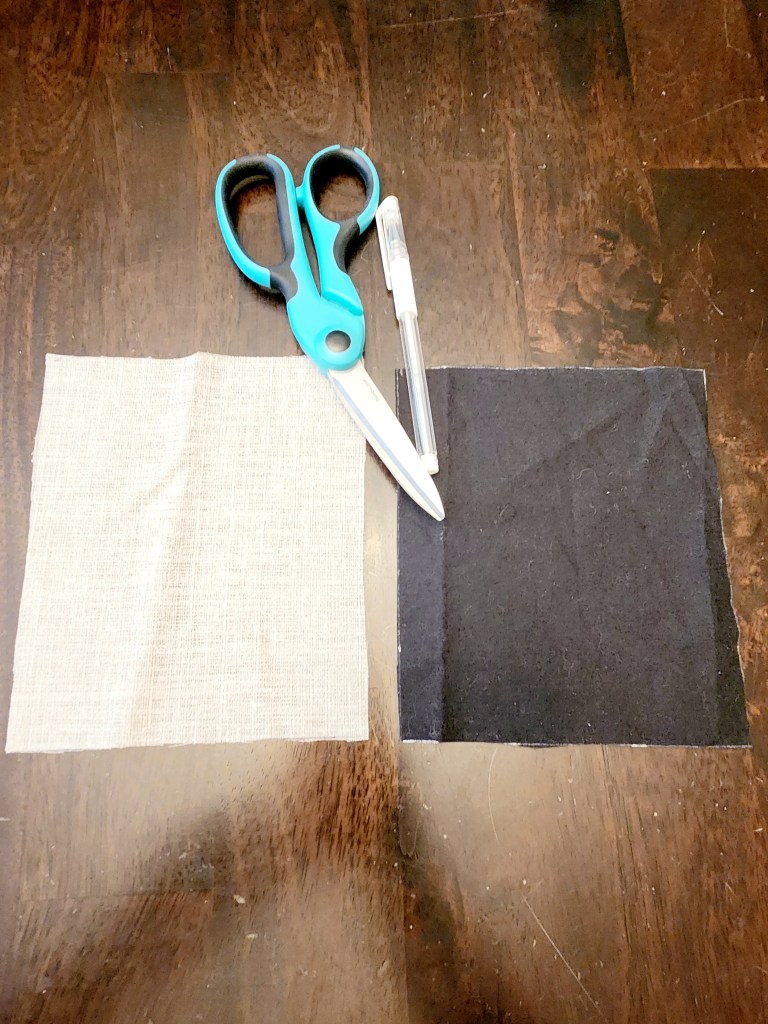
Step 2: Cut out a small piece of your fabric that is bigger than your compact. We just cut out little squares.
Step 3: Cut out a circle the size of the top of your compacts out of cardboard. We used some recycled cardboard boxes we had saved.
Step 4: Put your fabric in your embroidery hoop. We used our cardboard circle to trace on our fabric to make sure it was the right size when we go to attach it to our compacts. Then draw out your design. This is where the heat erase pens really come in handy. It ensures that if you make a mistake you can just erase it like it never happened! Also, when your through embroidering you can get rid of any pen marks that may be visible.
Step 5: Get to embroidering! Have fun with it!
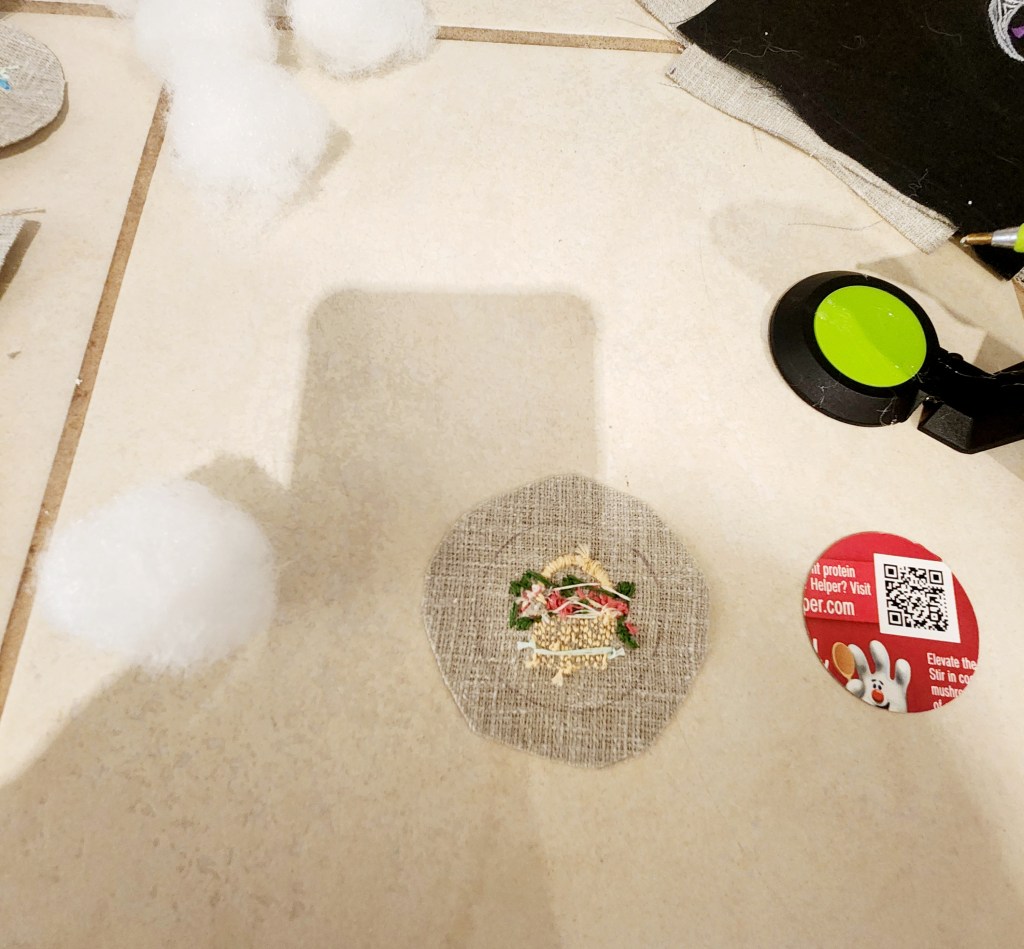
Step 6: Cut out your design. Make sure you leave a little border all around your fabric circle.
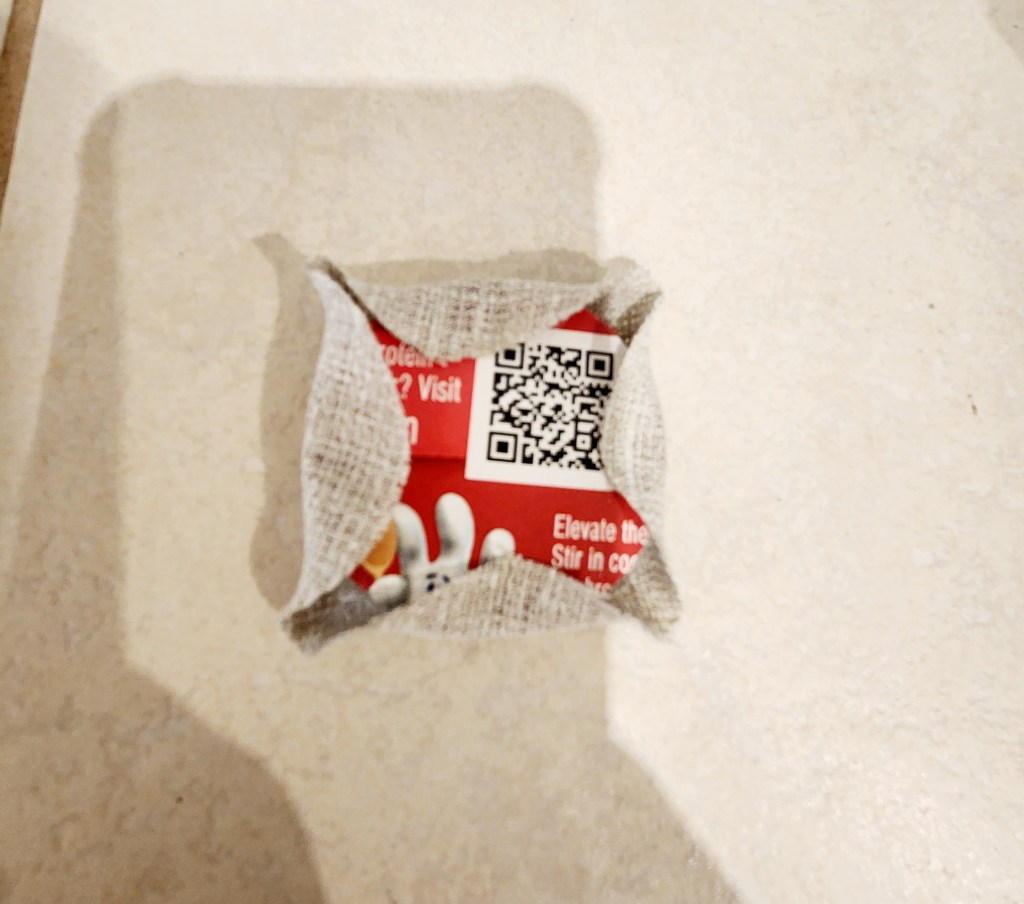
Step 7: Using a hot glue gun you are going to the glue your fabric to the cardboard circle and add a tiny amount of poly fill inside to create a little bit of cushion to the top of your compact. By folding the excess fabric all around the cardboard you will be sealing the poly fill inside and attaching the fabric to the cardboard at the same time. Make sure the front of your embroidery is facing out.

Step 8: Attach your embroidery to the top of the compact using your hot glue gun. Gently press down on the fabric to ensure it glues down evenly. Make sure your embroidery design is facing the right direction. Once it’s glued down it’s there to stay!
Step 9: This step is optional. But, we really think it finishes off the look nicely. We used some ribbon we had in our craft stash to create a border all the way around our fabric.
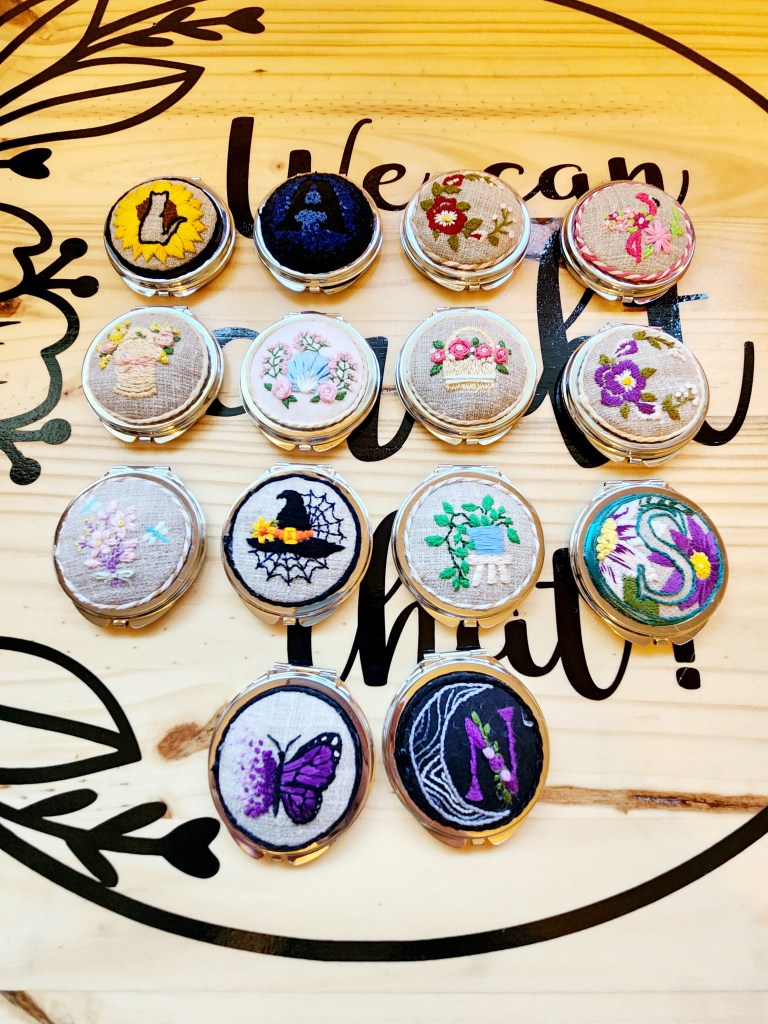
That’s it! Aren’t they adorable! Not only have we used something that’s been collecting dust in our craft room for years we’ve more importantly created something that we know people we love. See, we knew we would use them eventually! Happy Hording! We mean crafting 🙂


Leave a comment