
Have you ever struggled to figure out what to give your cherished loved ones for Christmas? We struggle with this every year because we absolutely love giving personalized gifts to all our family members. Our family has now come to expect handmade presents from us. They look forward to it year after year. We have started making things December 26th so we have a steady stream of special gifts to give out at the holidays. It may be little crazy but it works for us!
Step 1: Gather your supplies:
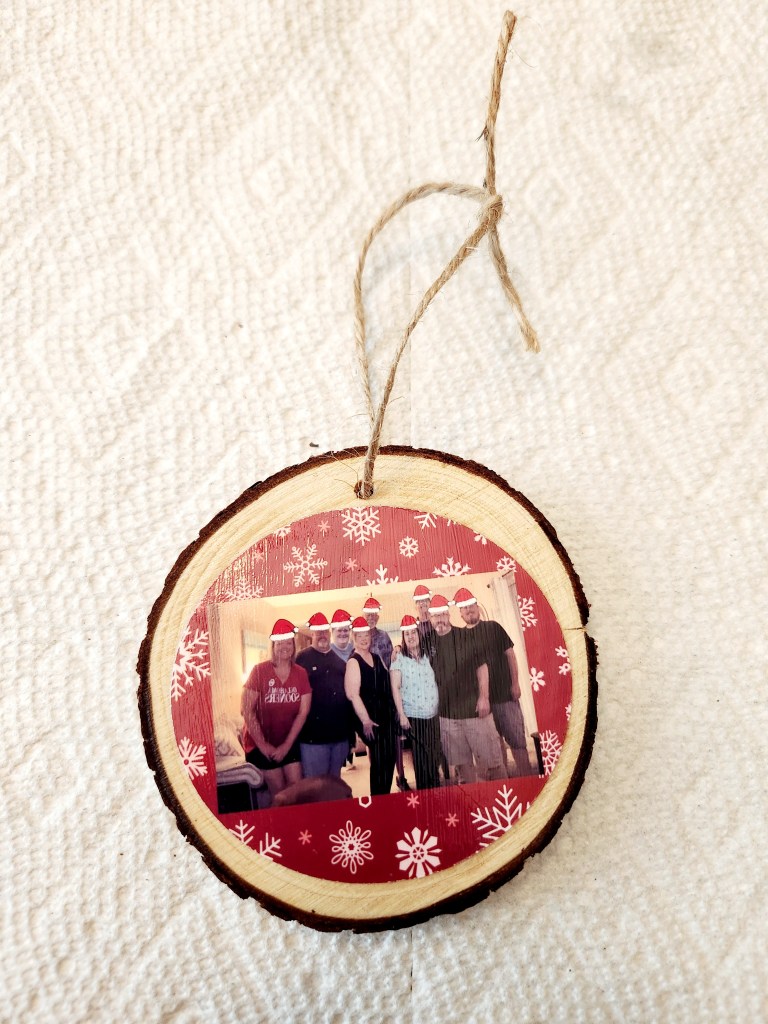
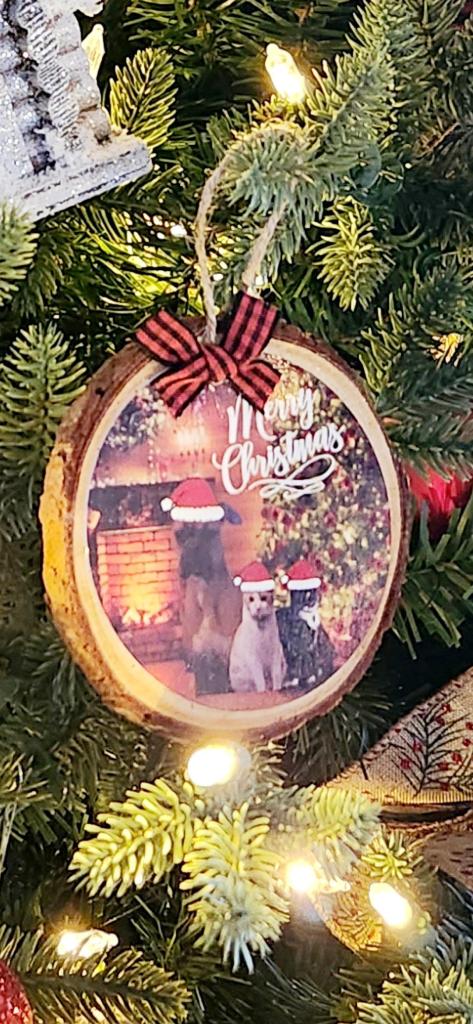
-Wood slice ornament ( ours were purchased off Amazon) but, you could definitely cut your own if you have access to some beautiful tree limbs.
-A photo or image you want to put on your ornament. We printed ours off cricut as a sticker. We wanted to put little Santa hats on everyone and add a certain family member that wasn’t actually there to our photo. Canva is another program that we’ve used to print images off of ( and it’s free) or you could just use a regular photo.
-Mod podge
-Ribbon or twine for a hanger
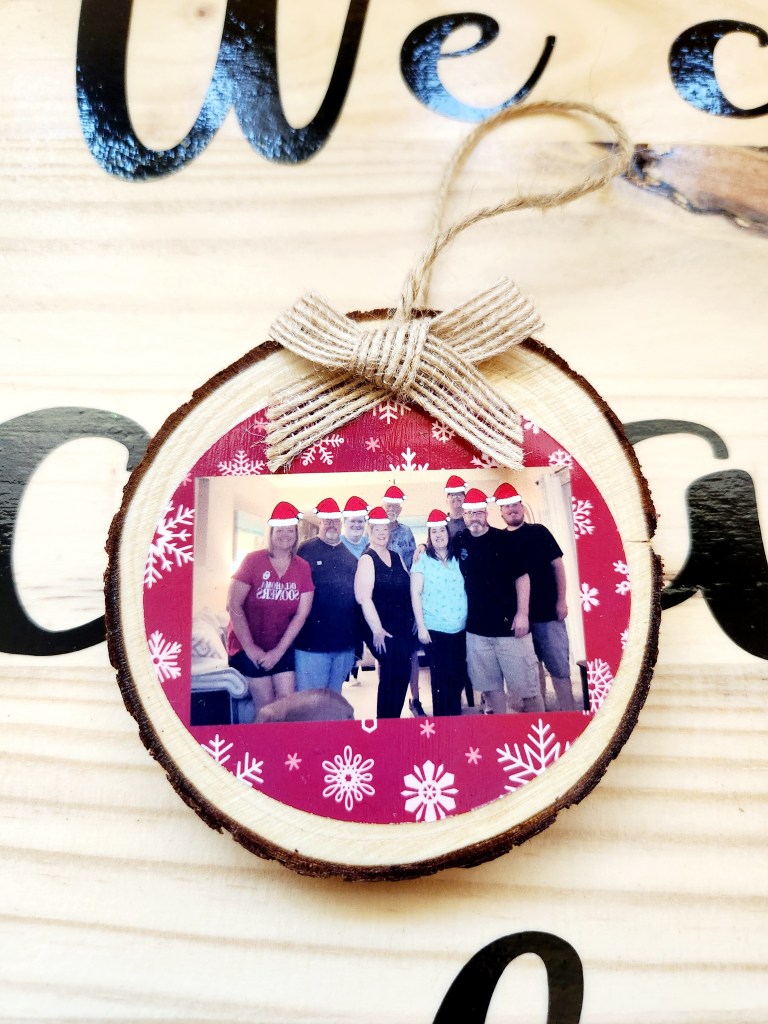
-Any embellishments you’d like ( we added a burlap ribbon to ours)
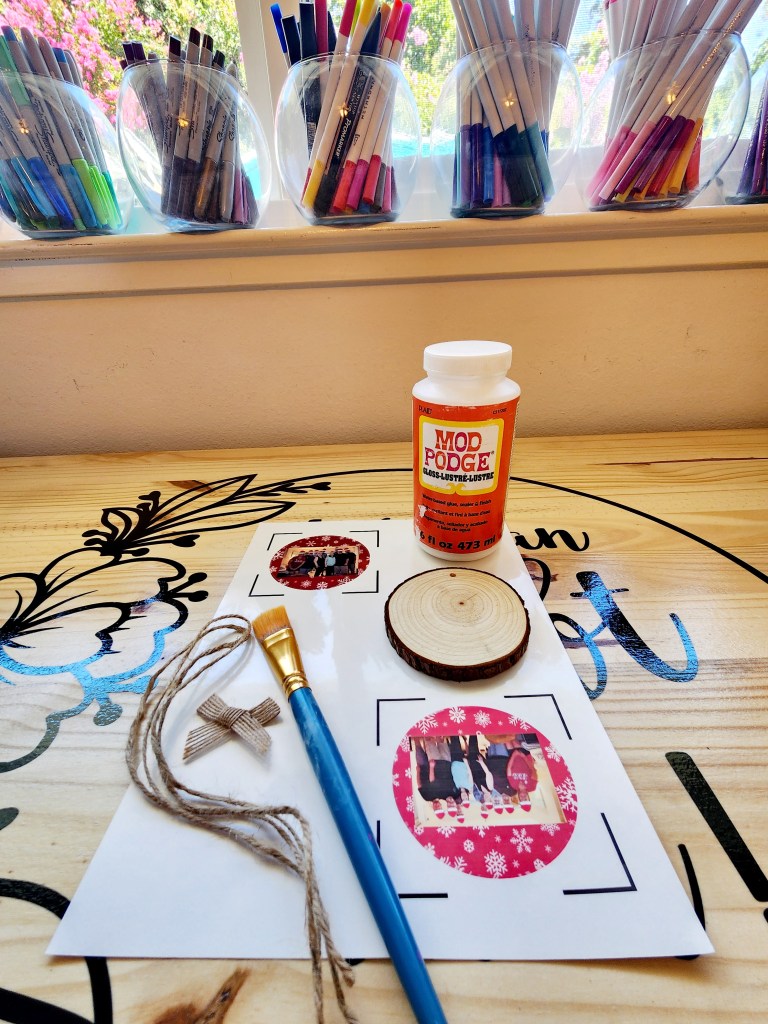
Side note: You’ll see two pictures in red circles in the above image. We wanted you guys to see the difference between choosing a higher quality printer setting vs just doing a basic print. They don’t even look like they were done by the same printer, but it was just a matter of changing a setting or two.
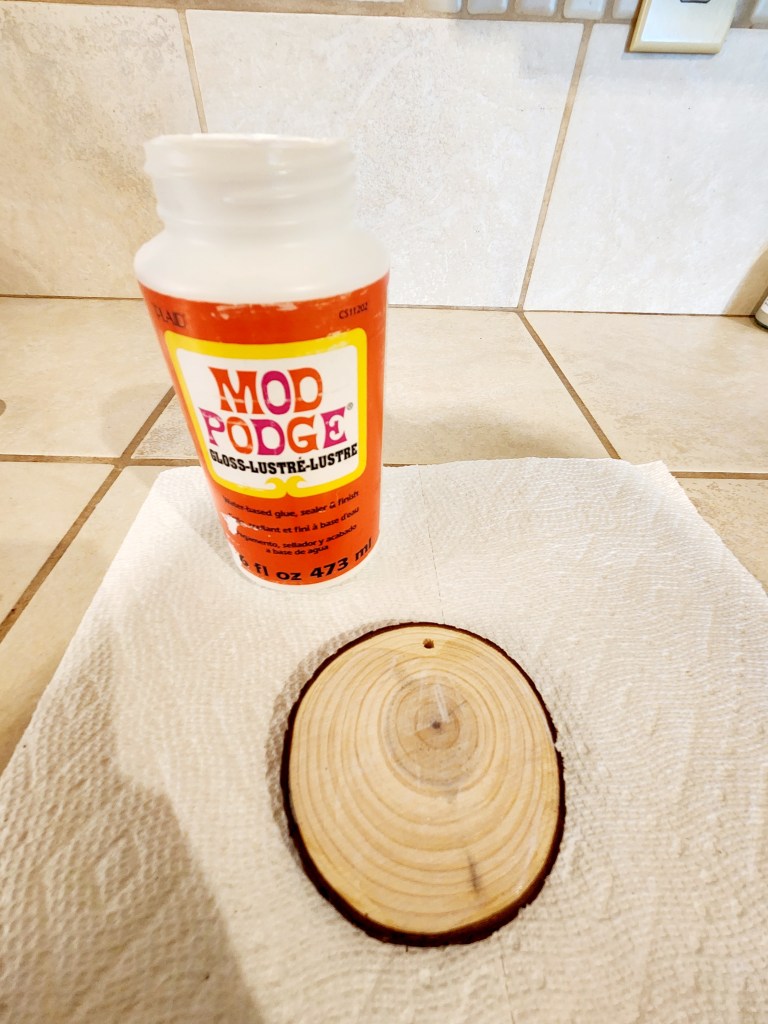
Step 2: Put a coat of mod podge directly on your wood slice and some on the back of your photo. Then place your photo where you’d like it. We just centered ours to the wood slice. Use the little hole at the top of your ornament to help you center it.
Step 3: Mod podge over the top of your photo. It will dry clear. Make sure you really adhere the edges of your photo because that’s where it will want to peel up.
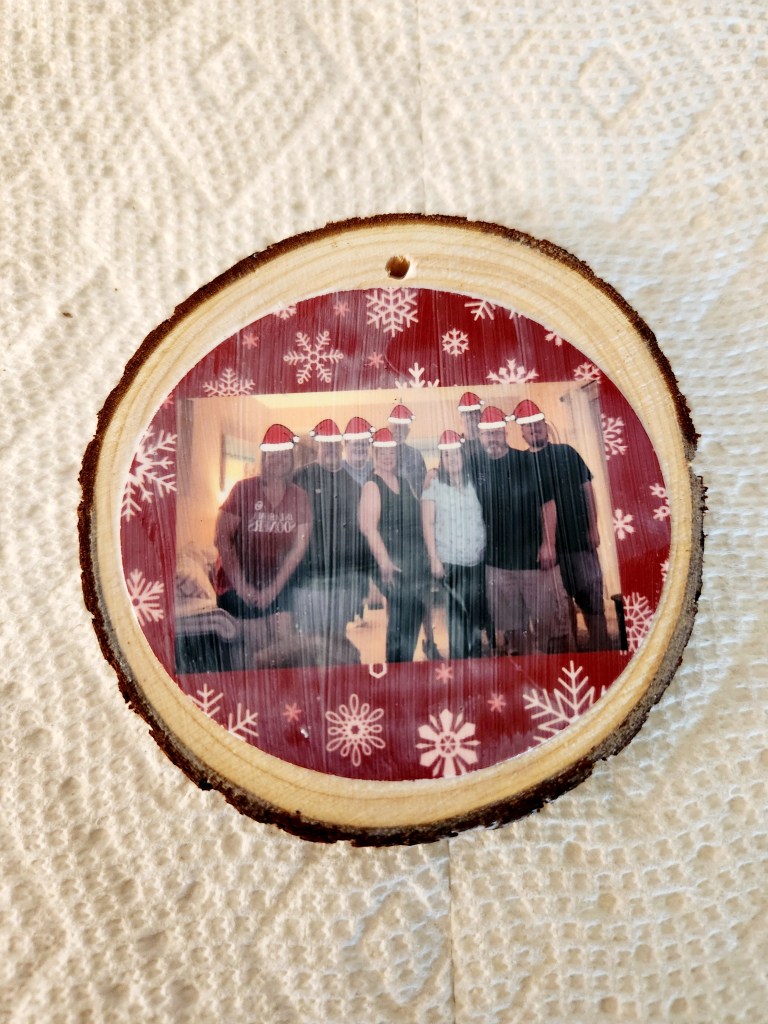
Step 4: Put one more coat of mod podge once the first coat is completely dried.
Step 5: Add your ornament hanger. You could use a metal ornament hanger or a ribbon or twine like we did. It depends on the look your going for. If your using ribbon or twine just tie a knot and slide it to the back. Then it won’t be at the front of your ornament.
Step 6: Add any embellishments. We used a tiny bit of hot glue ( because it’s instant gratification which we appreciate) to attach our cute burlap bow to the front of our ornament. This also helps to hide the hole at the top a bit.
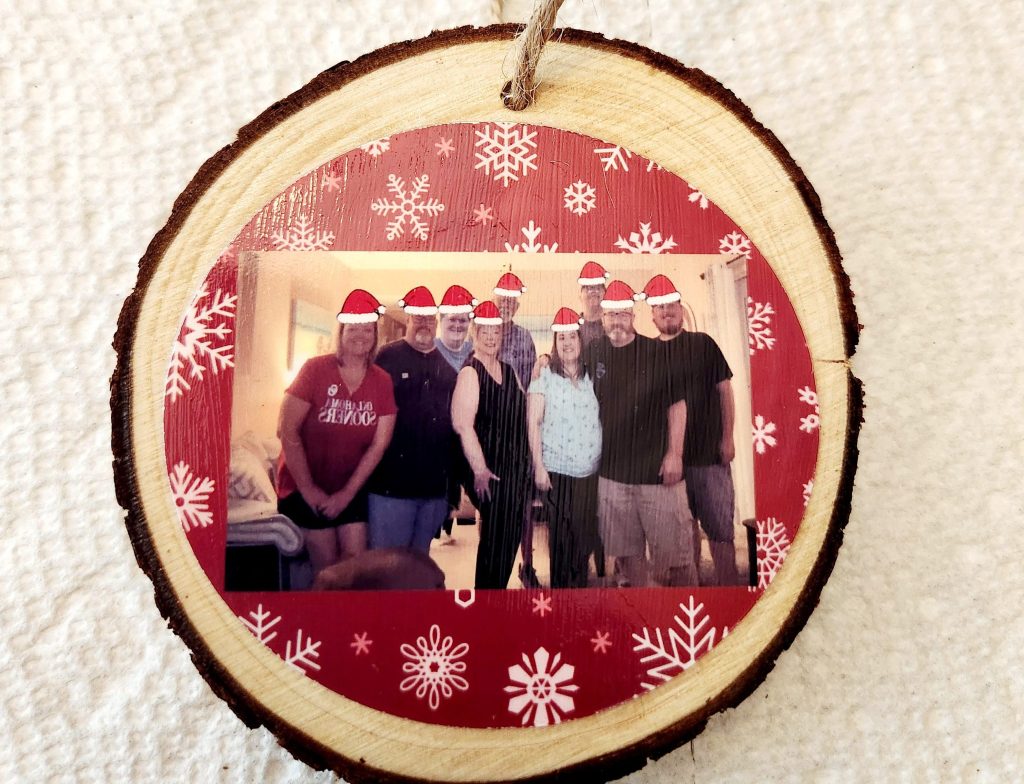
Look at that! One Christmas present checked off list. This is a quick and easy project that you will for sure want to repeat. You can make one for every family member or even a great friend. These make excellent stocking stuffers too!
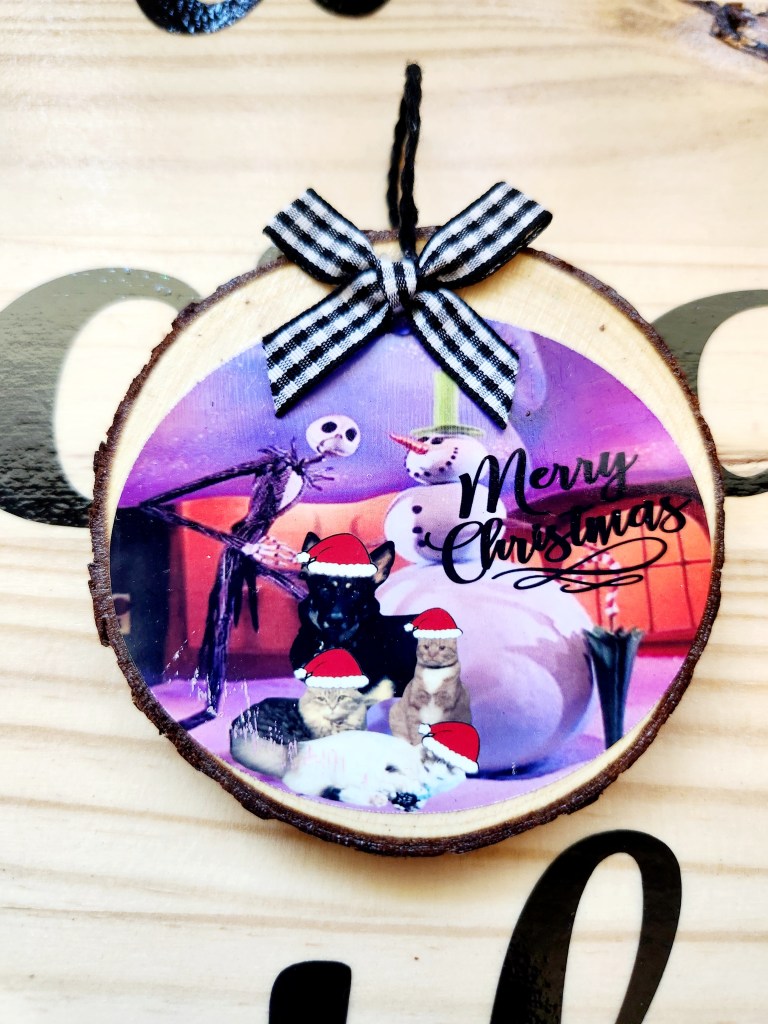
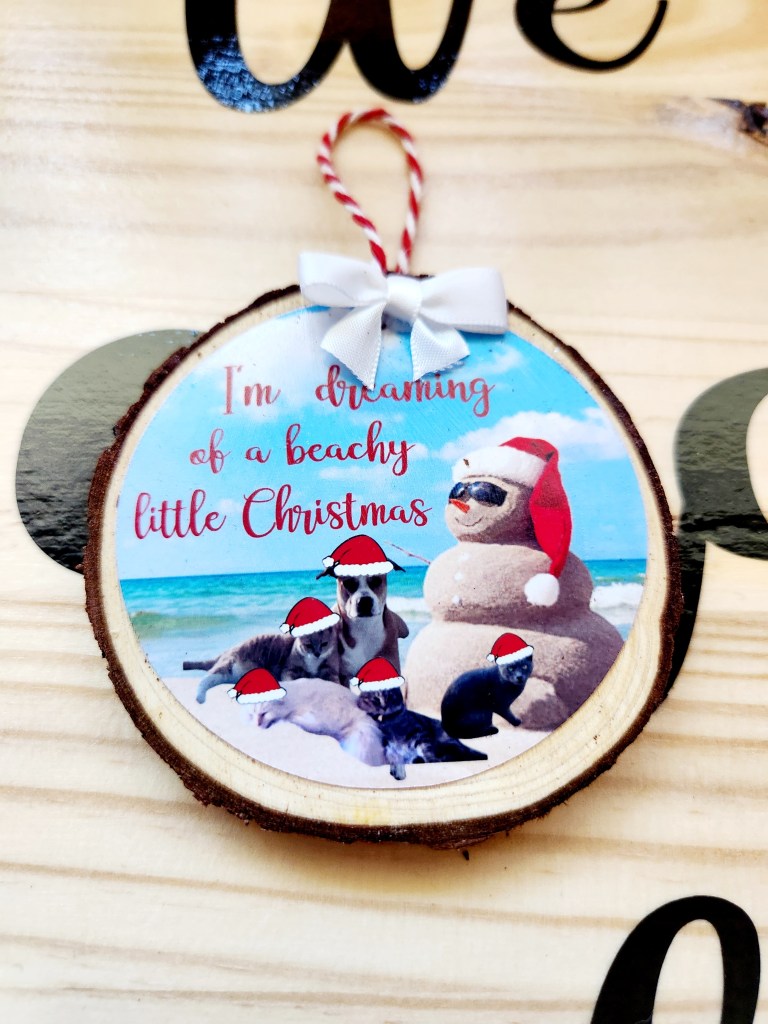
Enjoy a look at a few other ones of these we did. Each reflecting the household they belong in.
Let us know if you make these and how you made them unique to you and your loved ones.


Leave a reply to Christmas Tree in a Box – We Can Craft That Cancel reply