
The holidays are over and its time to clean up, reorganize, and finish up all the treats. Like us you end up with a big popcorn tin and think “ This is a good tin.” and “What can I use this for.”. Then you end up with the inevitable thought that you don’t want a random Christmas tin looking ugly in your house in July. This was our problem and we have gone on a rampage to make these as fabulous as we knew they could be. This time we are upcycling a popcorn tin into a fabulous planter that will hold up to weather and be much sturdier than the dollar tree ones currently desperately trying to hold on in our crazy California weather.
The popcorn tin we are using for this planter is an extra pain because it has raised outlines of a couple santas and christmas tree that will absolutely transfer through when painted and look ridiculous. So stay with us and check out how be turn out old popcorn tins into fabulous garden planters.
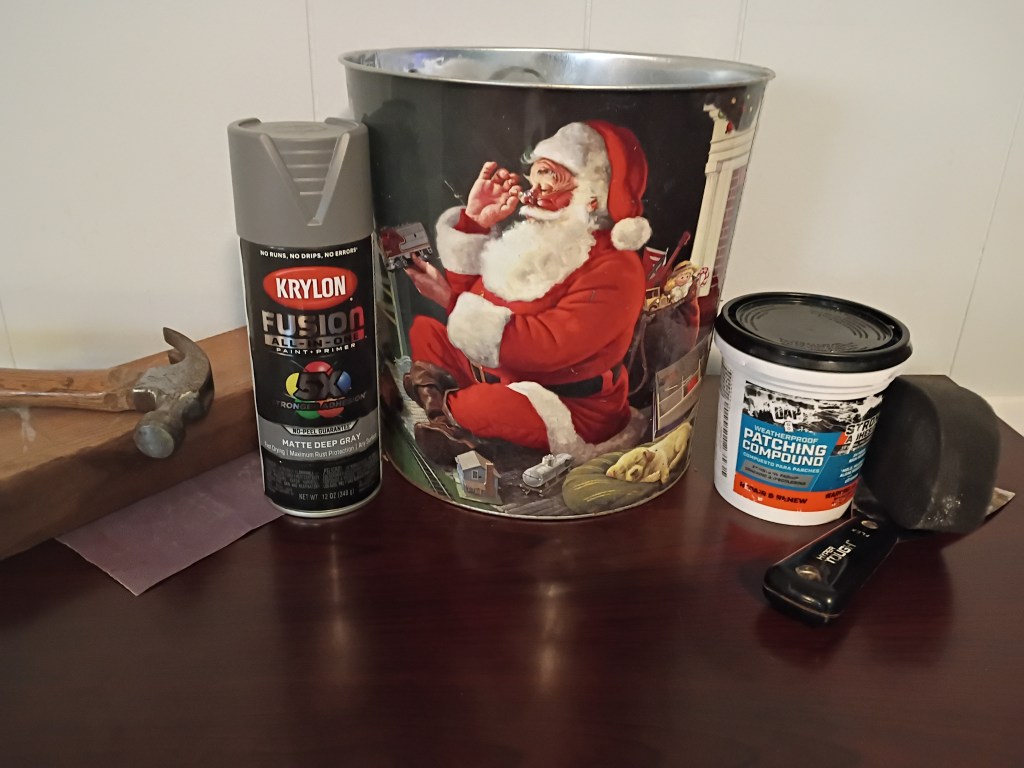
Step 1: Gather your supplies:
- Popcorn tin
- Hammer
- Small piece of wood
- Sand paper 400 grit
- Matte Gray Spray Paint
- Palette knife
- Sponge
- Weather proof patching compound
*** If your tin is flat all the way around move on to step 3.
This post contains affiliate links, which means we may earn a commission if you click through and make a purchase at no extra cost to you.
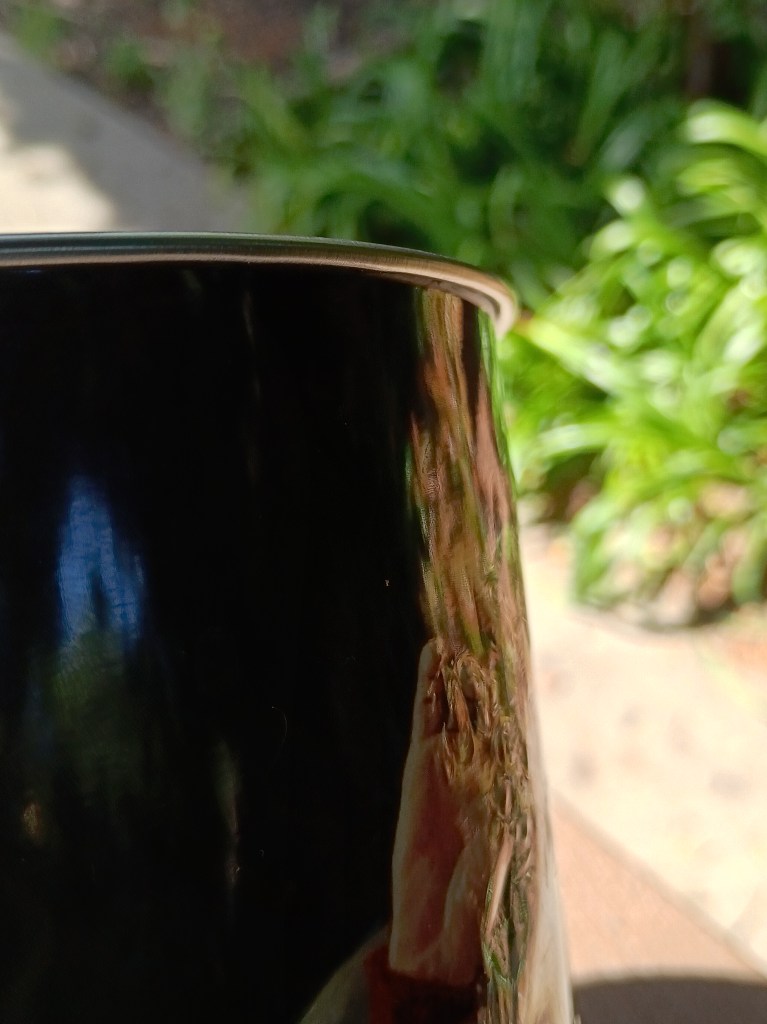
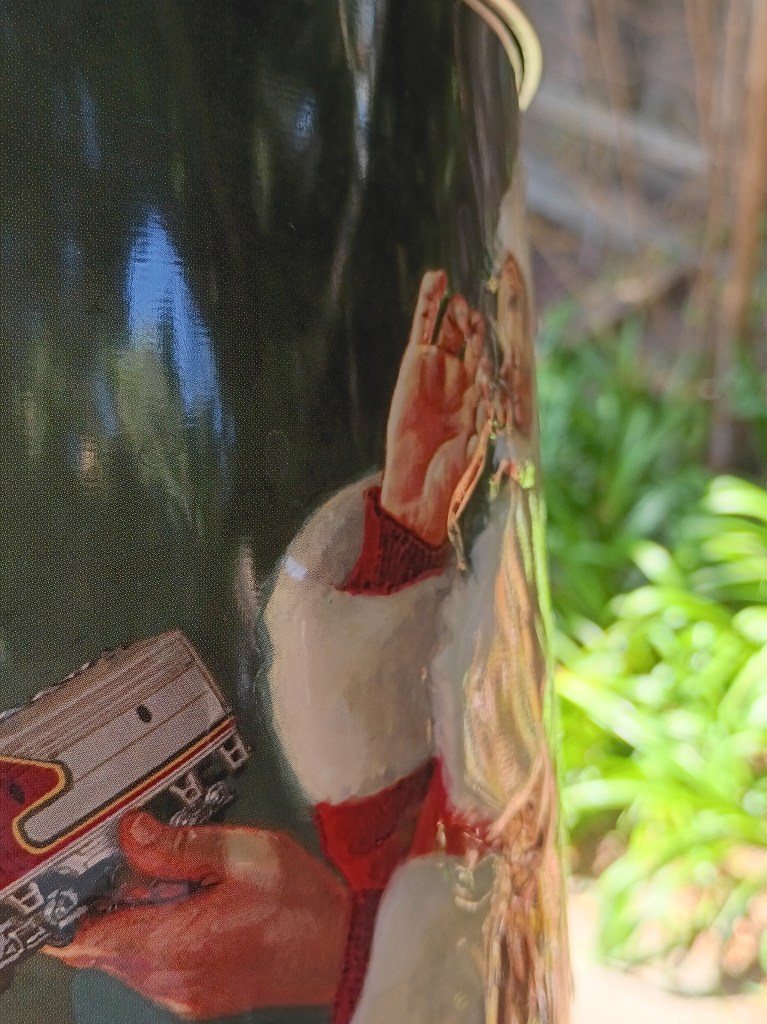
Step 2: Since this tin has raised images on it we’re going to start by knock then down. You’ll want your block of wood on the outside and hammer from the inside. If its too noisy throw a towel on top to muffle it. Just follow the outlines around the tin feeling the front to see there are any stubborn spot. Keep in mind it doesn’t need to be perfect but we don’t want obvious outlines anymore.

Step 3: Scuff sand the outside of the tin with sandpaper to help the paint adhere. And clean it all off thoroughly to get any dirt, dust or grease that might cling to the surface.
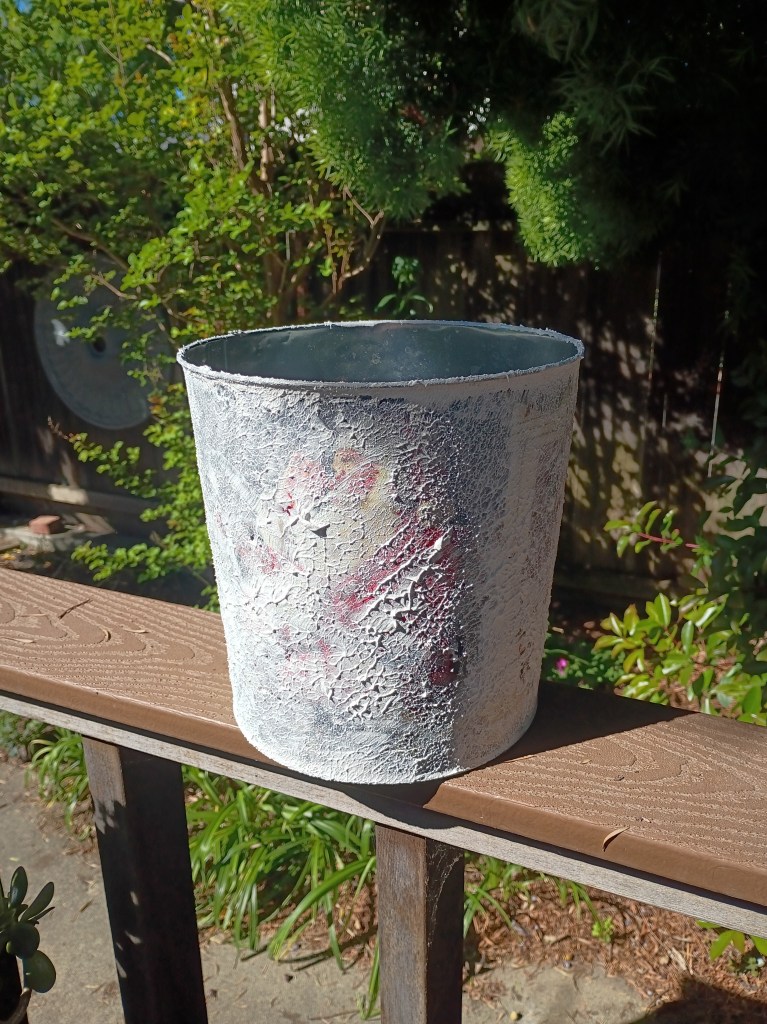
Step 4: Now that the surface is prepped we can start using the compound. The lip around the top and bottom bothered us we used the putty knife to put a little compound there to soften the edge. It doesn’t take much. To make things a little easier we watered down the compound so it was close to an acrylic paint consistancy. Use the sponge and go crazy patting the compound all over the tin making sure to include the parts we added by the lip. It goes pretty far so add as much or little as you want.
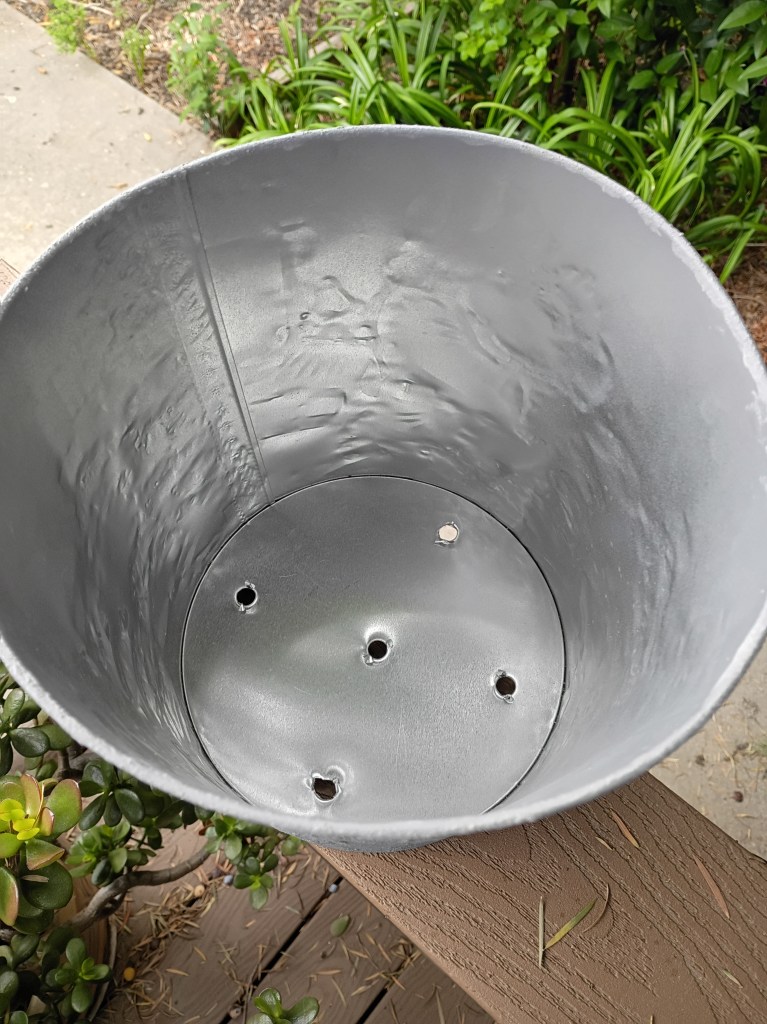
Step 5: We took this time to also drill the holes in the bottom. It can be done with a hammer and nail. Just make sure you have enough drainage to avoid the pot from being water logged.
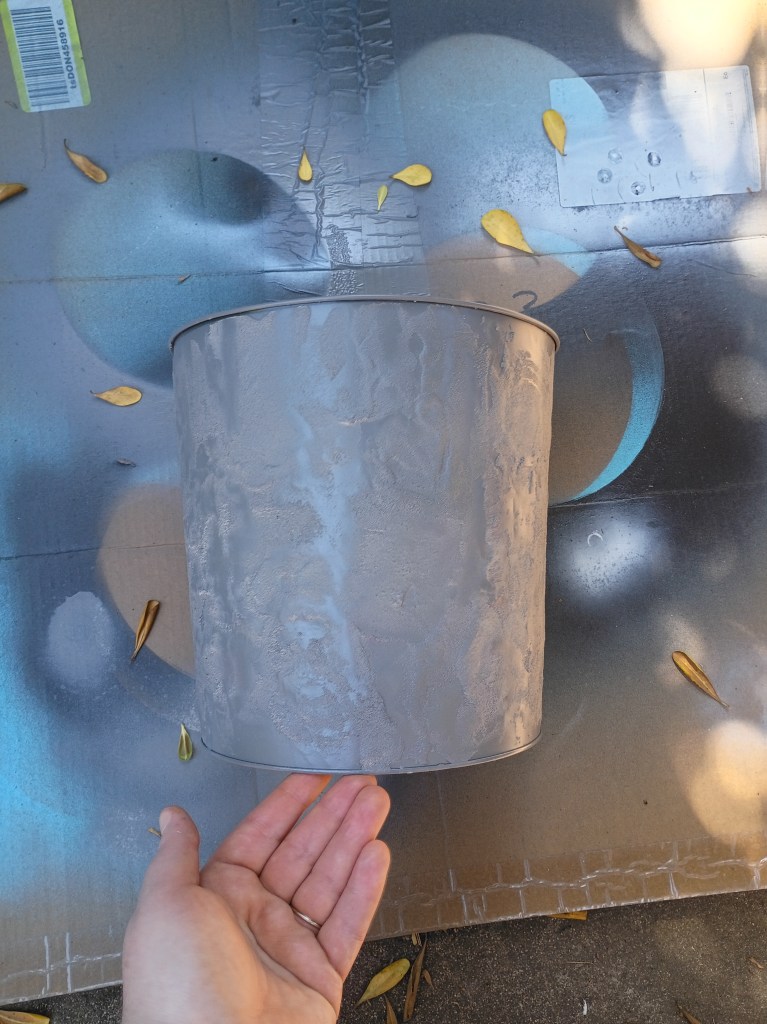
Step 6: Finally we get to painting. This will need at least 2 coats of spray paint to get full coverage.
Step 7: Since this is or a pretty hot spot we want to make sure to protect the plant by lining the pot. This can be as simple as using cardboard around the sides. Its just the soil won’t get too hot and the plant roots don’t burn on the metal exterior.
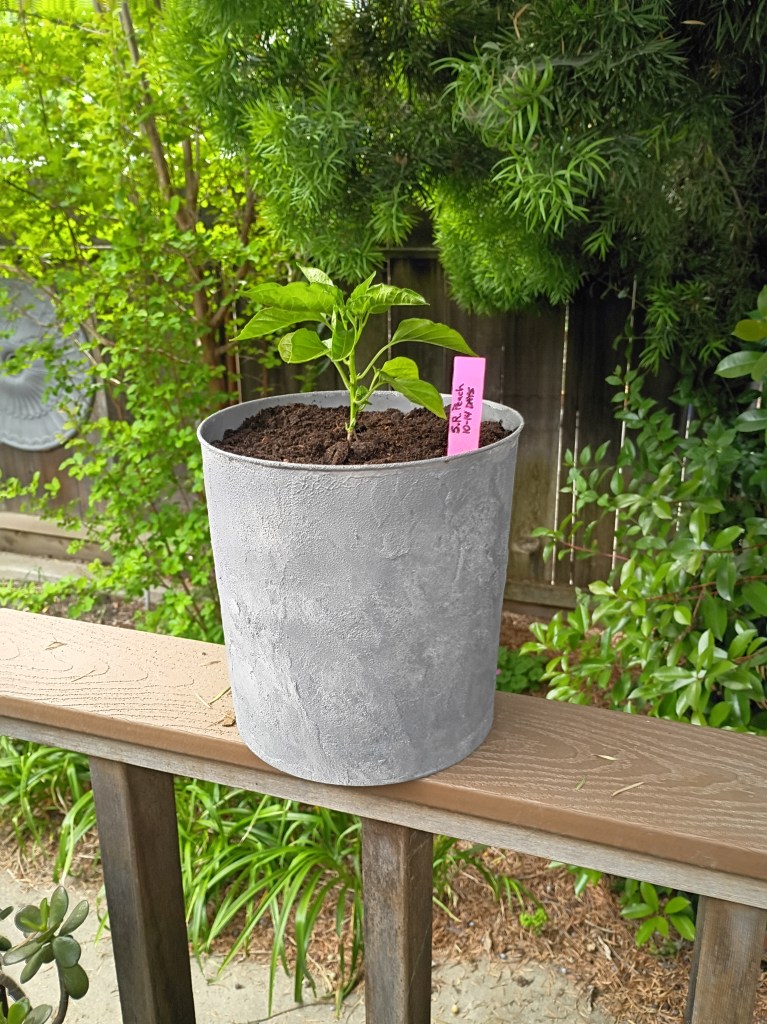

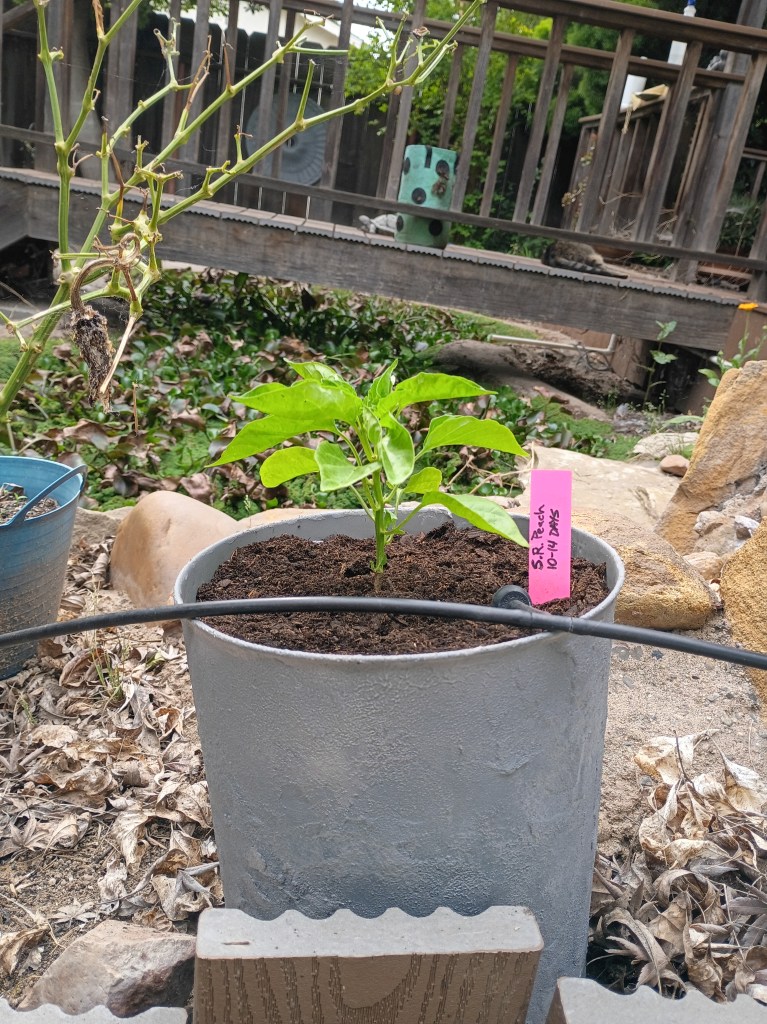
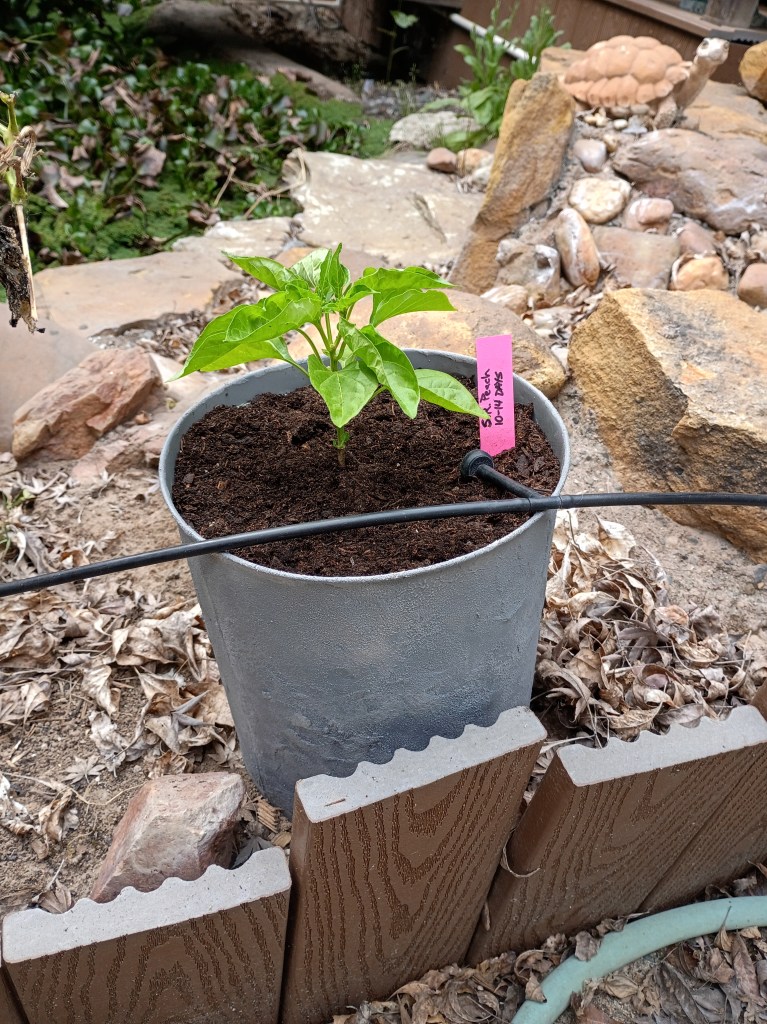
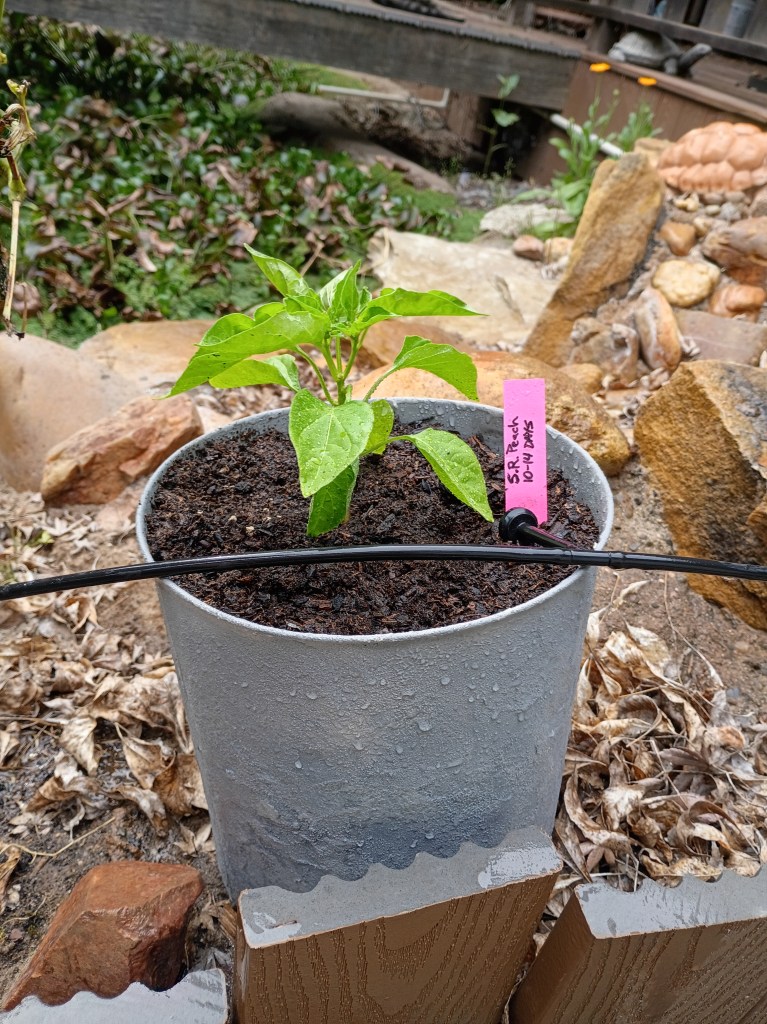
Now we have a fabulous looking pot that will hold up for years to come. Well in our case we have about five of them so far since the process is so easy and we love our gardens. We know that the patch stuff is a little on the pricey side for an upcycle but keep in mind that after five of these we still have about half of it left to do more outdoor projects or maybe even let a husband use it for its “normal” purpose. Happy crafting and let us know how you used you old Christmas popcorn tins.


Leave a Reply