
Happy fall ya’ll! We have recently purchased ourselves our very own porch goose and become slightly obsessed with making sure shes dressed to the nines. She already had an adorable orange fall dress ( Check out the tutorial for that and other dresses on our blog!) but we felt like she was still missing something because that’s just who we are. So, we decided to make her a Thanksgiving themed apron to accompany her fall dress.
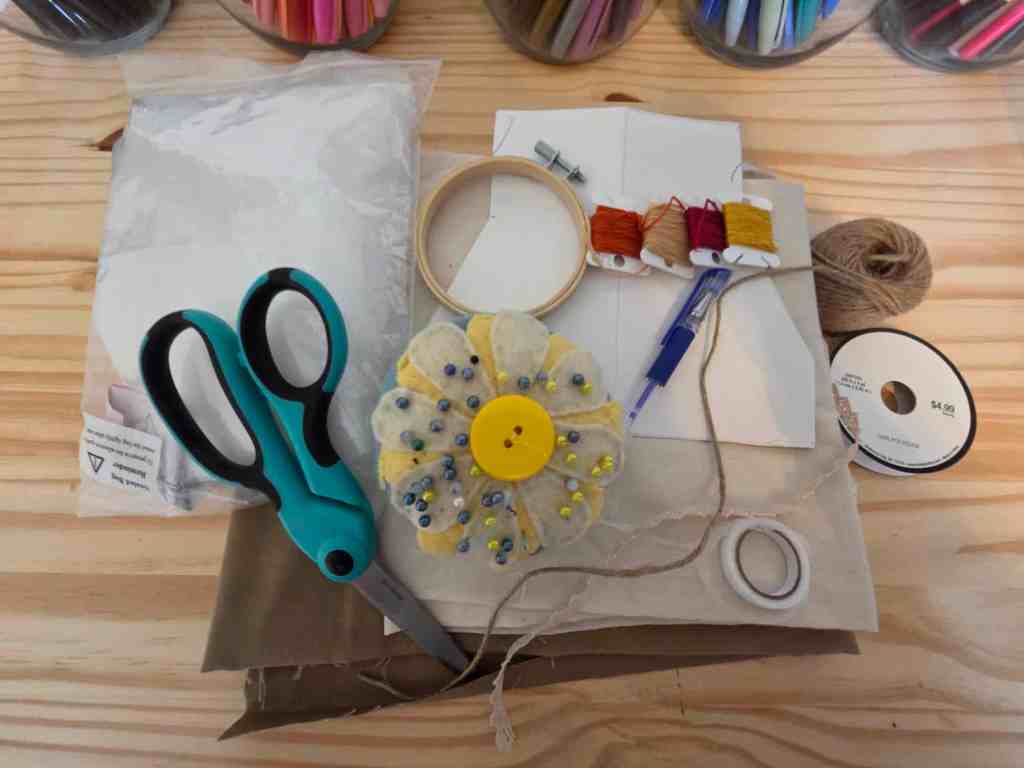
Step 1: Gather your supplies:
- Apron fabric
- Embroidered patch fabric
- Heat erase pen/ pencil
- Paper for stencil
- Fabric Adhesive
- Ribbon or string for ties
- Trim ( optional)
- Fabric scissors/ scissors
- Embroidery hoop ( ours was a 3” hoop)
- Embroidery floss and needle
- Witch stitchery tape
- Double sided iron on fusible interfacing ( we ordered ours on Amazon)
- iron and small piece of parchment paper
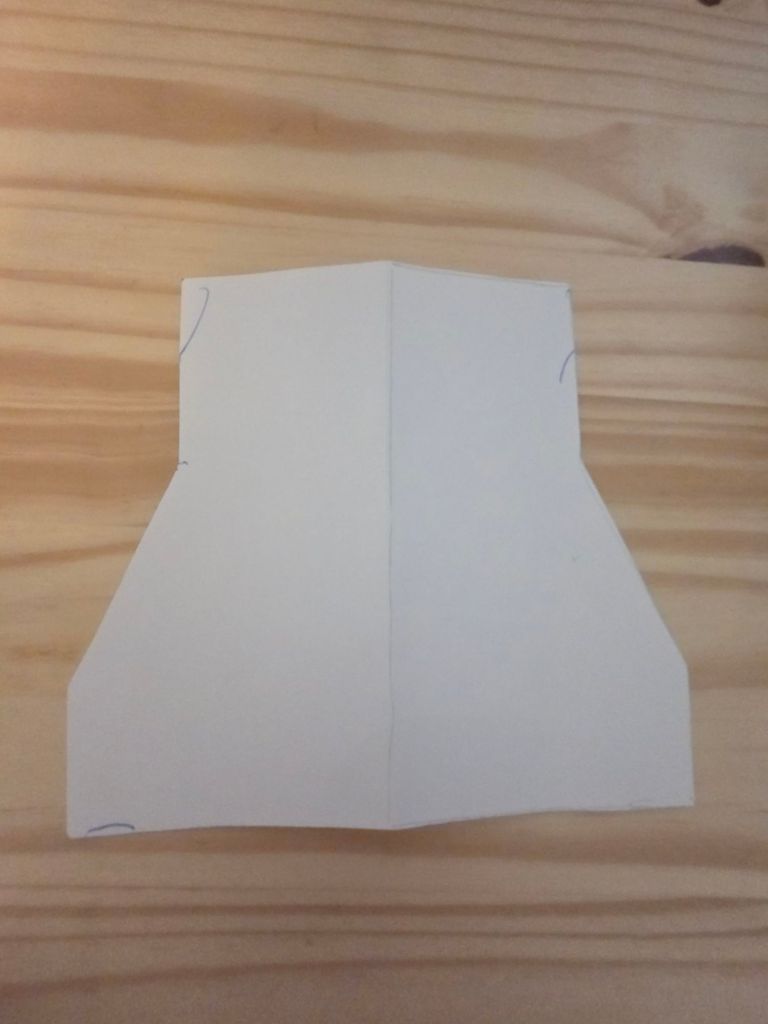
Step 2: Create you apron stencil

Step 3: Trace your stencil onto your apron fabric and cut it out.
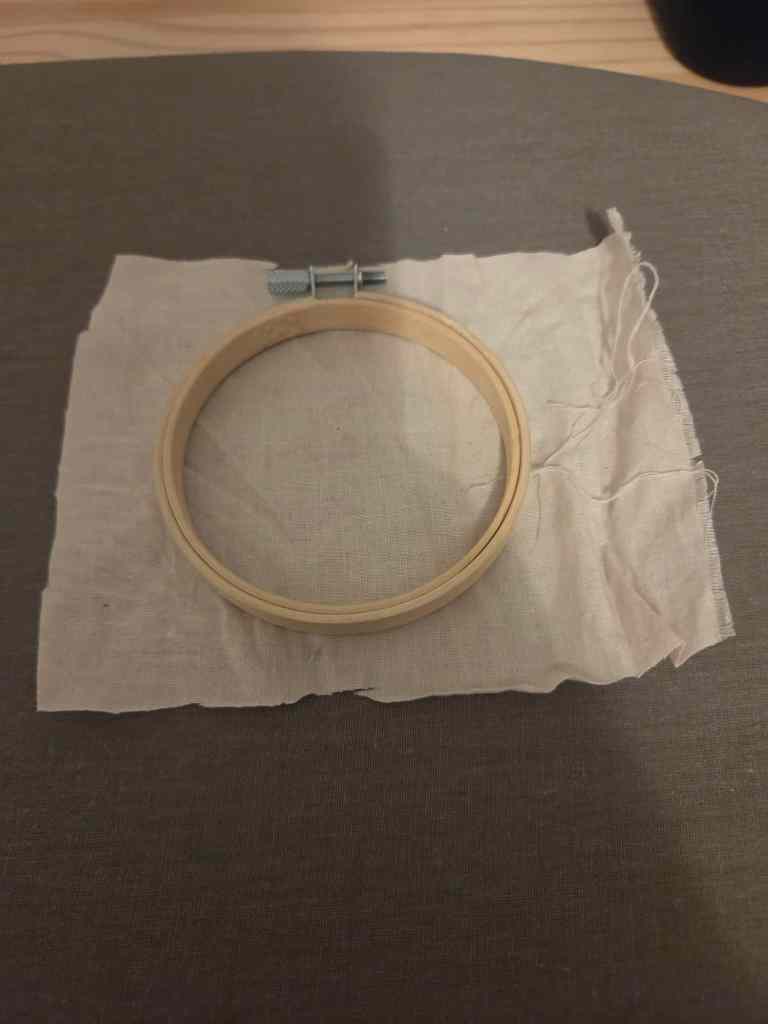
Step 4: Cut out a square of your embroidery patch fabric slightly larger than your embroidery hoop. We wanted ours to be pretty small so we used a 3” embroidery hoop.
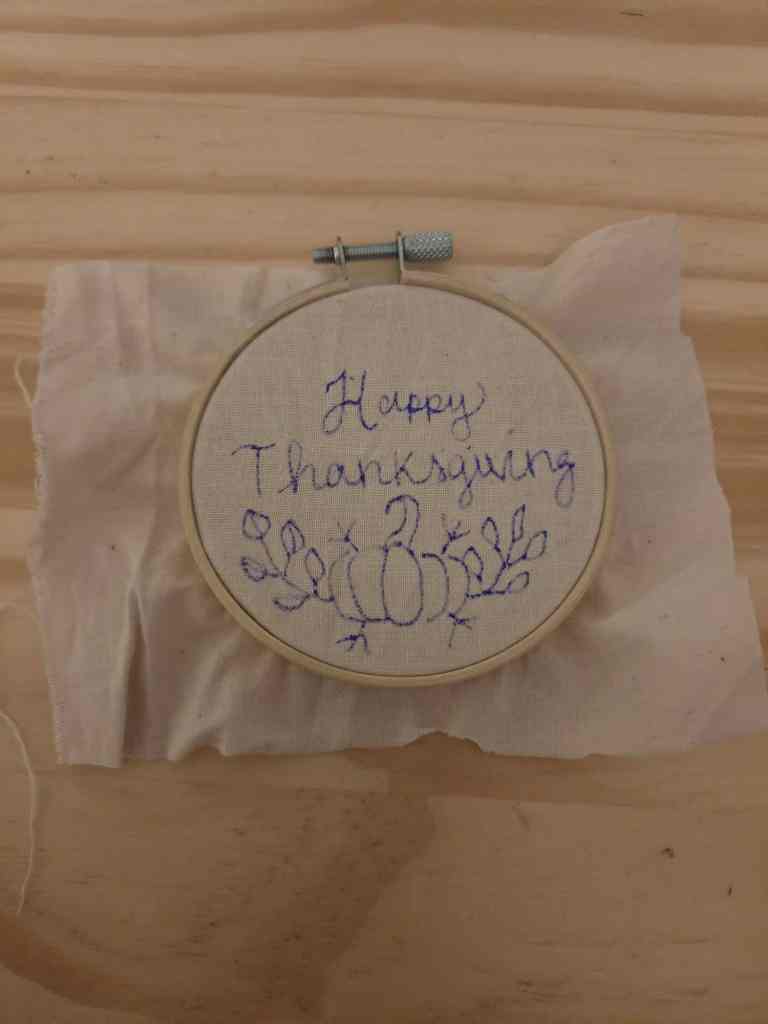
Step 5: Put your embroidery fabric into your hoop and draw out your design with your heat erase pen ( you could use a regular pen as well but we find using a heat erase pen to be a cleaner look in the end.)

Step 6: Embroider your design and then trim your square to be the size you want your patch to be leaving enough fabric to fold over to create that finished edge.
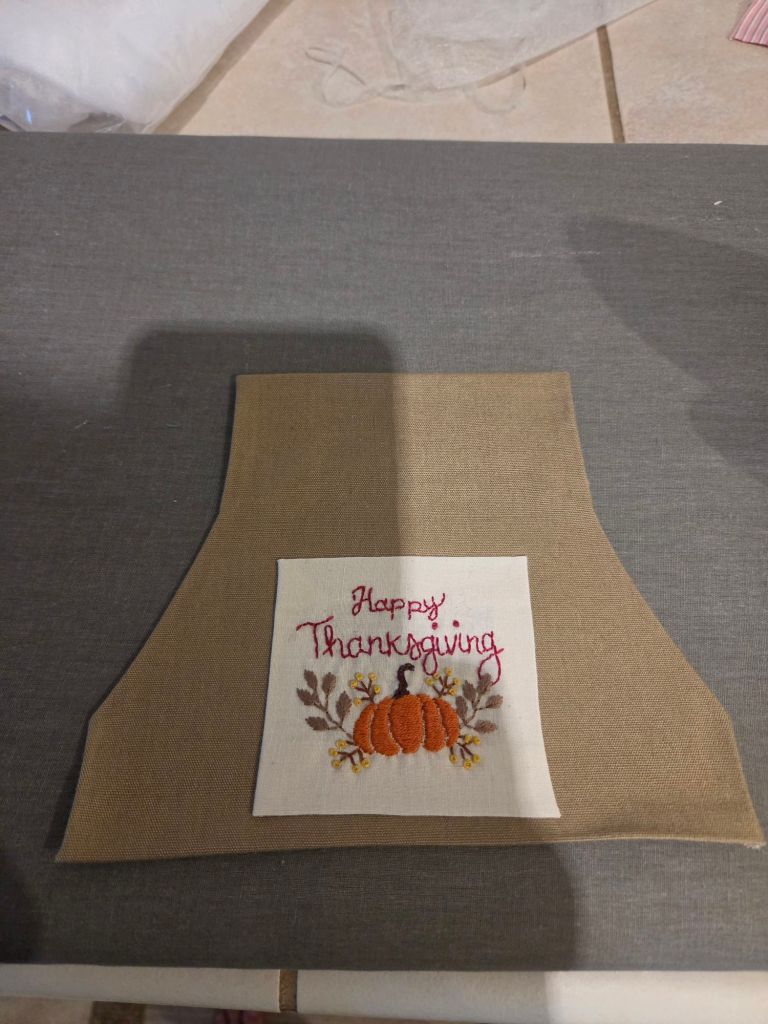
Step 7: Using your witch stitchery tape fold over your edges on your apron fabric creating that nice clean edge. It keeps your fabric from fraying and it looks more finished. Do the same to your embroidered patch square.

Step 8: Now cut the same size square as your embroidered patch of the double sided iron fusible interfacing. Using an iron and a piece of parchment paper attach your interfacing to the back of your patch. Pull the parchment paper away creating a way to attach your patch to your apron.
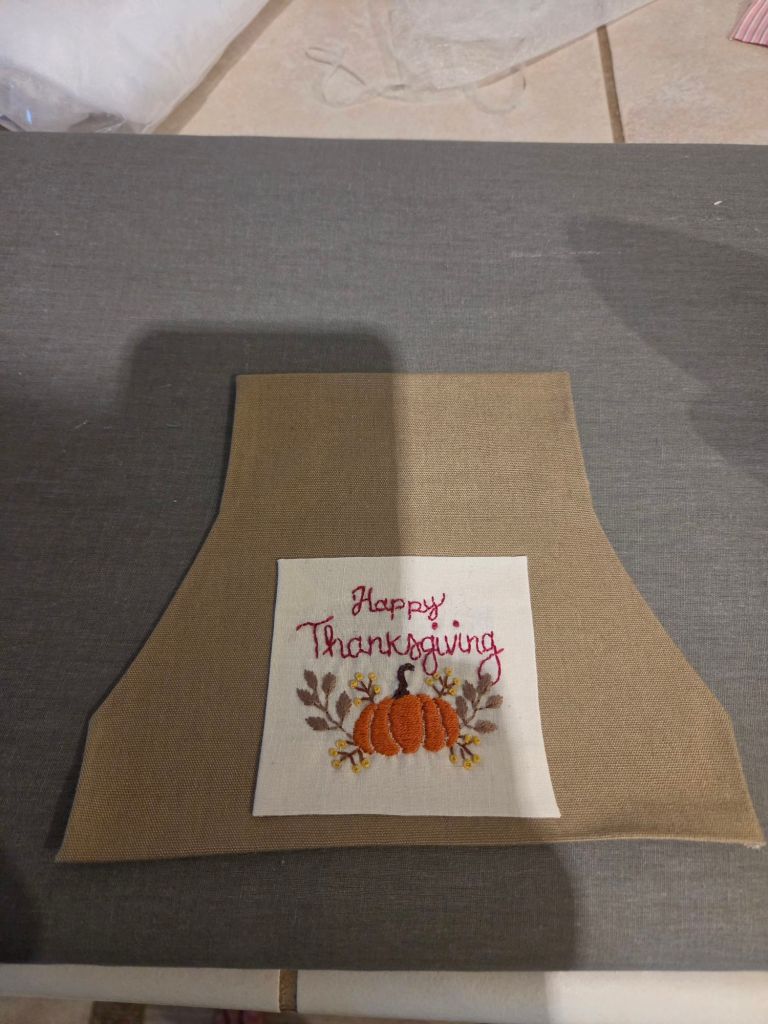
Step 9: Place your patch with the interfacing on the back on your apron in the location that you want it to be. Iron it on carefully until it feels as though it wants to stay put.
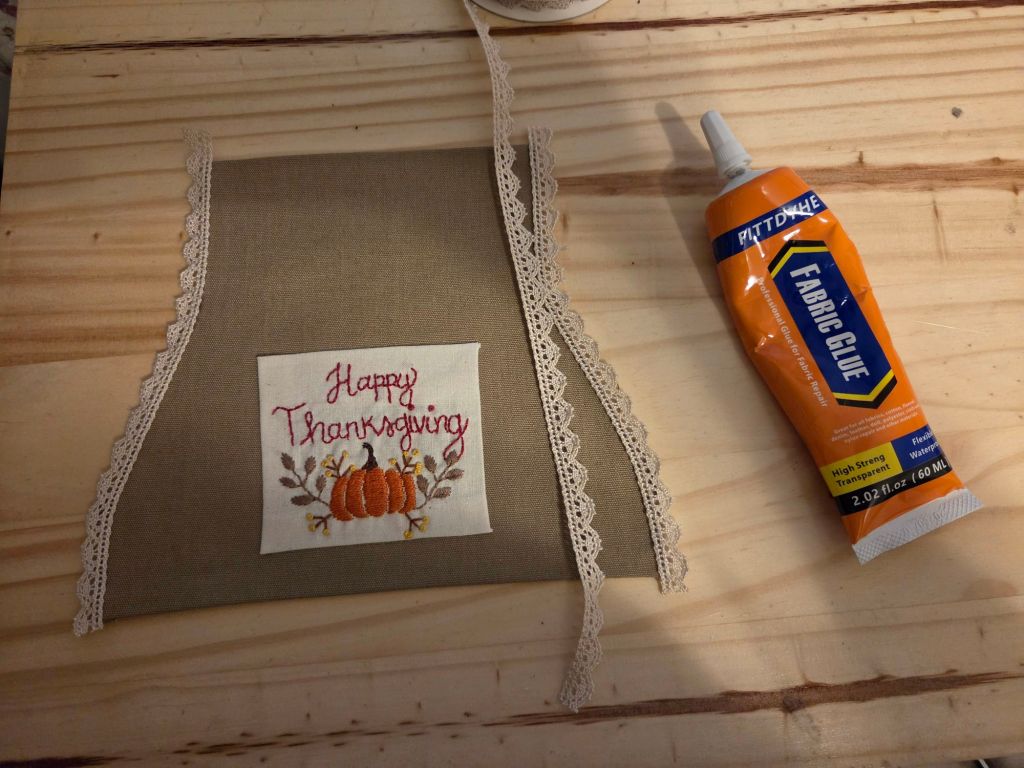
Step 10: This step is completely optional but attach your trim to your apron using some fabric adhesive or you could sew it on.
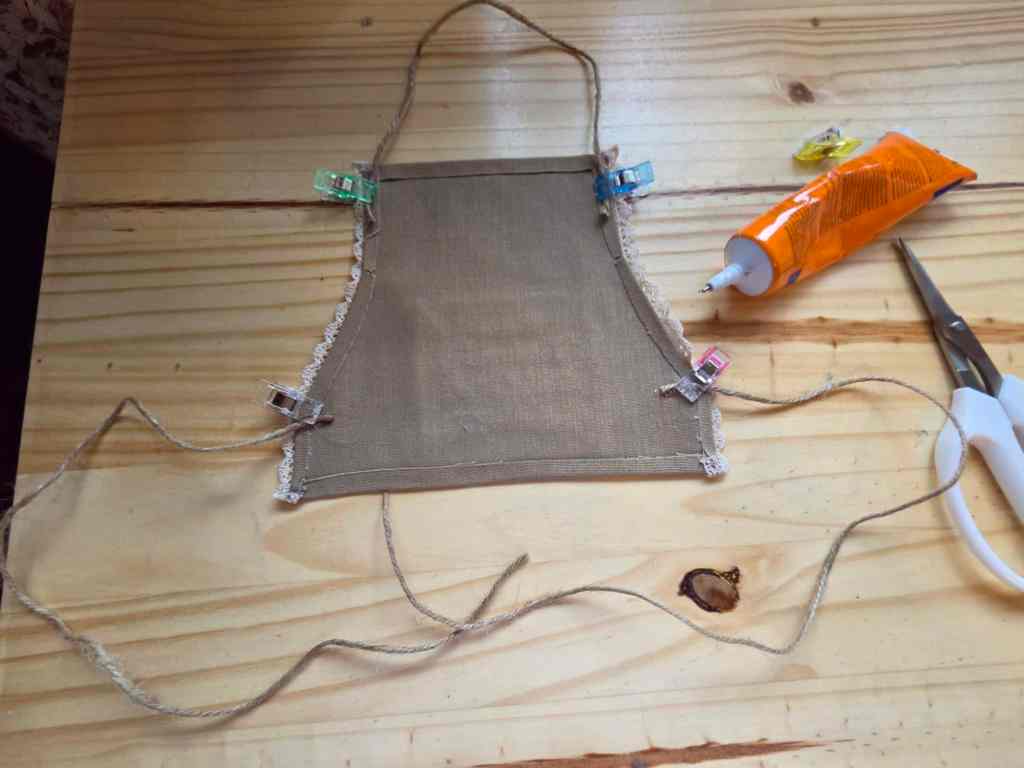
Step 11: Then using your fabric glue attach your ties to the back of your apron. We used some jute twine because we were going for that harvest look but you could use any ribbon you would like.
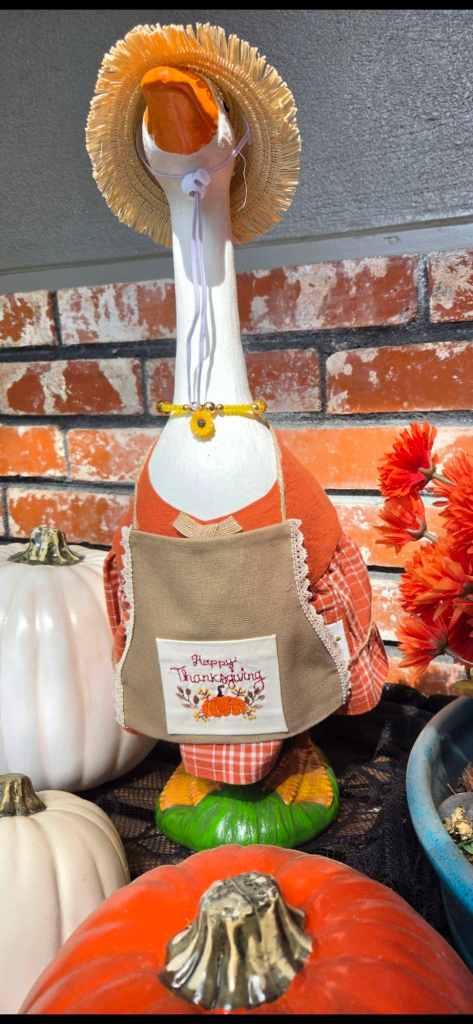
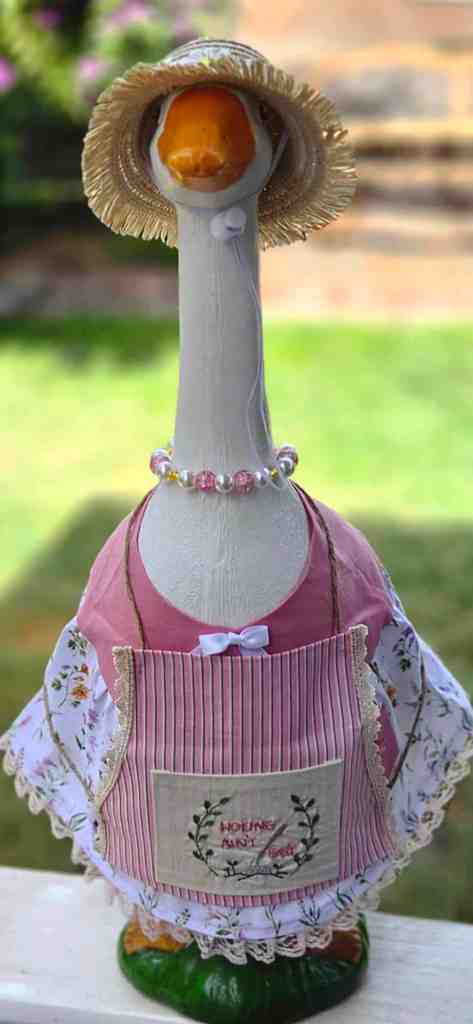
That’s it! Now you have a unique and festive fall apron for your porch goose. You could use this same technique to make many different types of aprons for your goose. We also decided to make a garden apron for our goose for the spring time. The options are endless! Happy fall everyone!





Leave a Reply