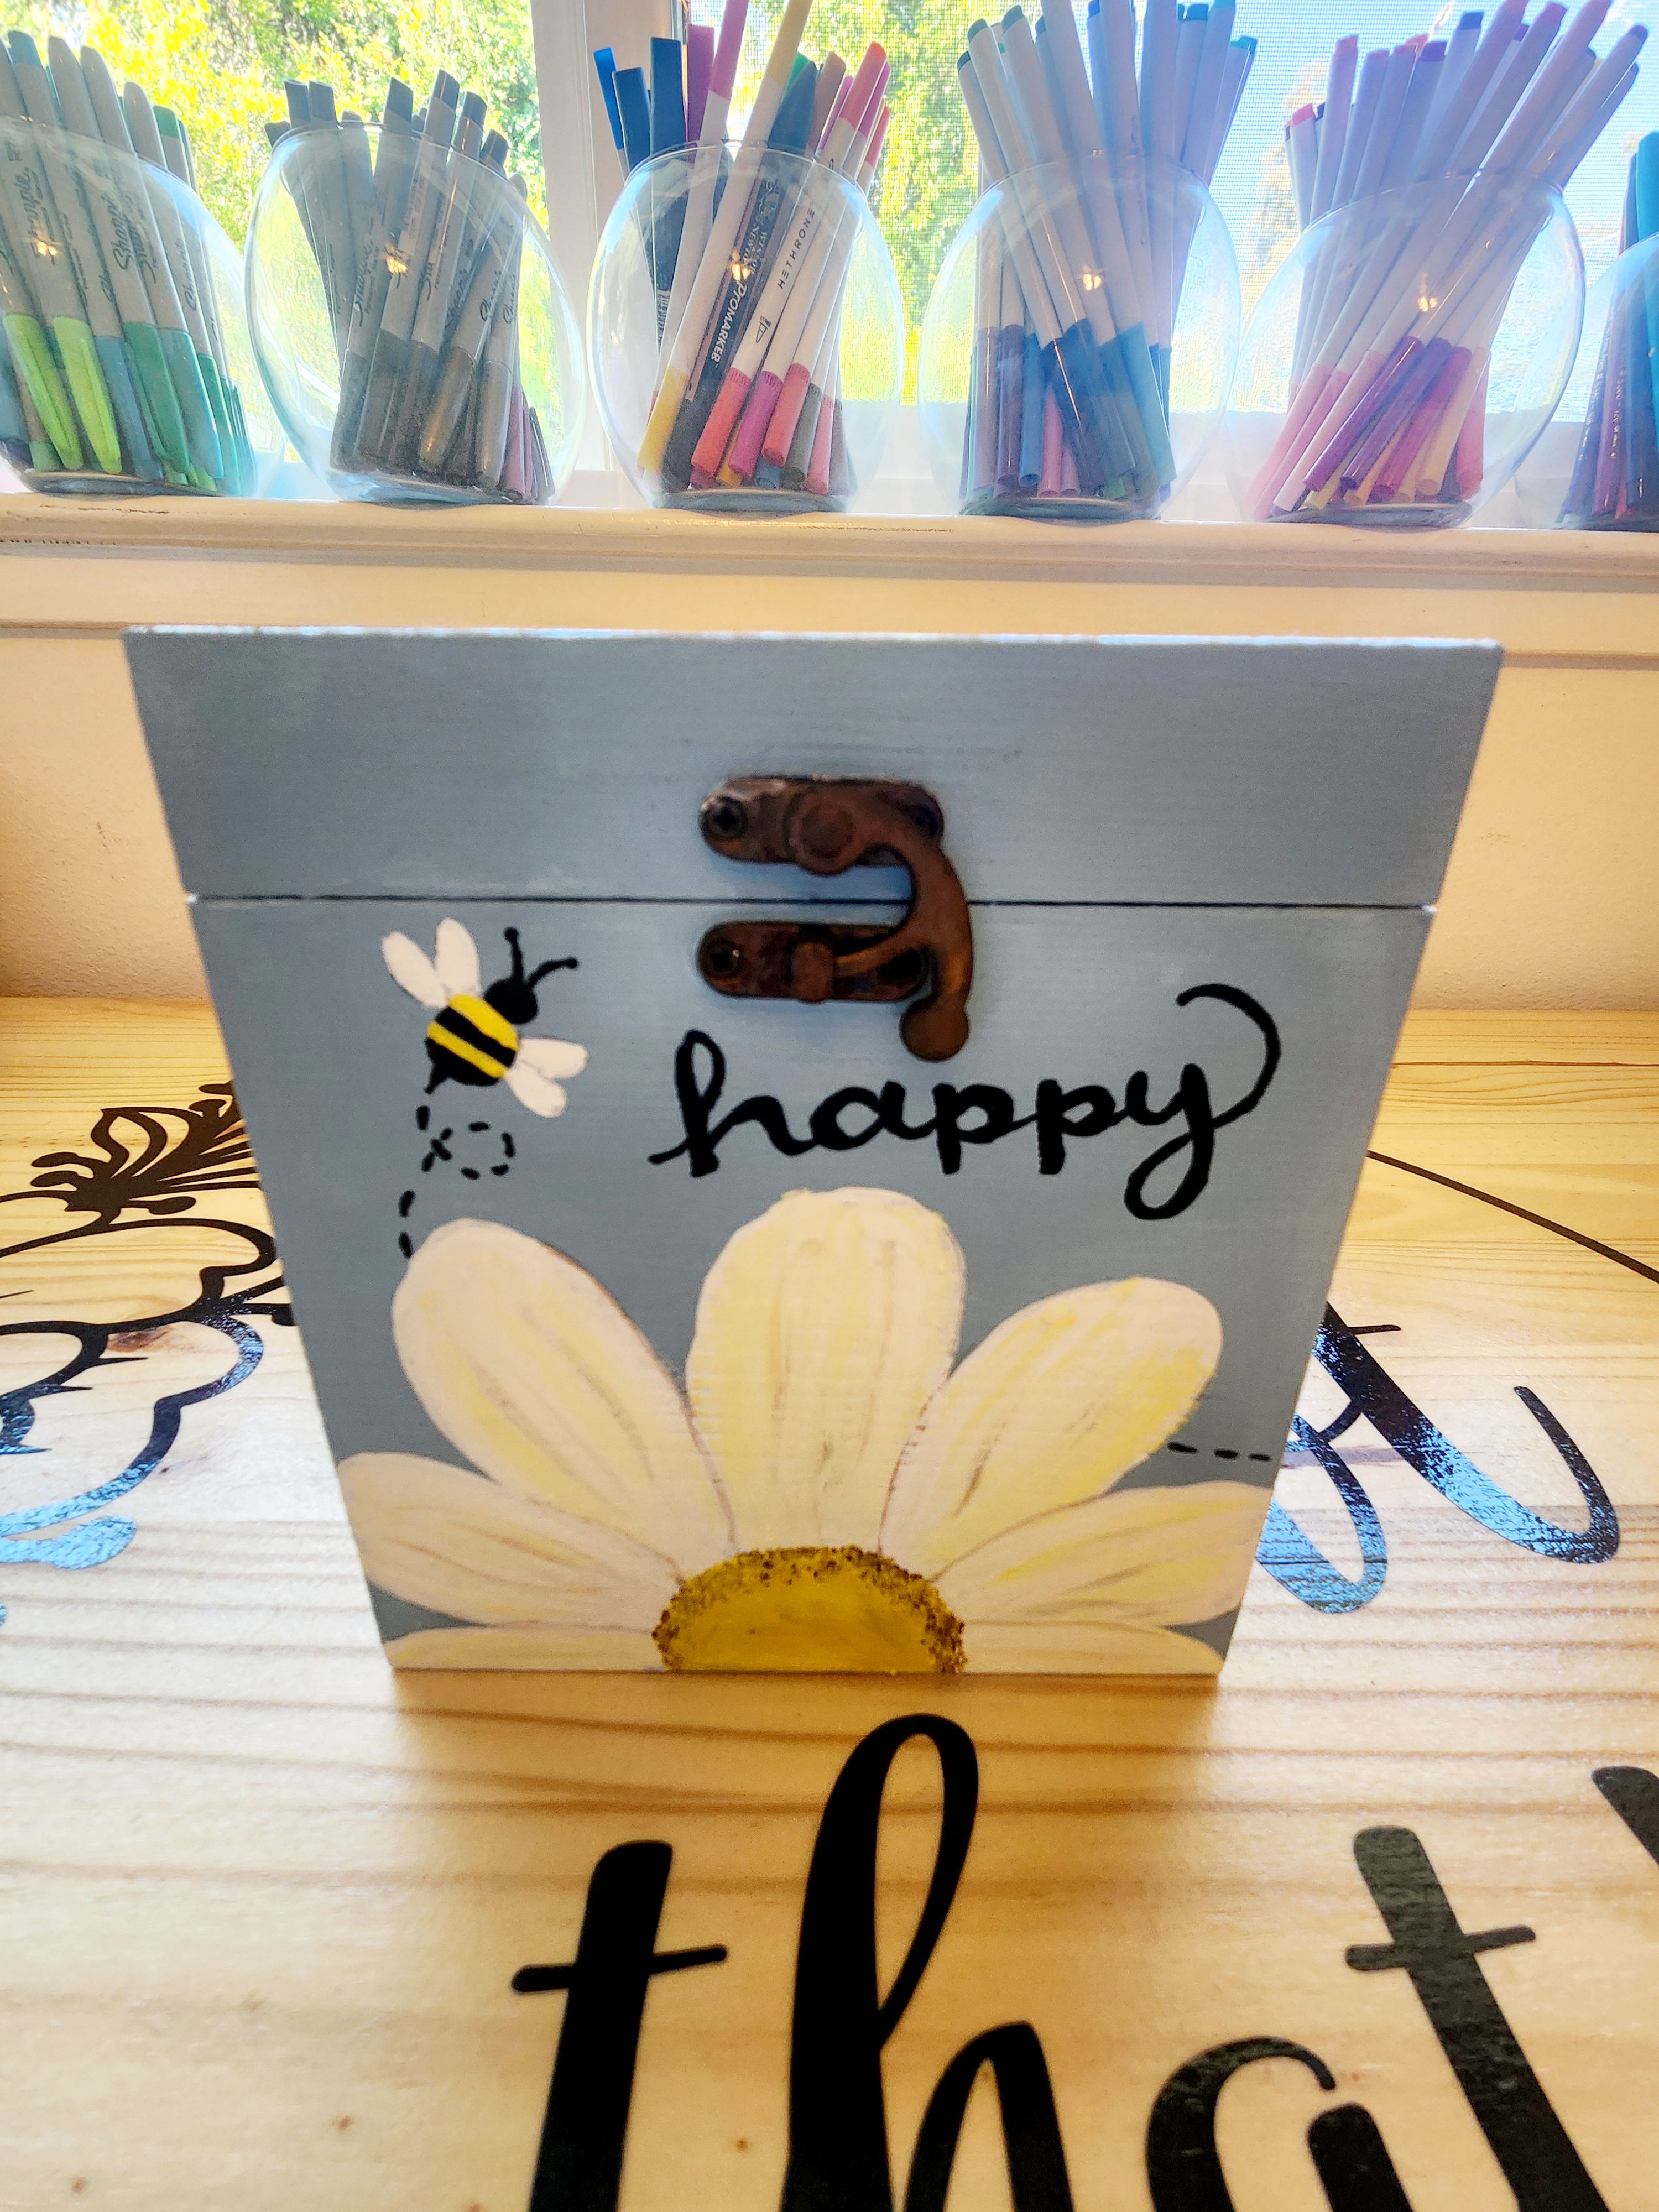
We love to take ordinary things and make them awesome! After all, why can’t something be functional and adorable? Not only are these wooden painted tissue box covers extremely cute they are also useful. It’s a win win in our book!

Step 1: Gather your supplies:
- Tissue box cover ( we ordered ours on Amazon) they do have them at some craft stores but they seemed to be too small to fit an actual box of tissues. So, we’ll leave that one up to you
- Acrylic paints and brushes
- A pencil
- A clear coat ( we used a glossy mod podge)
This post contains affiliate links, which means we may earn a commission if you click through and make a purchase at no extra cost to you.
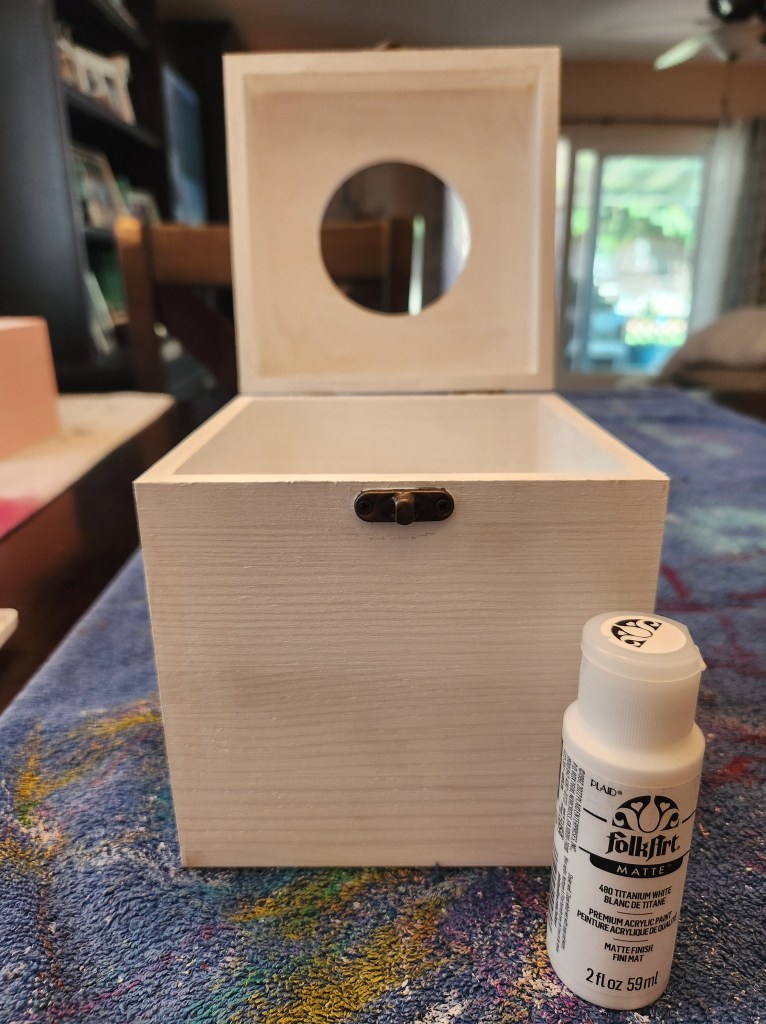
Step 2: Paint your base color. You could also leave it raw wood. It depends on the look your going for. This took about three coats of paint for it to be really vibrant. Allow it to dry completely.


Step 3: Draw on your design. We used a pencil for this so it would be easy to cover and erasable. This is where you really get to use your imagination. They are so many different variations that can be done. Let your creative flag fly!
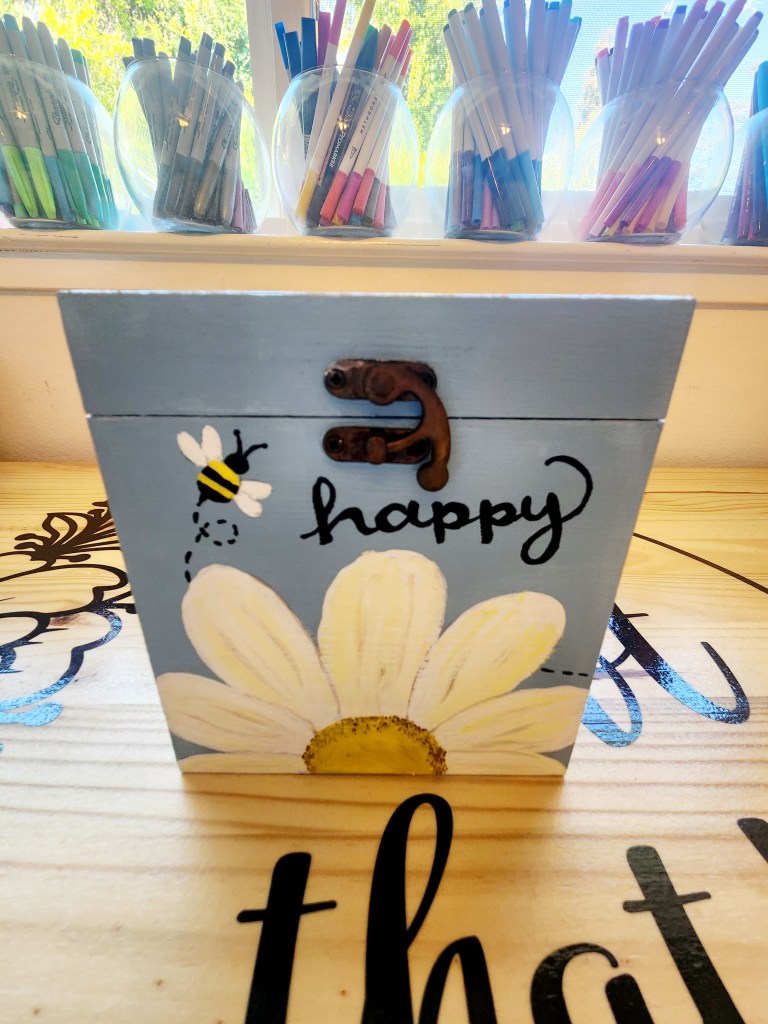
Step 4: Paint your design. Take your time and have fun!

Step 5: Once your tissue box is completely dry set your work with a clear coat. We used a glossy mod podge because it’s what we had on hand. But, whatever you have that is good for wood will work fine.

That’s it! These are relatively easy to do and make excellent gifts! Once we did one we were hooked. Now, everyone in our family is getting one. They can be decorated to fit any style, theme or color scheme. They add so much fun to any bathroom or space. Happy crafting!






Leave a Reply