
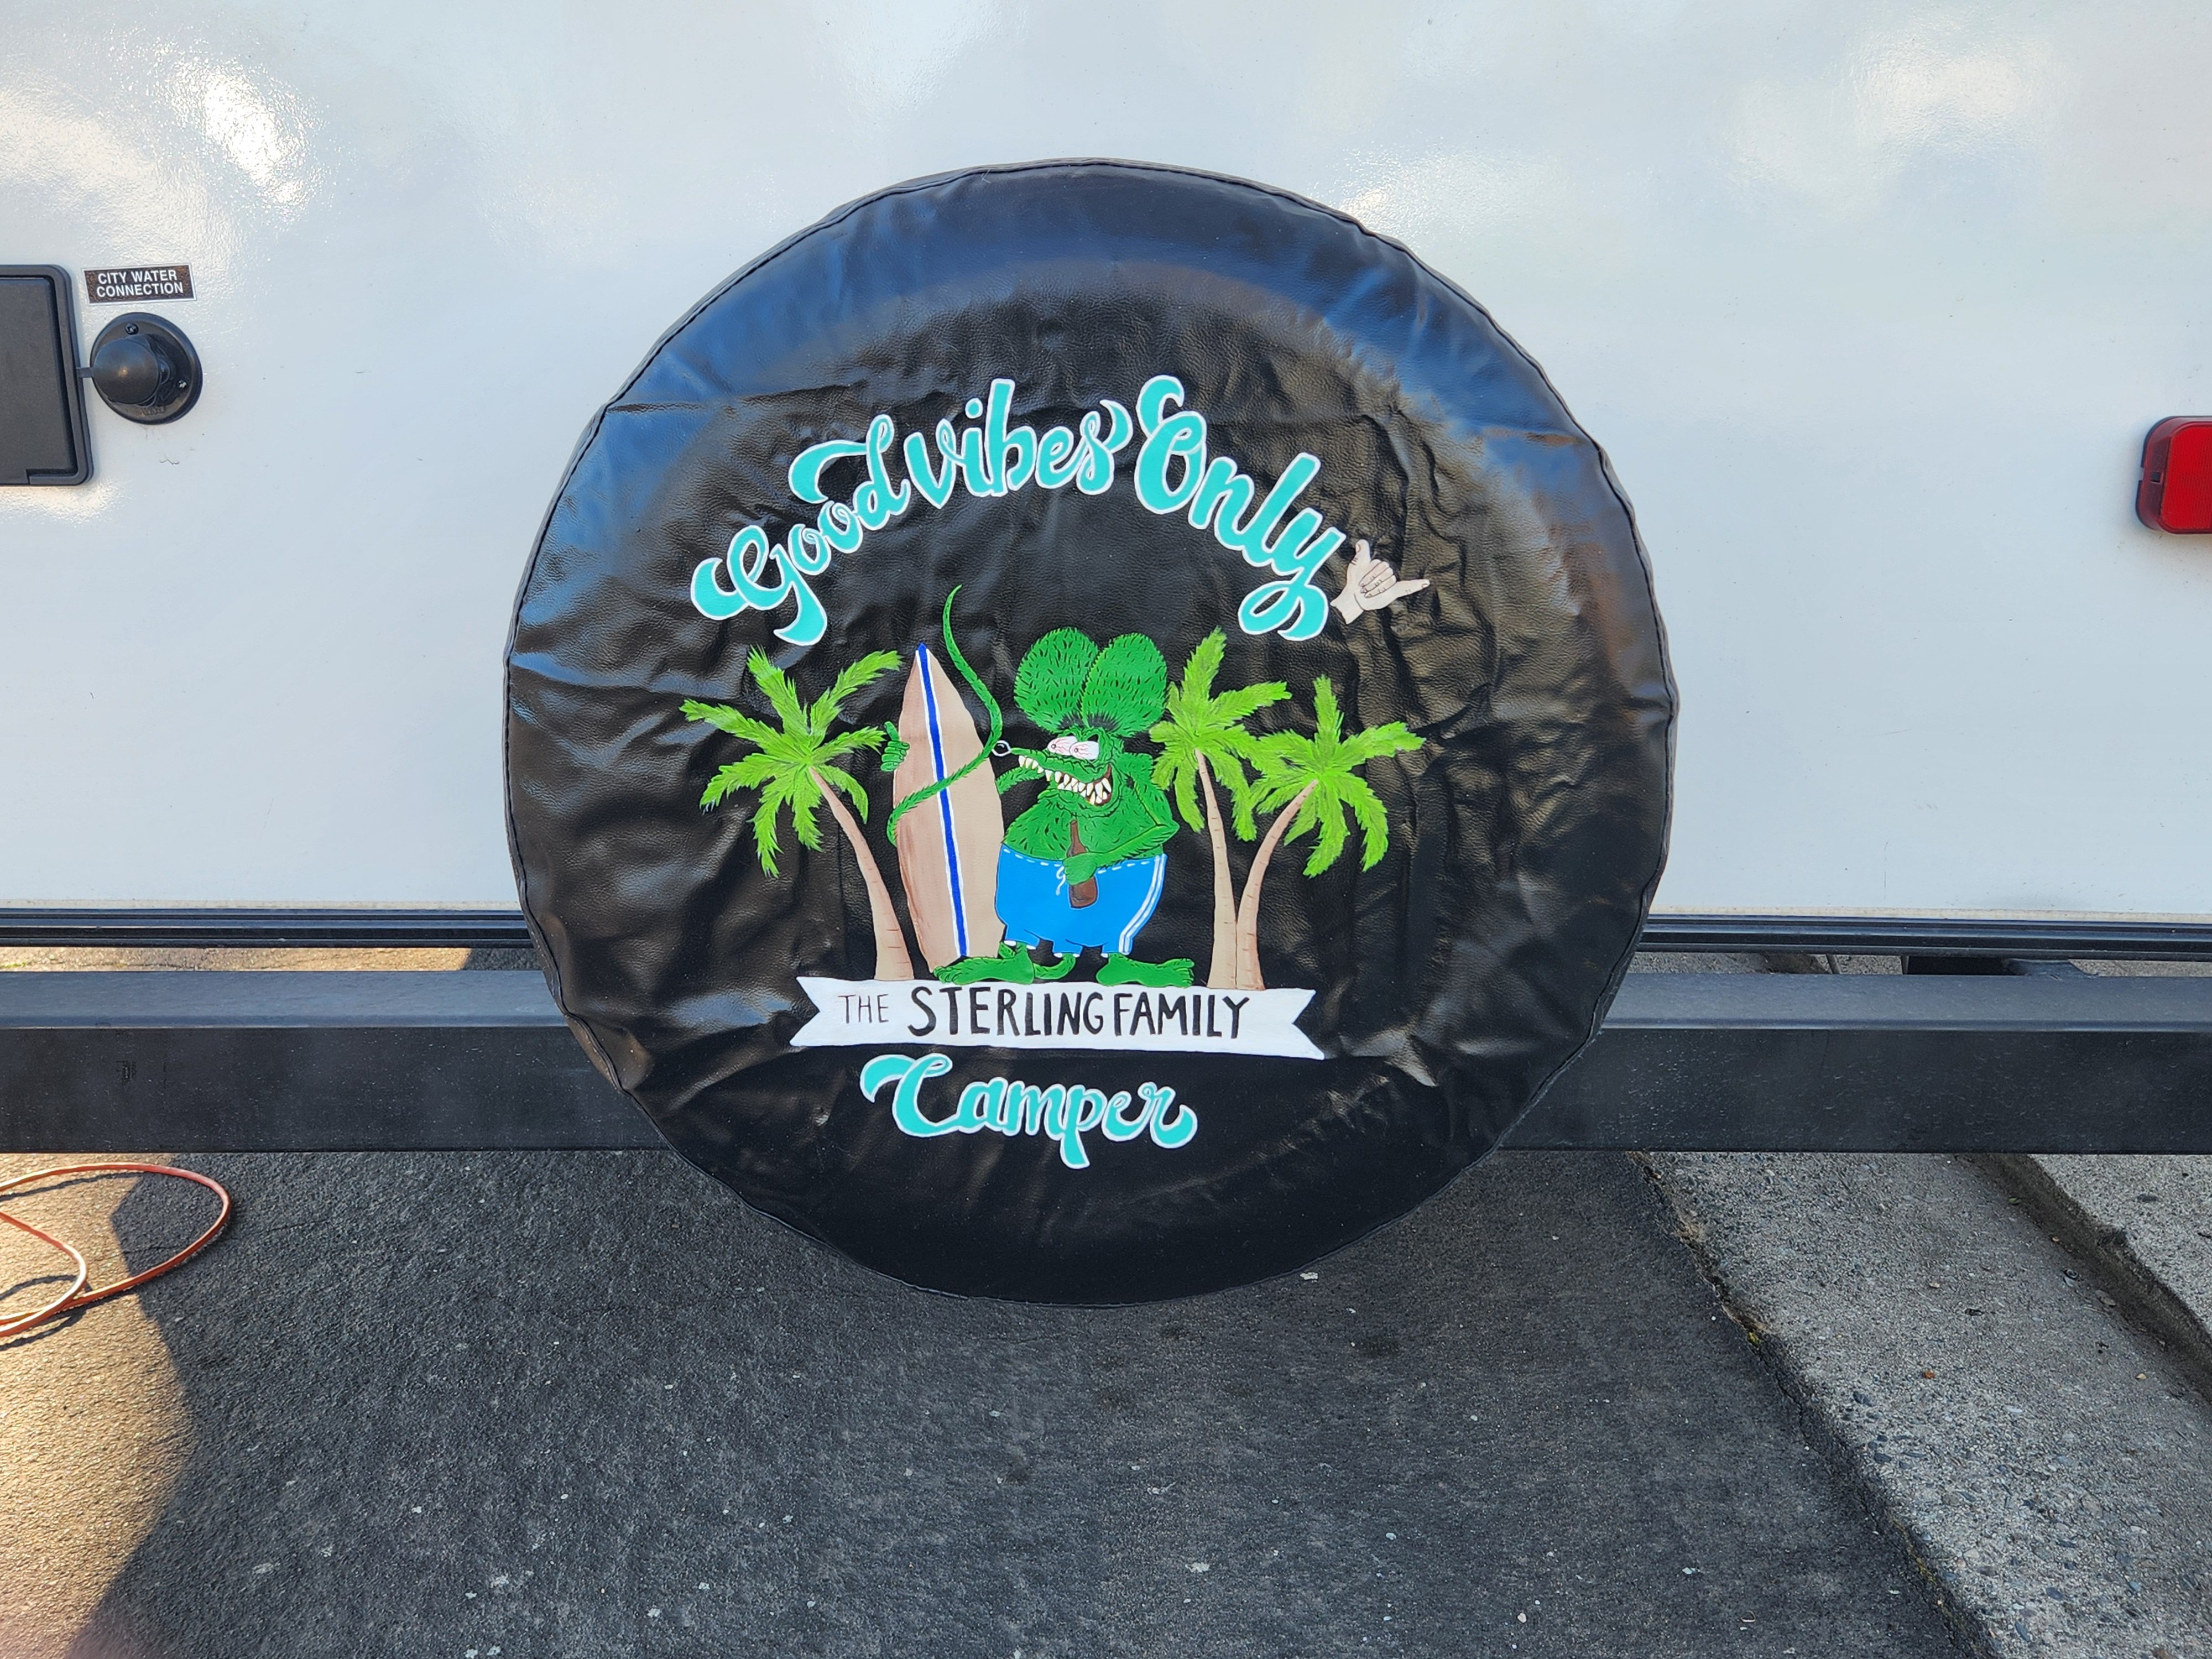
We’ve always loved the cute spare tire covers we see on our travels. Whether it be on a trailer or a car. They are such a great way to add something special and personal… and any chance we get to add something extra to one of our vehicles or trailers we are gonna take it. So, obviously we decided to make our own painted tire covers!
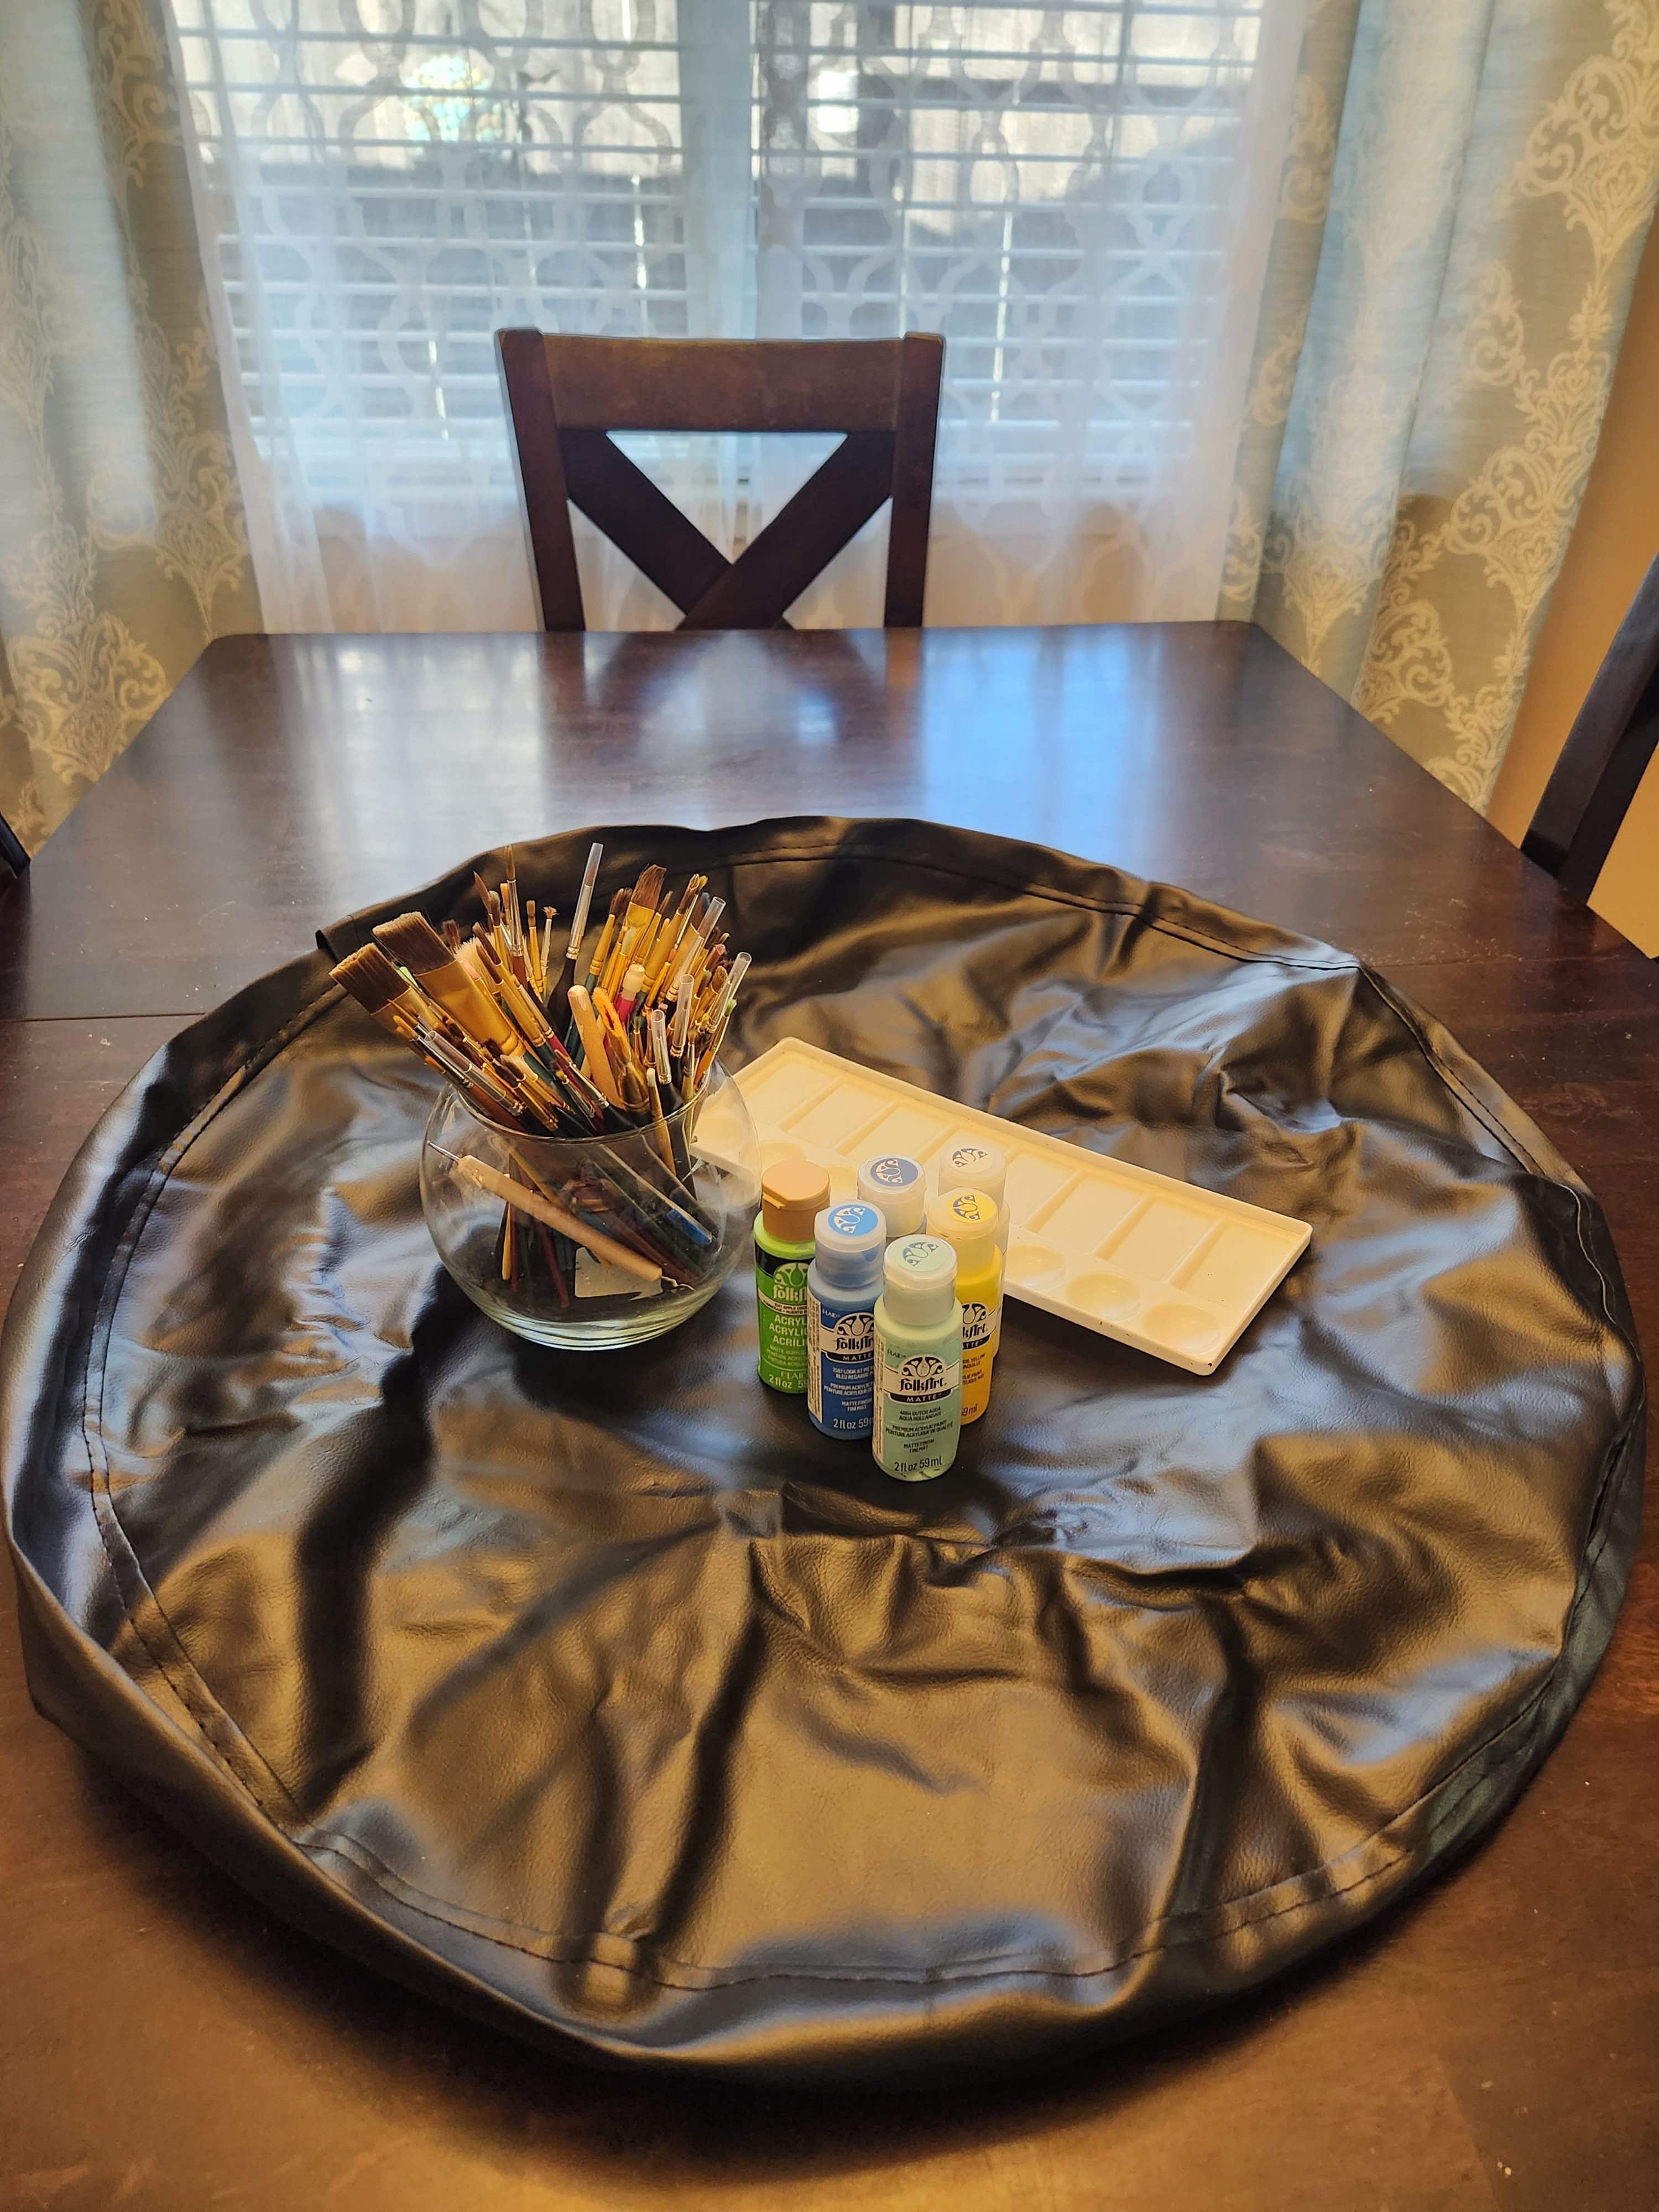
Step 1: Gather your supplies:
- Spare tire cover ( we purchased ours on Amazon) make sure you get the right size to fit your spare tire
- Acrylic paints and brushes
- White gel pen or pencil
- Protective spray clear coat (we got Rust-oluem brand)
This post contains affiliate links, which means we may earn a commission if you click through and make a purchase at no extra cost to you.
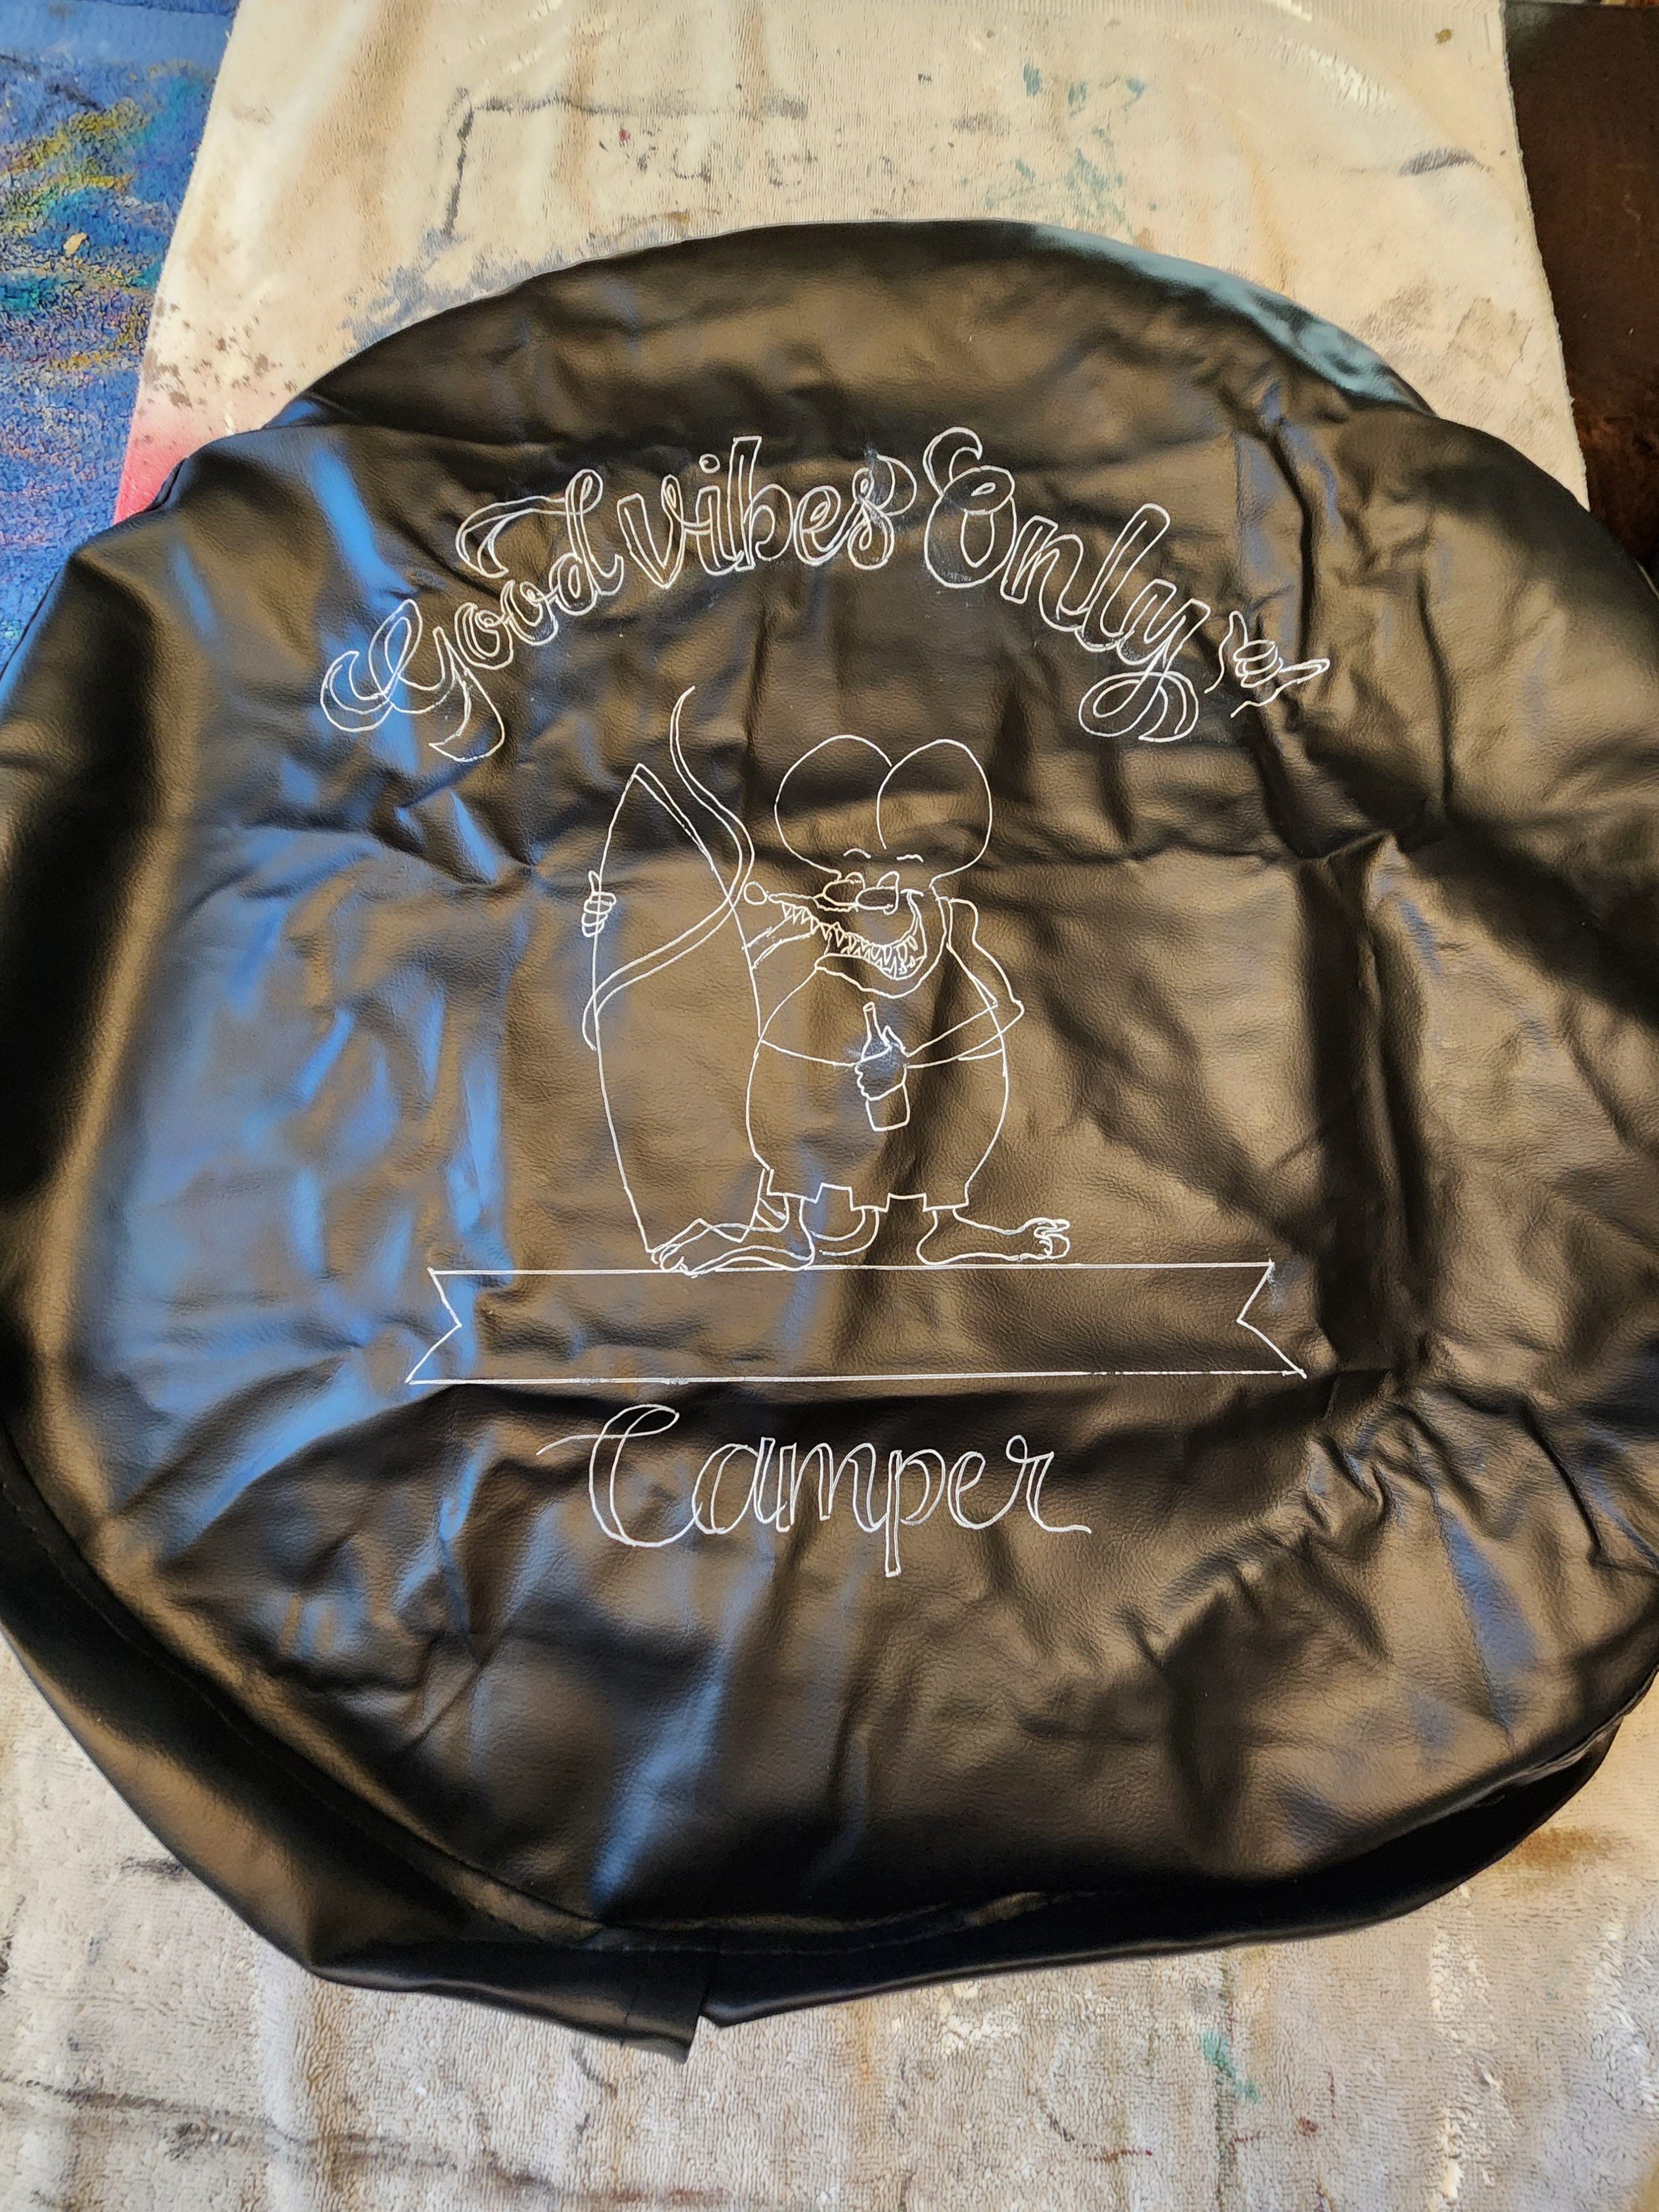
Step 2: Draw out your design. We chose to use a white gel pen because we were going on a black surface. Also you can erase it with a little water if you make a mistake which we appreciate.
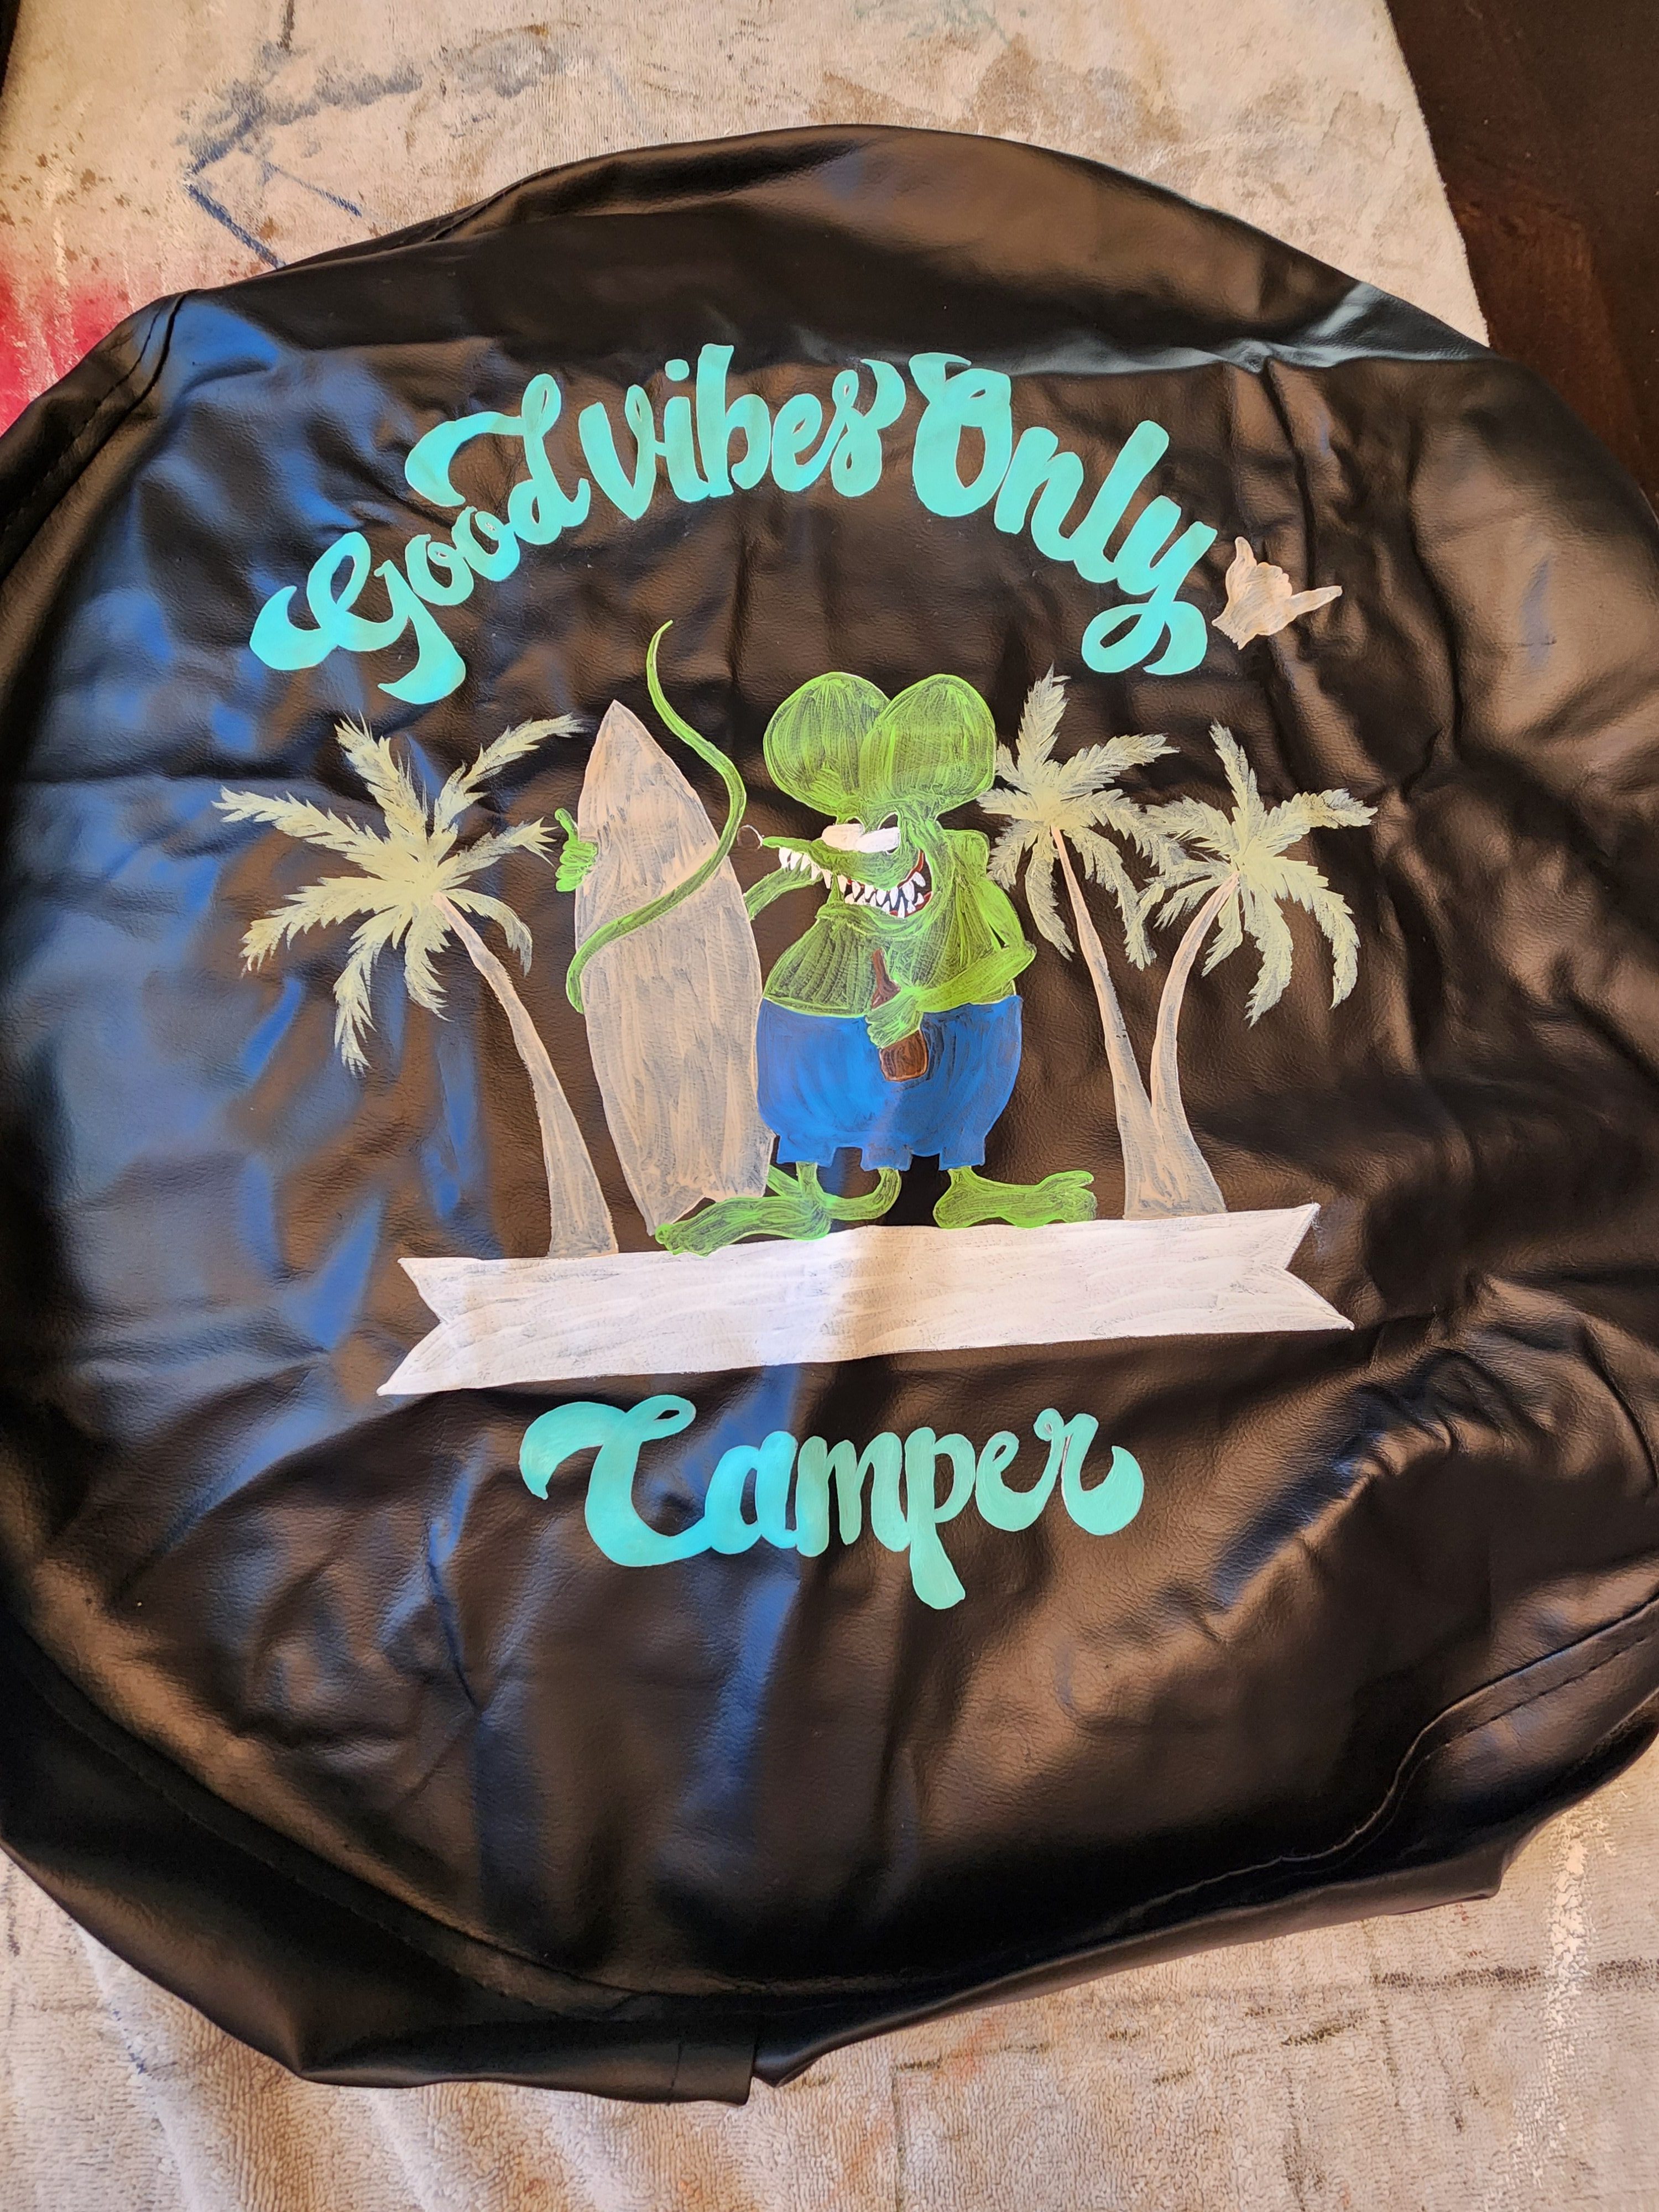
Step 3: Paint your design. This step takes a bit of patience. We knew it would take a few coats to achieve the look we wanted. So, take your time and have fun with it! We ended up doing 3 coats of each color. Then we added any detail.
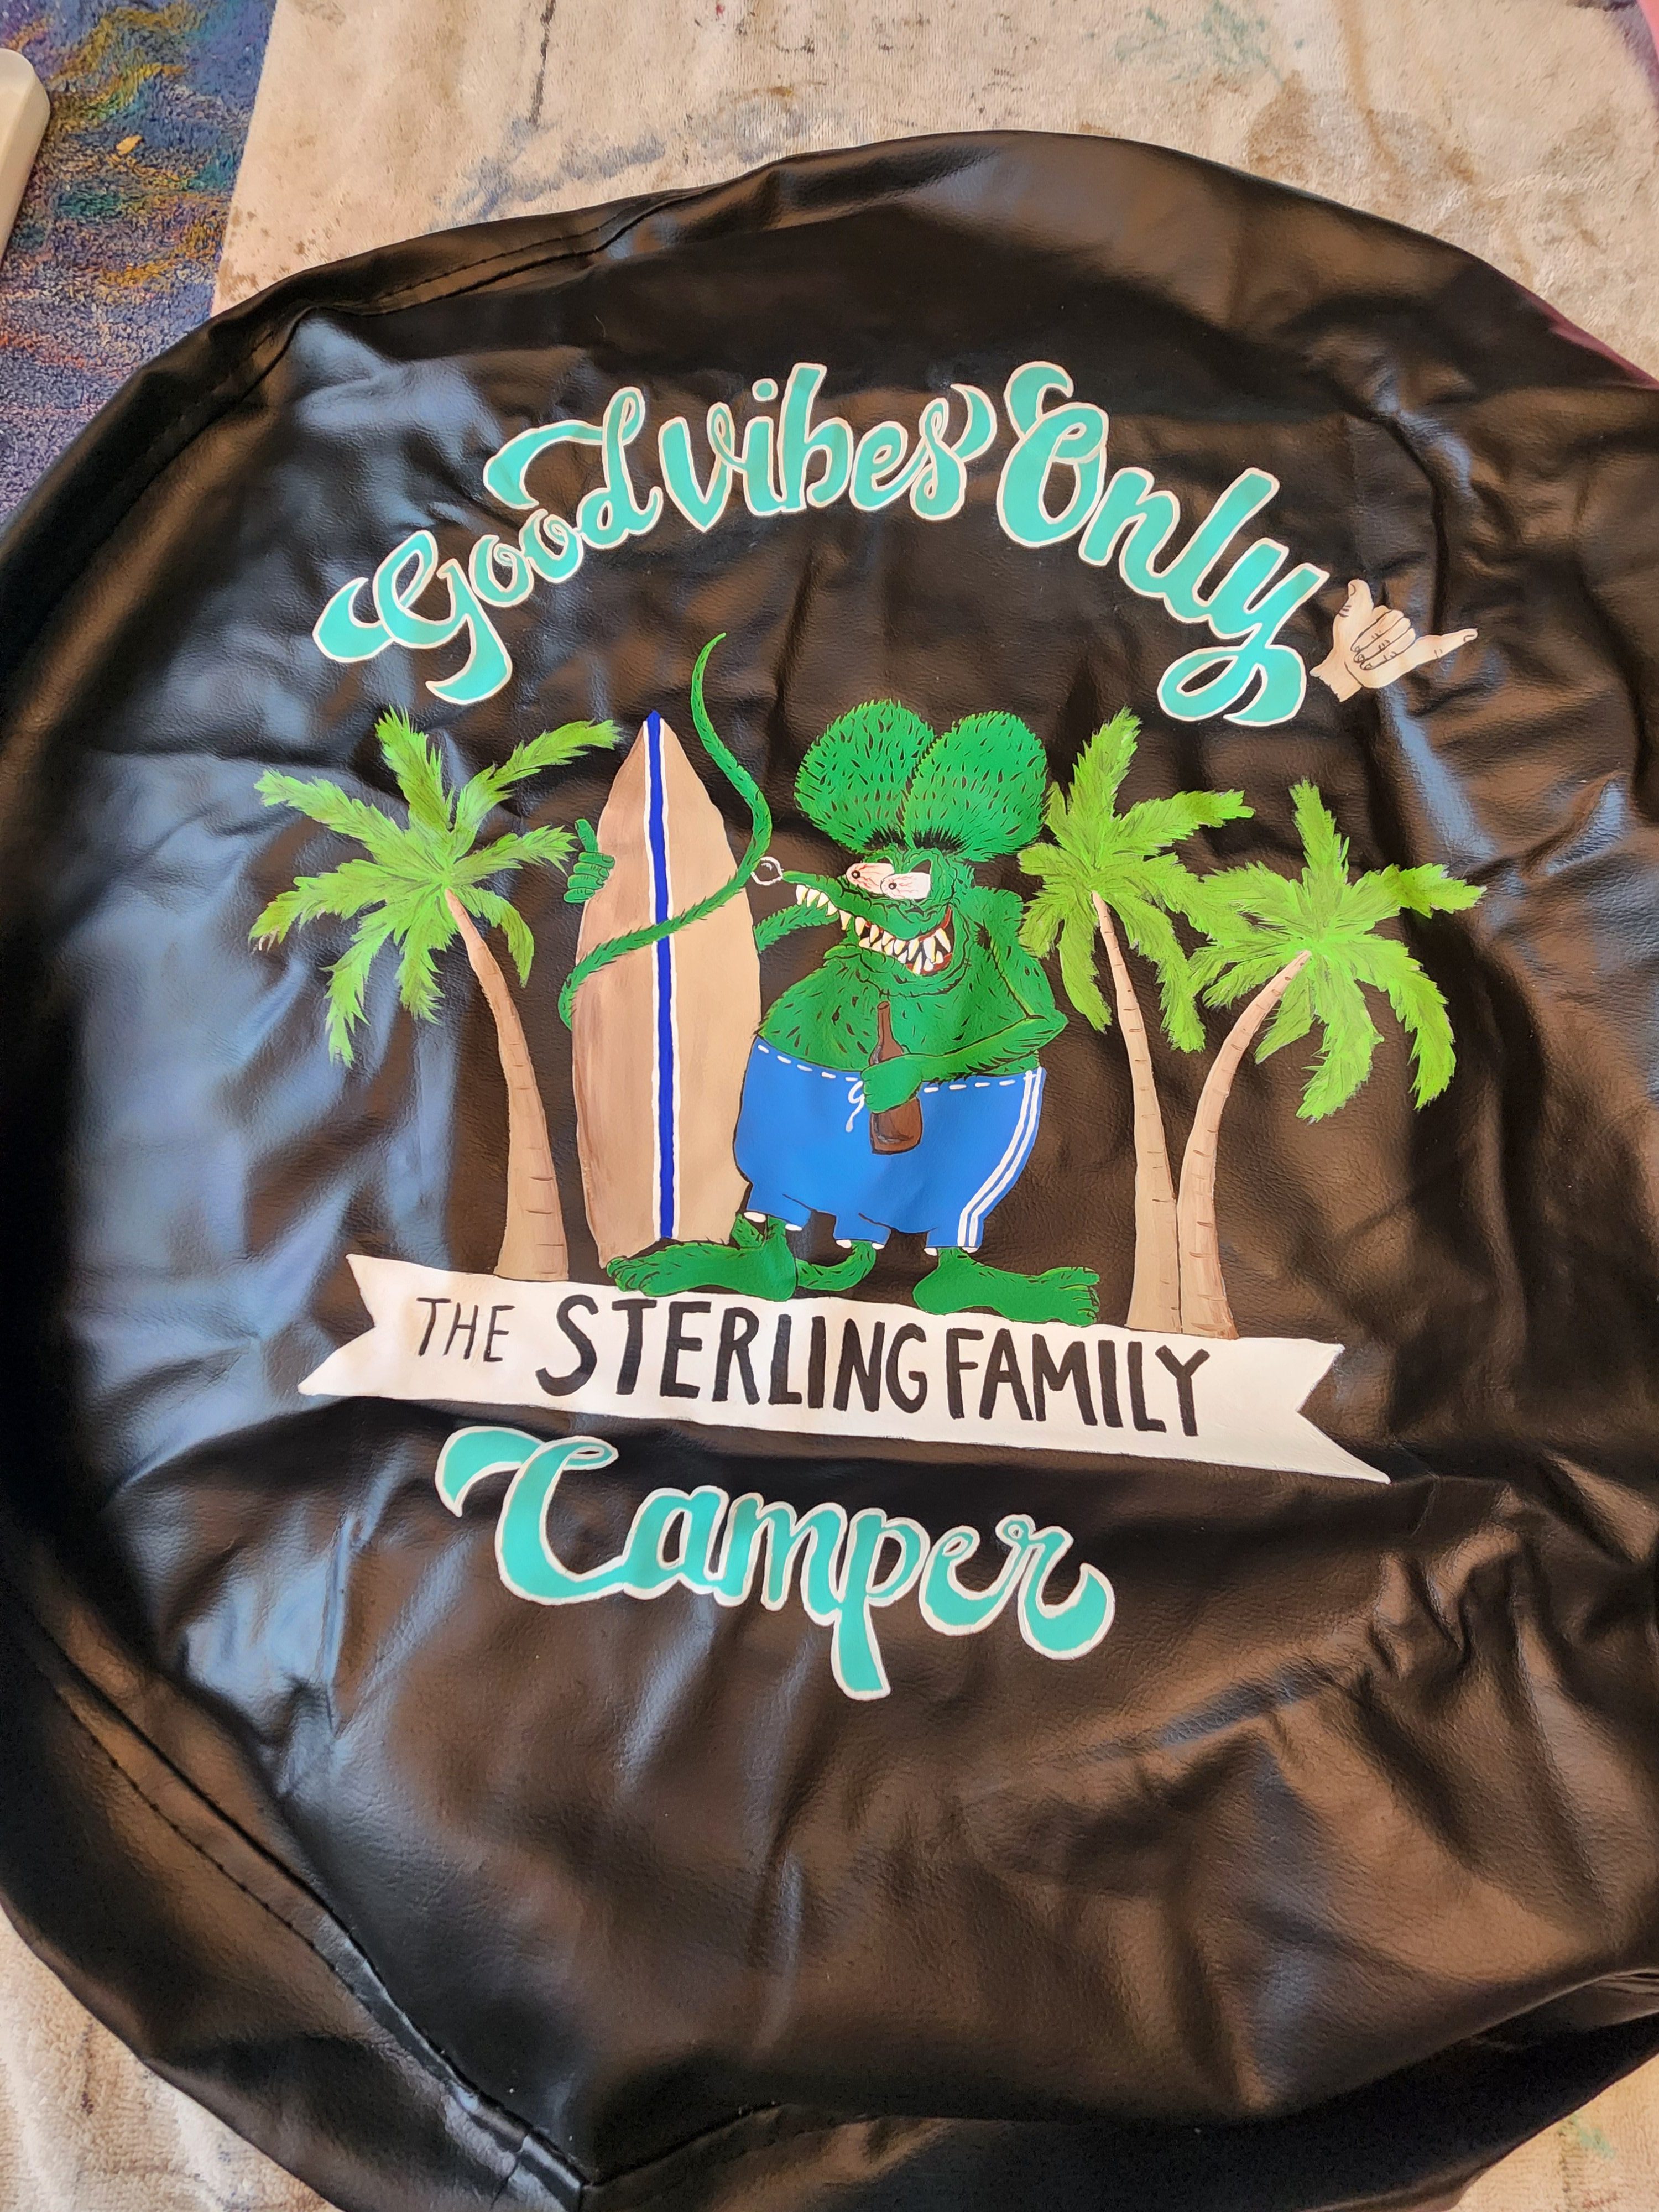
Step 4: Once your paint is completely dry you can spray your protective clear coat on your finished spare tire cover. We’ve had good luck in the past with the Rust-olum brand clear coat so that’s what we went with. Why change what works? It depends on your climate of course how long it will last. You can always reapply as needed.
Step 5: Put your cover on and enjoy your work!

Isn’t it adorable? Not only is it awesome it is also one of a kind. You can’t beat that! This project is sure to impress all the other travelers on the road. Happy Traveling!






Leave a Reply