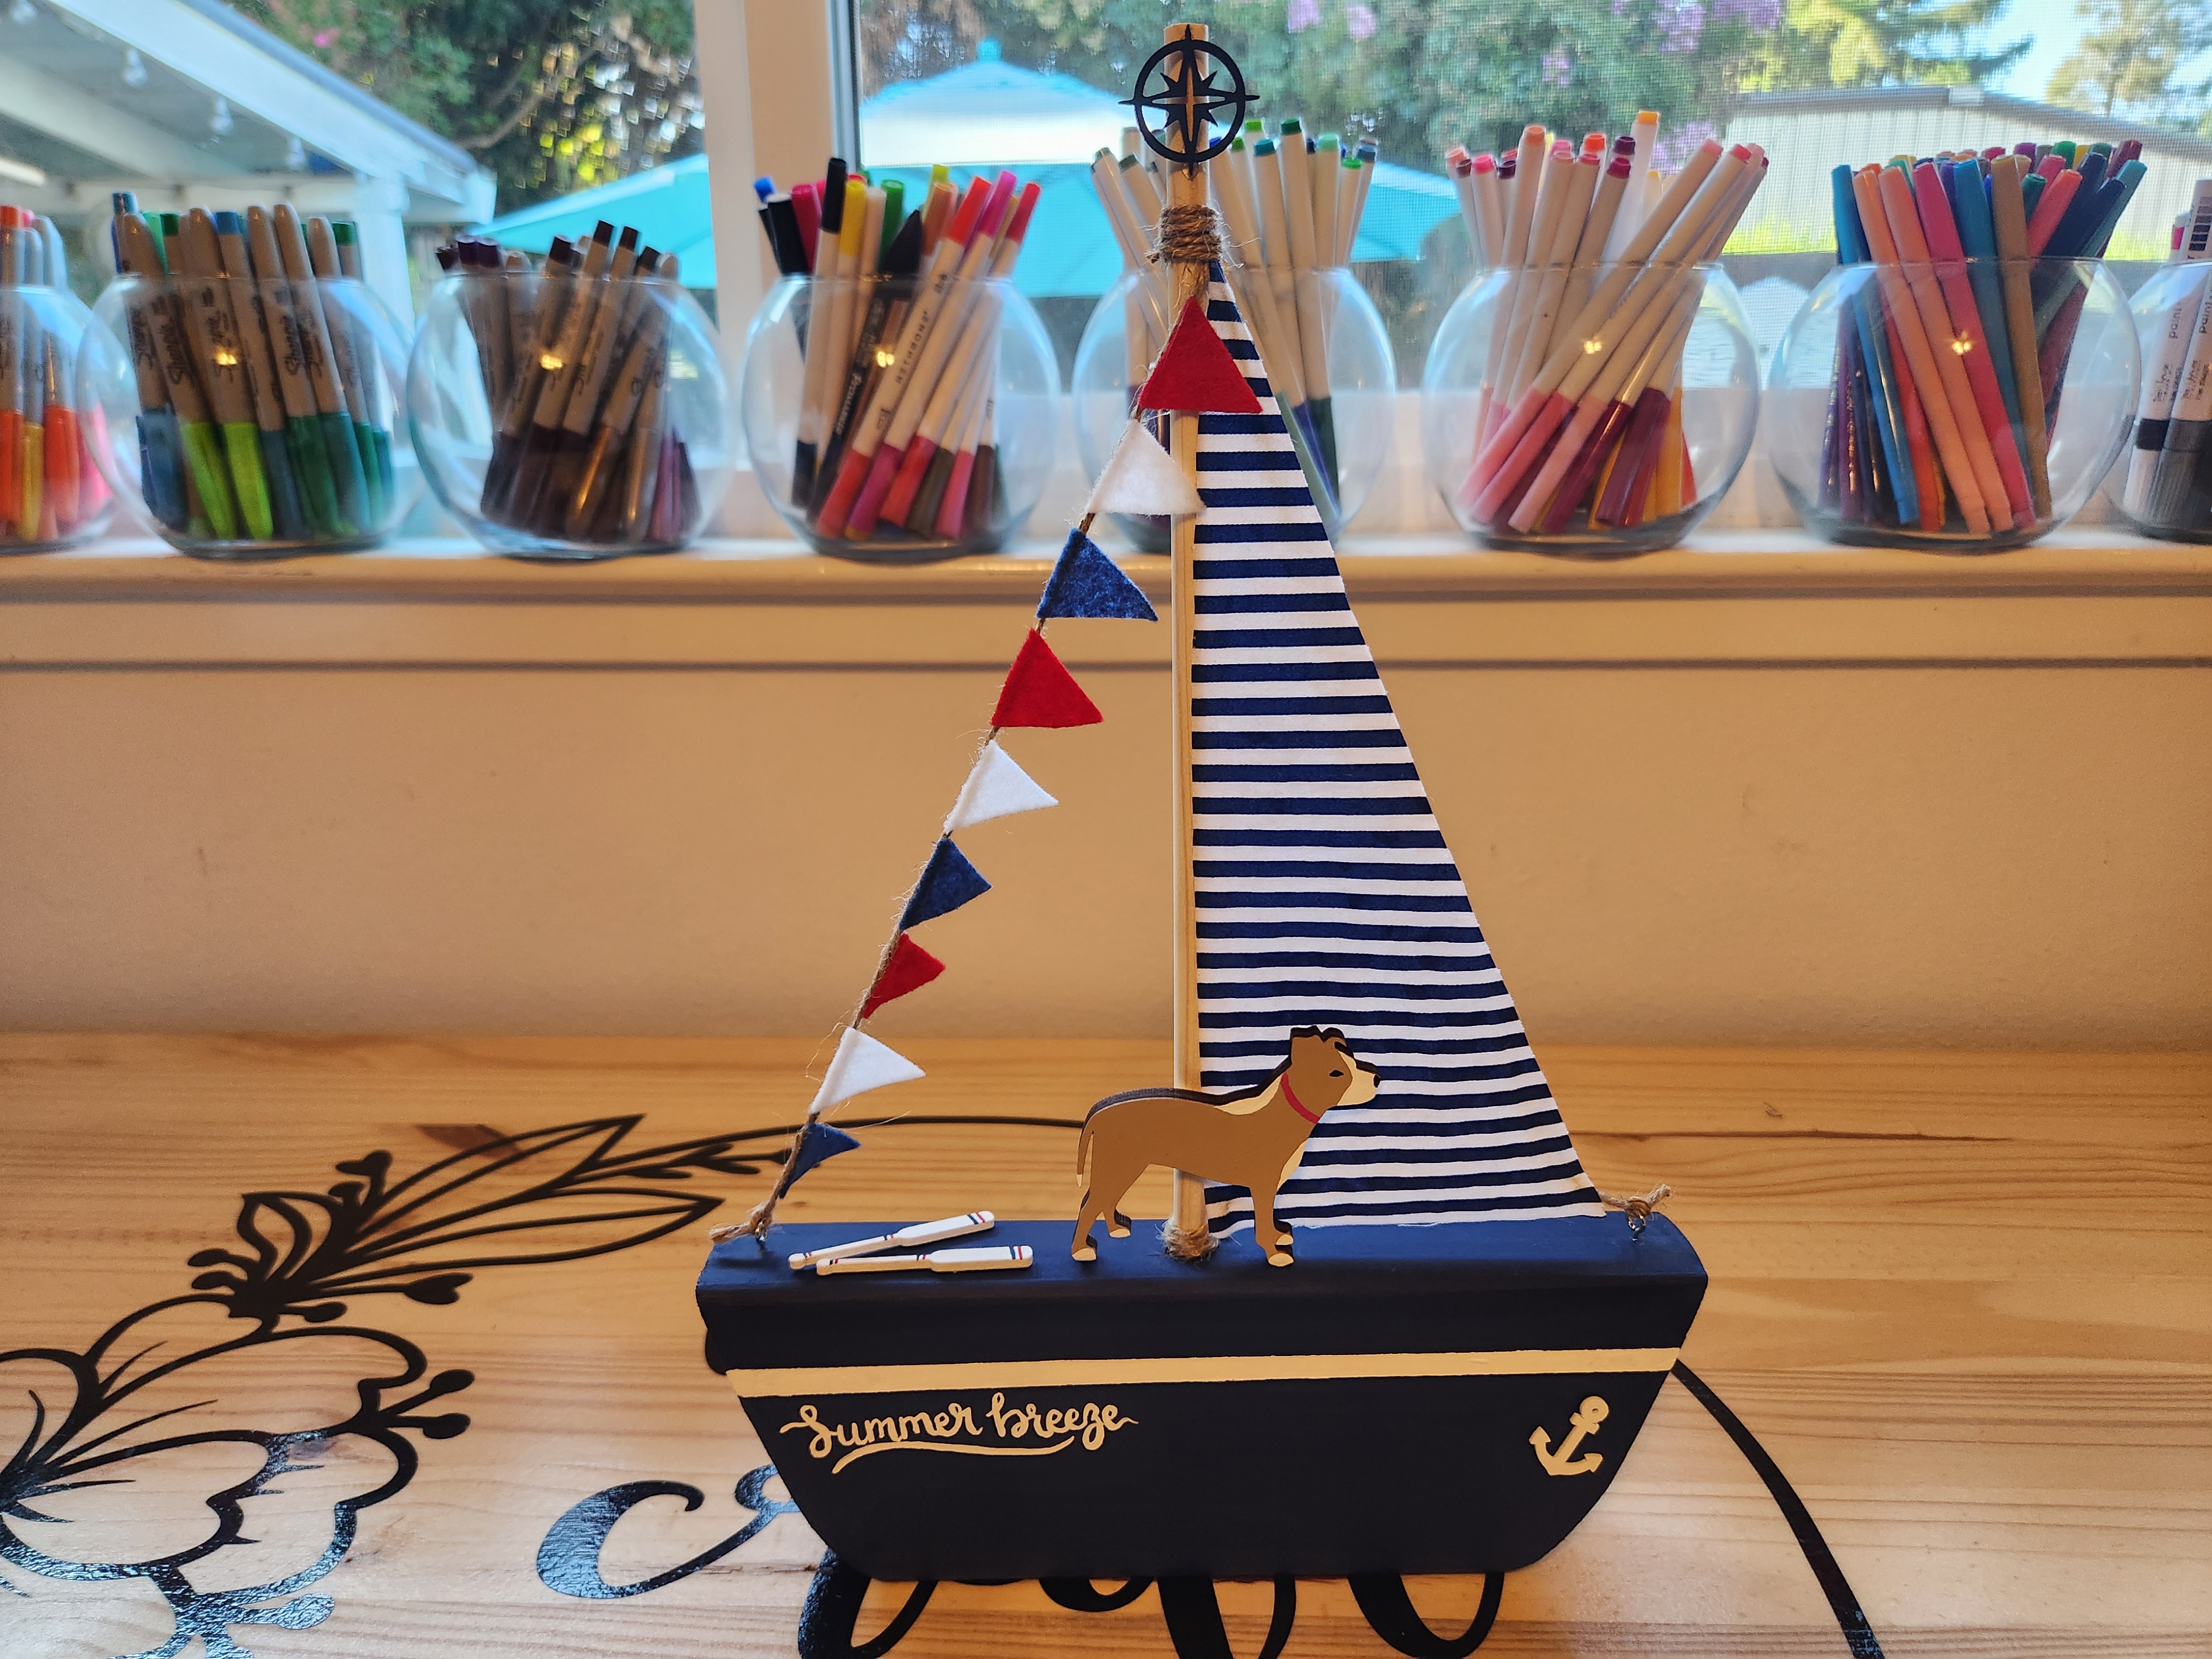
Ahoy mateys! As we do regularly we were scrolling on Pinterest and saw these adorable DIY wood boats. Being that we have several family members that love everything beachy and coastal we thought how could would these be as gifts? And of course, we had to make one for ourselves too. So the decision was made we were making !
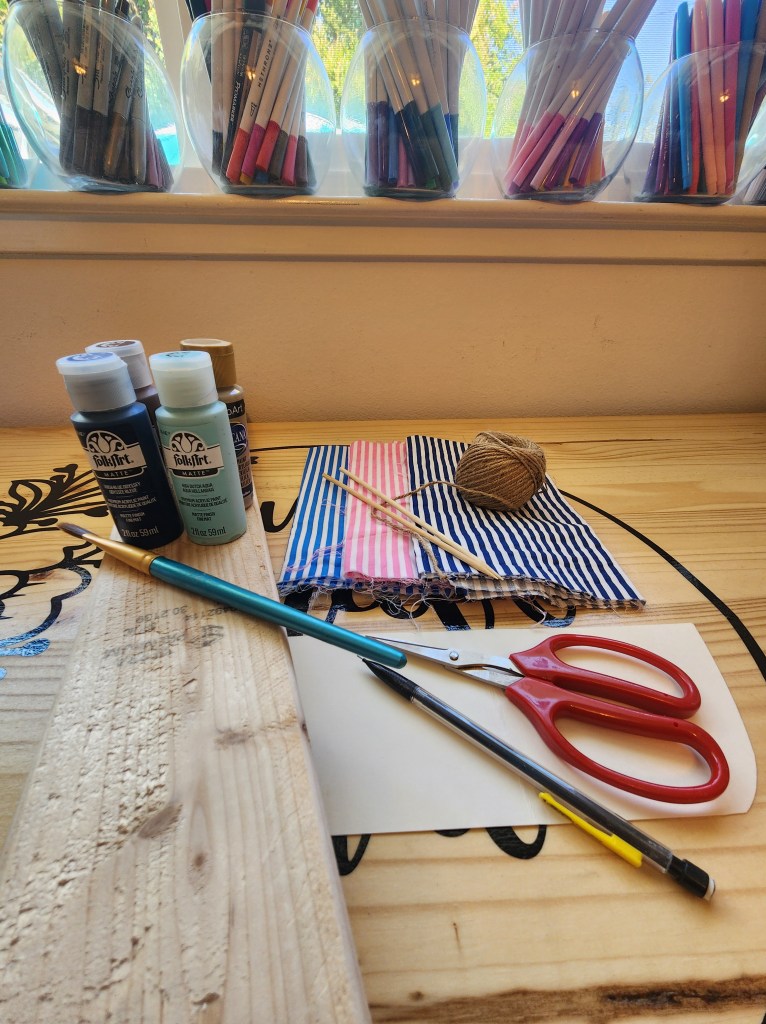
Step 1: Gather your supplies:
- A 2×4 piece of lumber
- A scrap piece of paper for a couple stencils
- A pencil
- Scissors
- Acrylic paints
- Paint brushes
- Mod podge or any clear coat sealer
- A small dowel
- Wood glue ( or Elmer’s glue if you happen to have a ridiculous amount of it like do)
- String of your choice
- Fabric of your choice ( we went with a classic nautical stripe) you need a very small amount of fabric. A fabric square will be plenty
- Small screw-in eye pins ( ours were 6x13mm)
- A drill and drill bits to make a small pilot hole
- A tool to cut your wood ( we used a jigsaw)
- A sander
This post contains affiliate links, which means we may earn a commission if you click through and make a purchase at no extra cost to you.

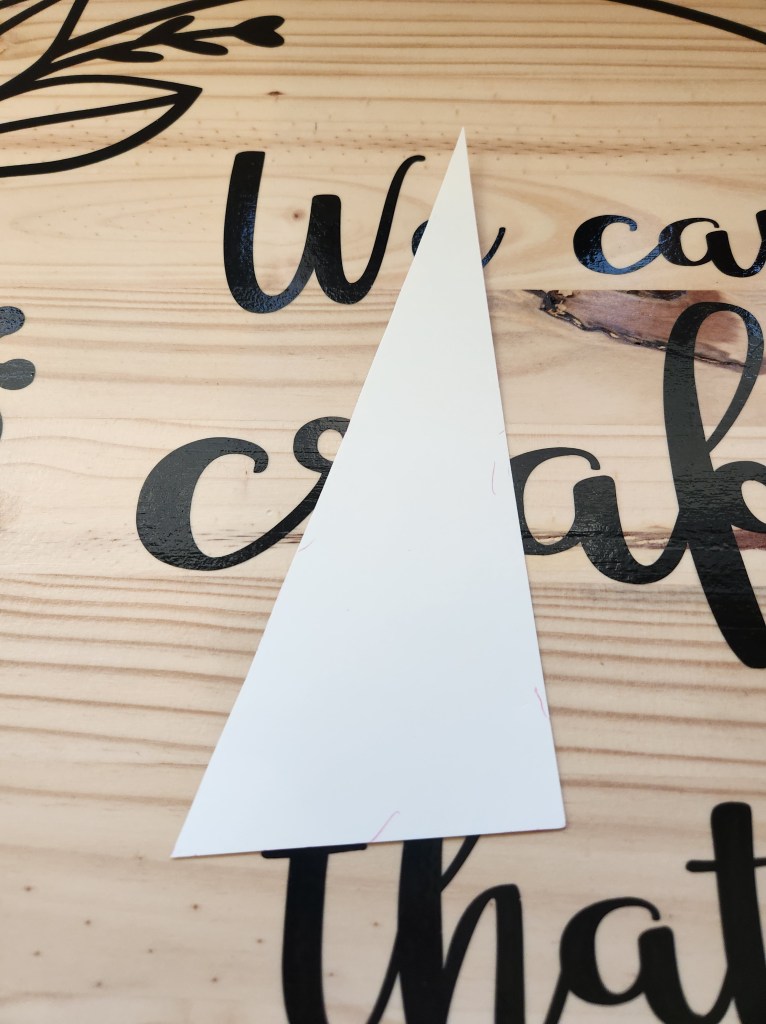
Step 2: Draw out your stencils. You’ll need one for the bottom of the boat and one for the sail. You can make them as big as you’d like them to be. Whatever will work best for your space. Cut out your stencils.
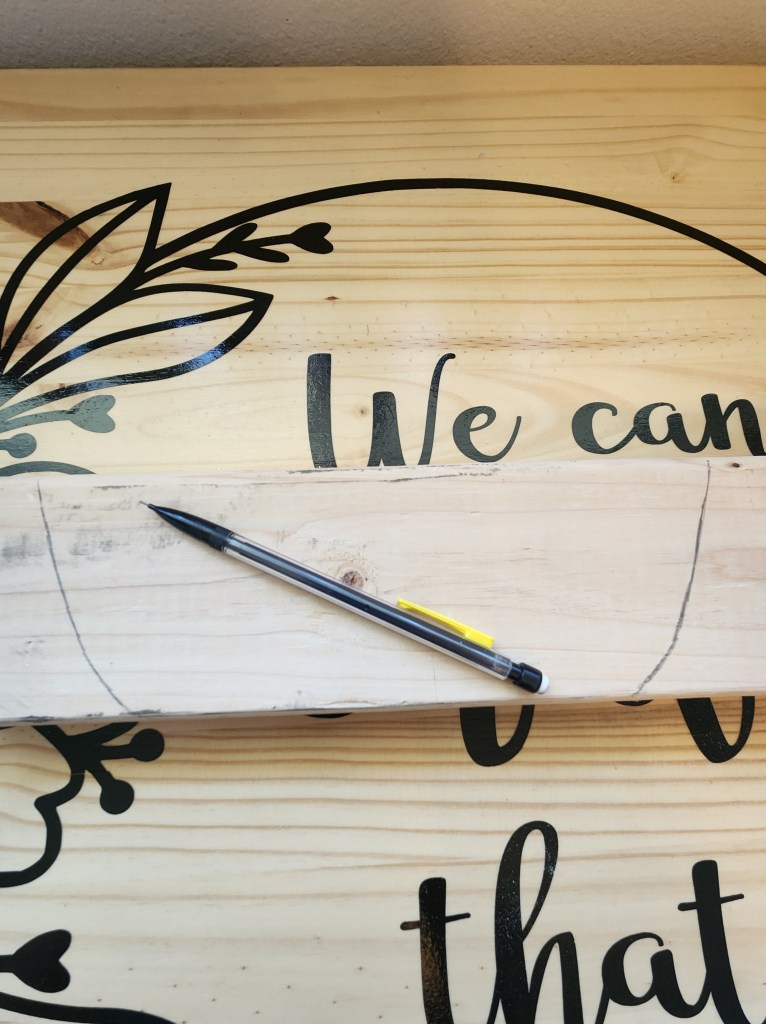
Step 3: Trace your stencil on your 2×4
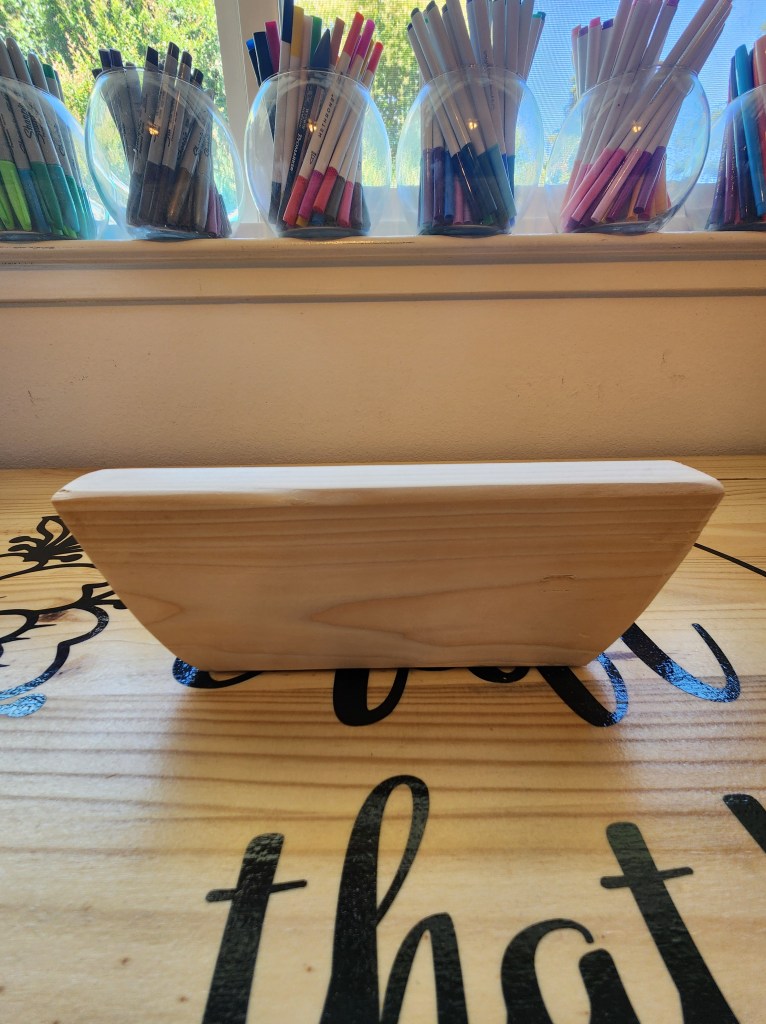
Step 4: Cut out your boat shape and lightly sand it to make it smooth for paint.

Step 5: Paint your boat. We went with a traditional navy blue with a white stripe to match our fabric. Seal your boat with your clear coat.
Step 6: Using your drill and a drill bit make a small pilot hole large enough to place your dowel inside.
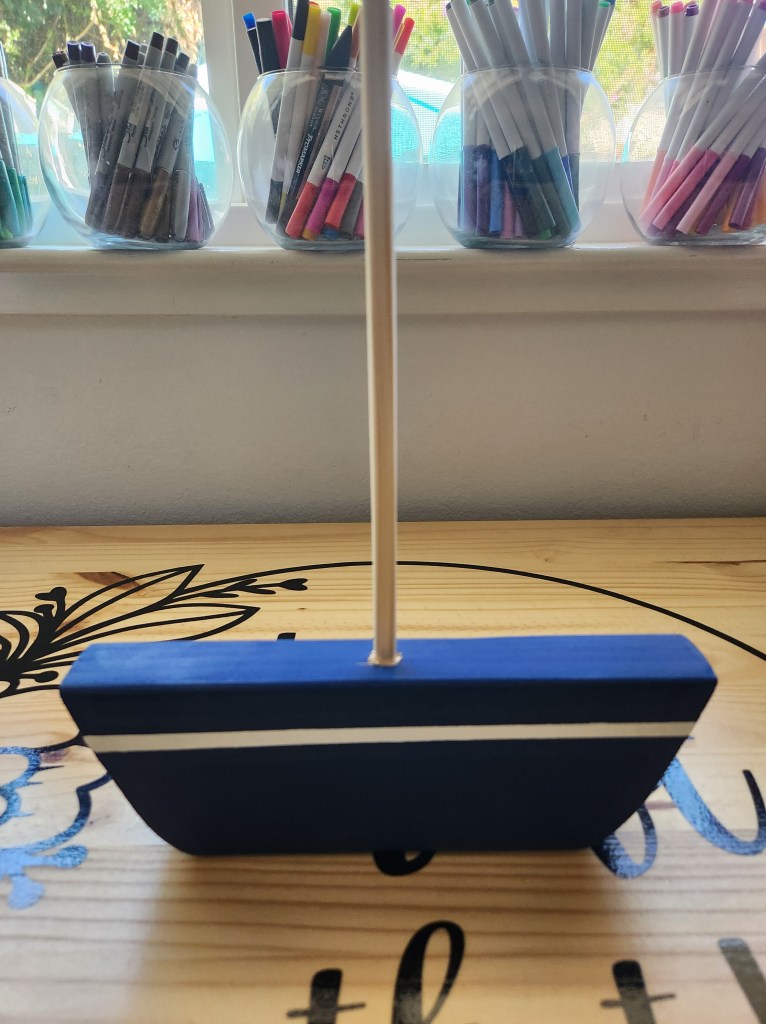
Step 7: Place a small amount of glue inside your pilot hole and place your dowel inside. Make sure your dowel is nice and straight ( we learned the hard way that this was important on one of our boats).
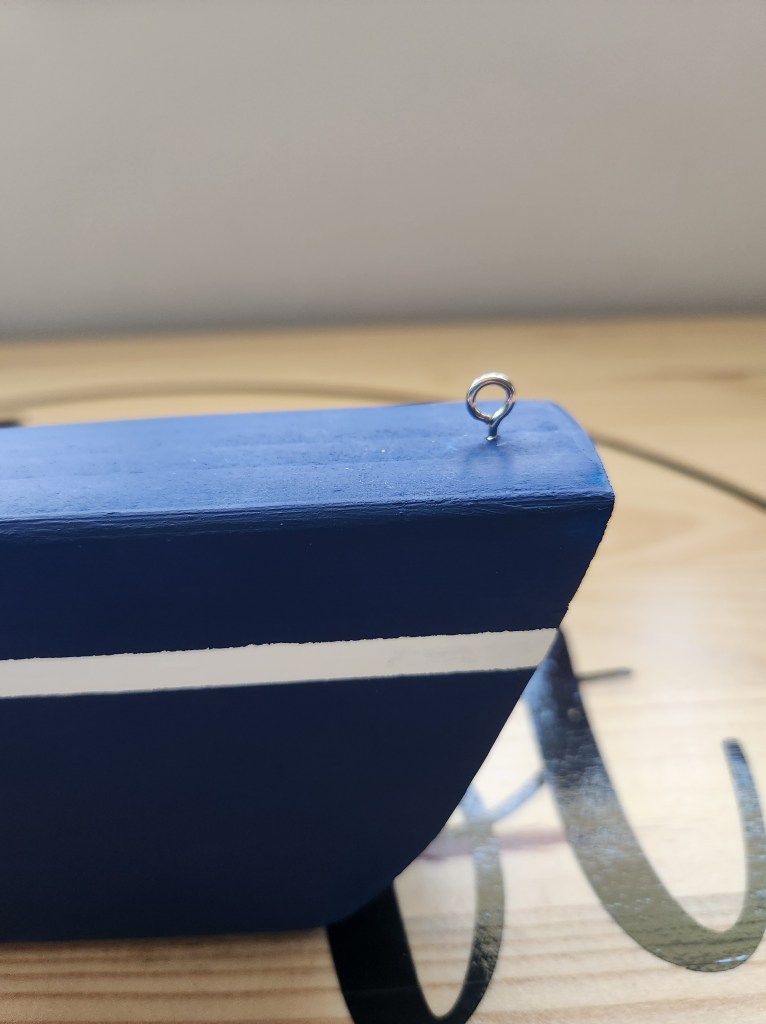
Step 8: Screw your eye pins on your boat. We used a small nail and a hammer to create a pilot hole where we wanted our pints to be. Screw in your pins. This will hold up your sail.

Step 9: Using your sail stencil trace it on your fabric. Cut it out and attach it to your string using some glue. Now tie one side of your string to the top of the dowel wrapping it around a few times and one side to the eye pin tieing a knot.
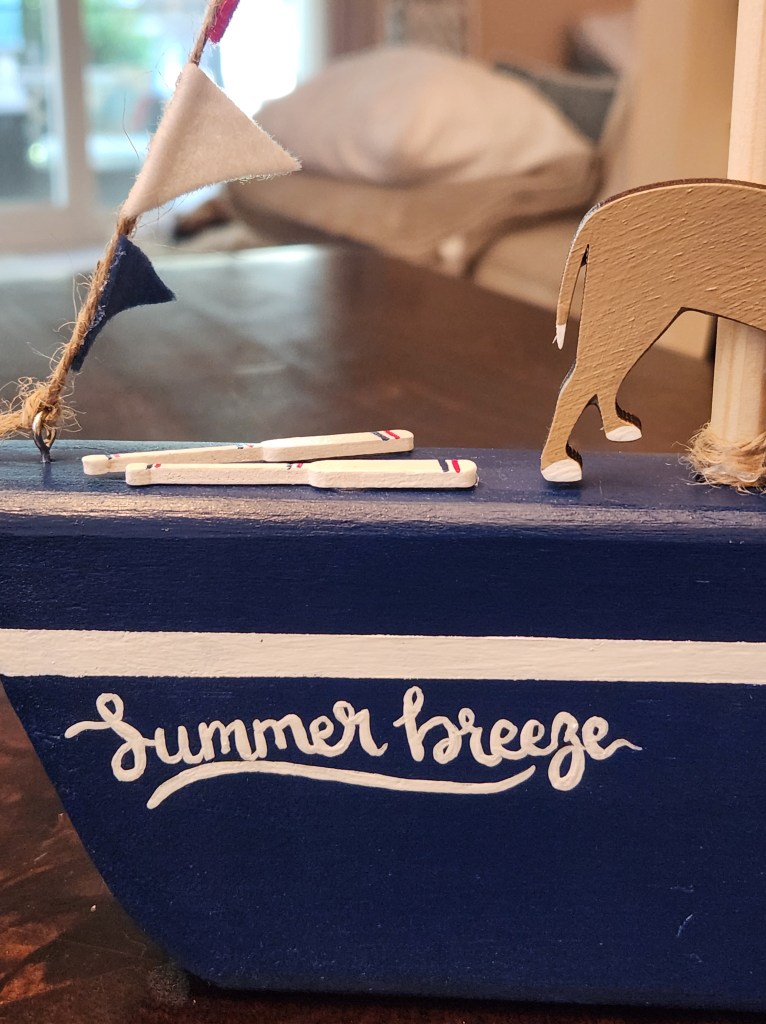
Step 10: The rest of this is completely optional. We wanted to add some extra details. We painted a name on our boat “the Summer Breeze”. We went with that name because it’s going to someone who’s dog’s name is Summer.

Step 11: We thought our boat needed a sailor. So, we ordered some wooden dog cut outs on Etsy and painted them to look like the dogs of the gift recipients. We attached them with glue. We also had some boat oars and wooden anchors left over from a previous project that we glued on as well. It really does pay off to be a craft hoarder sometimes.
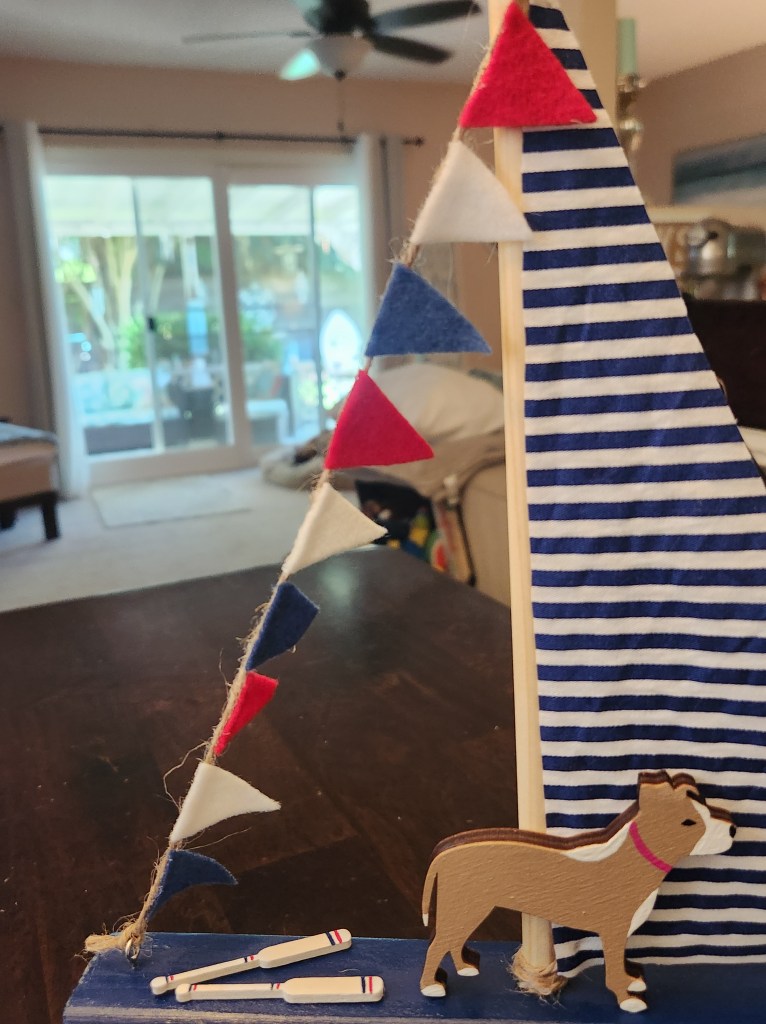
Step 12: Lastly we made some little flag banners out of felt and the same string we used for the sail. Using some fabric glue we attached everything together and then tied the string to the other eye pin.
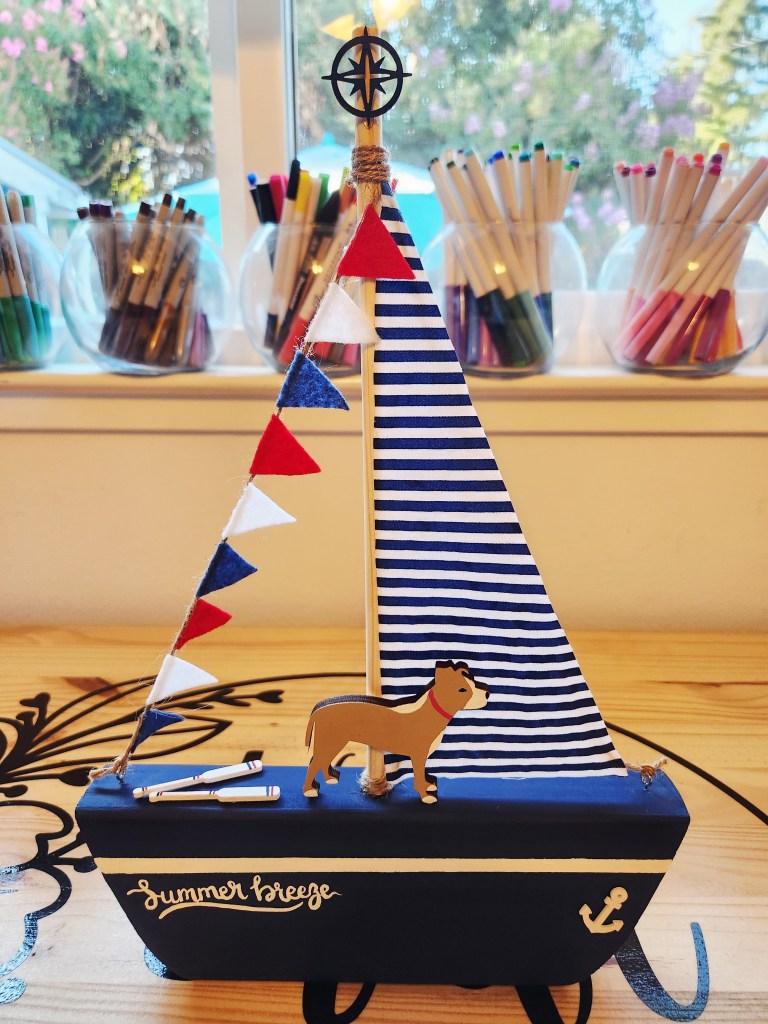
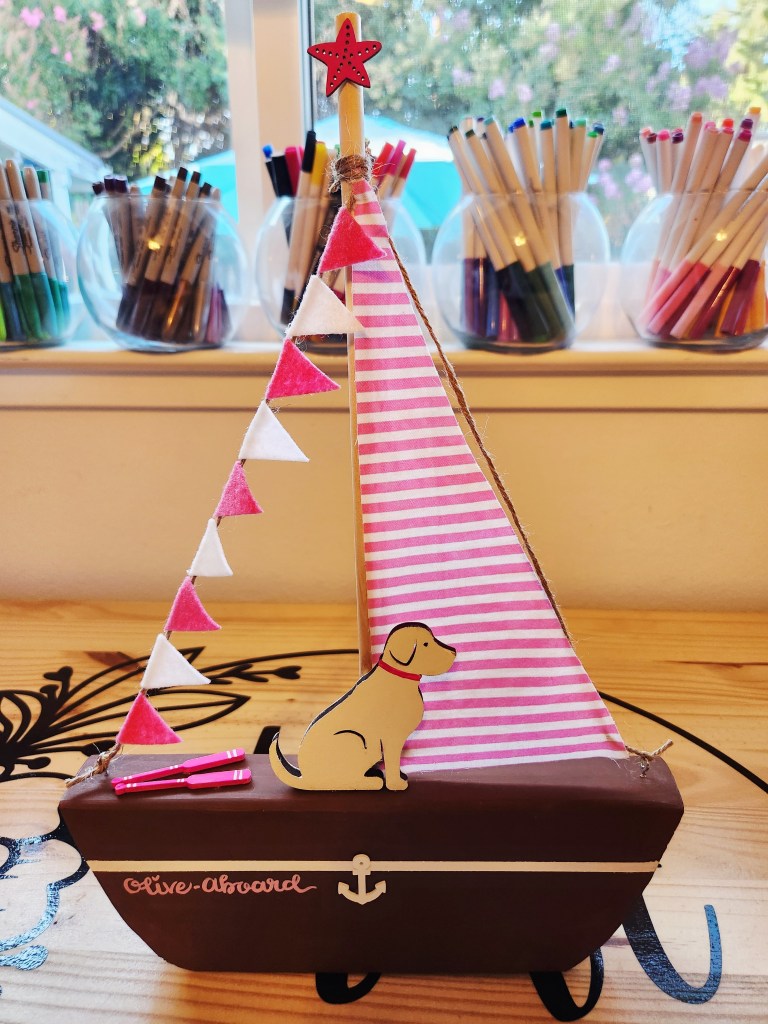
Now aren’t these absolutely adorable? We made several of these because we couldn’t get enough of them. Don’t think they have to be just traditional nautical colors either. We did a pink version for a particular princess Labrador named Olive, too. How cool would a spooky Halloween boat be? Happy crafting!




Leave a Reply