Hello fellow camping enthusiasts! We don’t know about you but when your camping in a trailer there is never enough counter space. Whether your preparing food or just storing your daily essentials finding enough space for everything is a constant struggle. But, why not use the stove top as extra space when it’s not being used? It’s a no brainer in our book! Our trailer has a chintzy glass protective cover that doesn’t seem all that safe. So, we decided to make a wooden cover that sits over the glass cover. Plus, it gave us the opportunity to make it cute!
Step 1: Gather your supplies:
- Wood sheet ( we bought a large piece because wanted to get two out of it)
- Wood for the sides ( we used a 1×2)
- An electric saw
- An electric sander
- Wood stain
- Steel wool
- 2 decoarite handles ( this is optional)
- Acrylic paints and brushes
- Polyurethane ( we chose a roll on version because we’ve had better luck with it in the past. But, your welcome to use a spray on version)
- A small roller or foam brushes
- This is optional but we used our Cricut machine to make a stencil for us to follow. In the end we chose to do something a bit different. Crafting sometimes ( or most of the time) doesn’t go as planned.
This post contains affiliate links, which means we may earn a commission if you click through and make a purchase at no extra cost to you.
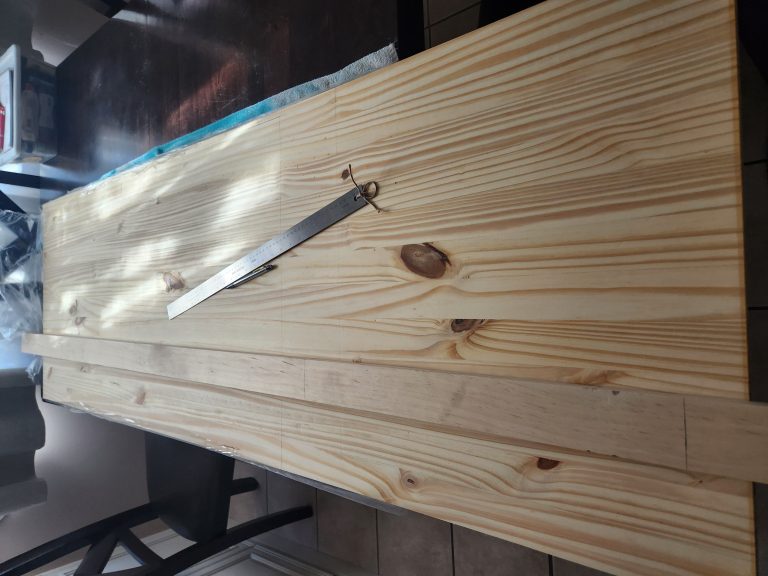
Step 2: Measure your stove top. Our camper was different size than the second stove cover we were making. So, measuring is very important.
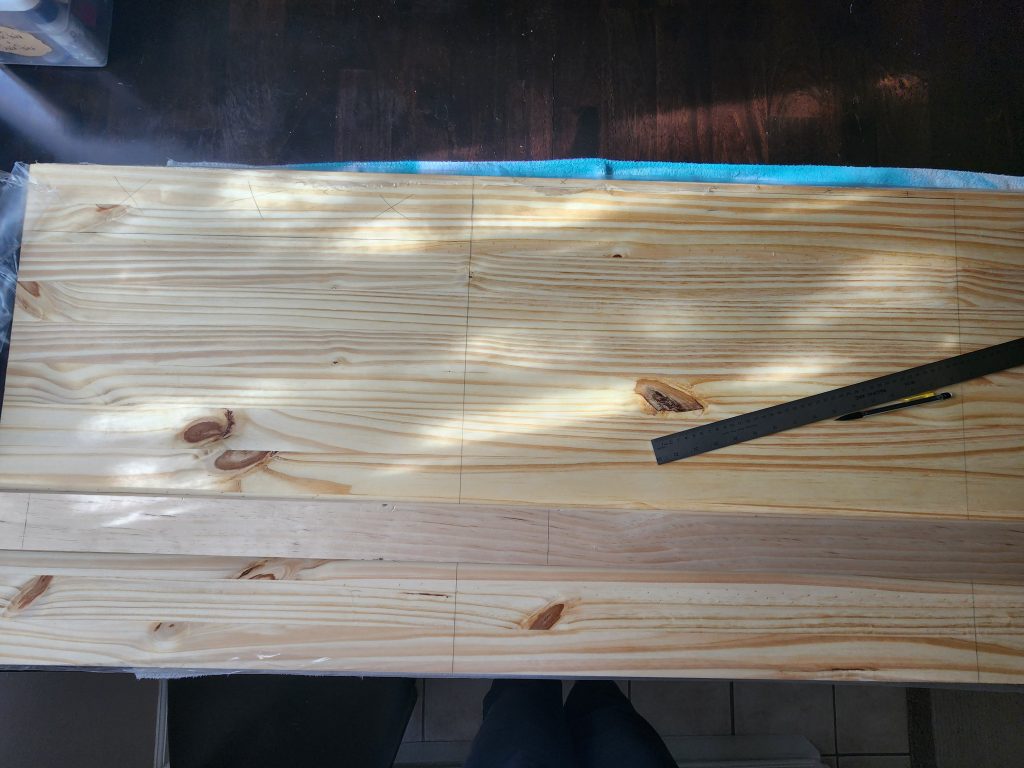
Step 3: Draw out your pieces with pencil so you know where to cut. This is particularly helpful when you have an unwilling participant like a husband cutting them for you.
Step 4: Cut all your wood pieces. You’ll need the main piece and two side pieces. The side pieces will act as legs so that your cover sits over top your stove. Make sure your take into account the height of your stove. Our trailers stove was flat but the second one we made was going over taller grates.
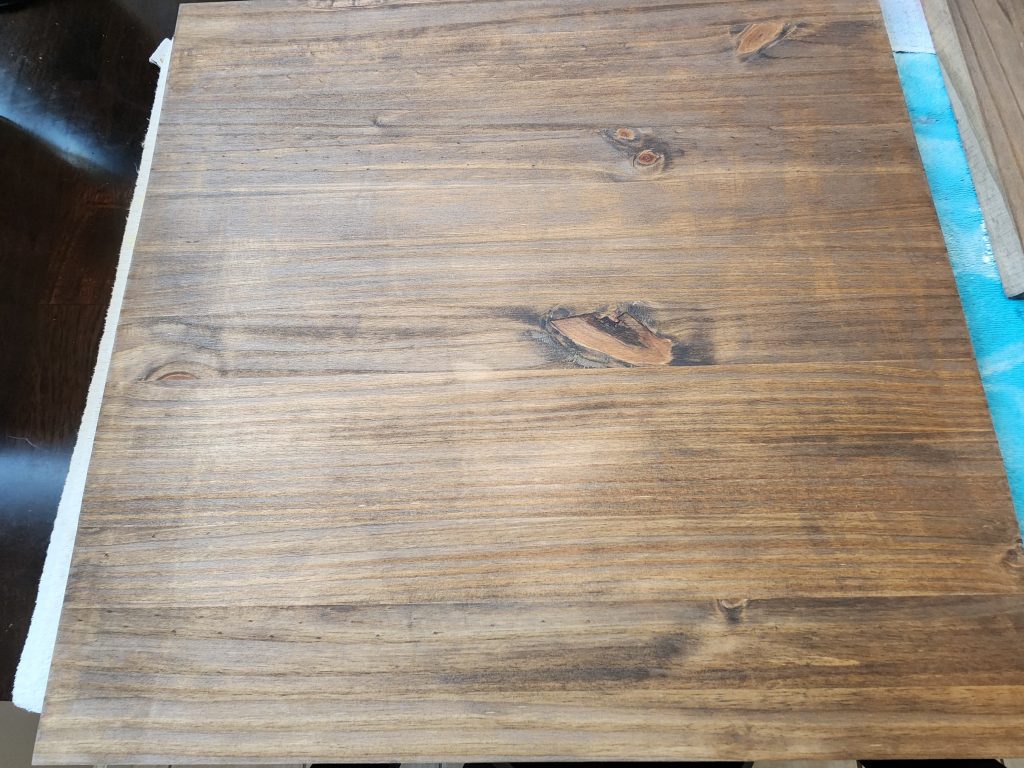
Step 5: Once your pieces are cut your ready to stain. You could choose to leave it natural too of course. This is completely up to you. We used an old rag to stain but use whatever you have. Foam brushes work well too. Make sure you’re in a well ventilated area because stain is pretty potent.
Step 6: Assemble your cover. We used a nail gun to attach the sides but use what you have.
Step 7: Add a clear coat. We used minwax polycrylic crystal clear top coat. We like to lightly sand with our steel wool pads in between coats. It makes everything smoother.
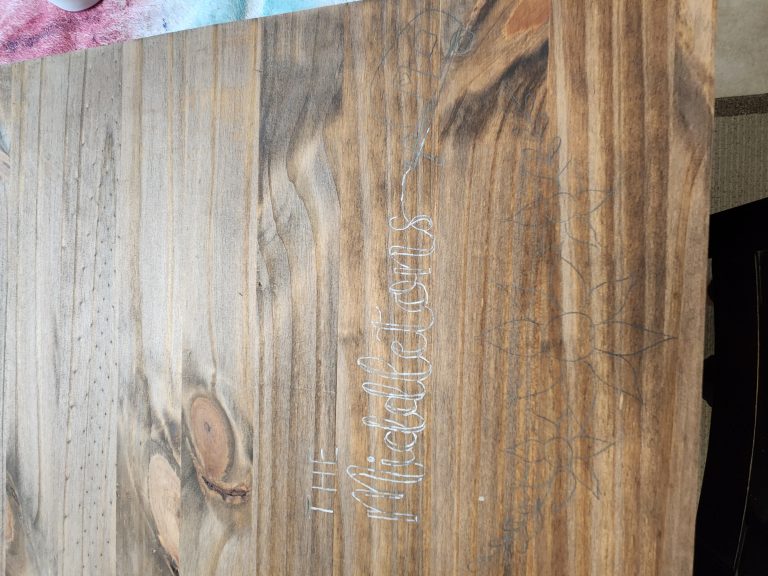
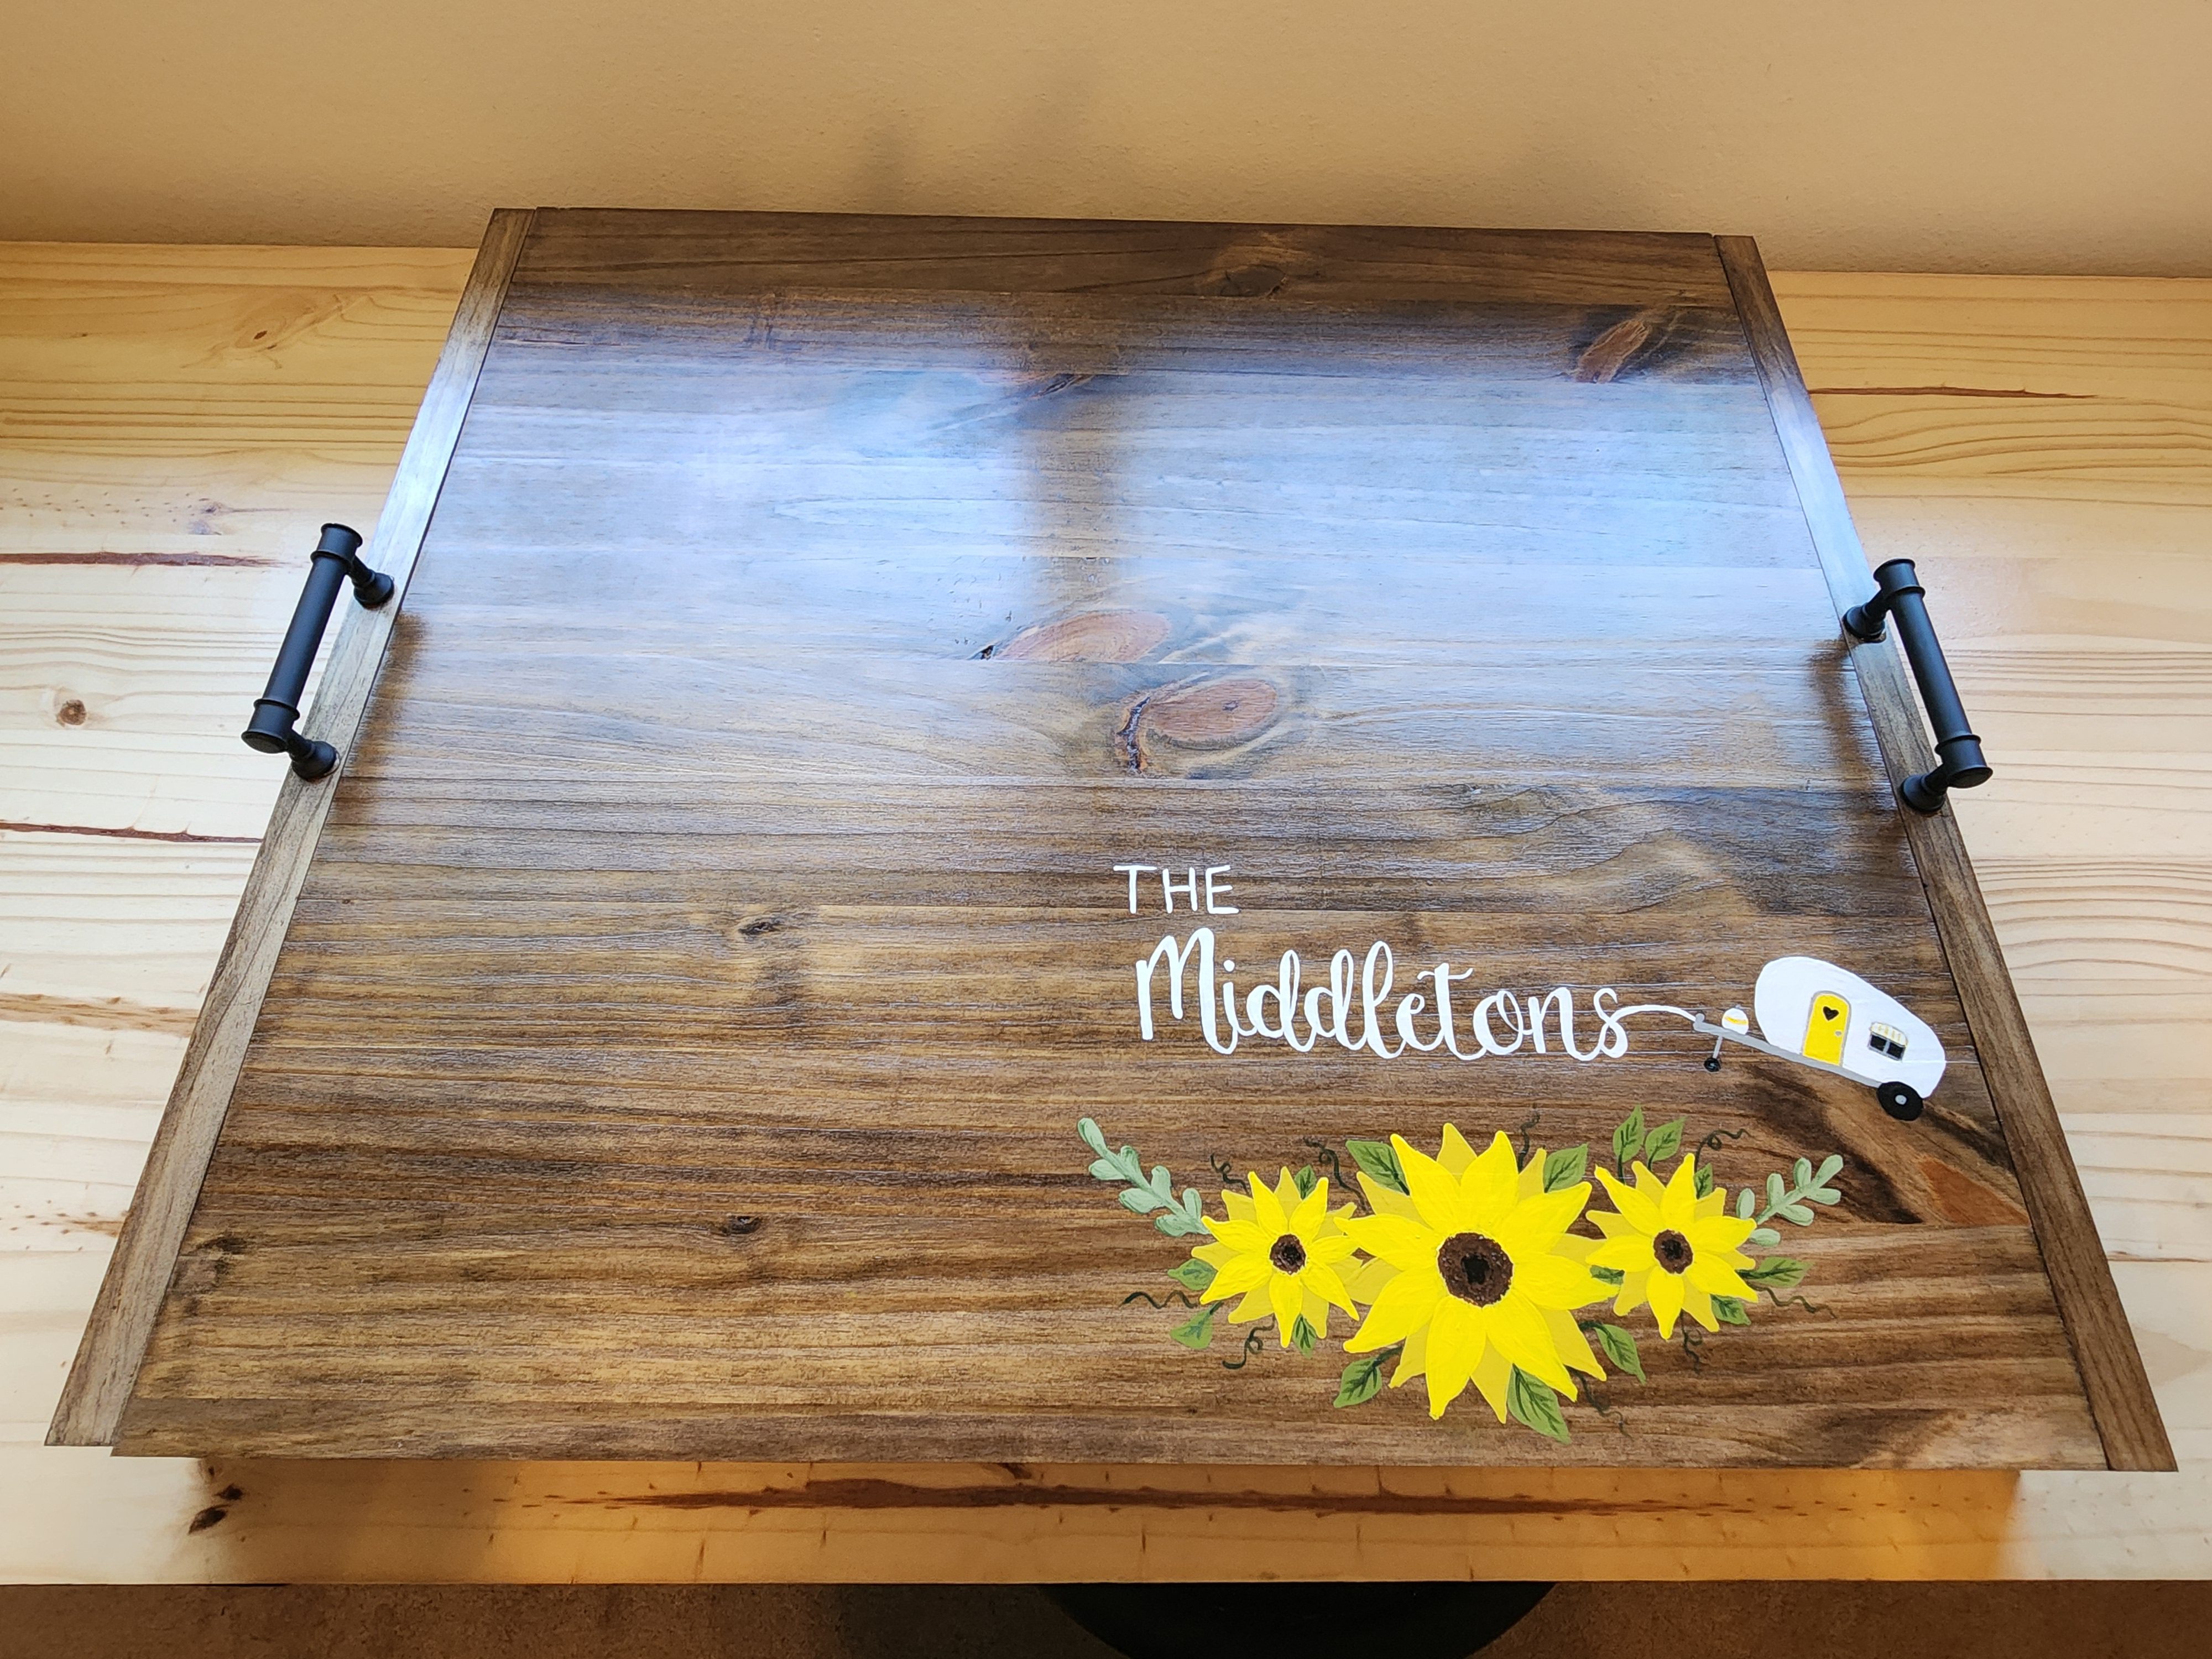
Step 8: Now you are ready to add some personalized touches. We wanted to add a name and some cute decorations around the name. This is where you get to be creative. Do whatever works for your theme, color scheme or design in your trailer. We first tried using a pencil to draw out our design but found that a white gel pen stood out better on the darker stain color.
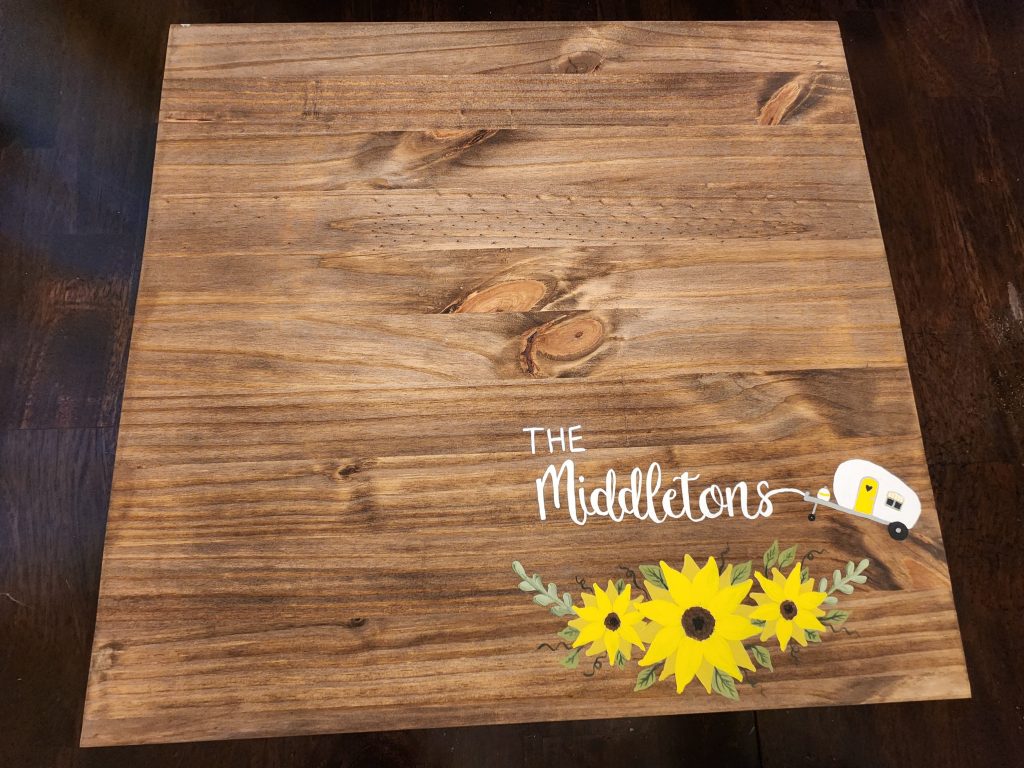
Step 9: Paint your design. Use whatever colors work for your trailer. There is no wrong way to do it.

Step 10: Then we just used some clear gorilla glue to attach some decorative handles to the front for easy removal.
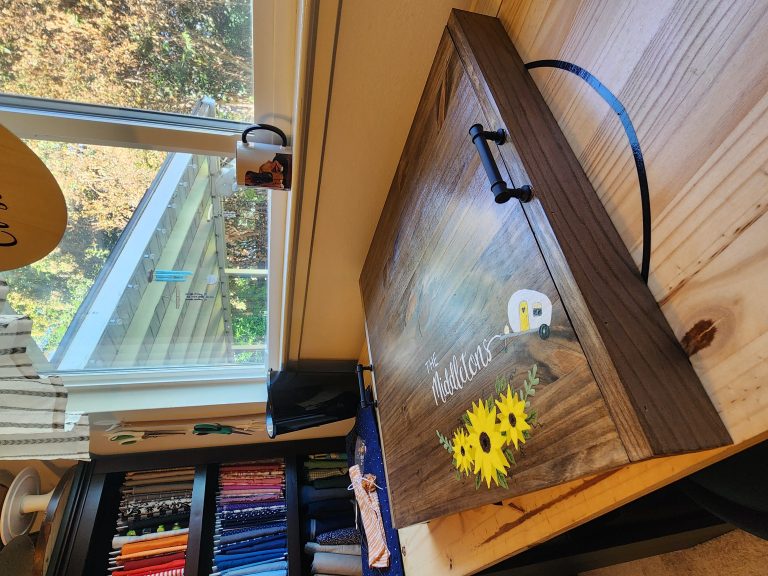

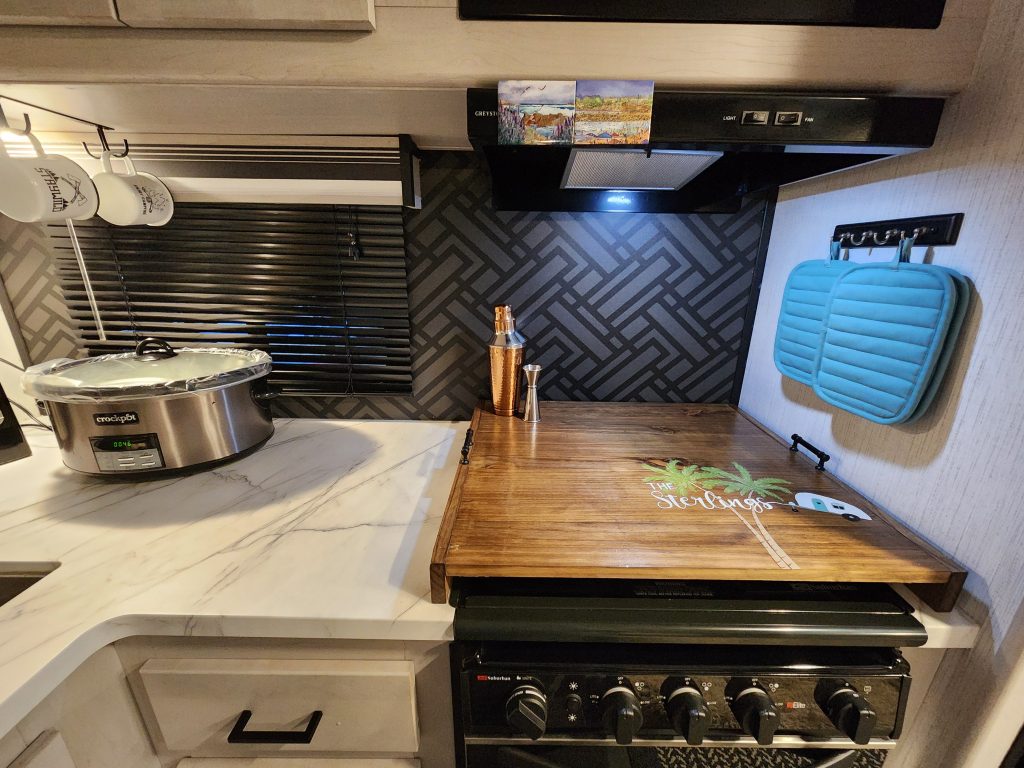
That’s it! Now you have some extra storage in your trailer when your stove isn’t in use. You can never have too much counter space! Actually, this would be great for a home stove too! Happy Camping!


Leave a Reply