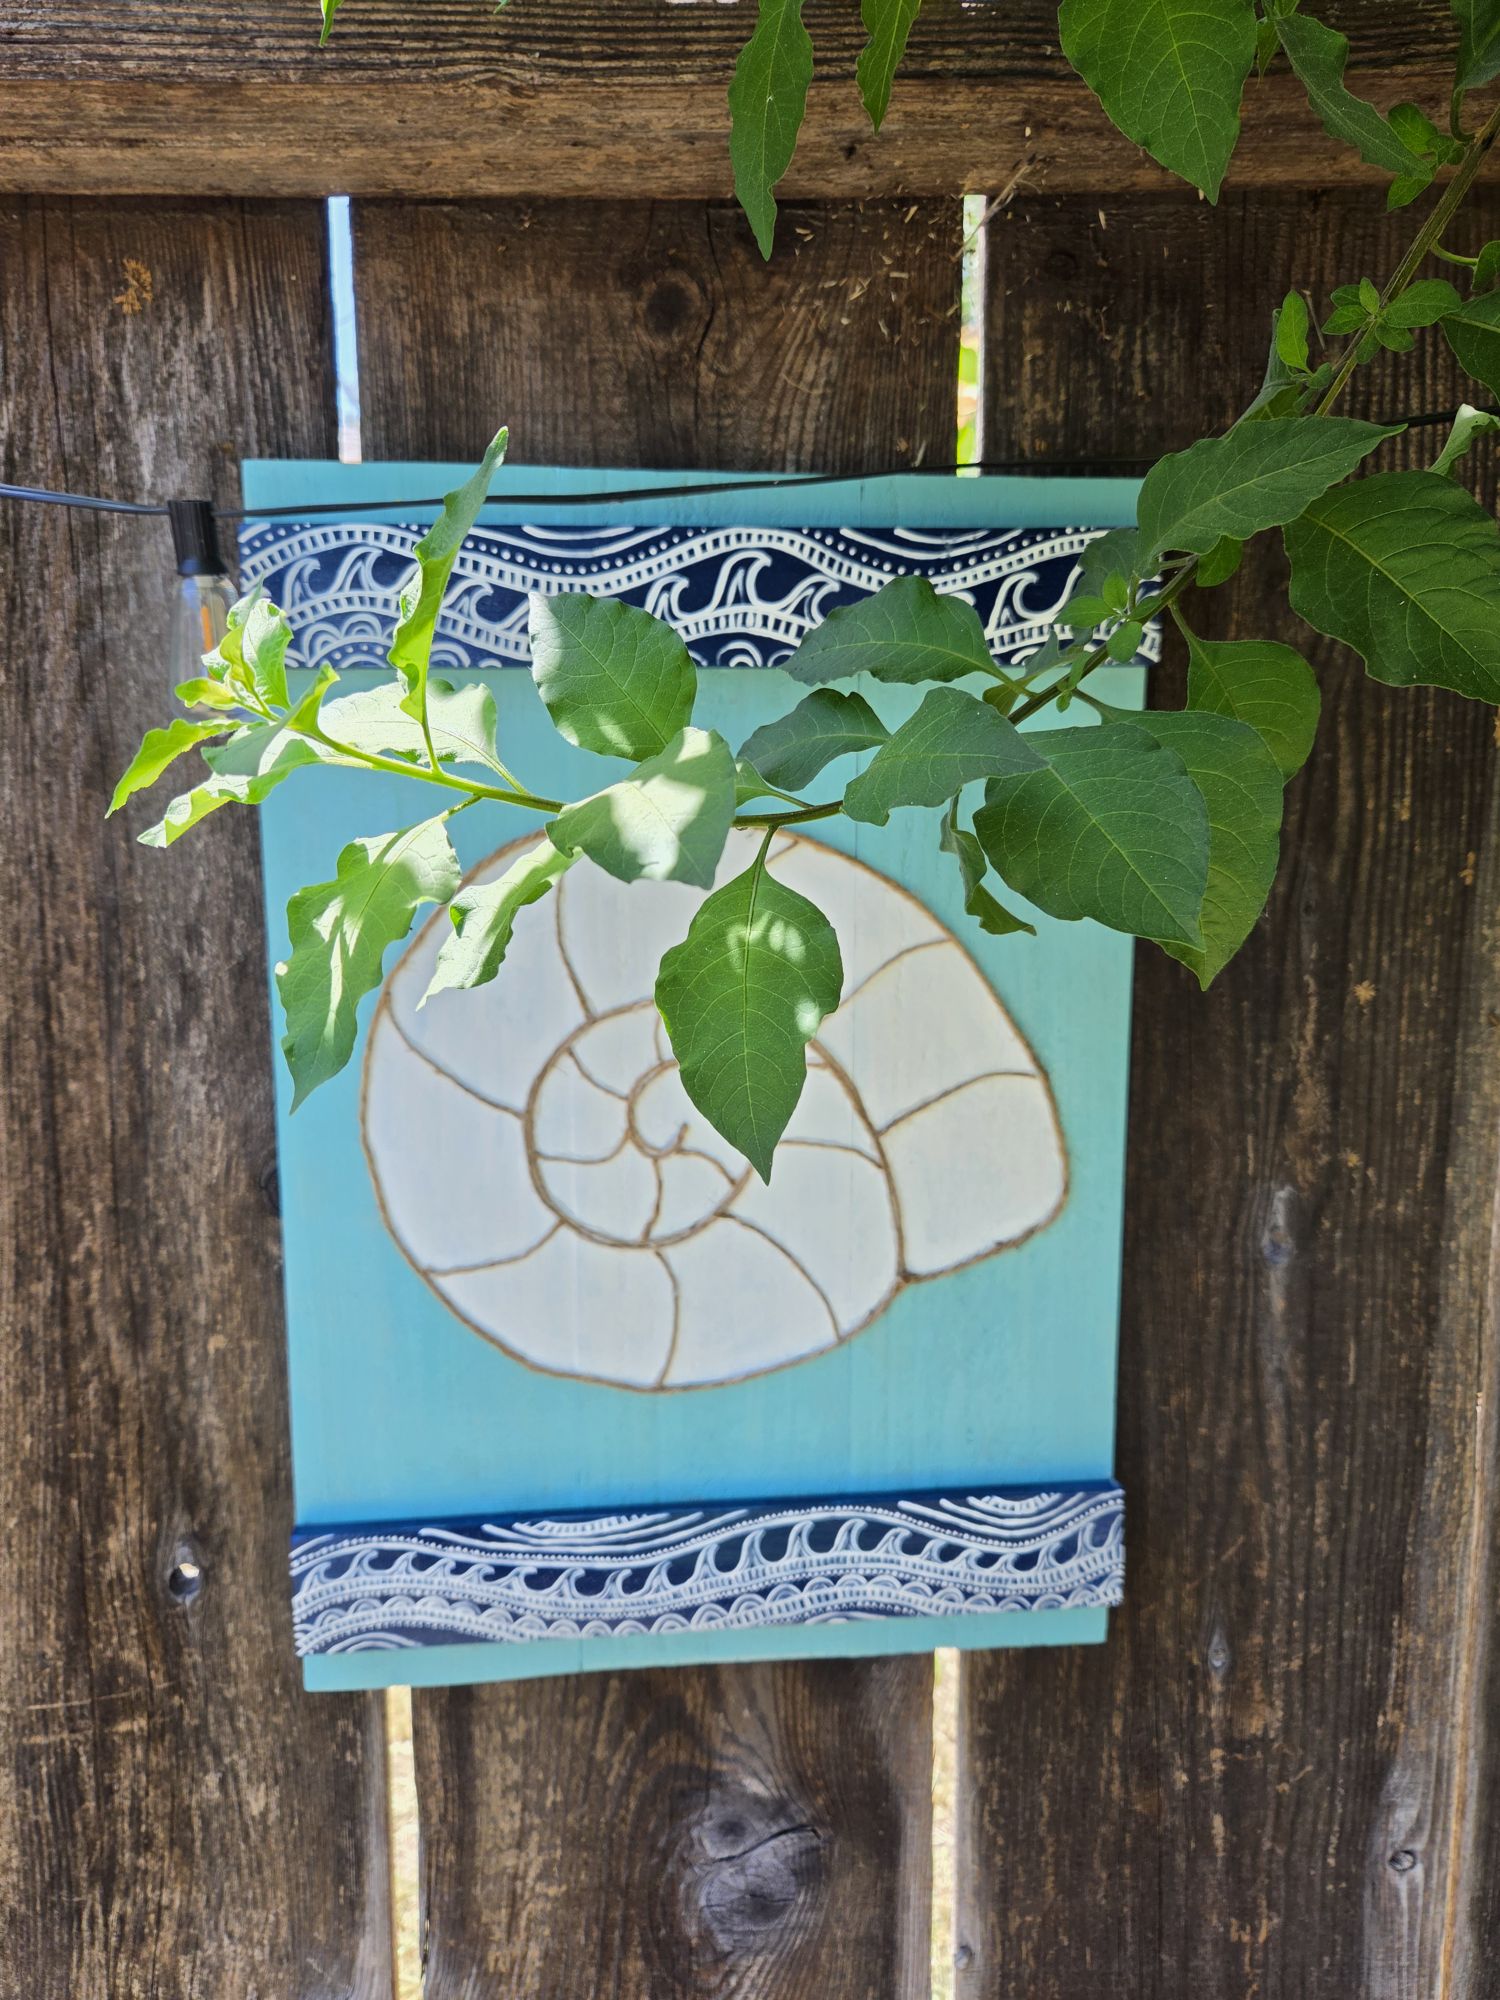
Hello to all you crafting fools out there! Our project ideas usually revolve around what the weather looks like and what space we are spending the most time in. So, now that it’s warmer out it’s no wonder we find ourselves in the backyard a lot. One of our backyard fences were looking pretty sad so we decided some artwork would really jazz it up! We wanted to stick with our coastal vibe so these wooden signs were prefect! Lets get started on making our coastal outdoor backyard signs.

Step one: Gather your supplies
- Fence boards
- 1×2’s for supports
- nails or screws and a drill or hammer
- A saw
- A pencil and paper for stencils
- Scissors
- Paint and paint brushes
- A sealer of some sort ( We used a brush on poly acrylic by minwax)
- Any decor you’d like to use ( we used lots of rope and some sea glass we had left over from projects in the past)
- Glue gun and tons of glue
- Picture hanging wire
This post contains affiliate links, which means we may earn a commission if you click through and make a purchase at no extra cost to you.
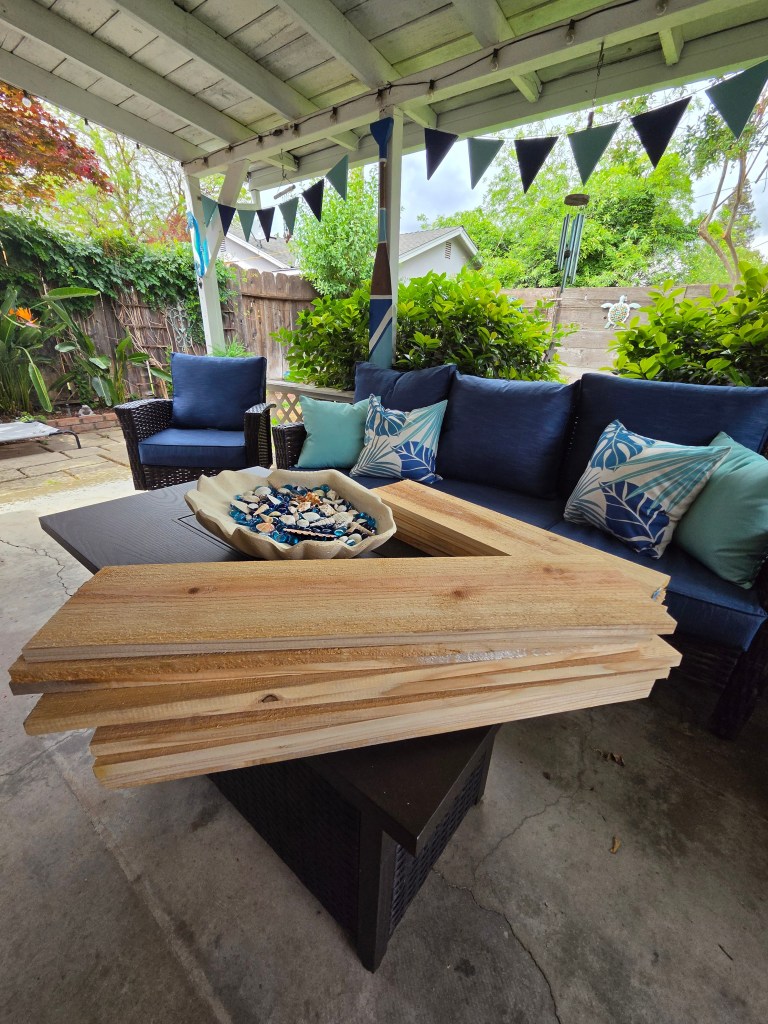
Step 2: Cut all your pieces of wood. You can do them any size you’d like them to be. We wanted ours to be relatively large so we cut ours about 24” long. Your brace pieces will need to be as long as your sign is wide.
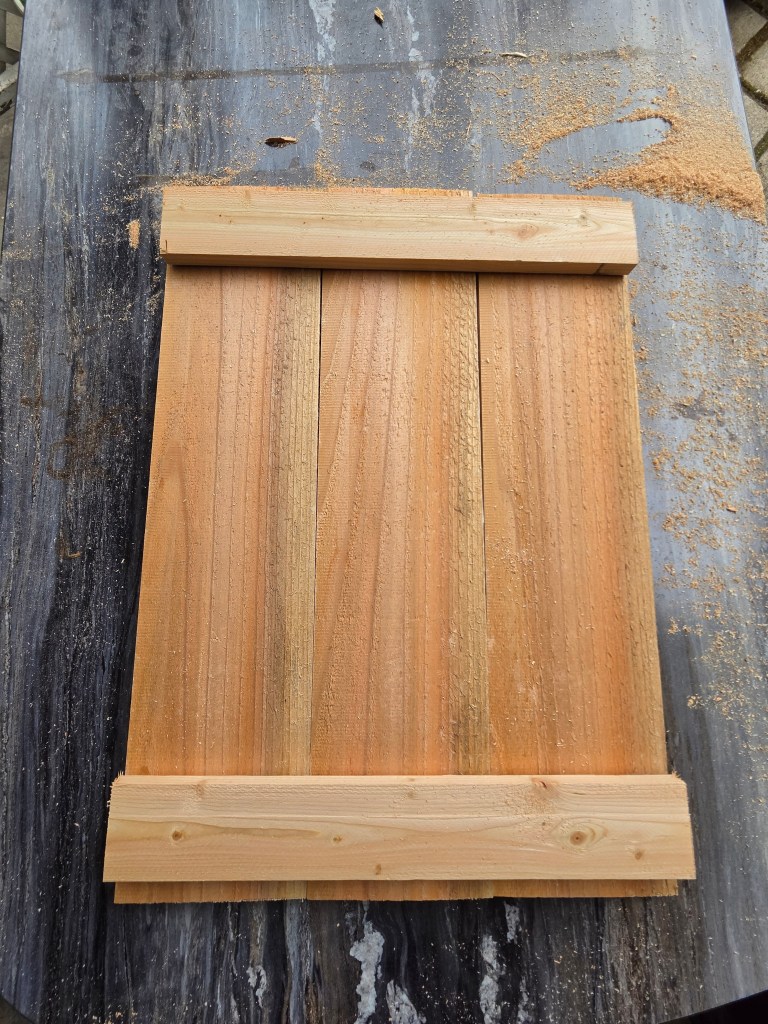
Step 3: Assemble your signs. You can either put your braces in the back or in the front. We wanted ours to be in the front so we could paint them a contrasting color and make them a feature.
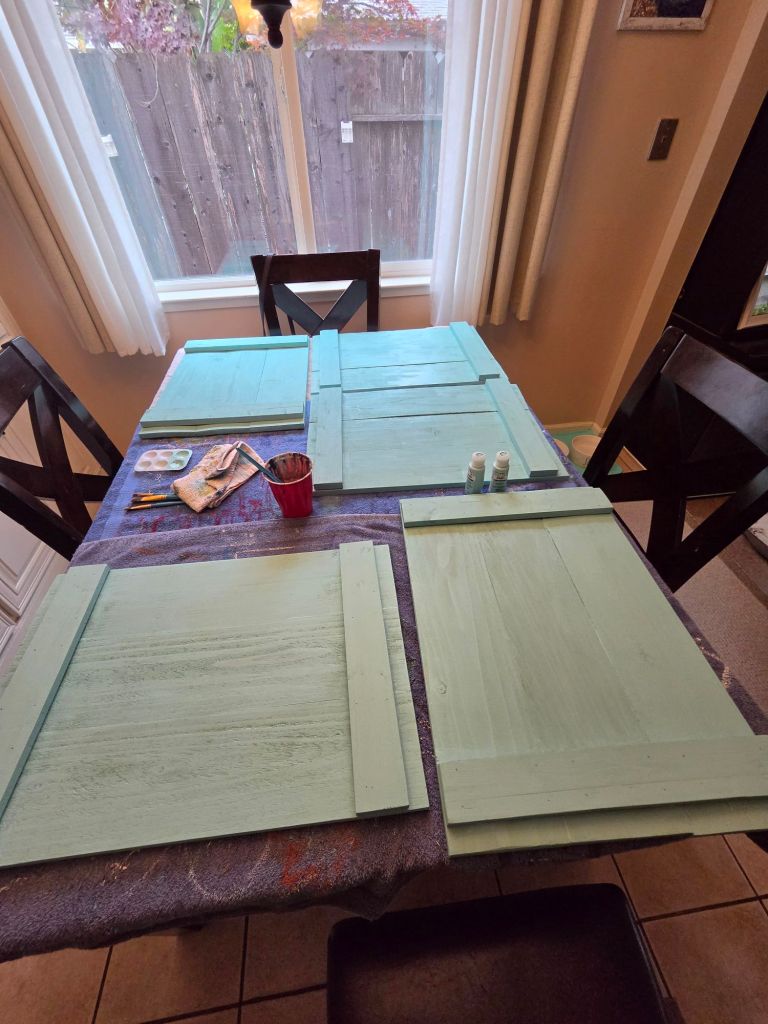
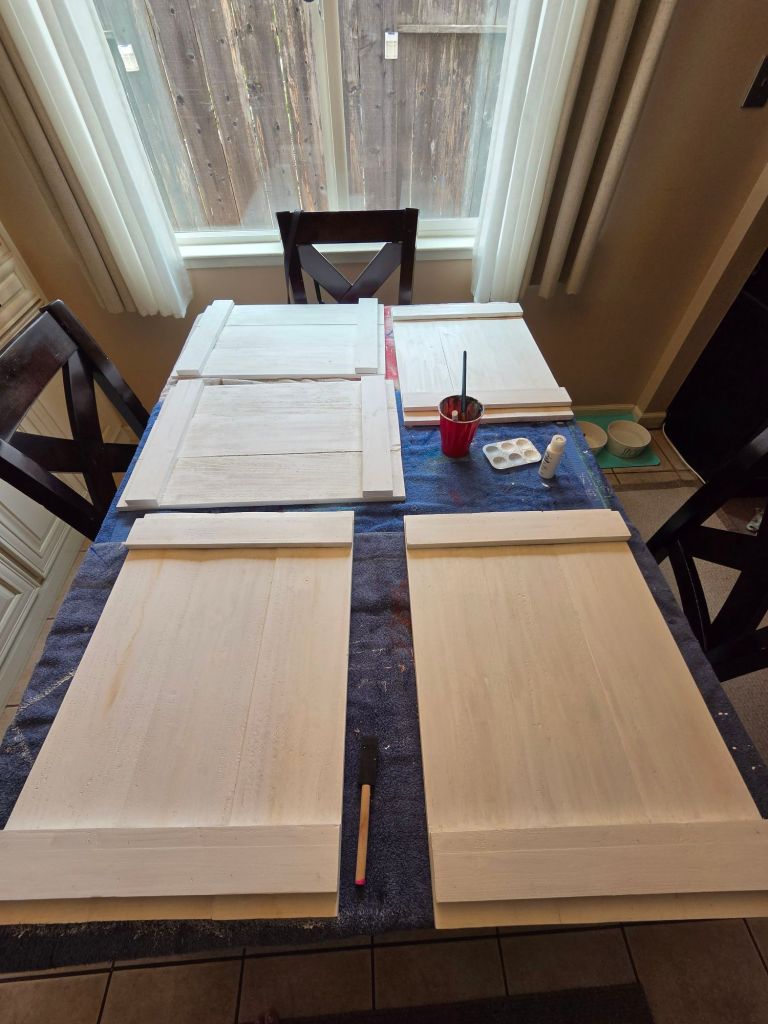
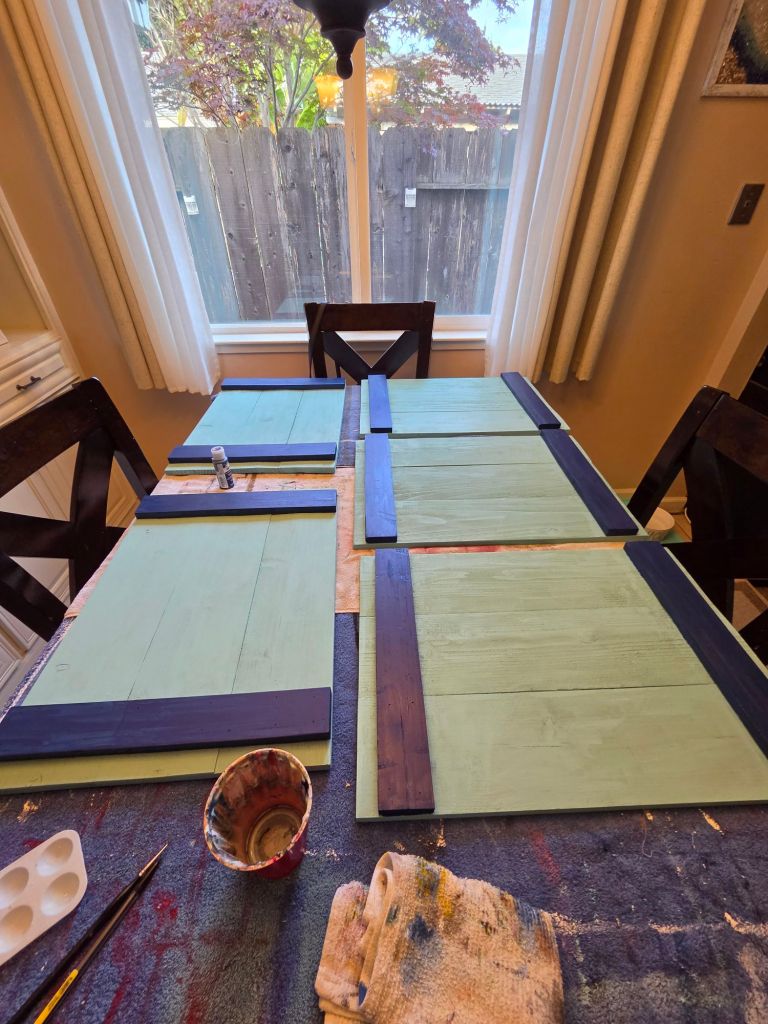
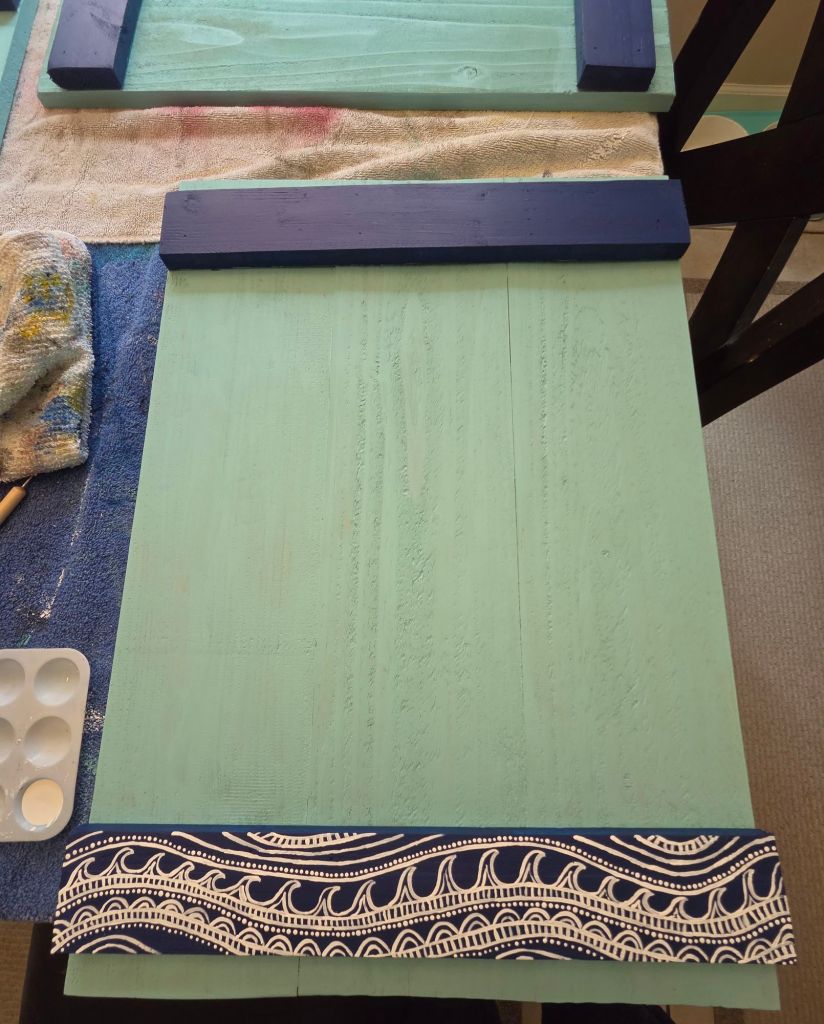
Step 4: Paint your signs whatever color you’d like them to be. We chose to do half of them a beachy aqua and the other half white. Then we painted the braces navy blue with a bohemian design in white.
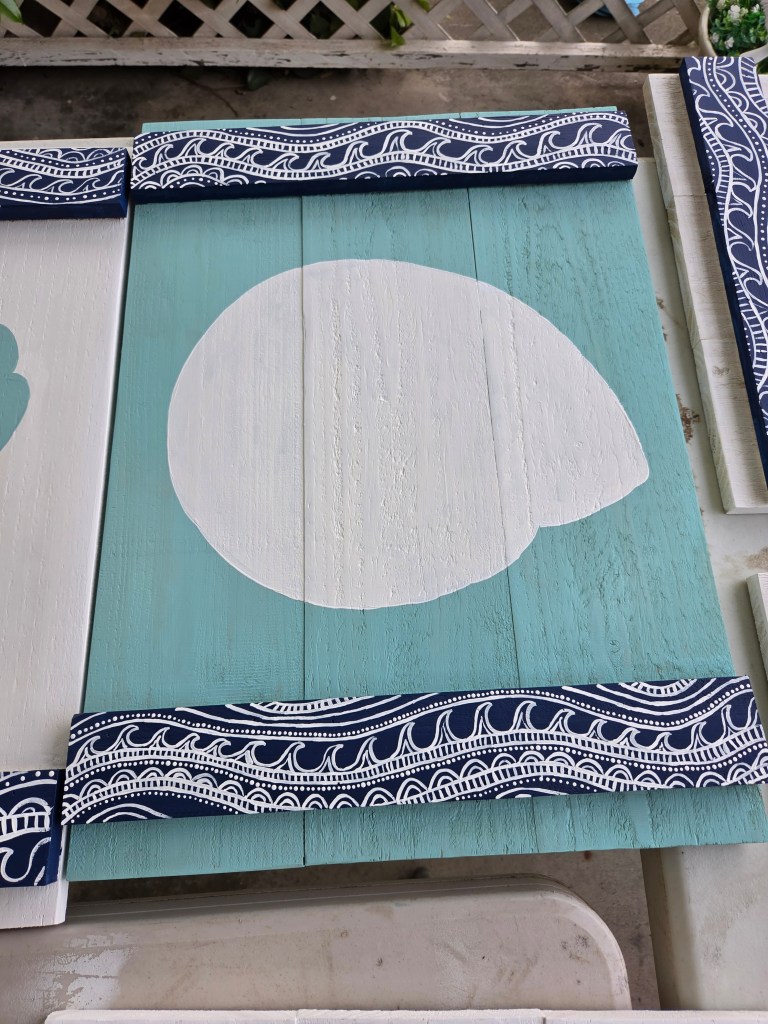
Step 5: Create your stencils. You can either do them all the same or do what we did and make them all different. Trace your image onto your wood sign and paint the shape. You can be as detailed as you like, we chose to keep them pretty simple because we knew we were going to decorate them later.
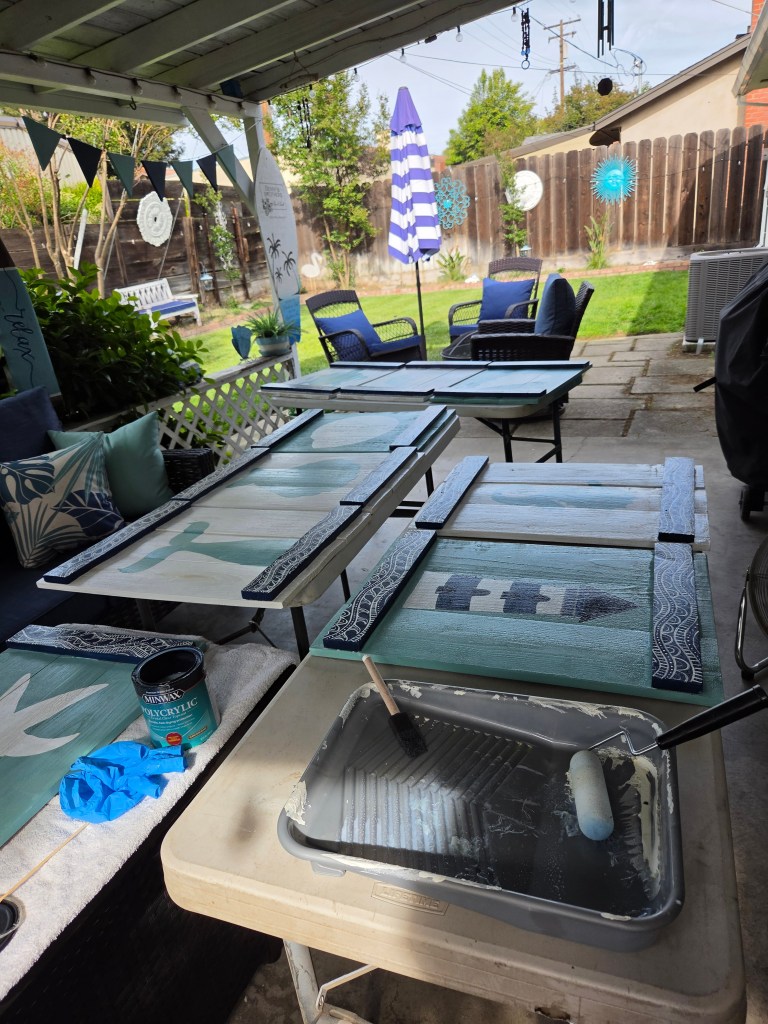
Step 6: Once all your base shapes are on there you can seal them with your clear coat.
Step 7: Once everything is nice and dry you can now decorate! Have fun with it, this is where they really come to life. We used a mixture of different sized rope and sea glass to add to that nautical look we were going for.
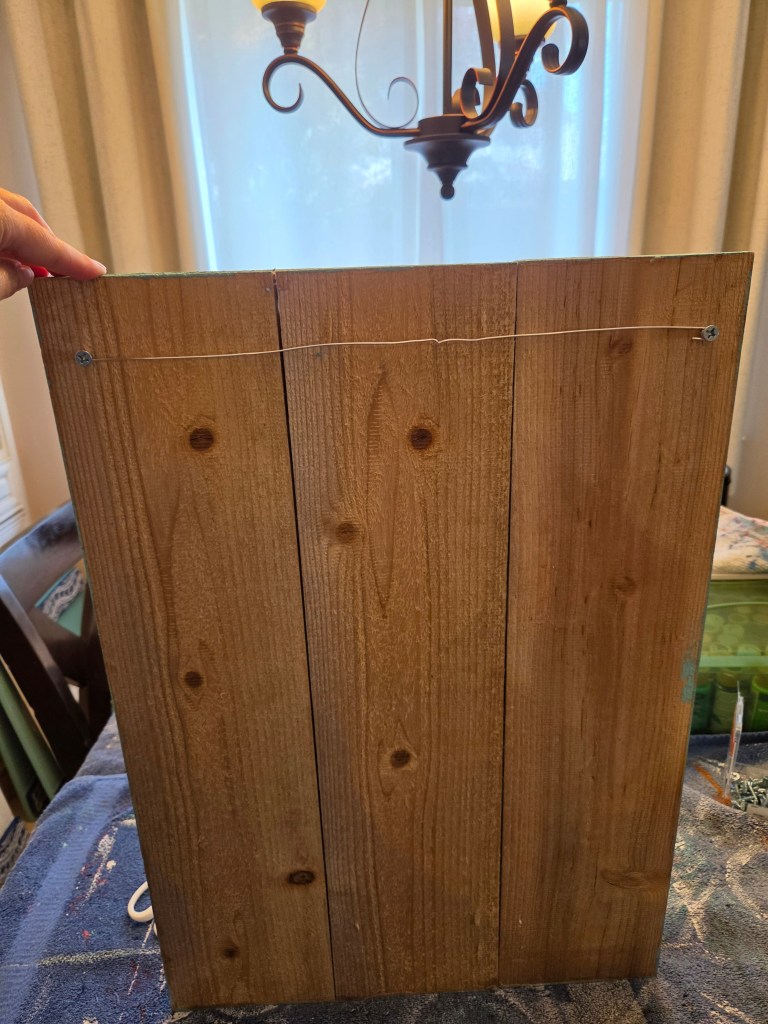
Step 8: You can hang these however you’d like, it depends on where they are going. We chose to use a couple of screws and some picture hanging wire so we didn’t have to put too many holes in our fence.
Step 9: Hang your signs and enjoy!
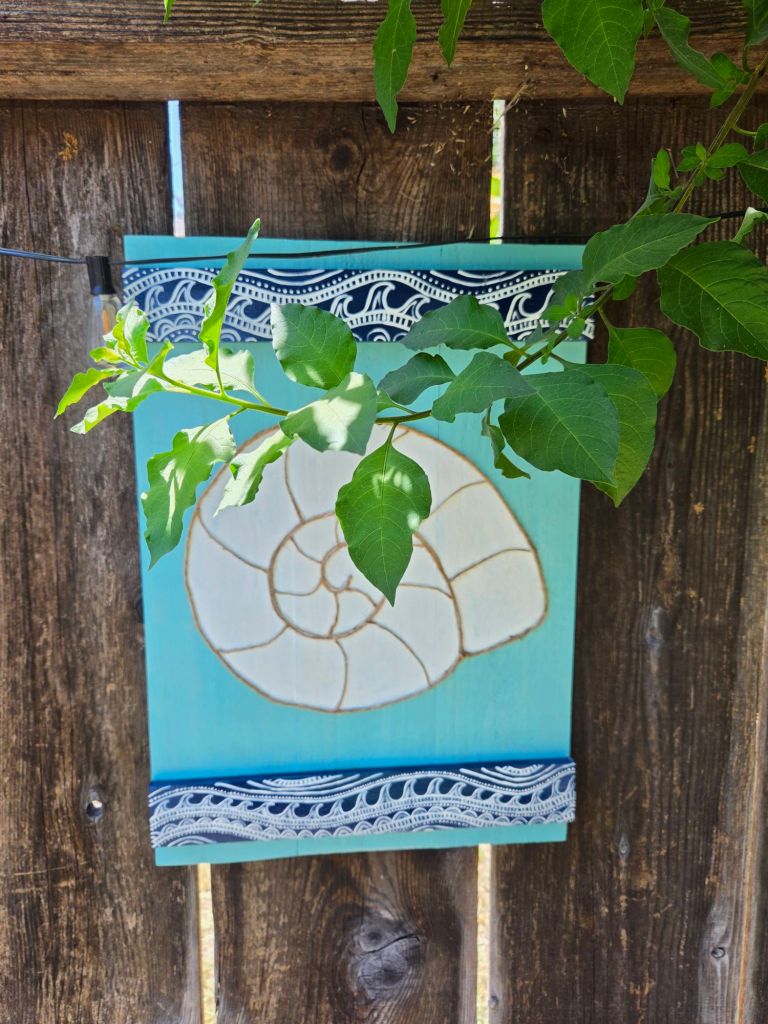
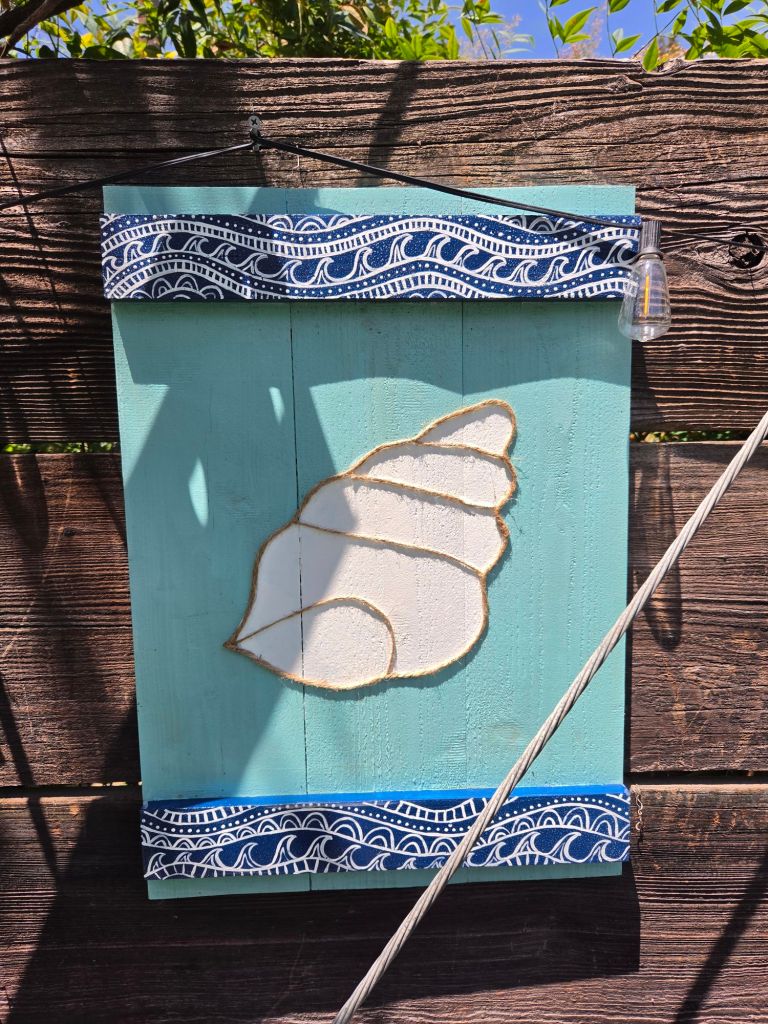
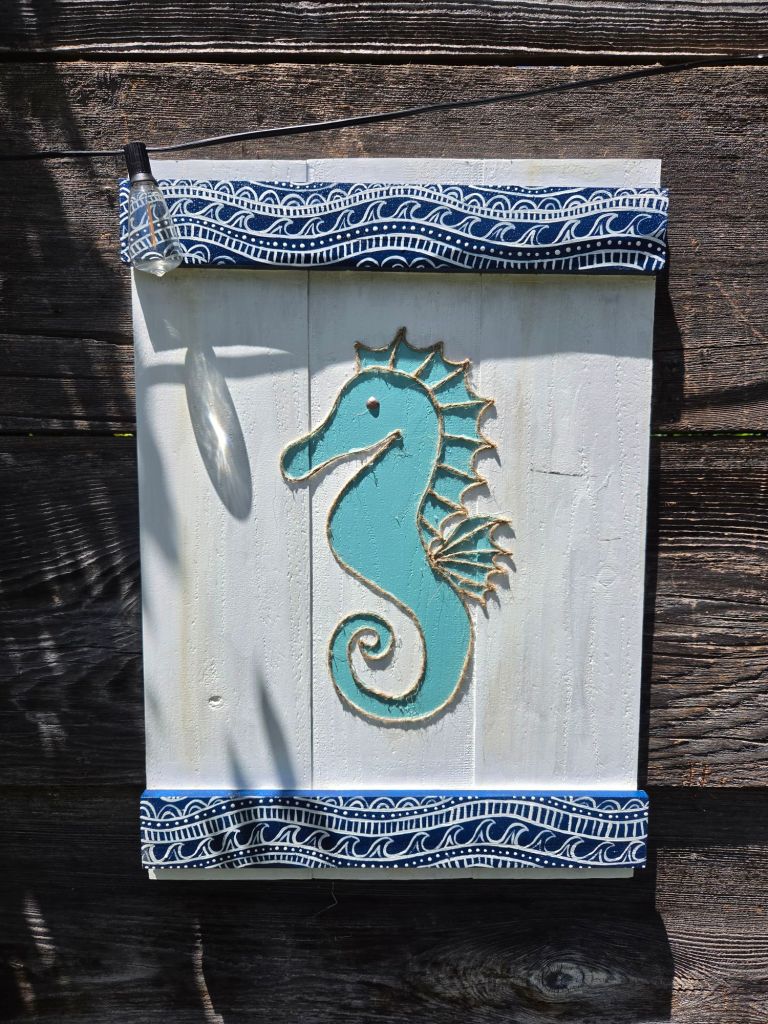
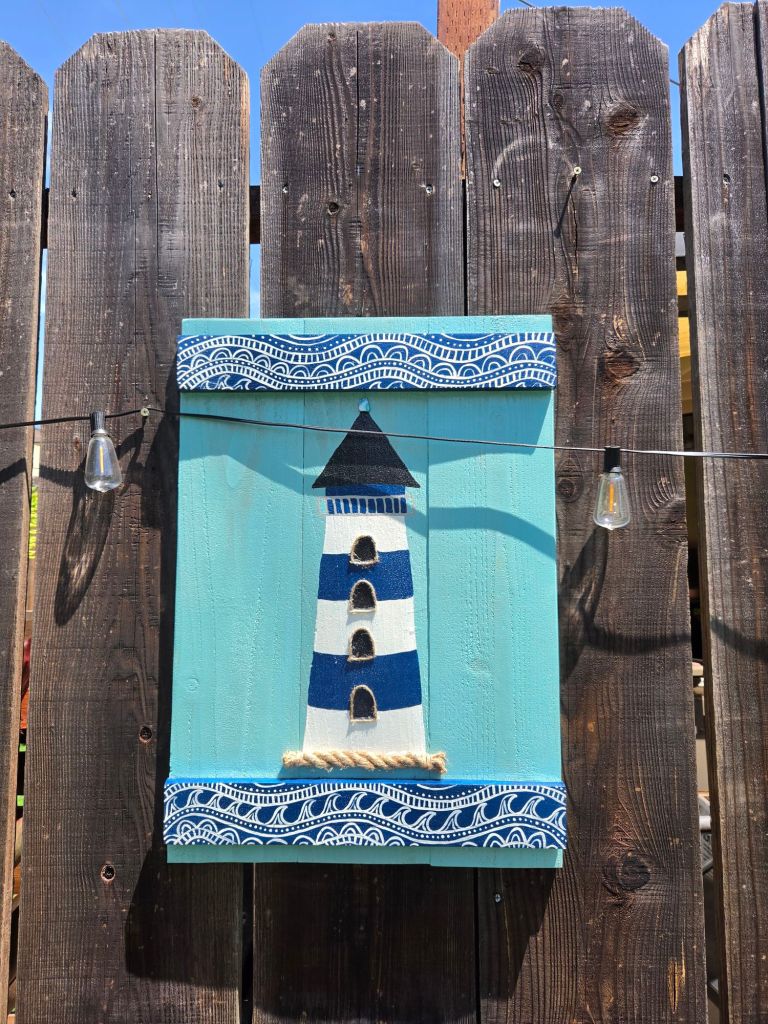
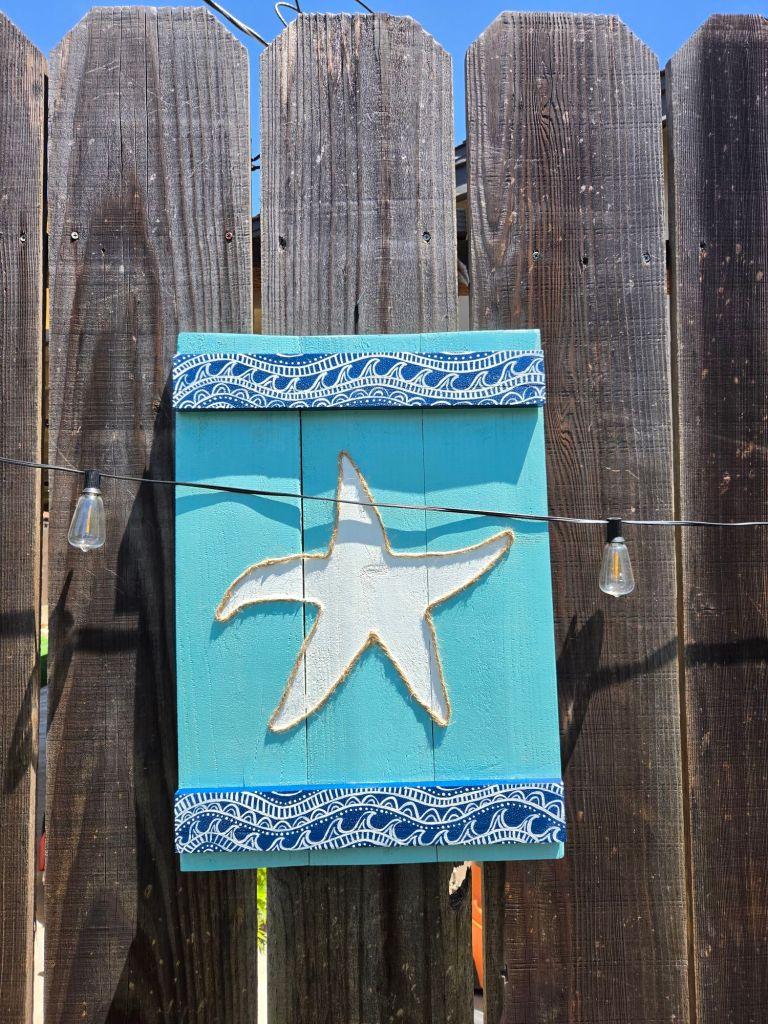

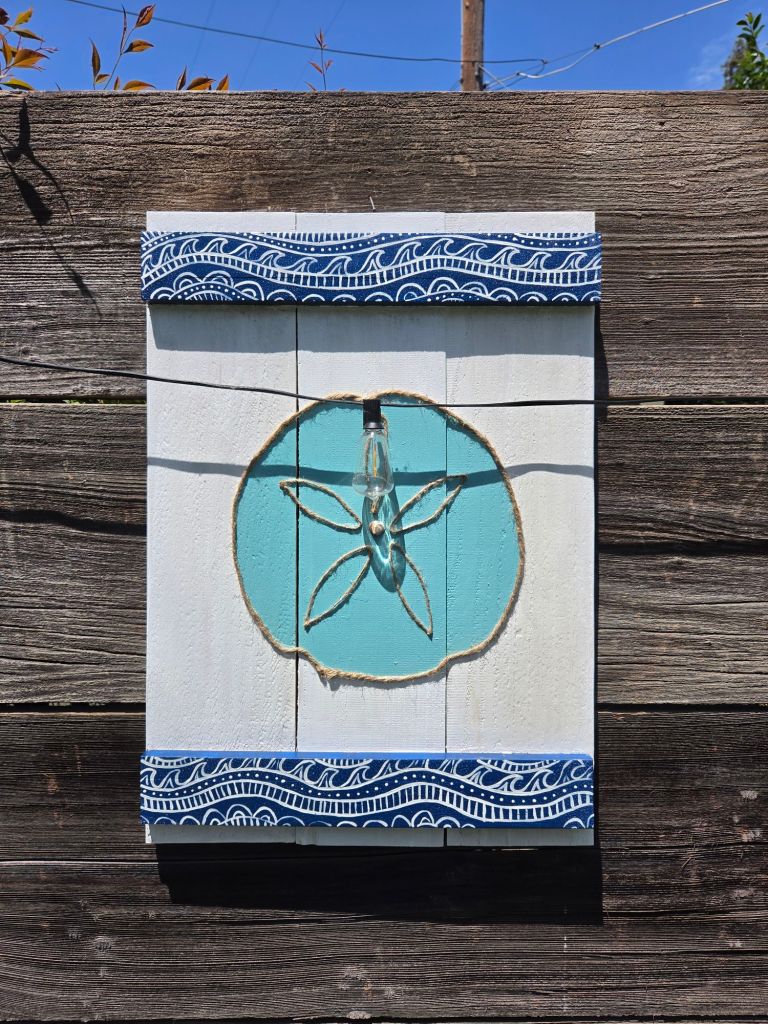
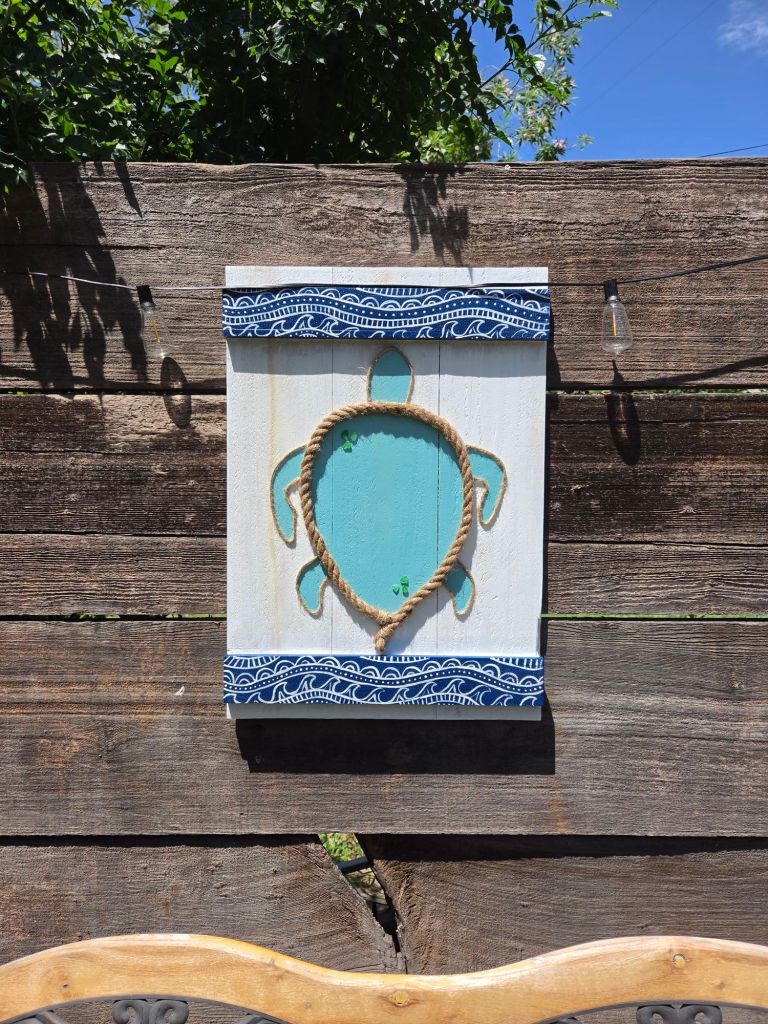
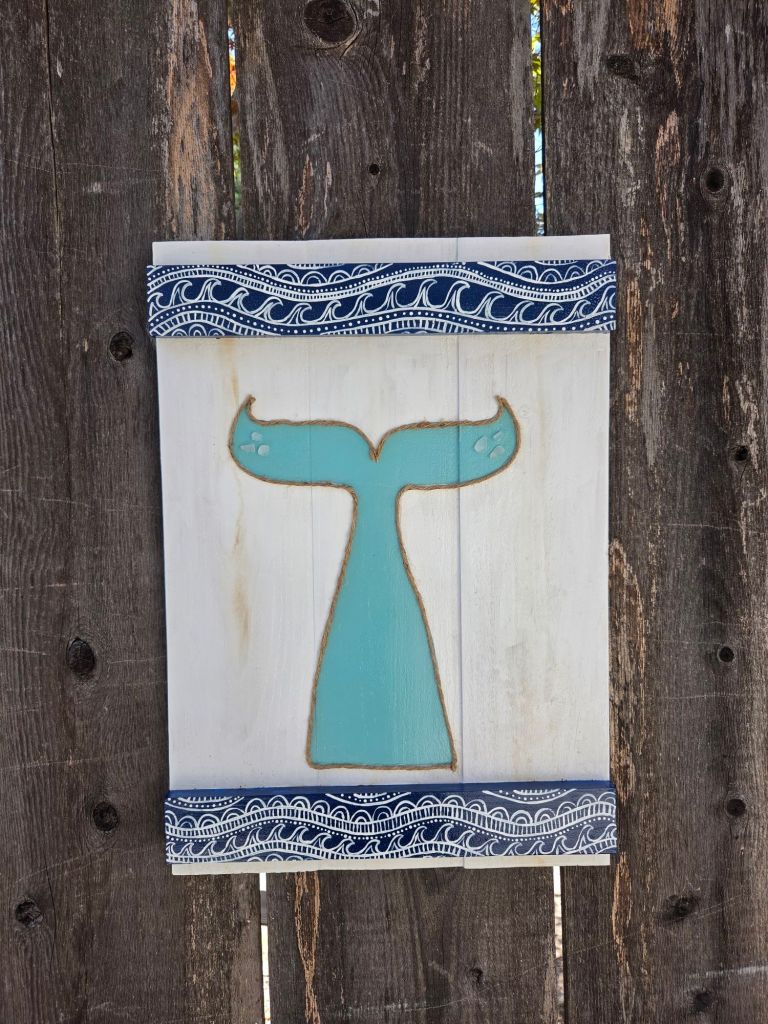

Aren’t these coastal outdoor backyard signs adorable! We think they really add something special to an otherwise boring fence. These could be made in any color scheme, style or design. So, no matter your backyard ascetic you could make them work for your space! Happy crafting everyone!




Leave a Reply