
Hello to all our fellow beach lovers! Is there anything more serine than being at the shore? Between feeling the sand between your toes and smelling the salt air to listening to the waves crash, the beach is one of our favorite places to escape to. So, is it any wonder that we would try to get that same vibe in our own backyard? We’ve always wanted to try to do a mosaic piece so we thought this would be the perfect opportunity to give it a shot!
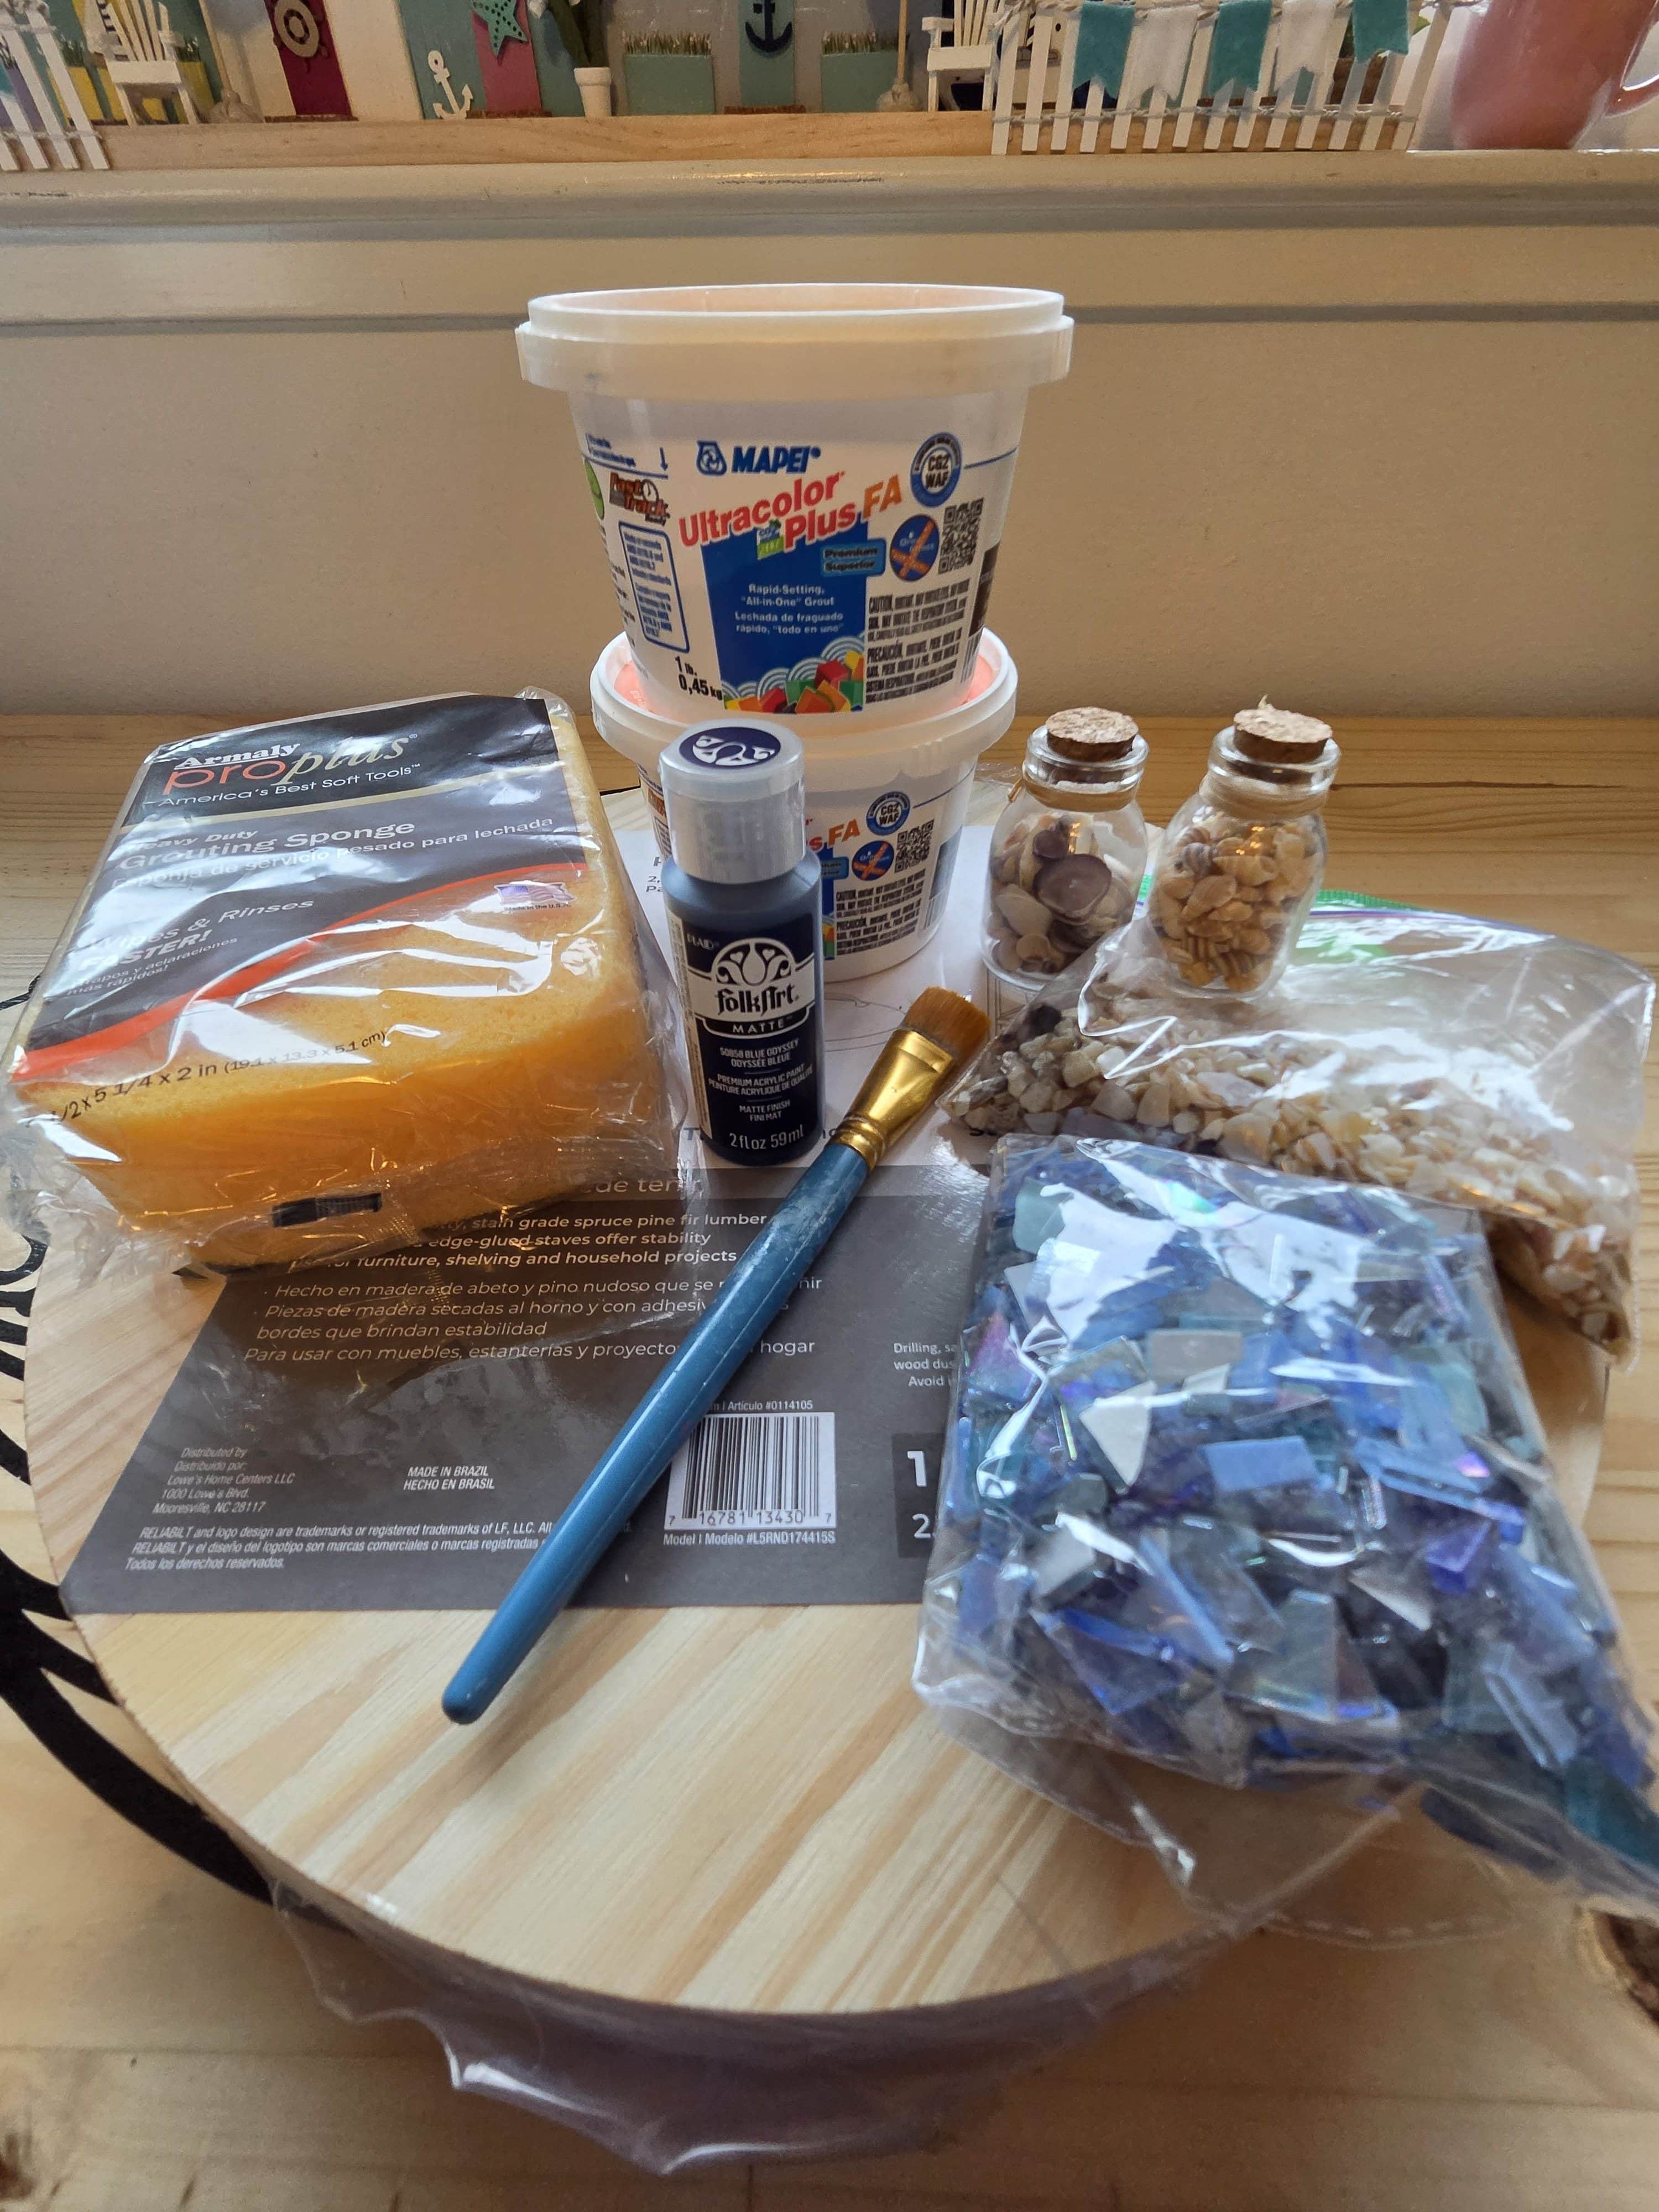
Step 1: Gather your supplies:
- Wooden rounds ( ours were 14”) we purchased them at Lowe’s
- Mosaic tiles ( Ours were purchased on Amazon)
- Misc seashells
- Elmer’s glue, hot glue or any other adhesive you have to attach the tiles to the wooden rounds
- Paint brushes
- Acrylic paint
- Grout in any color you’d like to use. ours was purchased at Lowe’s
- A sponge
- Construction adhesive
- A grout and tile sealer ( this is optional but ours is going to live outdoors so we figured it would protect it from the elements)
- Plastic gloves
- A small bucket of water
This post contains affiliate links, which means we may earn a commission if you click through and make a purchase at no extra cost to you.
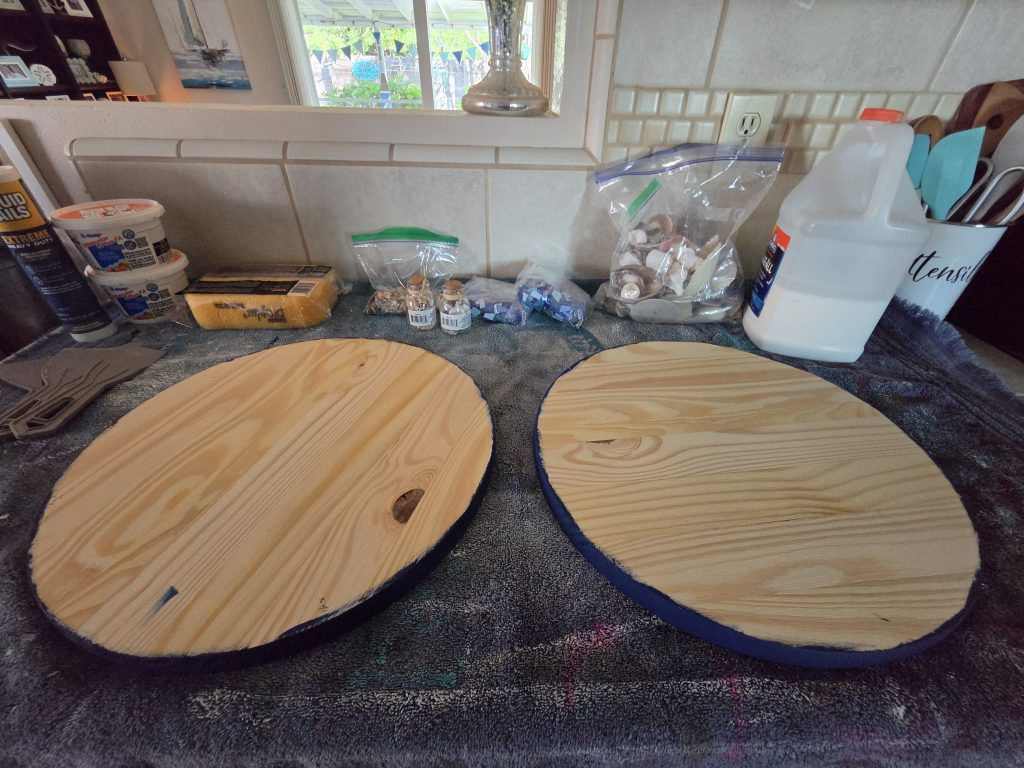
Step 2: Paint the edges of your wooden rounds to match your design. This step is optional depending on the look your wanting. But, we wanted the edges to be navy blue so it would match our design.
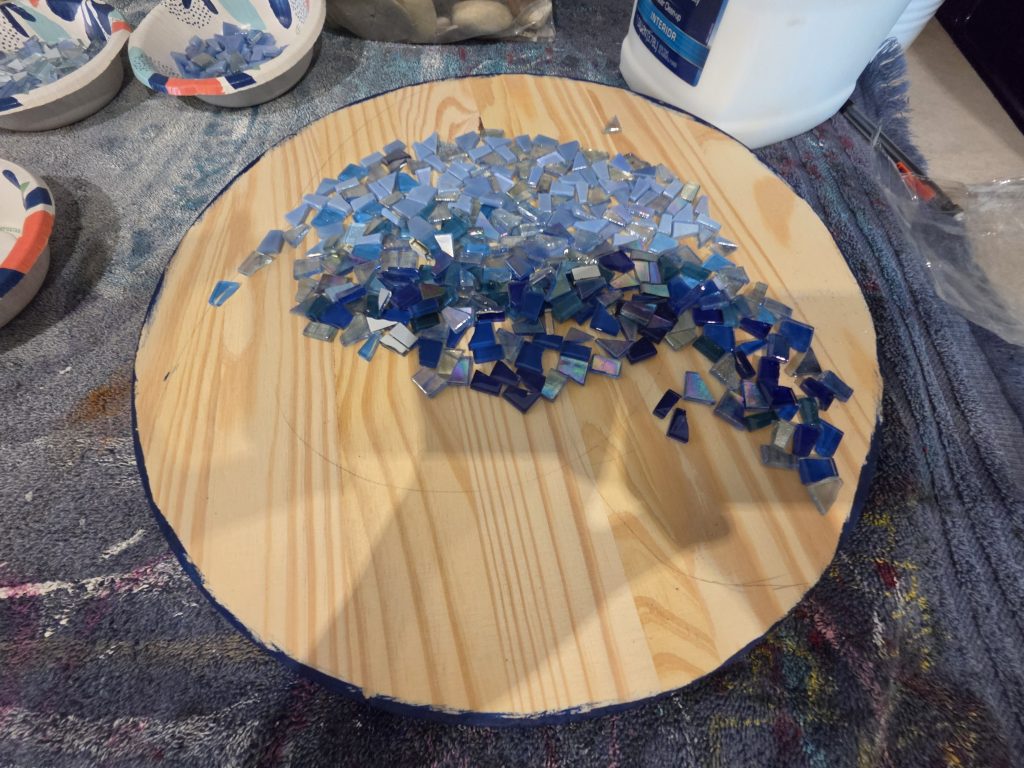
Step 3: Draw out your design. We just roughly drew out a wave shape so we knew where we wanted our blue tiles to sit. Then lay out your tiles in the pattern you want it to be.
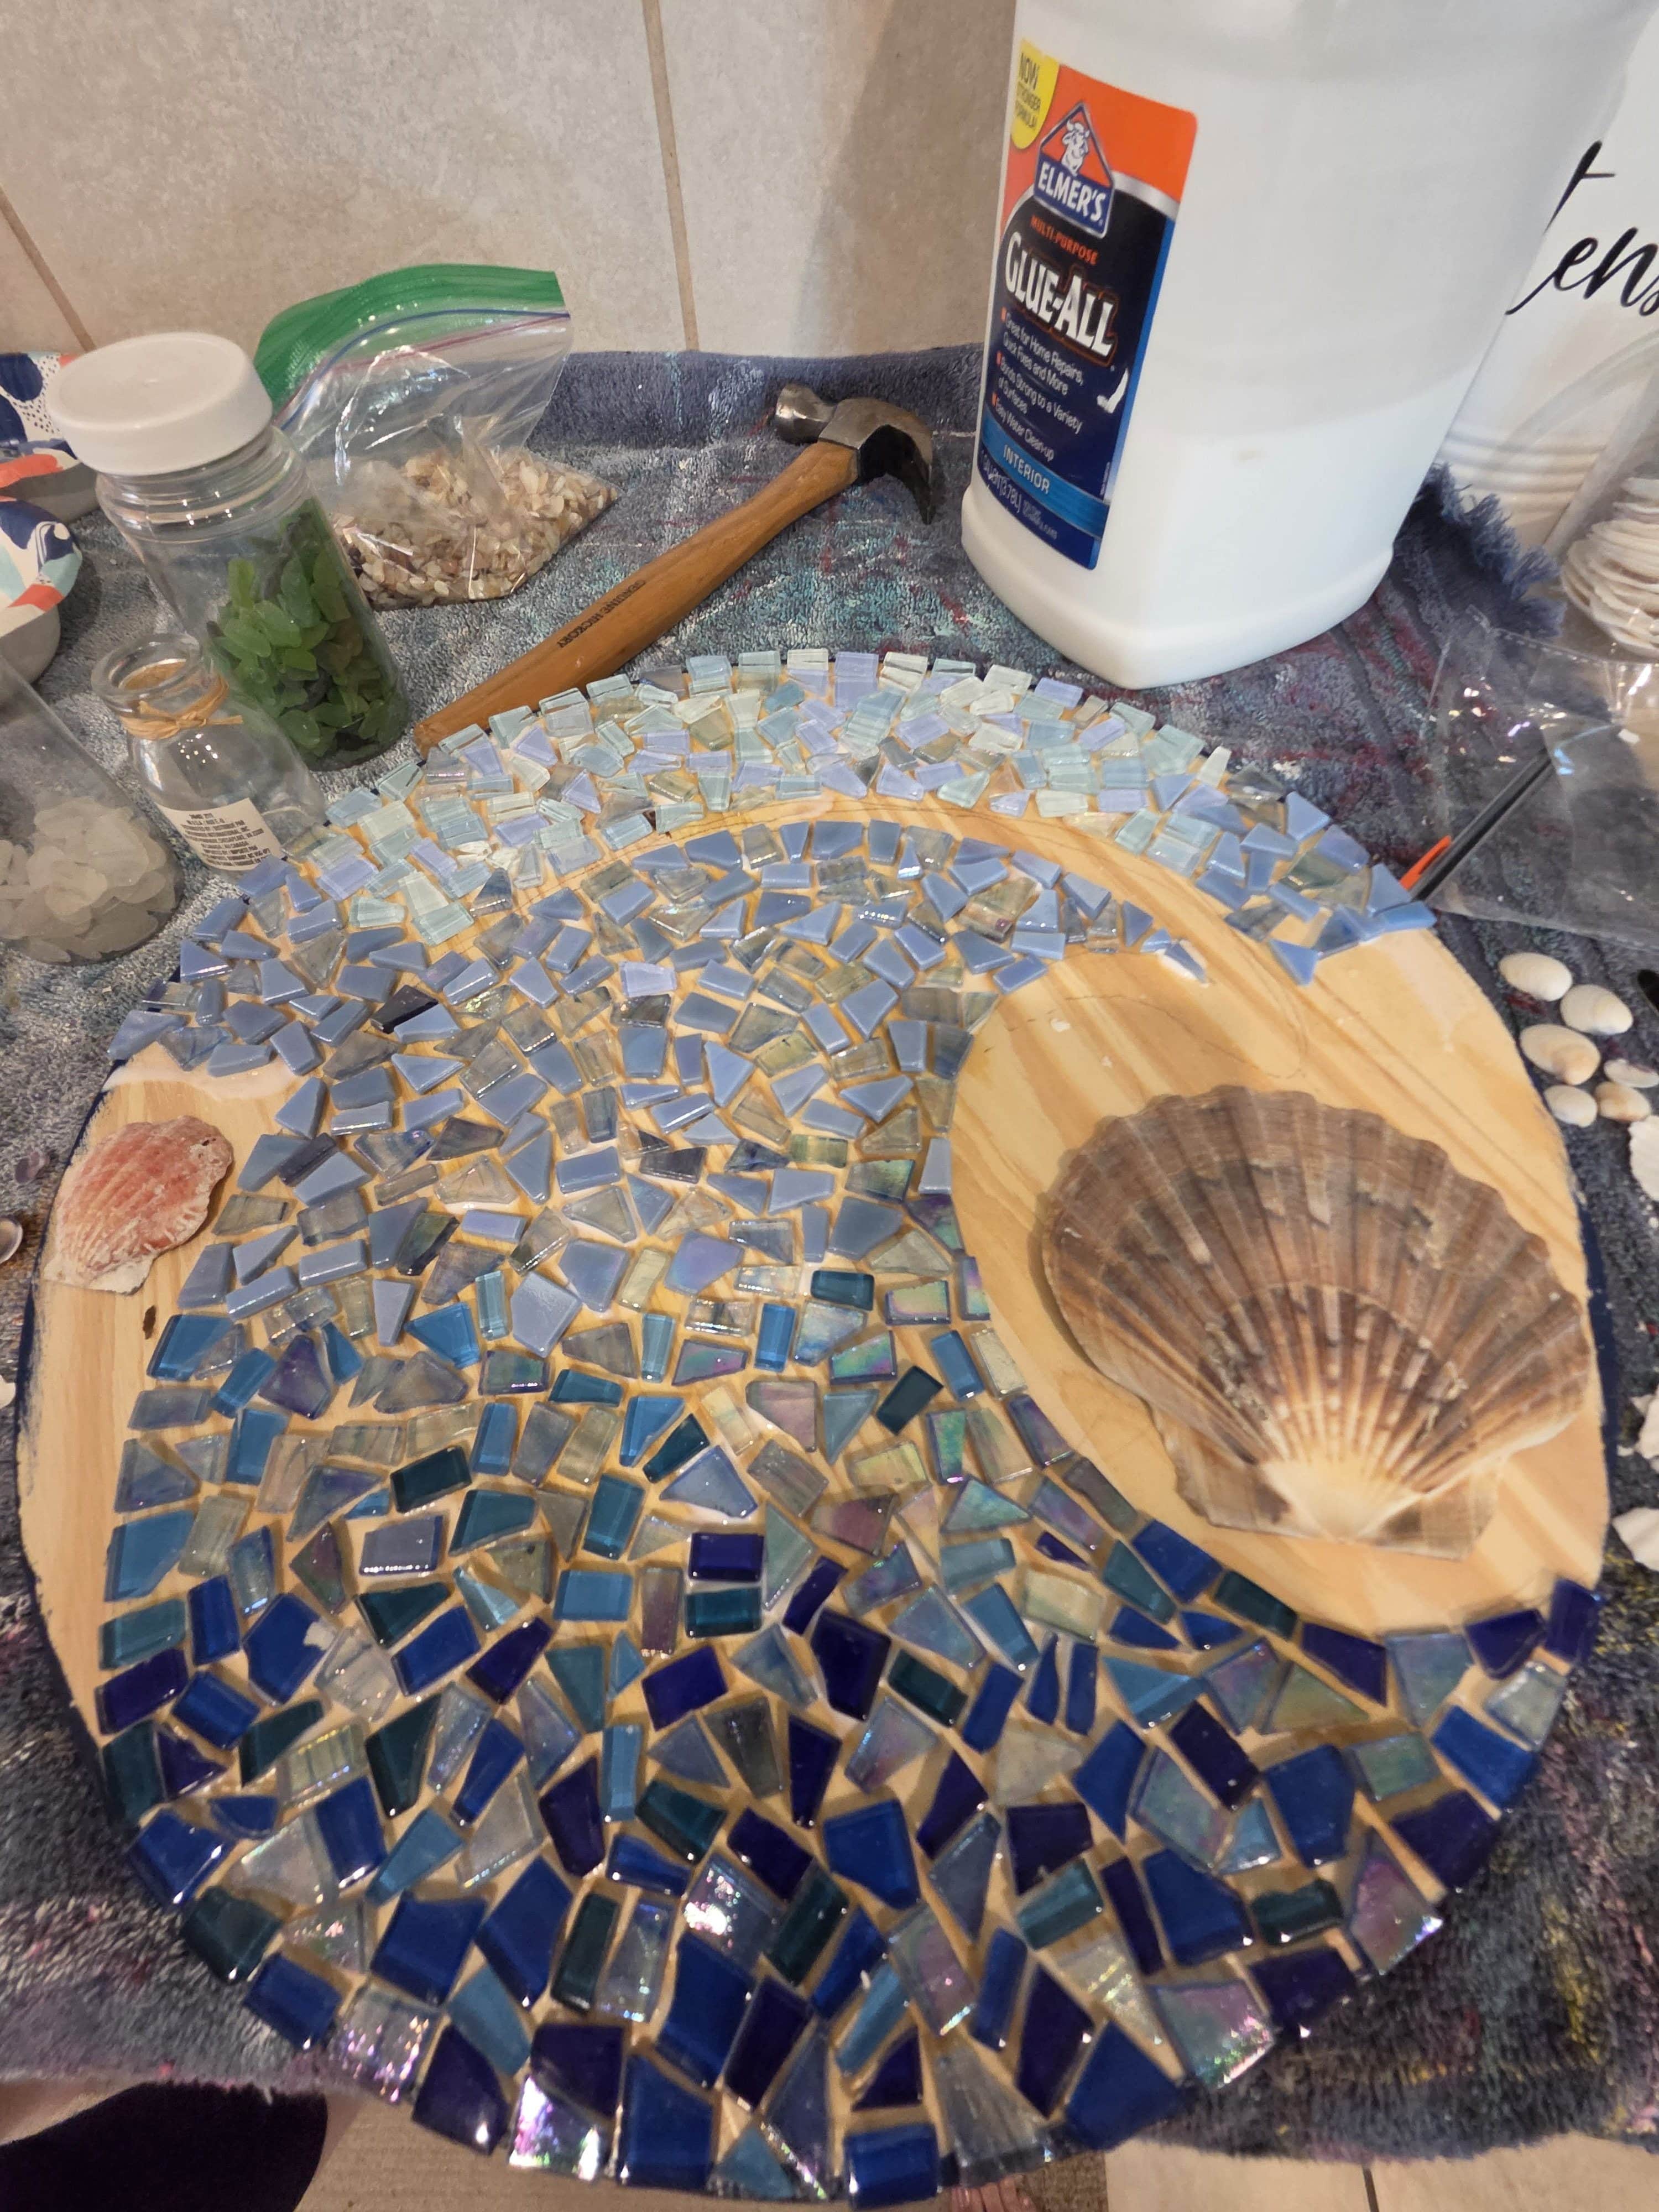
Step 4: Using Elmer’s glue and a paint brush we worked from the bottom to the top. Brushing on glue and then laying the tiles down one by one. Make sure you leave small spaces in between your tiles for the grout. We found working a small section at a time helped the glue not dry out too quickly. Allow some time for the glue to dry before you move on to grout. We waited about an hour.
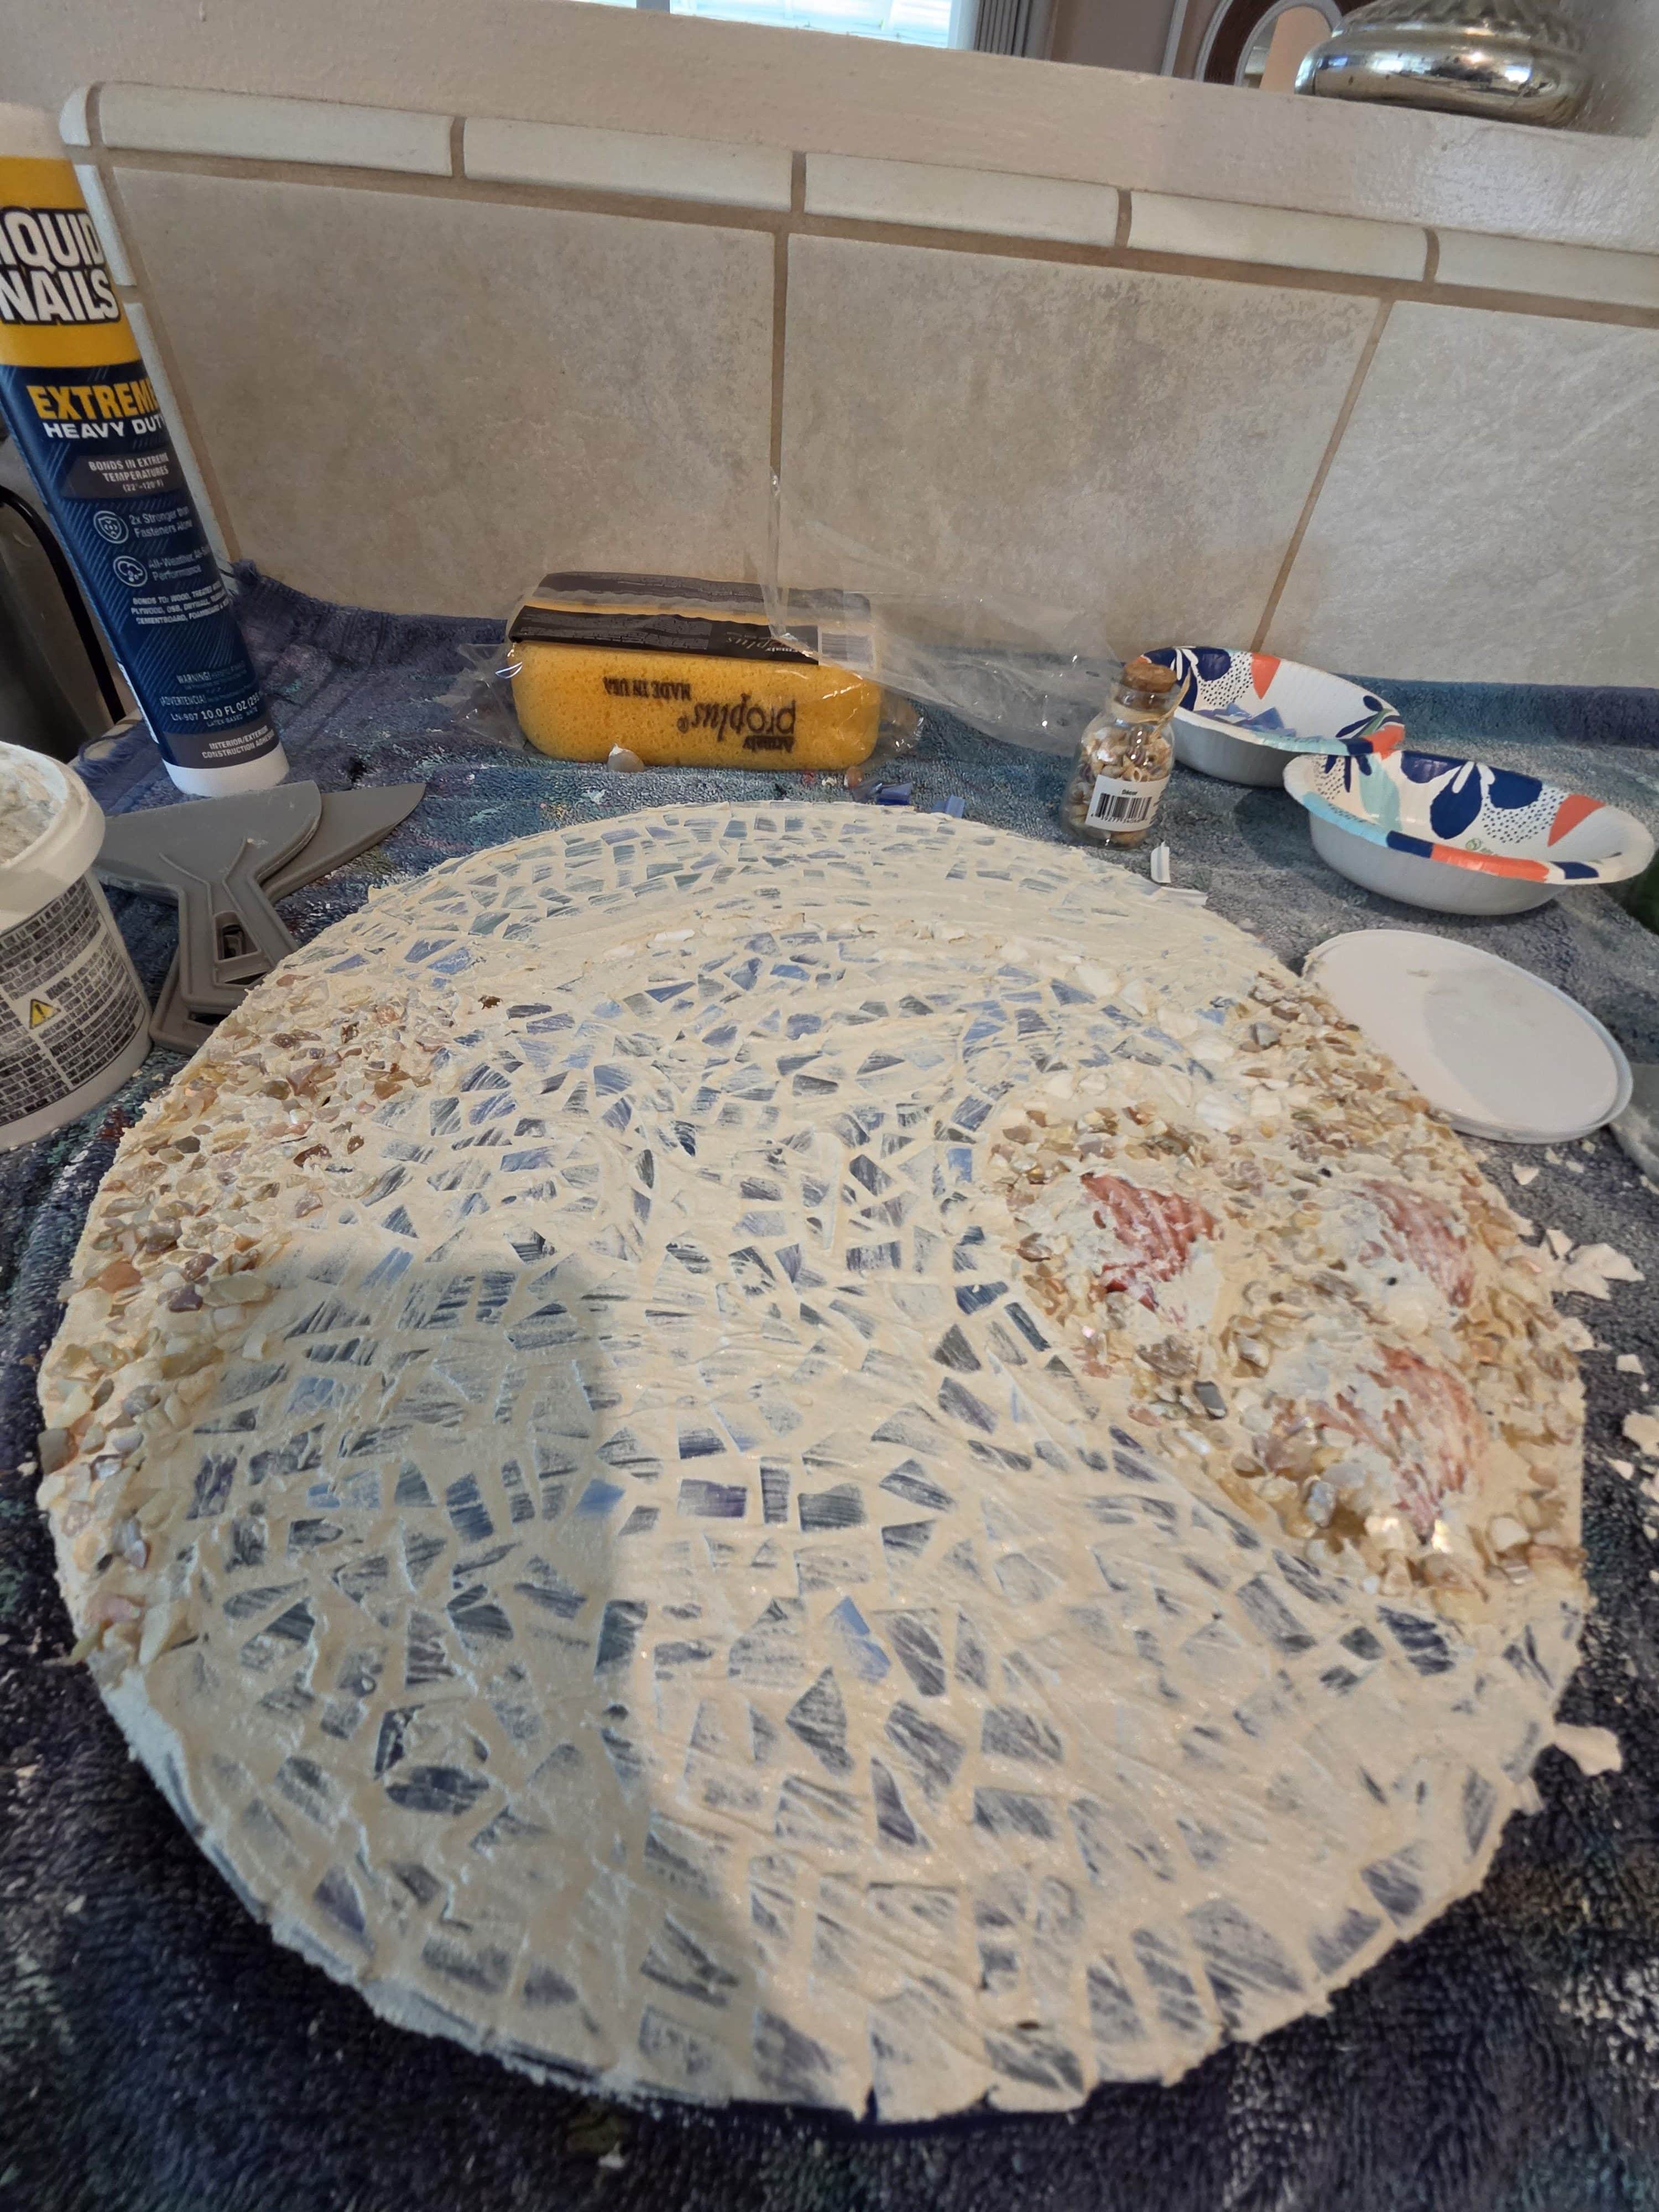
Step 5: It’s time to start grouting. This is where things get a bit messy. Follow the directions on the container on your grout, ours was a powdered grout that we just needed to add water to. Using gloves spread the grout all over your mosaic piece, making sure to get in between all the spaces. We also spread a layer in the empty spaces so we could nestle seashells on the sides of the wave for an extra beachy look.

Step 6: Using your sponge and clean water carefully brush off the excess grout that is on top of your tiles, rinsing your sponge off periodically. This will require some patience. Keep repeating this process until your tiles are clear of grout and are as clean as possible.

Step 7: Allow your piece to set up and dry. We let ours sit over night.
Step 8: If your using a sealer you can do it now. We did 2 coats of sealer, allowing the sealer to dry in between coats. Follow the directions on the bottle. Ours said allow for 2 hours in between coats.


Step 9: If your attaching your mosaic to something, such as a side table like we are, you will need to adhere it to your table. We wiped the tabletops off with a clean rag and some alcohol before adding the glue. Using construction adhesive put some glue on the top of your table. Gently place your mosaic on top of the table and make sure it’s in the position you’d like it to be in. Allow for it to set according to the directions.
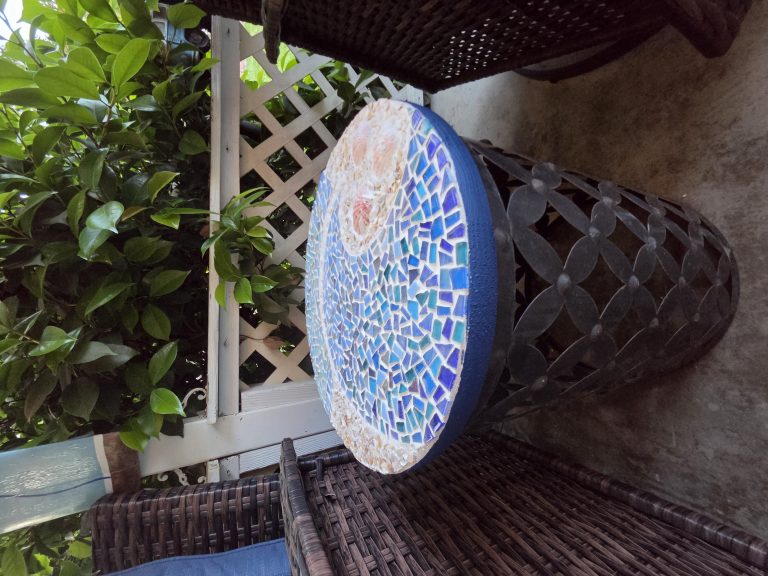
Now you have a beautiful and unique mosaic side table! This project wasn’t easy necessarily, nor was it inexpensive. But, the end result was definitely worth it! We really think we achieved the relaxing vibe of the beach we were going for. Happy crafting!


Leave a Reply