Hello all our fellow crafters out there! We love to celebrate all the mother’s in our families so making them personalized gifts is a must! Creating something as unique and special as they are each year is our pleasure!
Step 1: Gather your supplies:
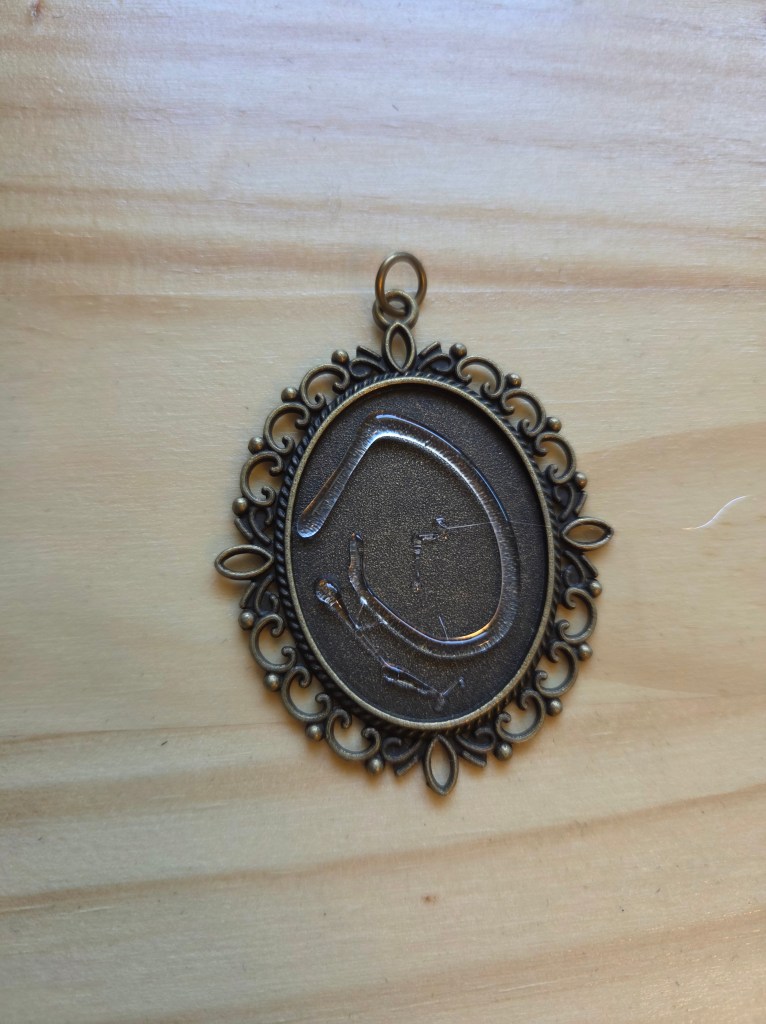
- Embroidered pendant necklace kit ( ours was purchased on Amazon)
- Embroidery floss
- Embroidery needle
- Embroidery scissors
- Fabric scissors
- Fabric of choice
- Embroidery hoop
- Heat erase pens ( this is optional but we love ours from Amazon)
- Hot glue
- Paper for a stencil
This post contains affiliate links, which means we may earn a commission if you click through and make a purchase at no extra cost to you.
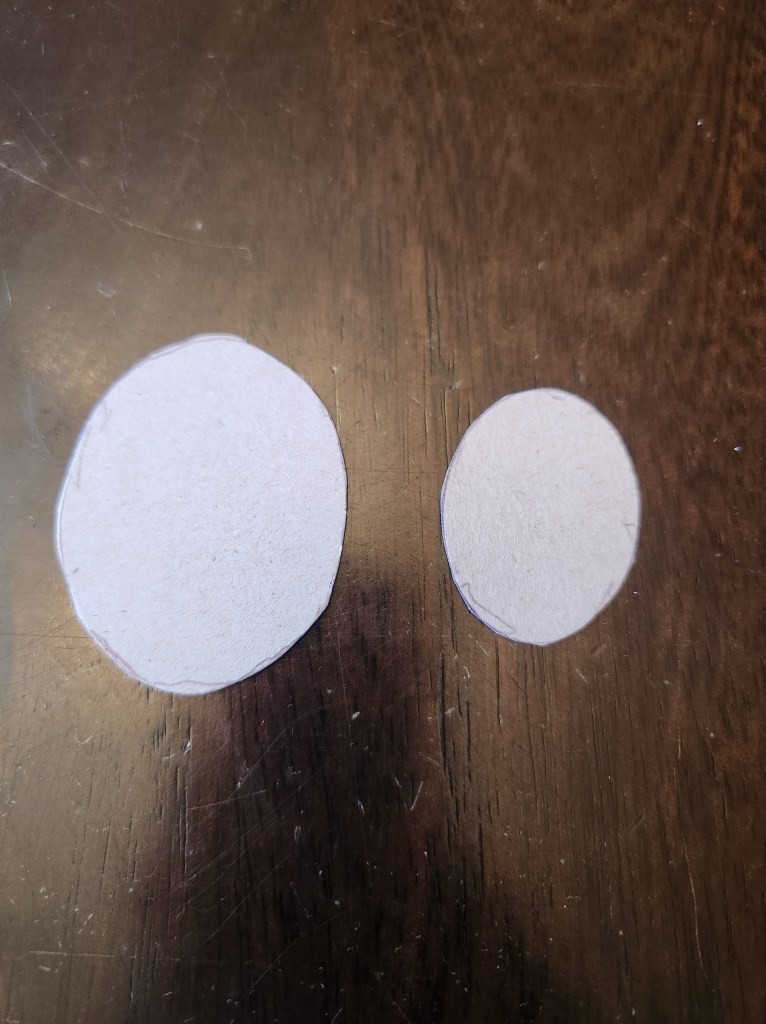
Step 2: Create your stencils. Our kit told us what sizes our stencils needed to be, so follow the directions in your specific kit. We needed 2 sizes of a small oval shape. One the size the fabric needed to be and one the size our design needed to be.
Step 2: Cut out your fabric. Make sure you make it big enough to fit in your embroidery hoop. We were combining a few embroidery projects into one so our fabric was cut larger than yours probably will be.
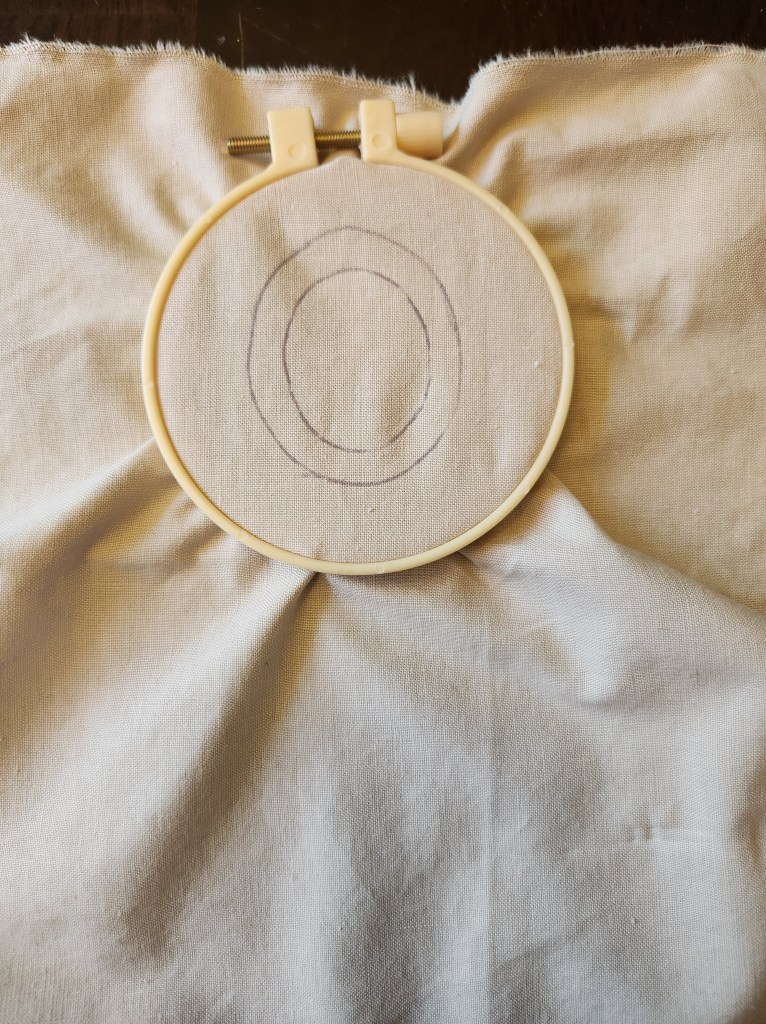
Step 3: Tighten your fabric inside your embroidery hoop. Trace your larger stencil with your heat erase pen first then trace your smaller stencil inside your larger oval centering it as much as possible.
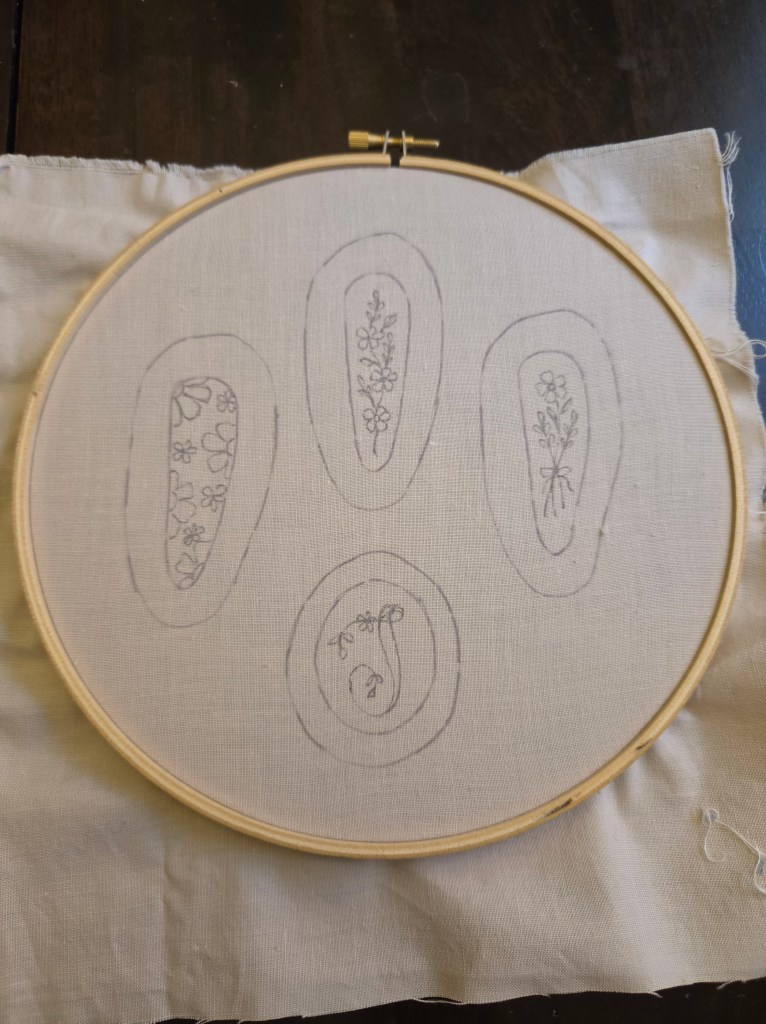
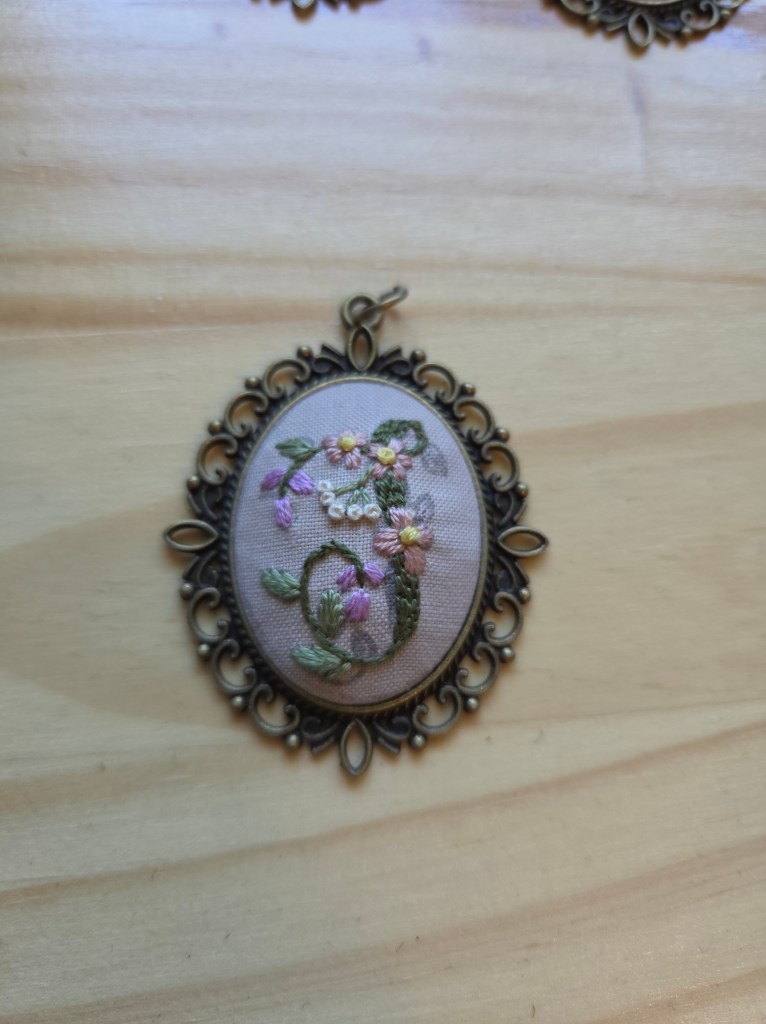
Step 4: Draw out your design. We didn’t use the pattern that came in our kit because we wanted to personalize our pendant for the person we were making it for. But, you can do whatever design you’d like.
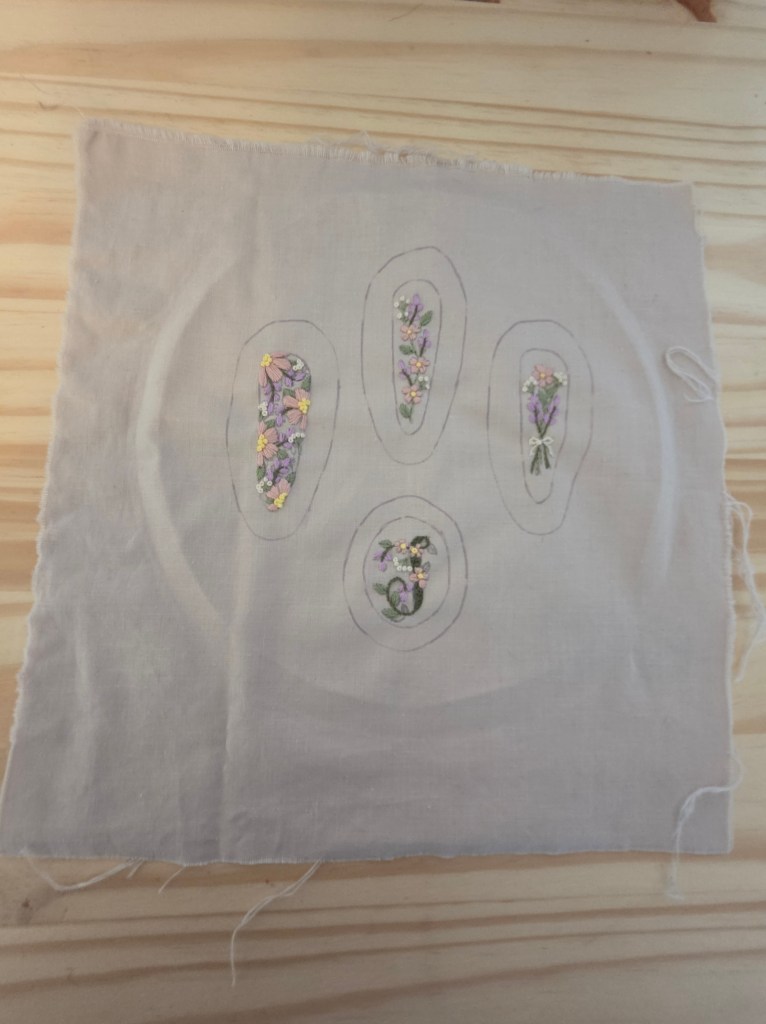
Step 5: Get to embroidering! This the fun part. Things really start to get cute!
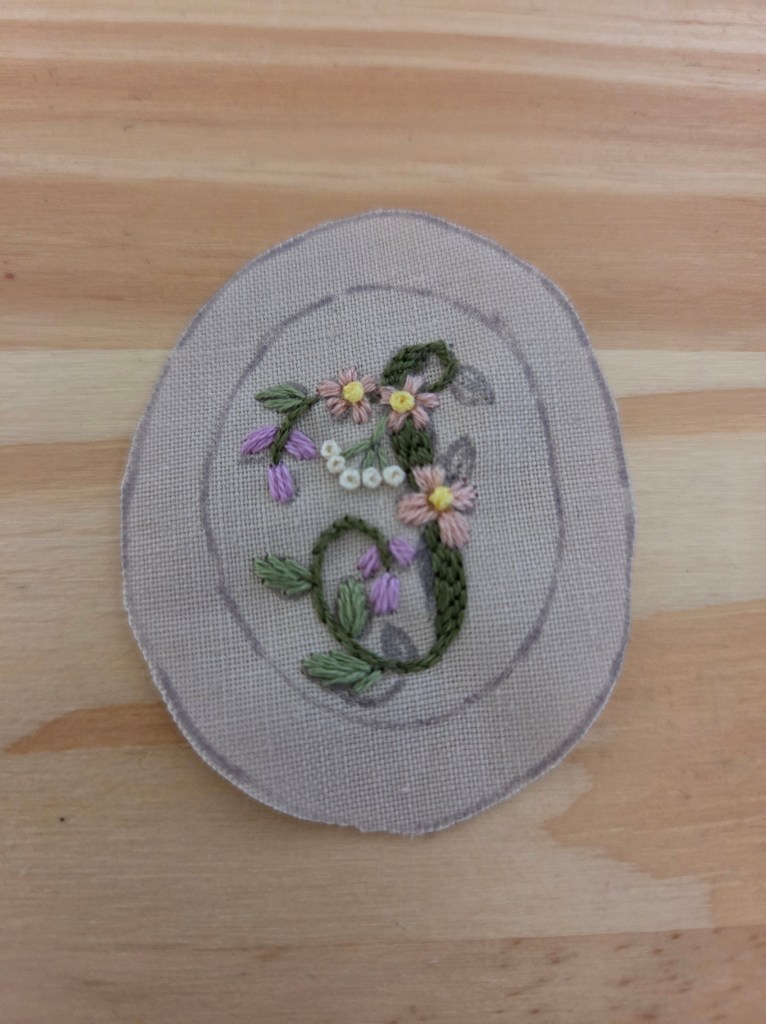
Step 7: Once your embroidery is finished take it out of your embroidery hoop and carefully cut out around the larger traced oval.
Step 8: Do a simple gathering stitch, something between a running stitch and a basting stitch, around the embroidery. Aim for about an 1/8th of an inch larger than the metal piece. Make sure to not tie off at the end.
Step 9 : Hold the metal piece to the back of the embroidery and pull the thread to cinch in the edges. Check the front to make sure its well aligned. You can knot it at this point or go ahead and use the thread to add extra support from top to bottom and side to side. It also helps the glue grab a little better.
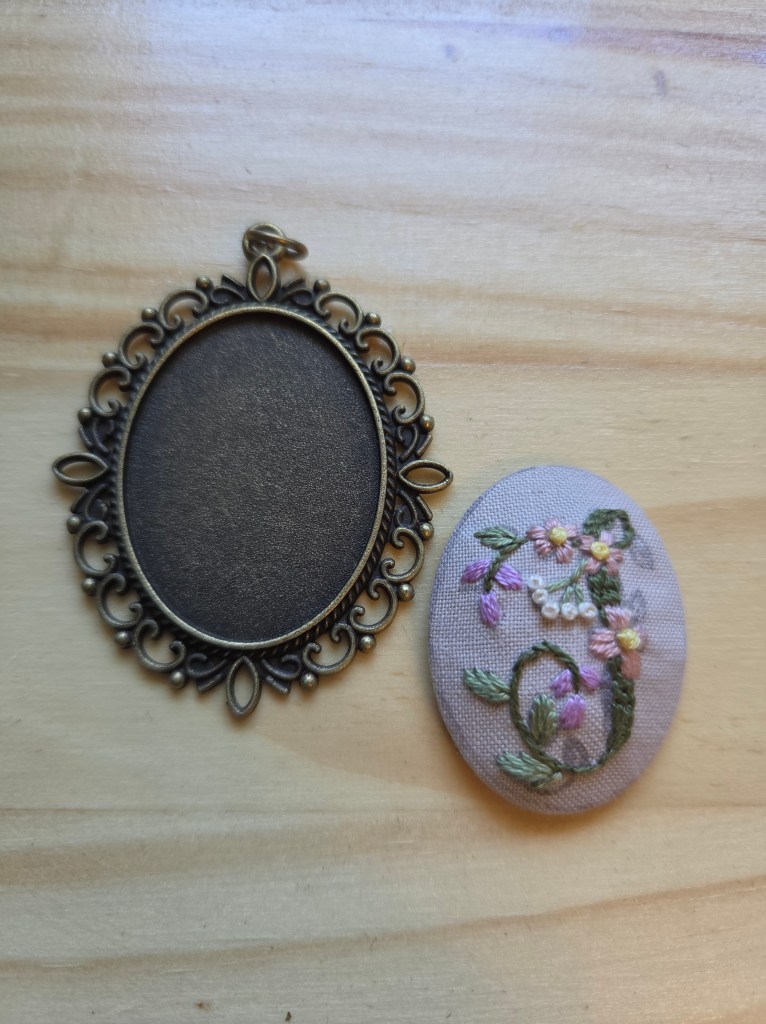
Step 9: Now it’s time to attach your embroidery to your pendant. We used hot glue for this. Put some glue inside the oval of your pendant. Gently place your embroidery over the glue and nestle it into place.
Step 10: If you decided to use a heat erase pen you now can erase the pen marks for a cleaner look. We usually use our trusty heat gun for this but a hair dryer works great too.
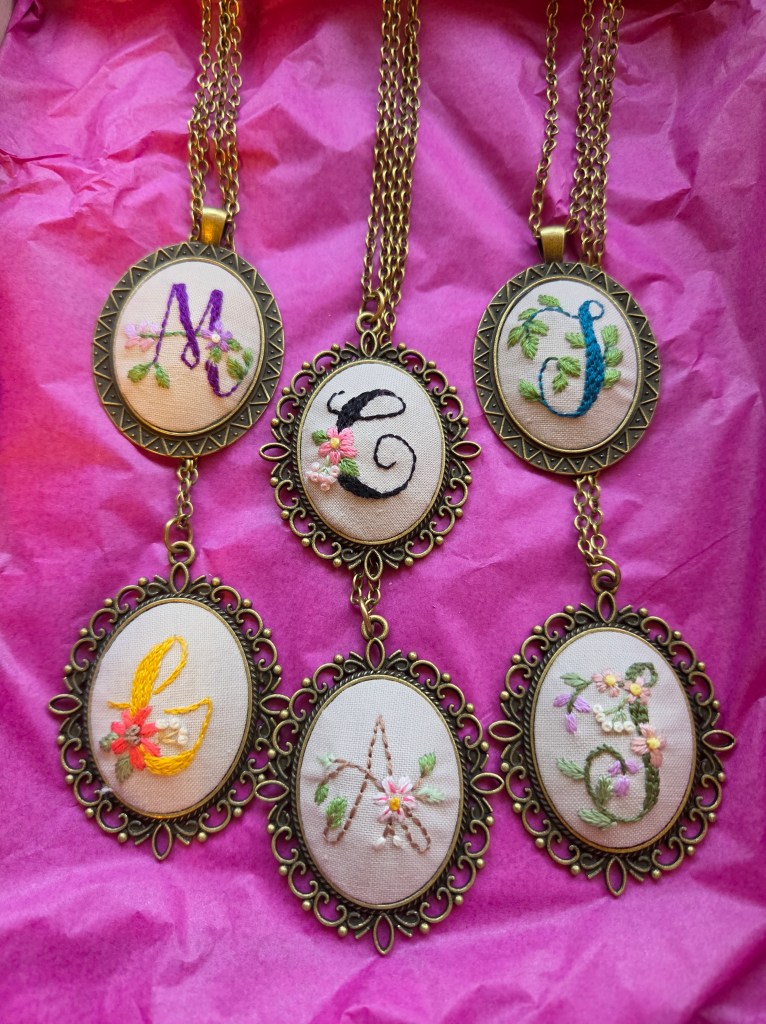
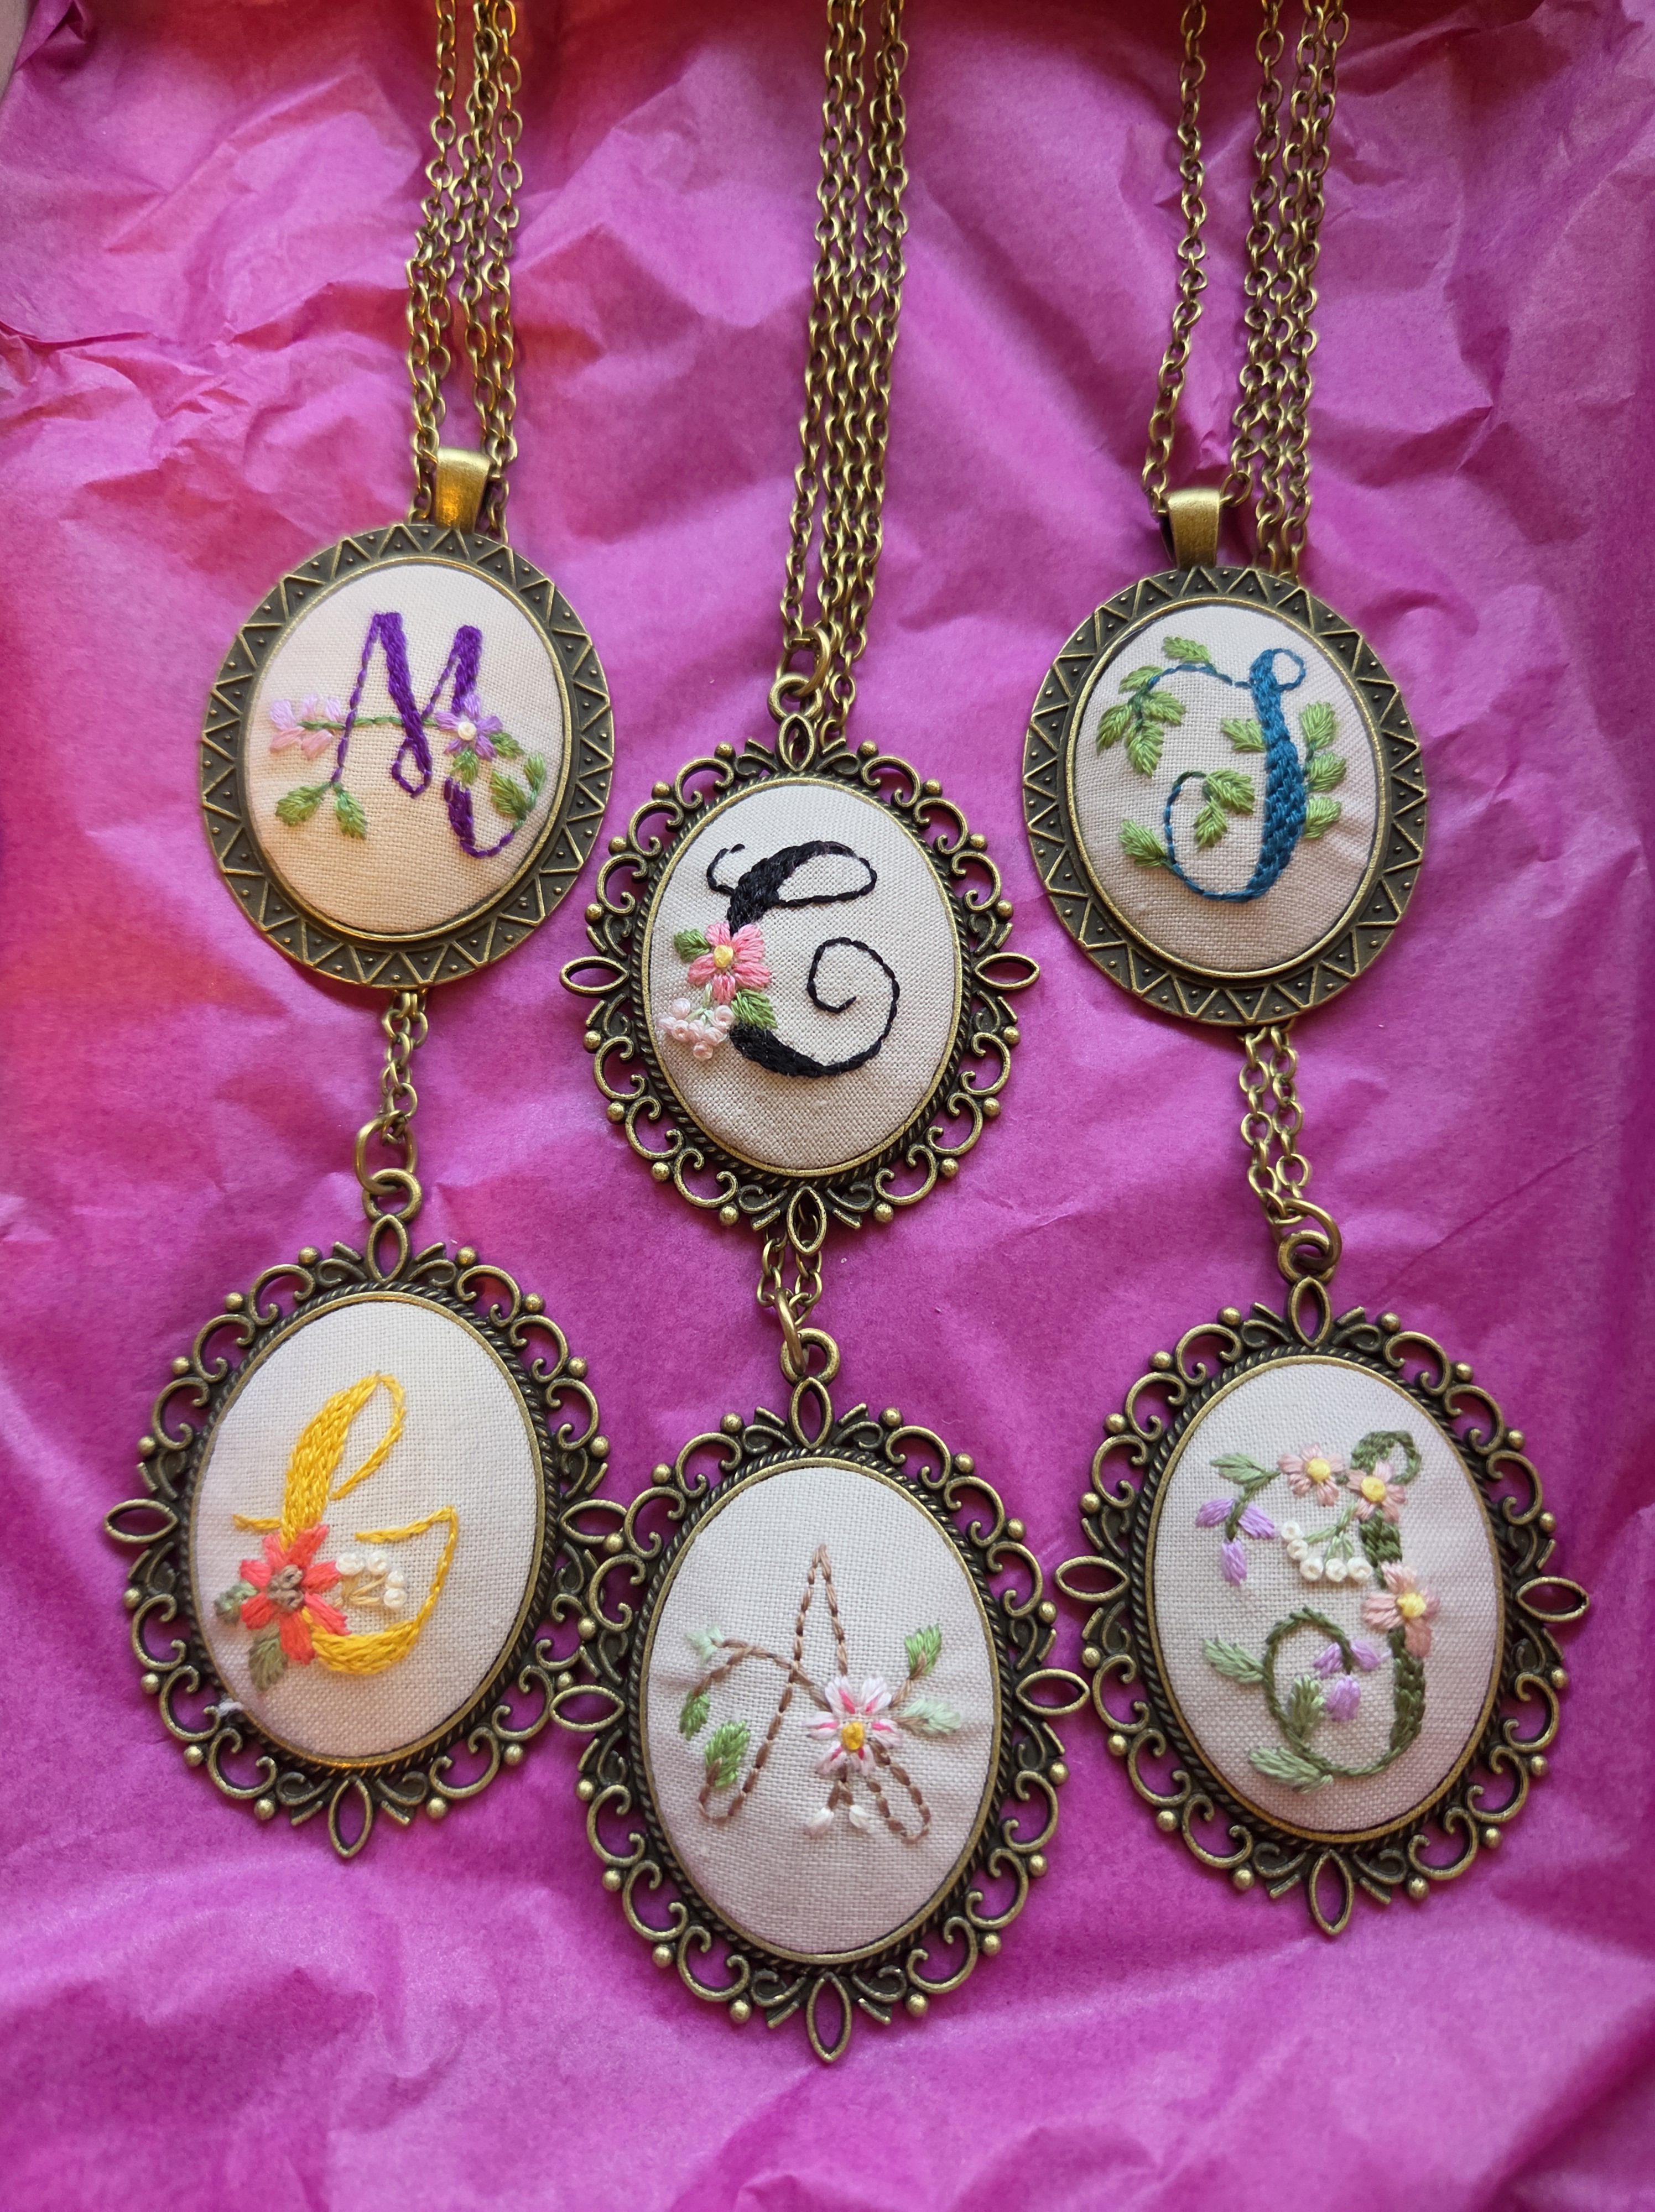
That’s it! Now you have a hand embroidered pendant necklace that anyone would love! We made these for mother’s day gifts, these are personalizable. You could make them work for anyone who loves jewelry. Happy crafting!


Leave a Reply