
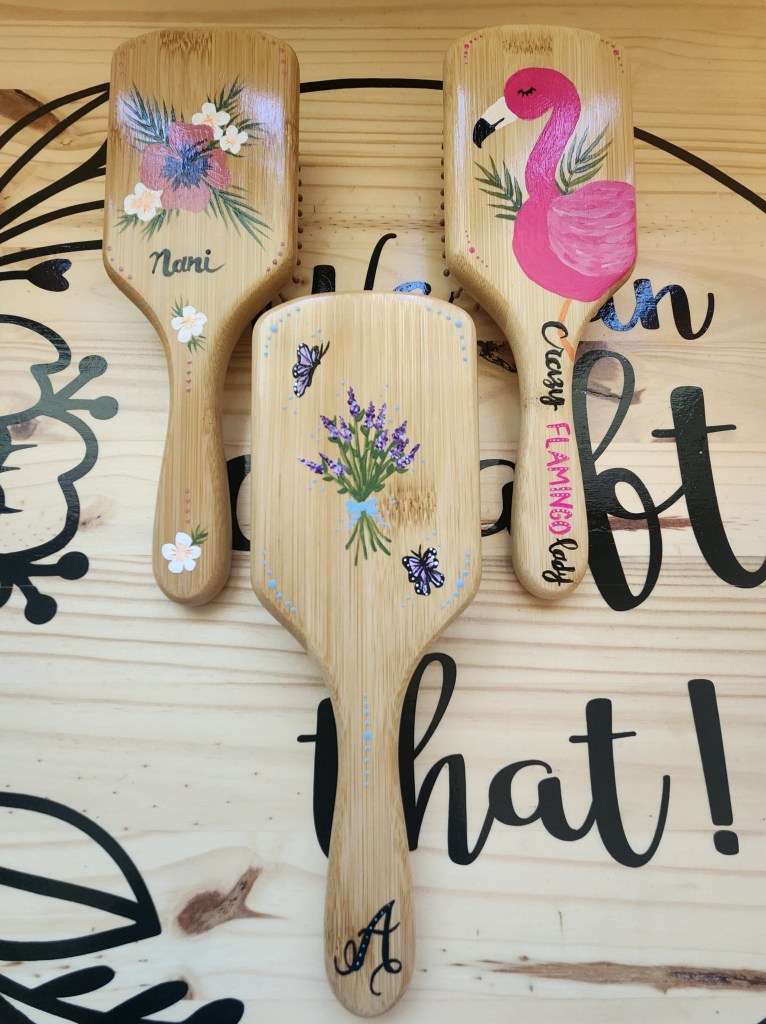
We were seeing these beautiful painted wooden hair brushes all over pinterest. We thought to ourselves, “We could totally make those”… so our new project was decided! That’s usually how our ideas happen. This one was no different!
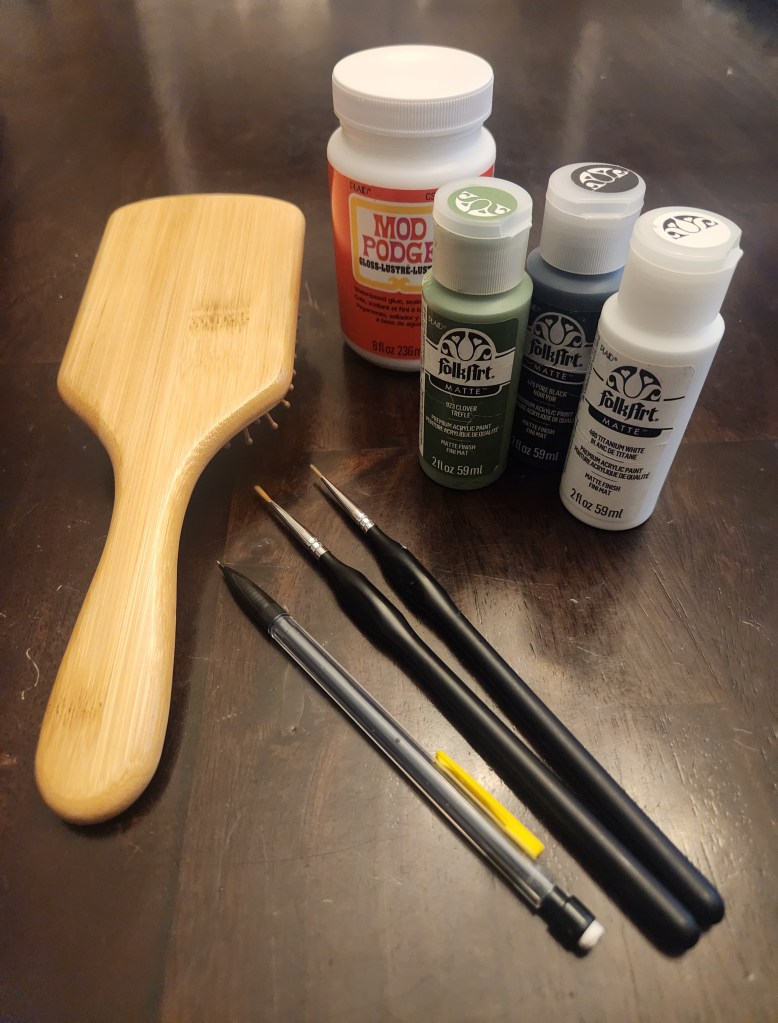
Step 1: Gather your supplies:
- Wooden hair brush ( ours were from Amazon)
- Acrylic paints and brushes
- A pencil
- A clear coat ( we used a glossy mod podge)
This post contains affiliate links, which means we may earn a commission if you click through and make a purchase at no extra cost to you
Step 2: Paint your background if your doing one. We decided do several that just had the wood as the background and one that had a painted background. They look beautiful either way.
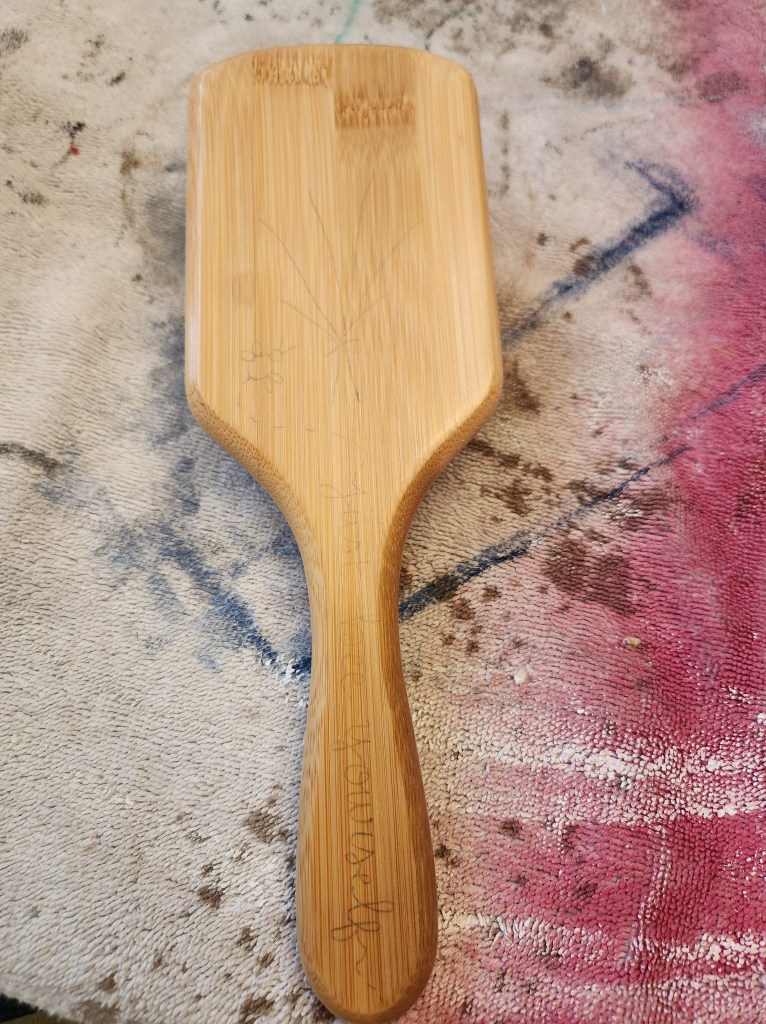
Step 3: Draw out your design in pencil first. We find this is a good way to start any painting project. It gives you a guideline to follow.
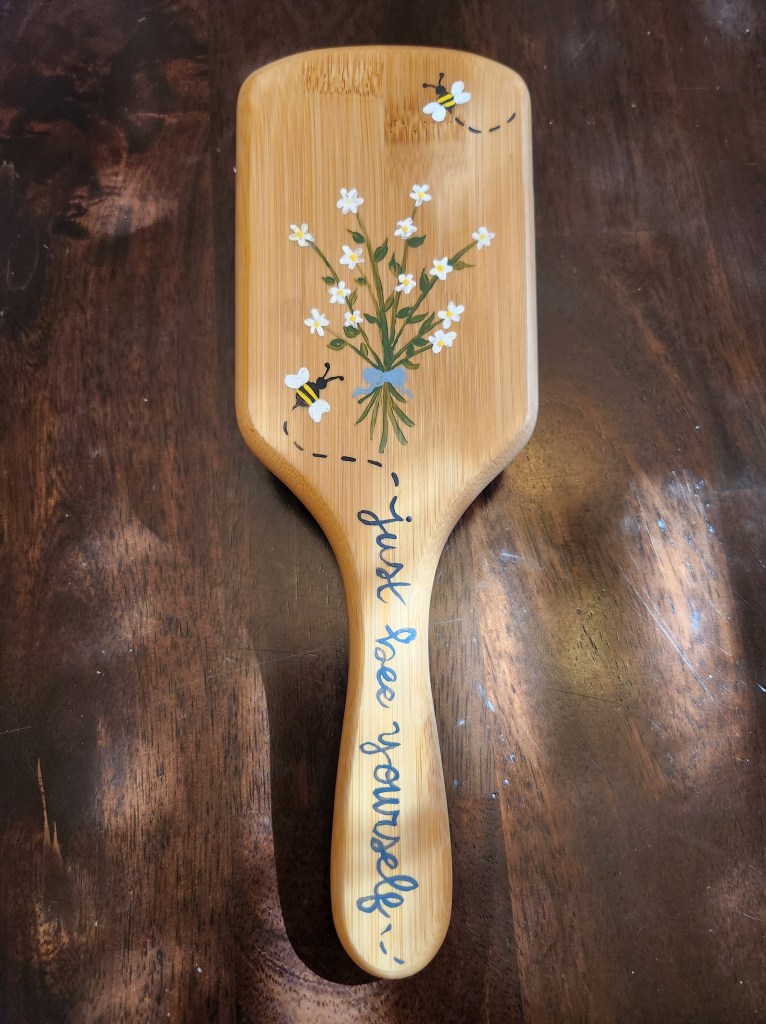
Step 4: Paint your design. These can really be made to fit any style!
Step 5: Seal your brush. We used a glossy mod podge but anything that you have on hand will work. It’s really just to keep your painting from scratching.
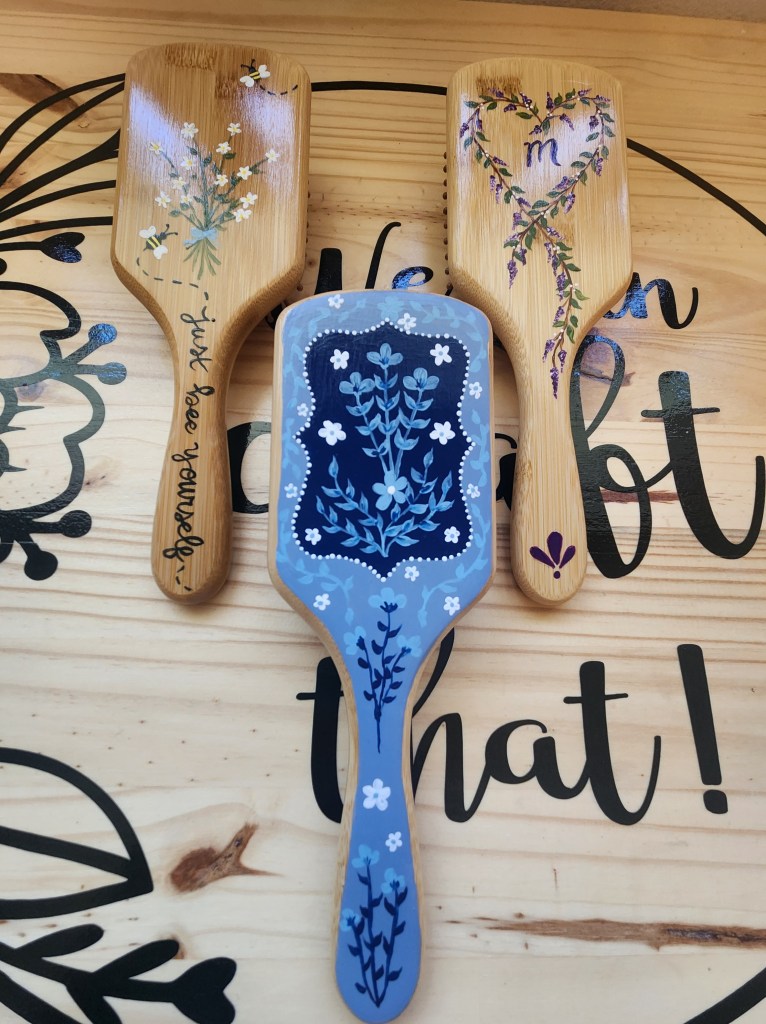
That’s all there is to it! These are rather simple to do and are so cute! They make wonderful gifts ( which is why after making one we decided to do several more) They can be decorated so many different ways. Happy crafting!


Leave a Reply